
In this guide, I will explain how to disassemble the Kindle Paperwhite 3 to remove the back cover, battery, and motherboard.
Follow us on Facebook for the latest updates from MyFixGuide.com.
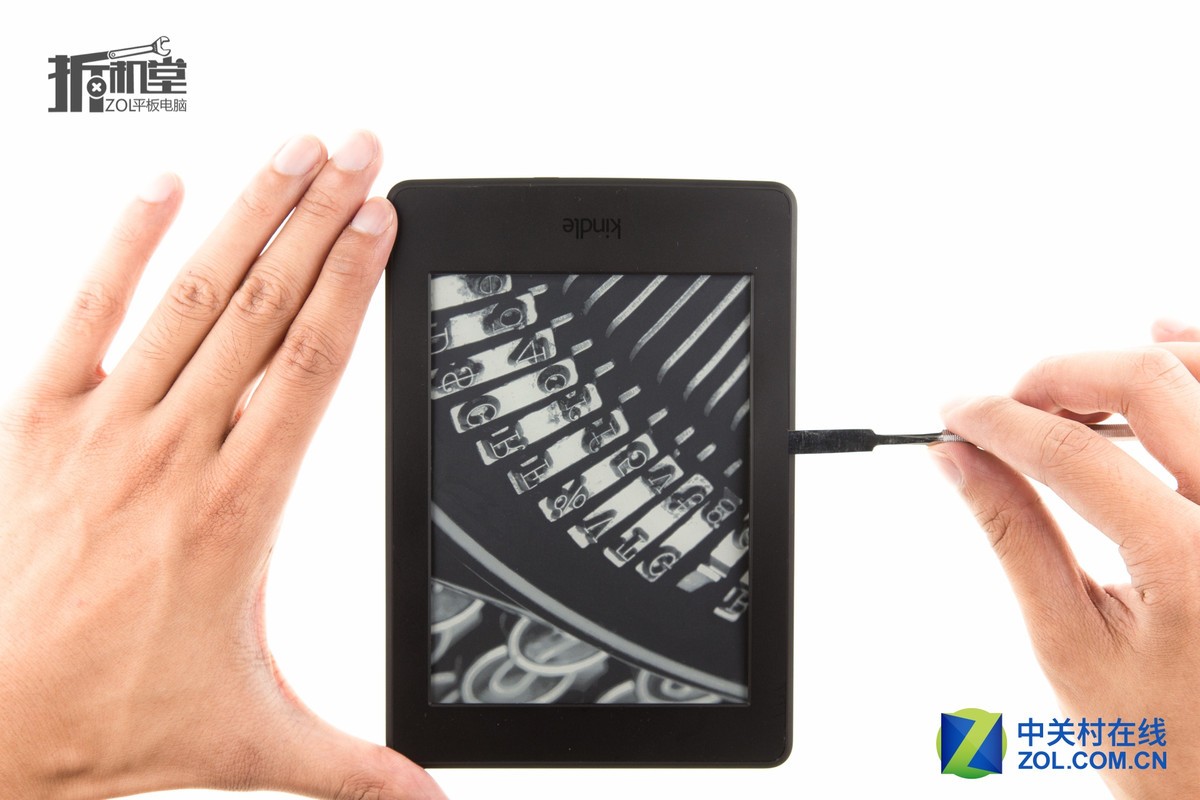
Insert a pry tool under the plastic cover of the screen. Slide the pry tool to separate the cover from the tablet completely.
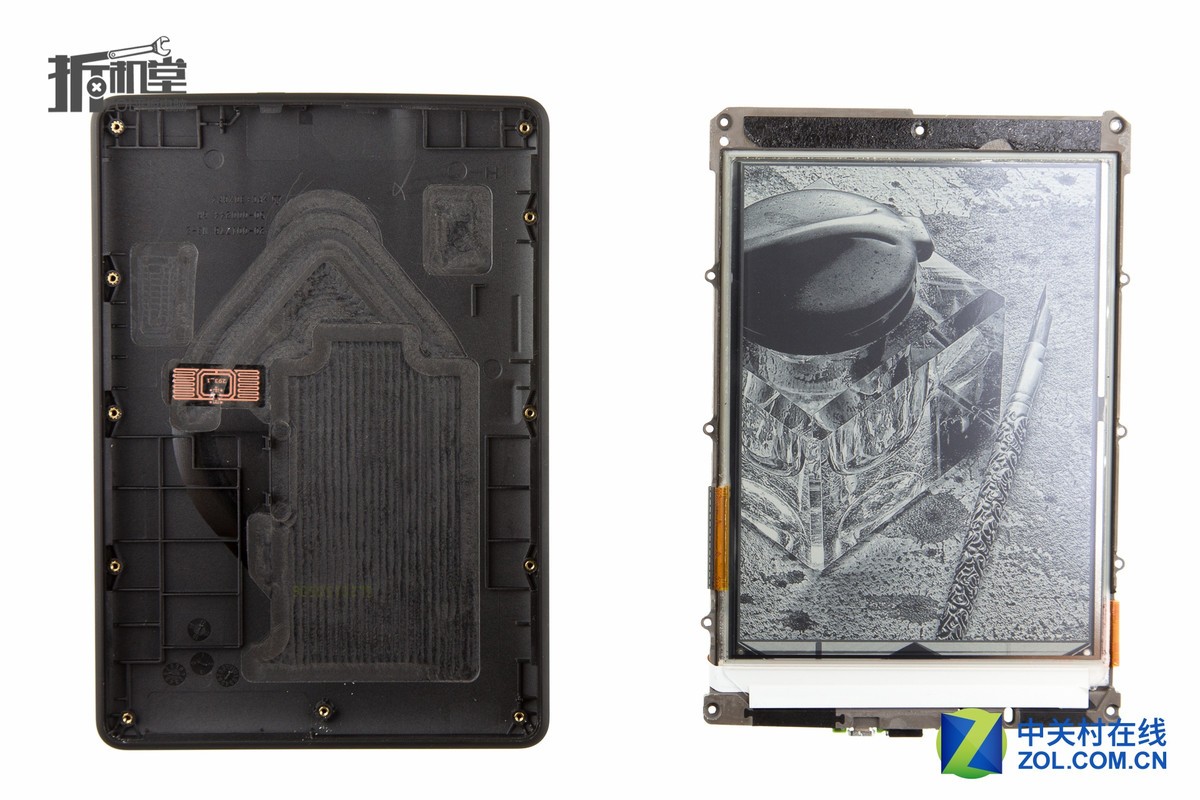
The display cover was removed from the body.
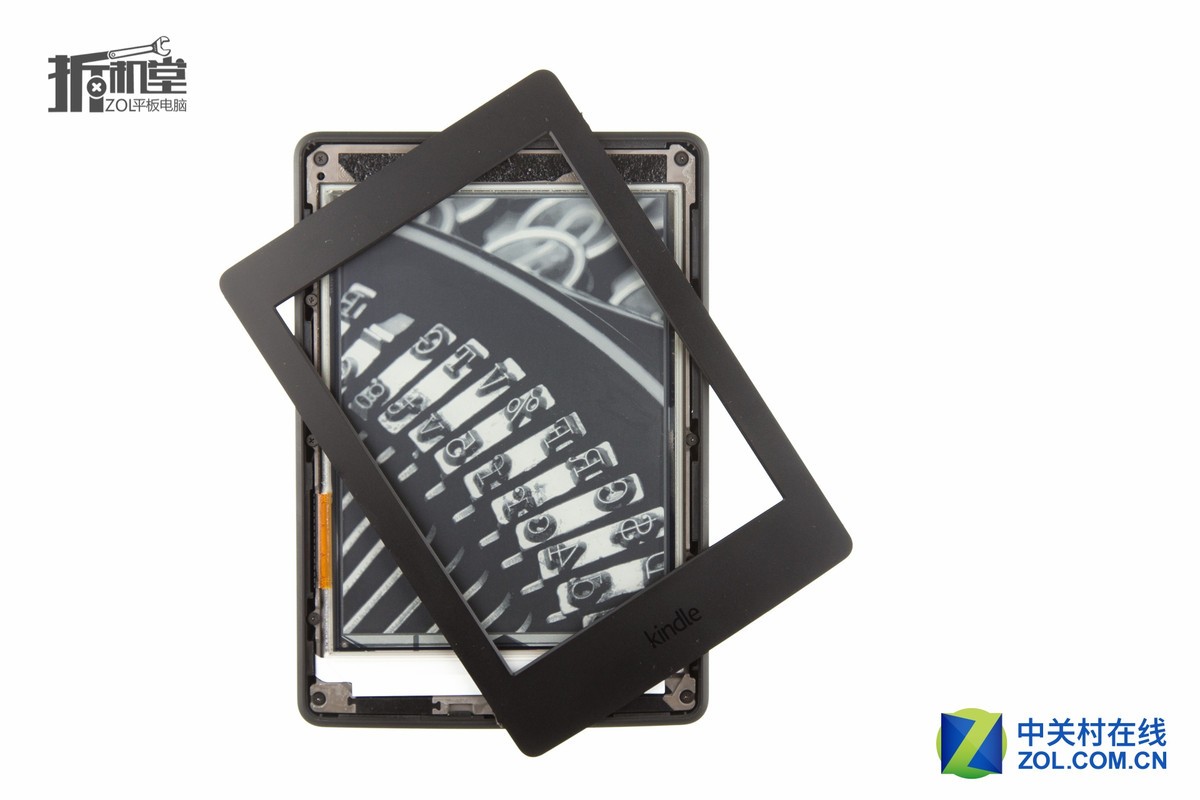
After removing the display cover, you can find some screws securing the display assembly.
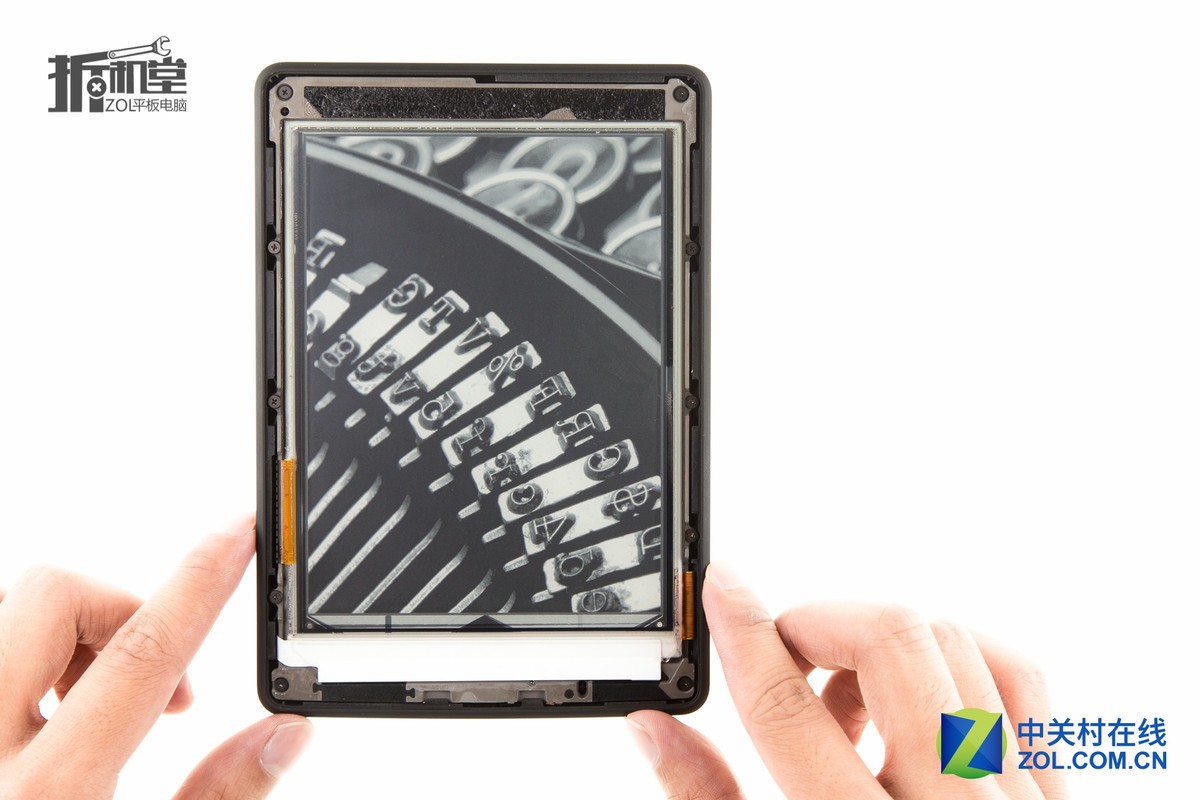
Remove all screws securing the display assembly.
Now, lift the screen assembly by hand and remove it from the bottom cover.
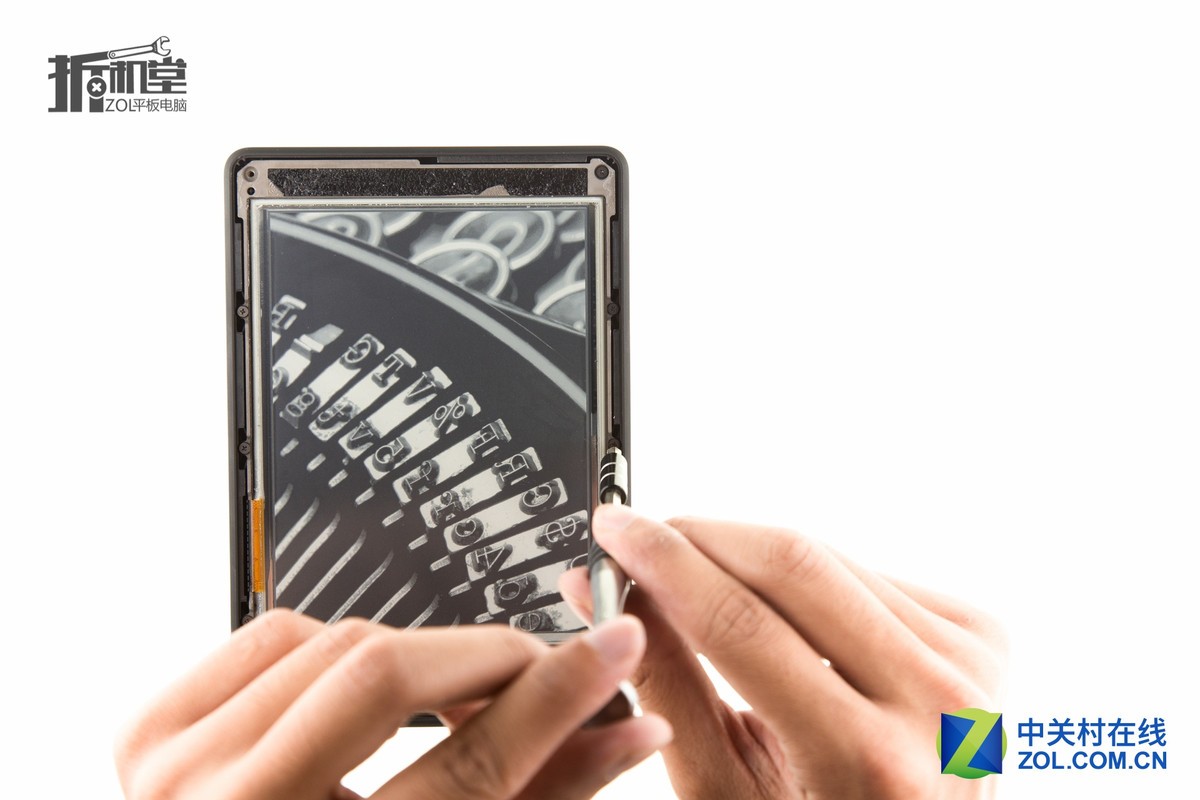
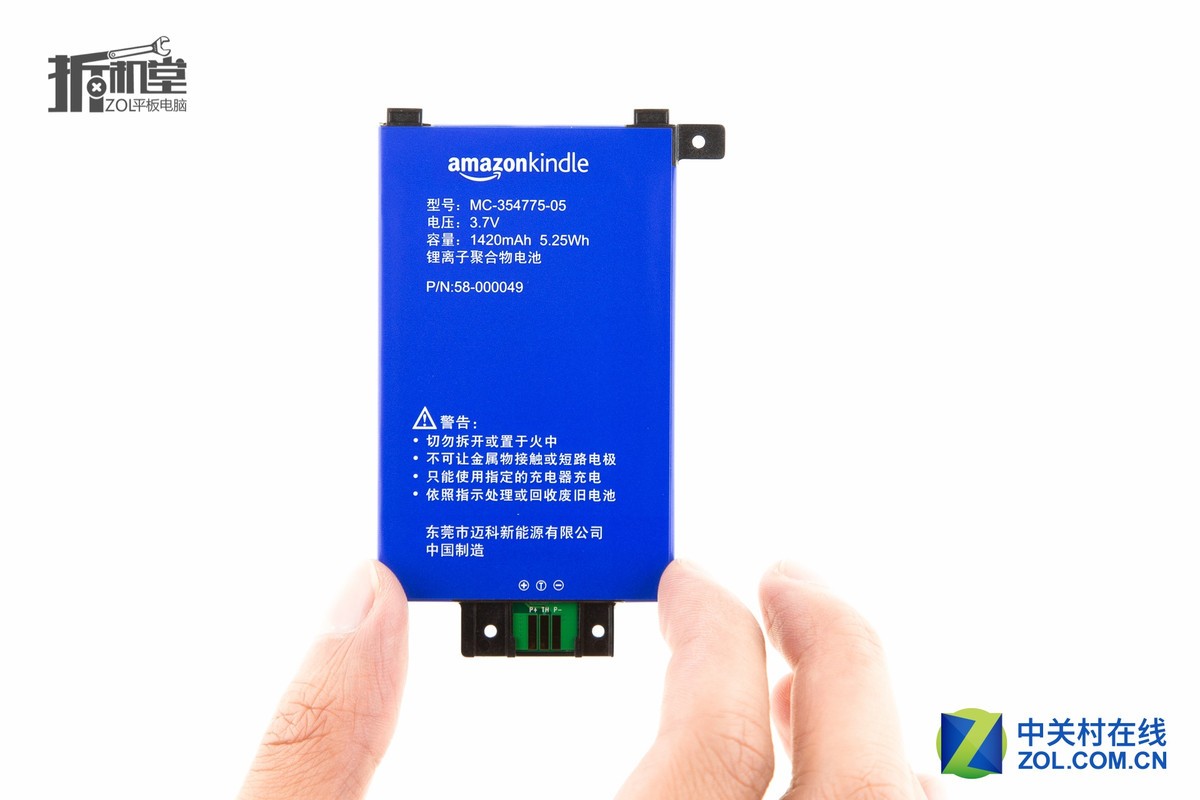
On the back of the display assembly, remove the three screws securing the battery.


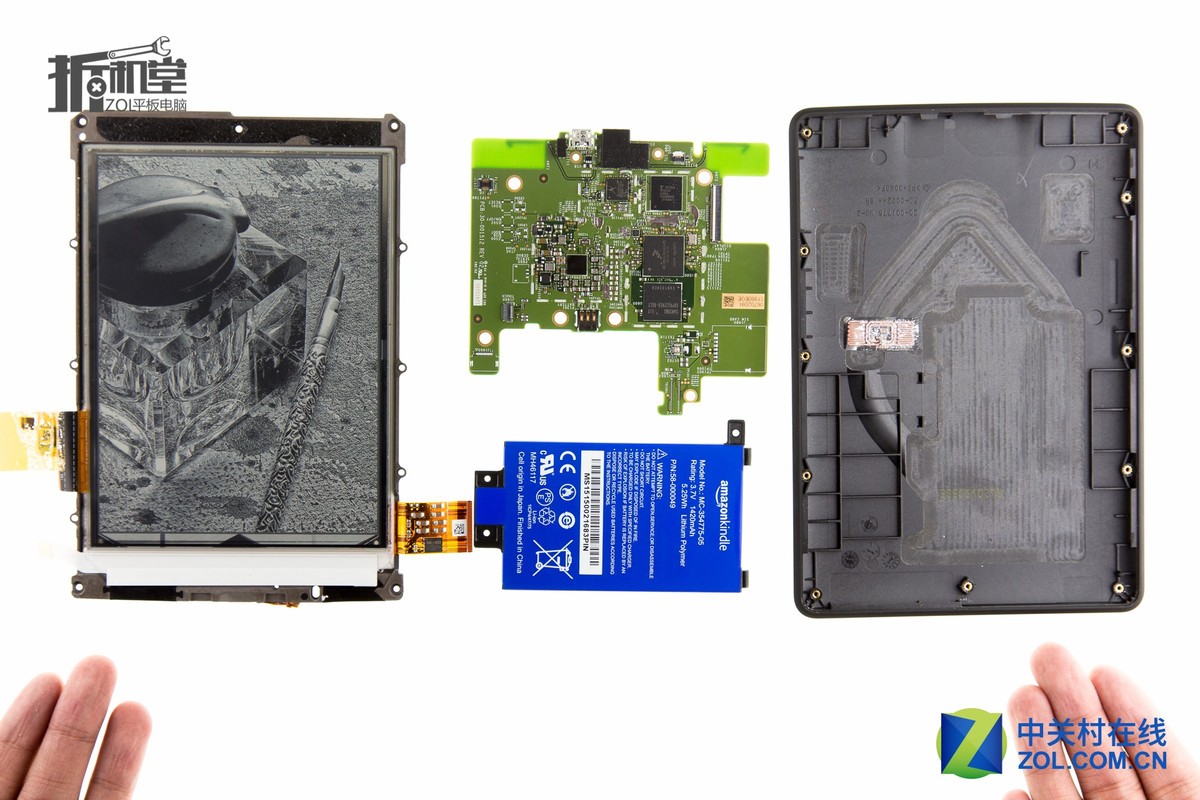
The Amazon Kindle Paperwhite 3 comes with a 1420mAh Li-Polymer battery. The battery model is MC-354775-05, and it is made in China.
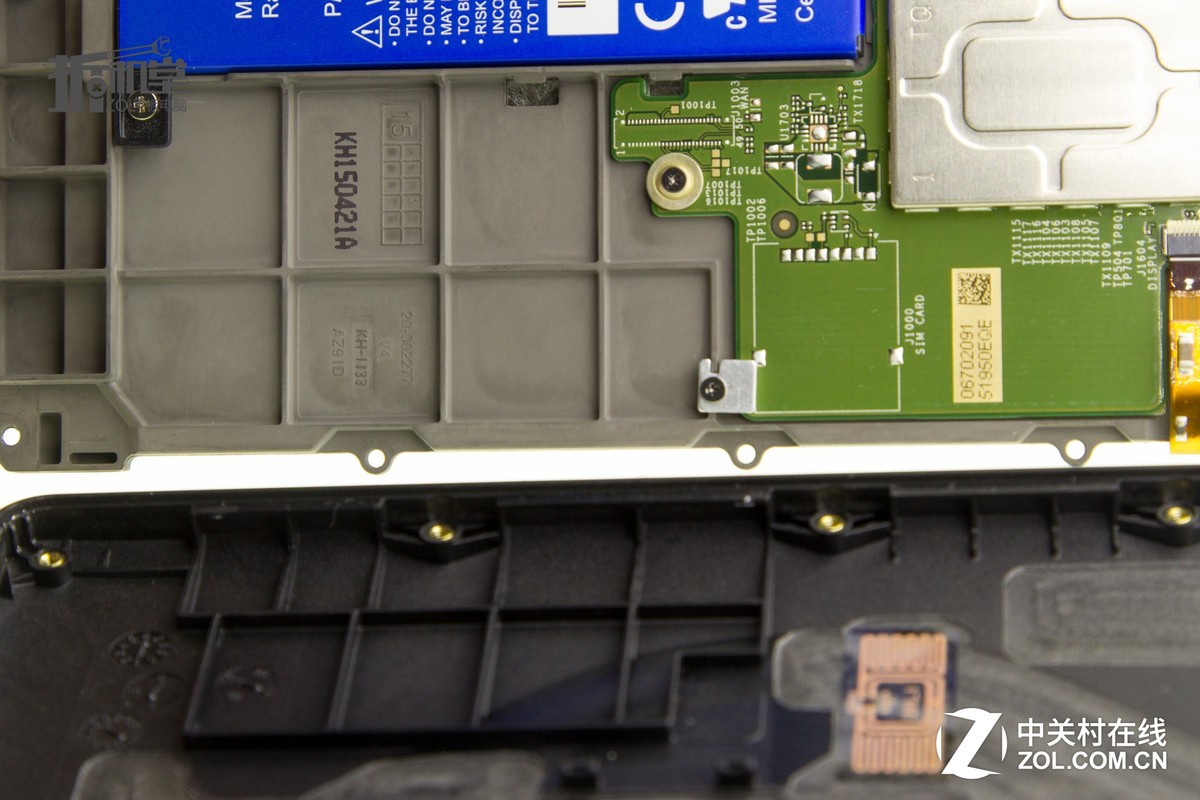
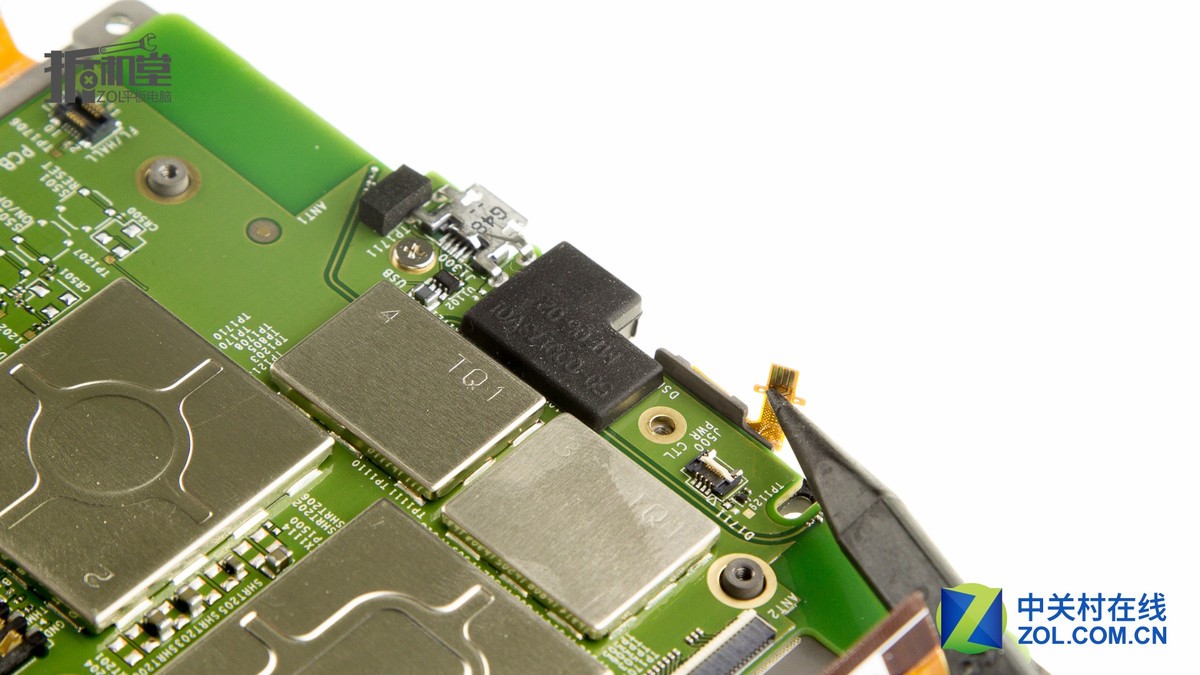
Remove all screws securing the motherboard.
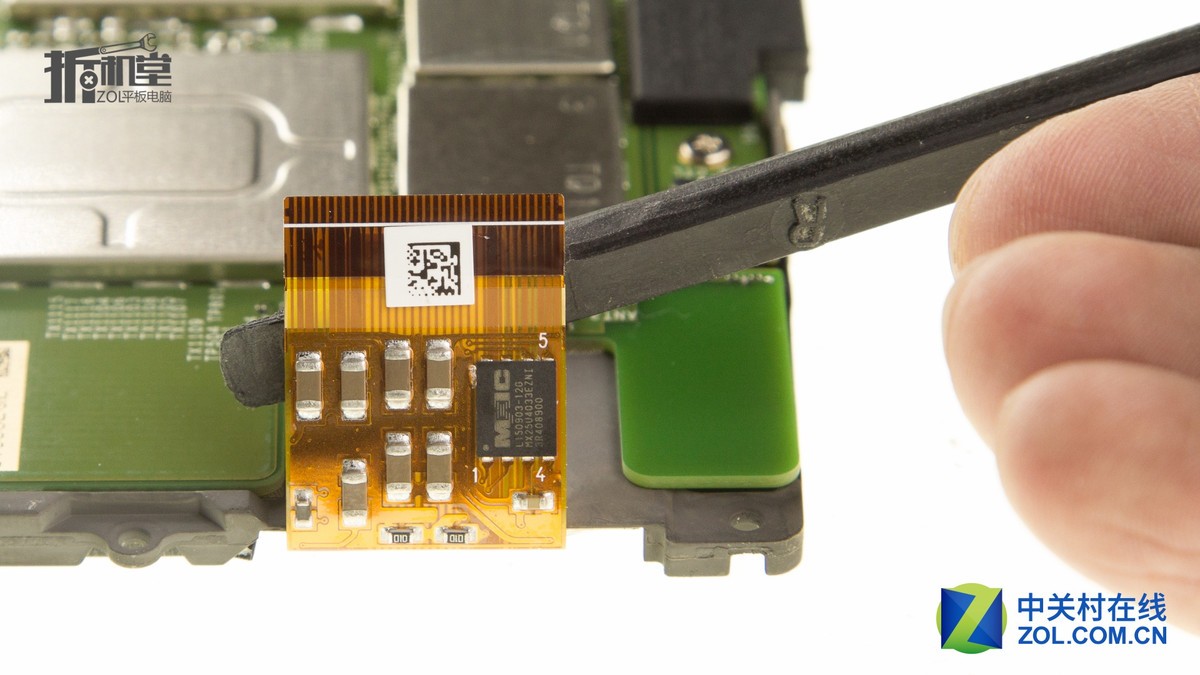
Disconnect the LED backlit cable.
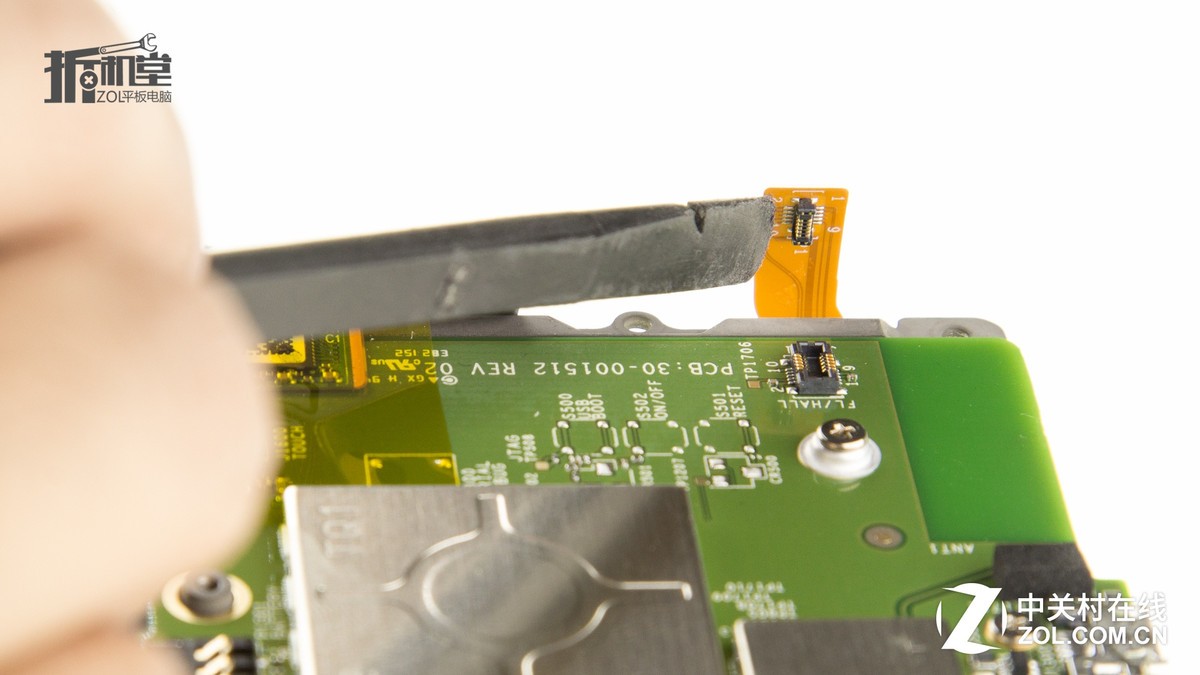
Disconnect the LED touch cable.
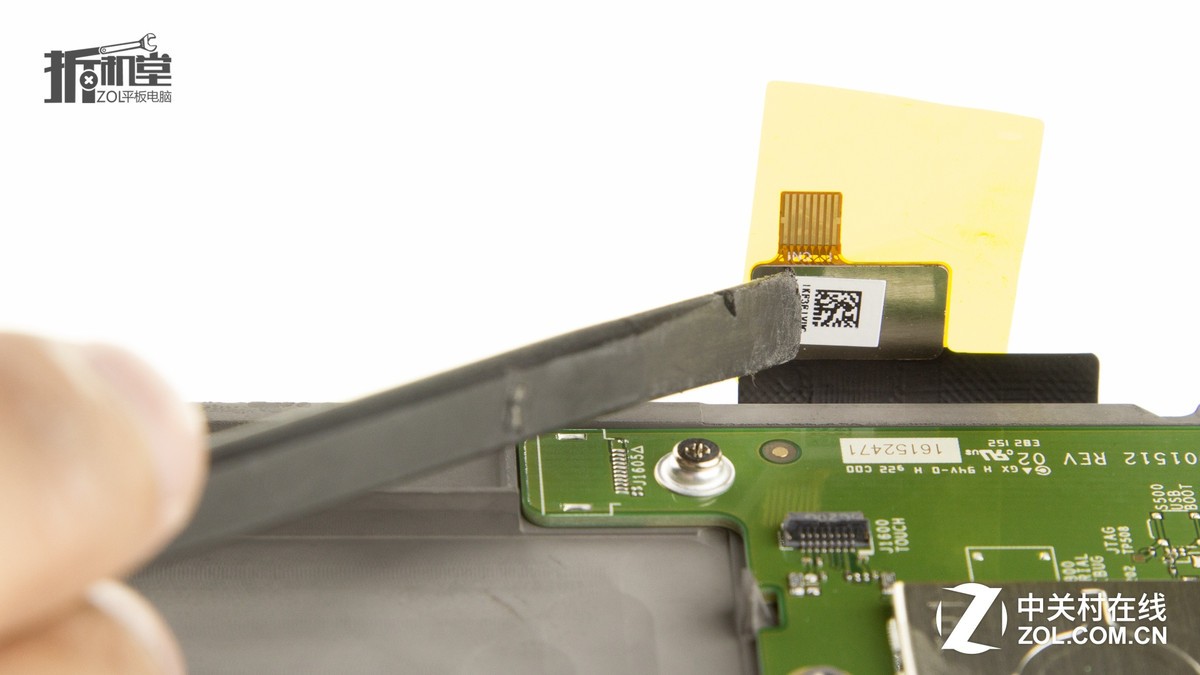
Disconnect the display cable.
Disconnect the button key cable.
Remove all metal shields from the motherboard.
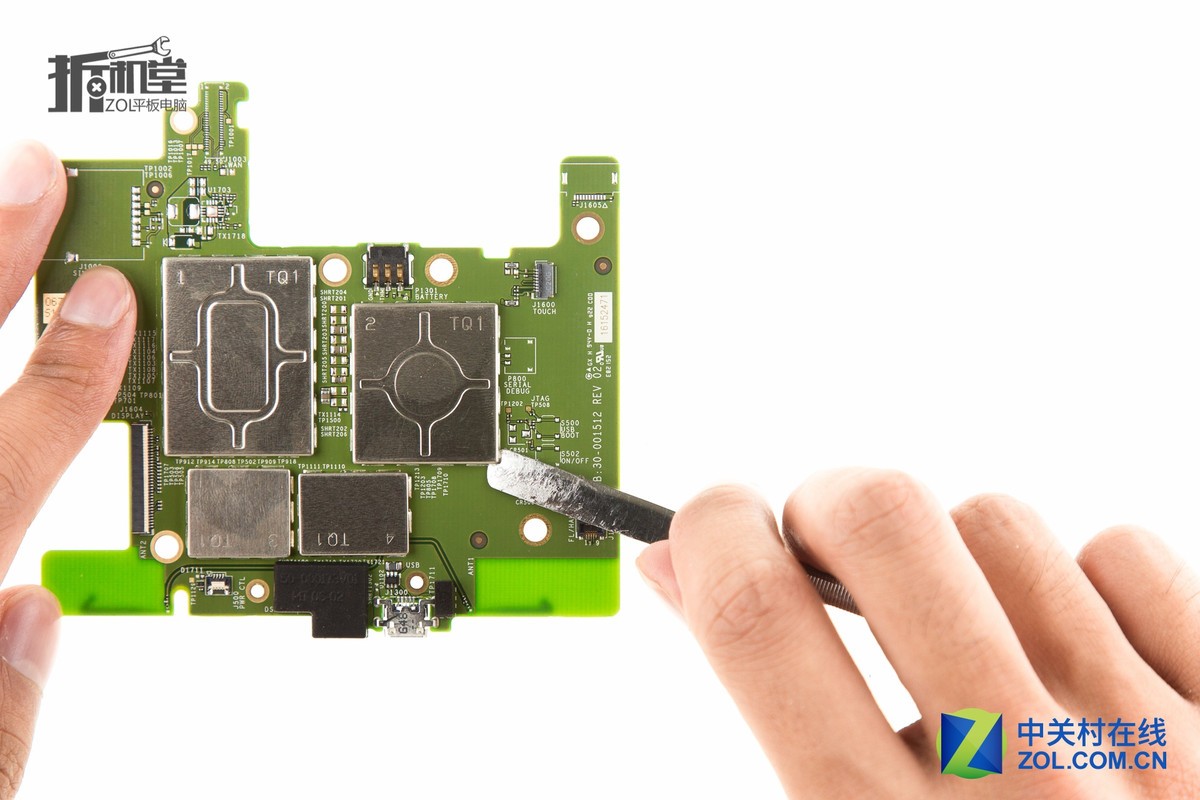
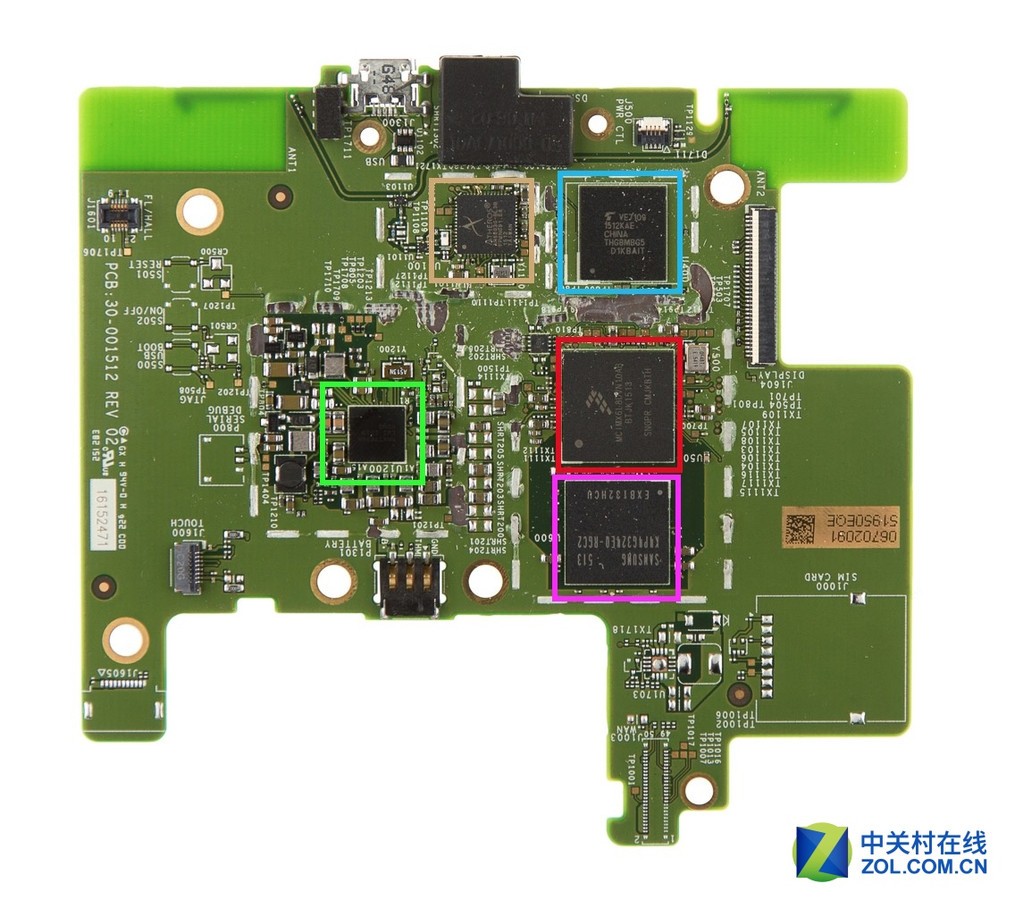
Red: Freescale MCIMX6L8DVN10AB processor
Pink: Maxim MAX77696A power management chip
Brown: Atheros AR6803G-BL3B wireless card
Blue: Toshiba THGBMBG5D1KBAIT 4GB ROM
Amazon Kindle Paperwhite 3 internal parts
Source: zol

Hi, is there any chance that the internal storage will be upgraded for Paper White 2? And why did you mention the flash as ROM?