Dell LaptopDell Precision M4800
Dell Precision M4800 Disassembly and RAM, HDD Upgrade Options
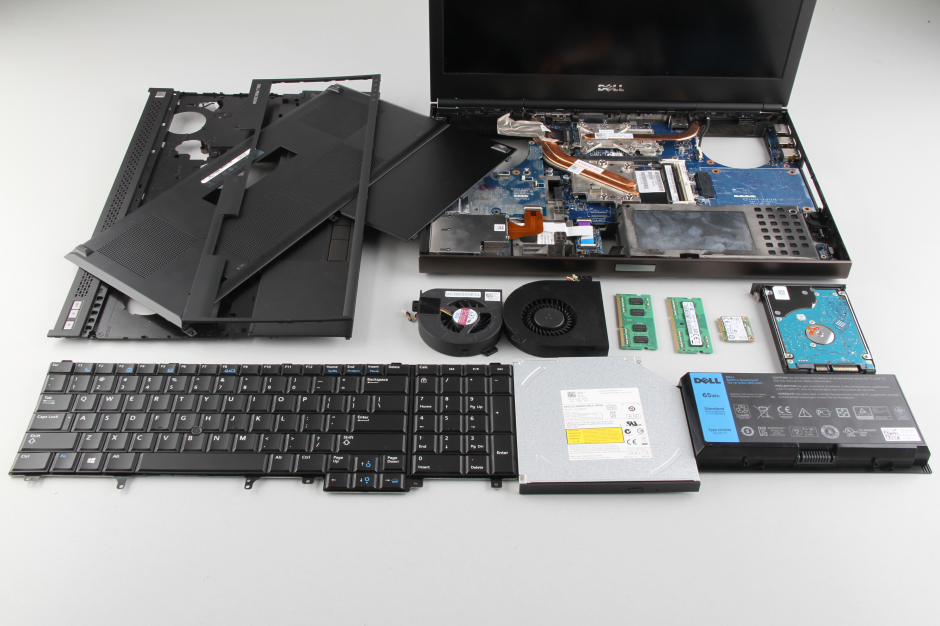
This article guides you on how to disassemble the Dell Precision M4800 mobile workstation. You will learn how to remove/replace the keyboard, hard drive, RAM module, wireless card, fan, and motherboard.
Want to be the first to see the latest smartphone and laptop inside? Follow us on Facebook for the latest teardown news.
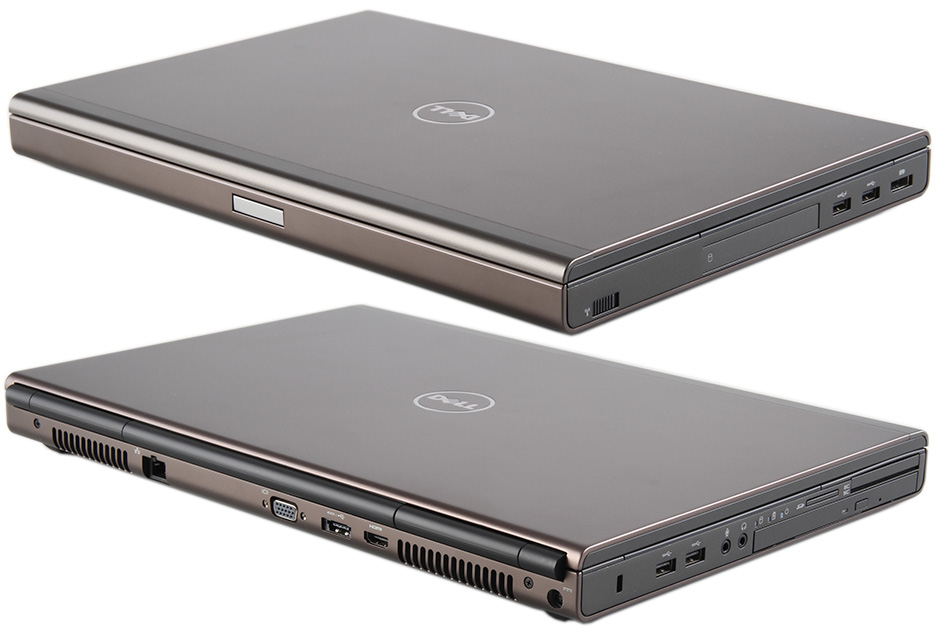
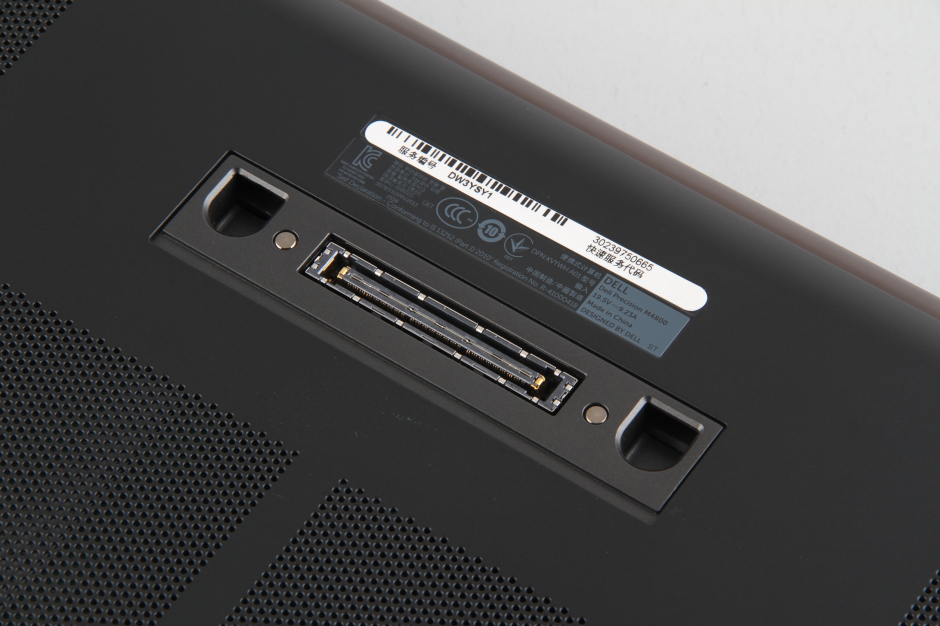
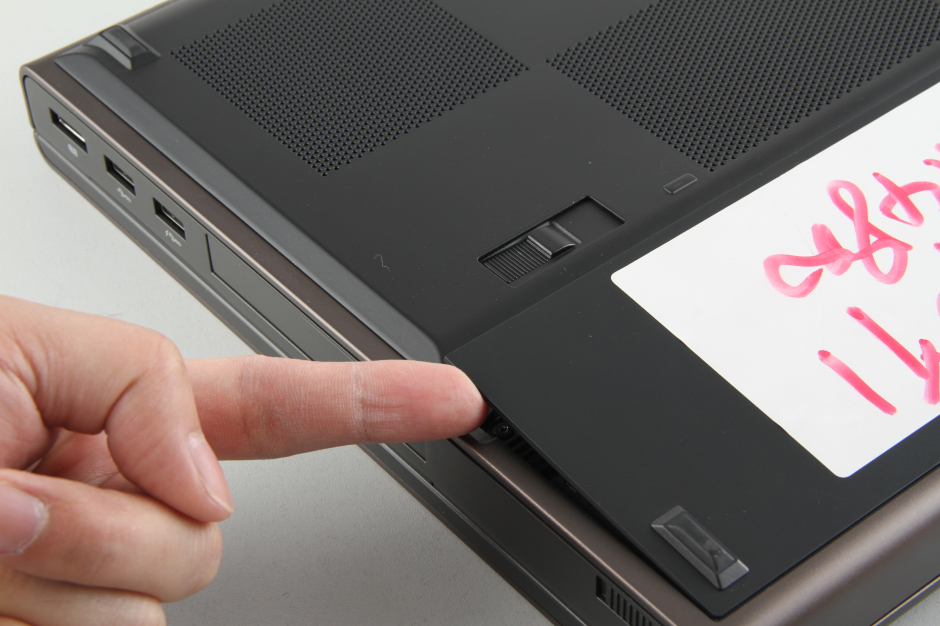
Unlock and remove the battery.
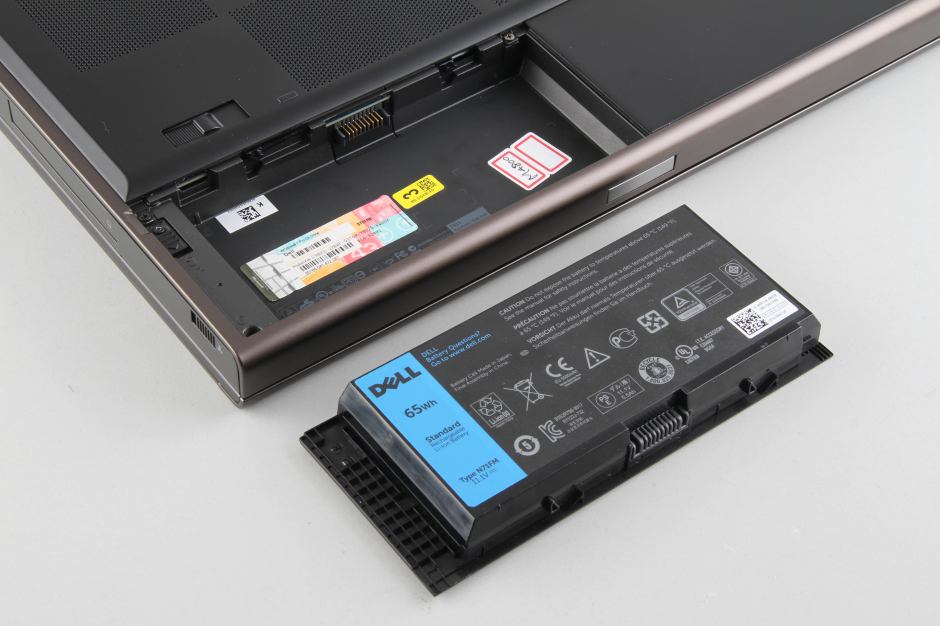
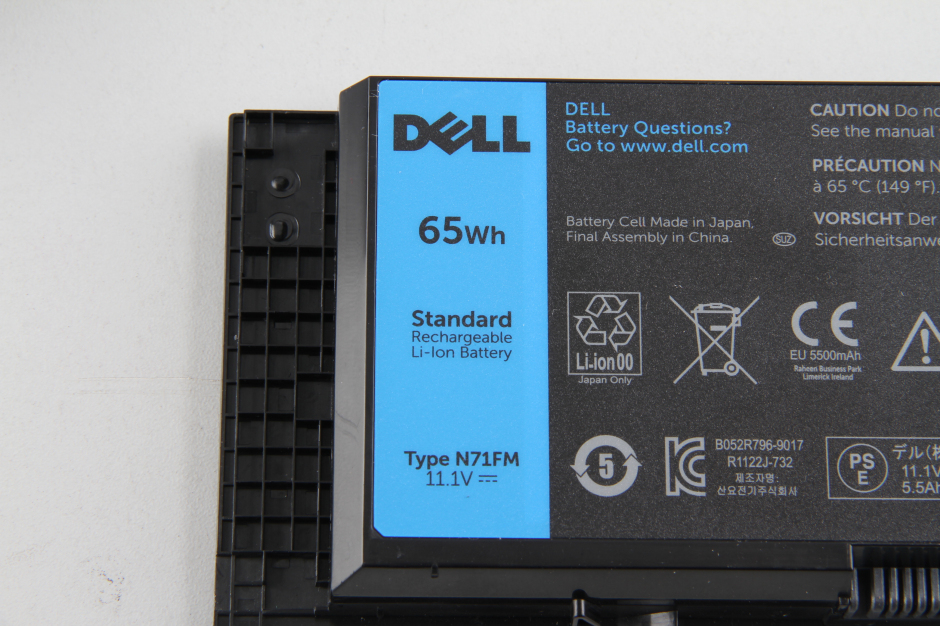
The laptop comes with an 11.1v, 65wh Li-ion battery and Dell P/N: N71FM.
Unlock and remove the back cover.
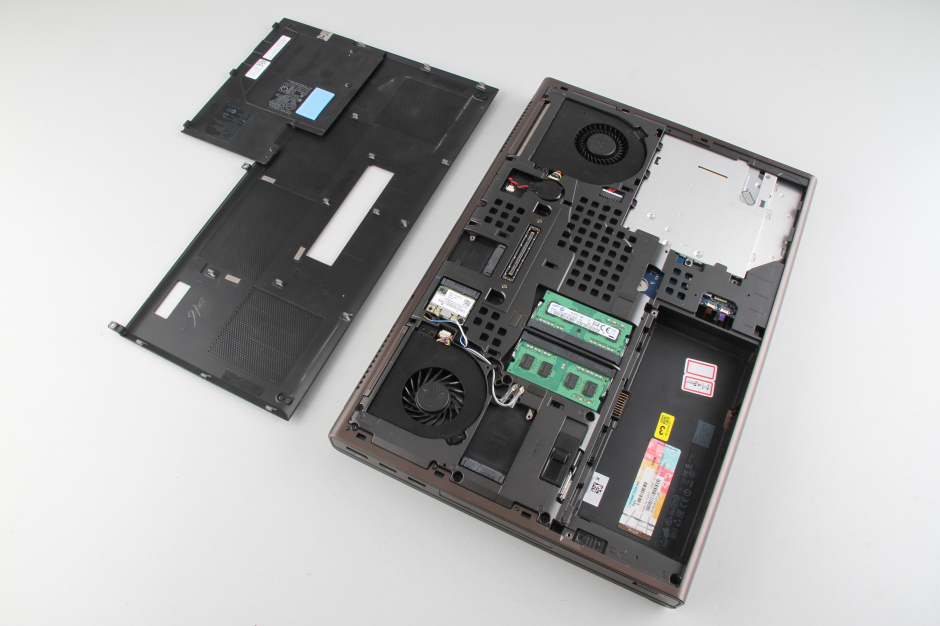
When the back cover is removed, you can access the wireless card, CMOS battery, and optical drive.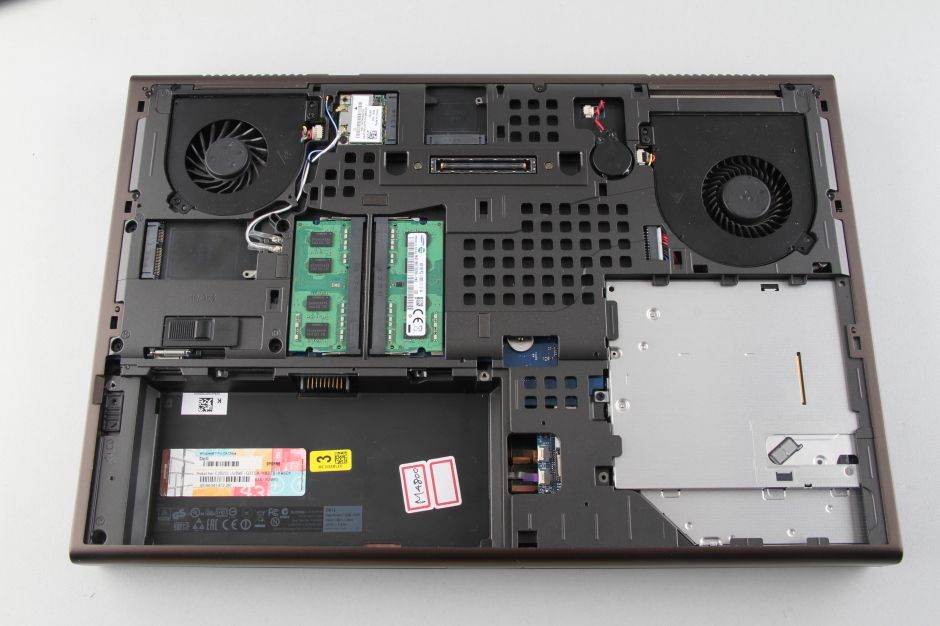
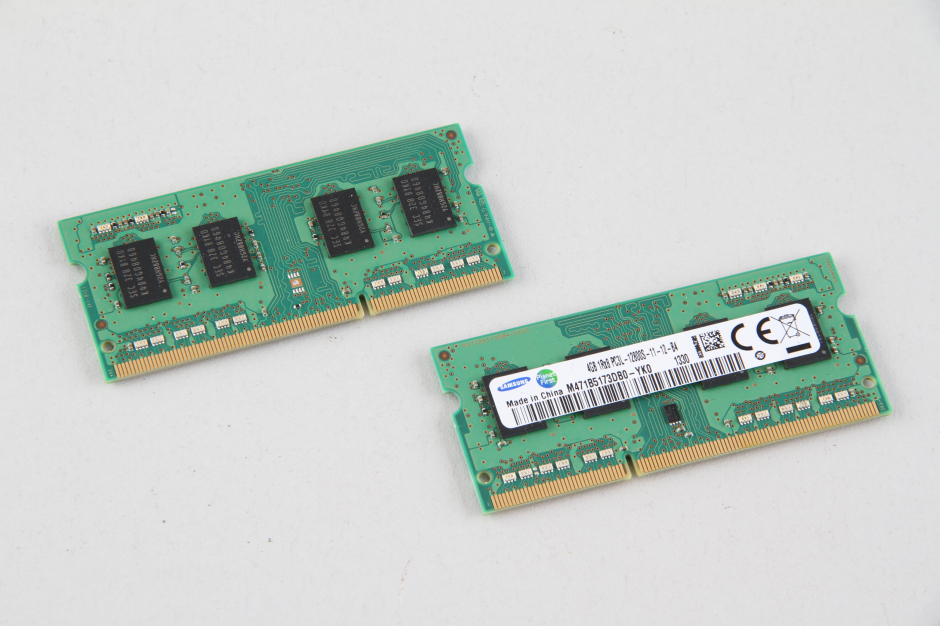
Separate the clips. The RAM will pop up.
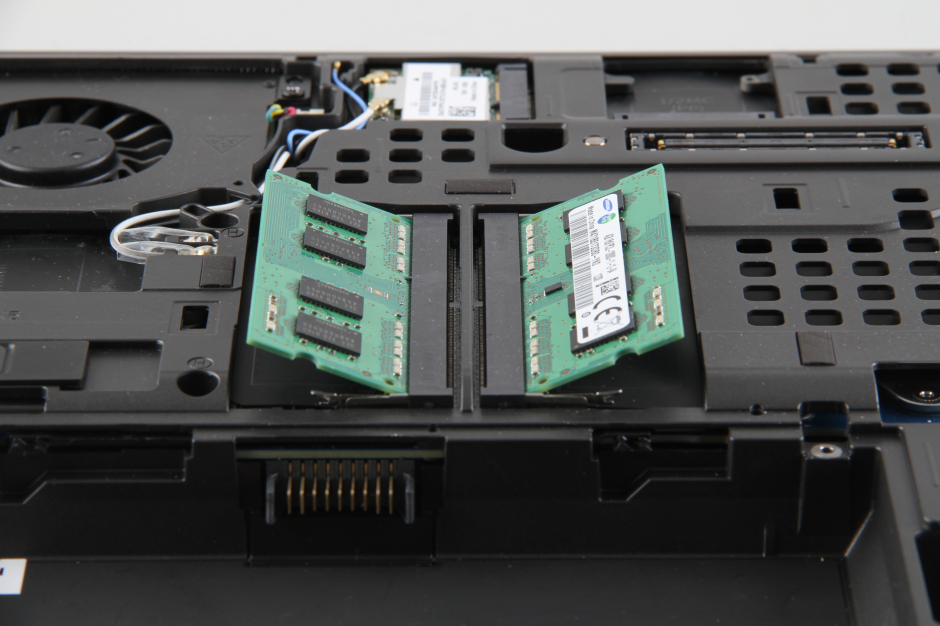
It comes with two Samsung 4GB DDR3L-1600MHz RAMs.
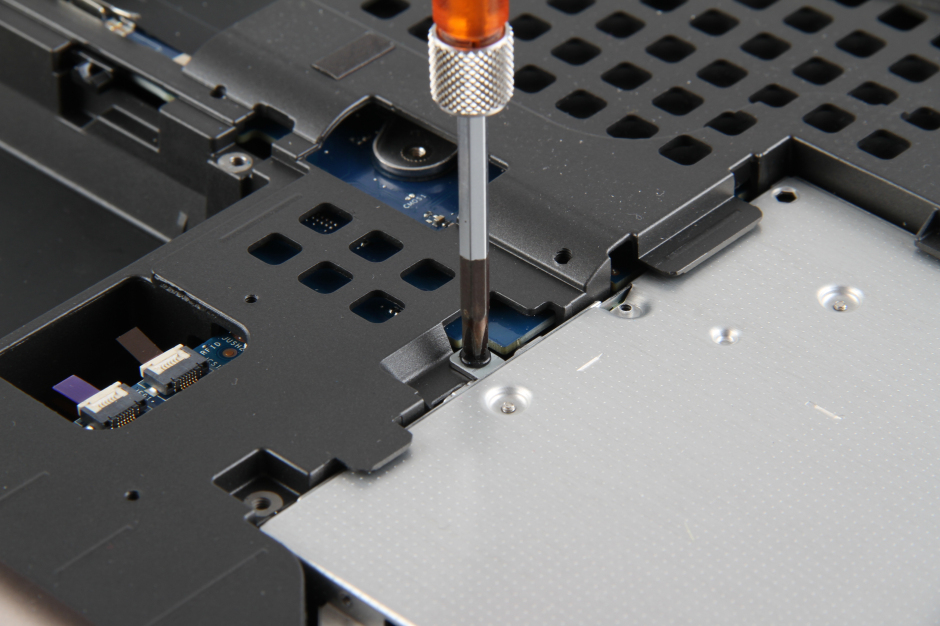
Remove the screw securing the optical drive.
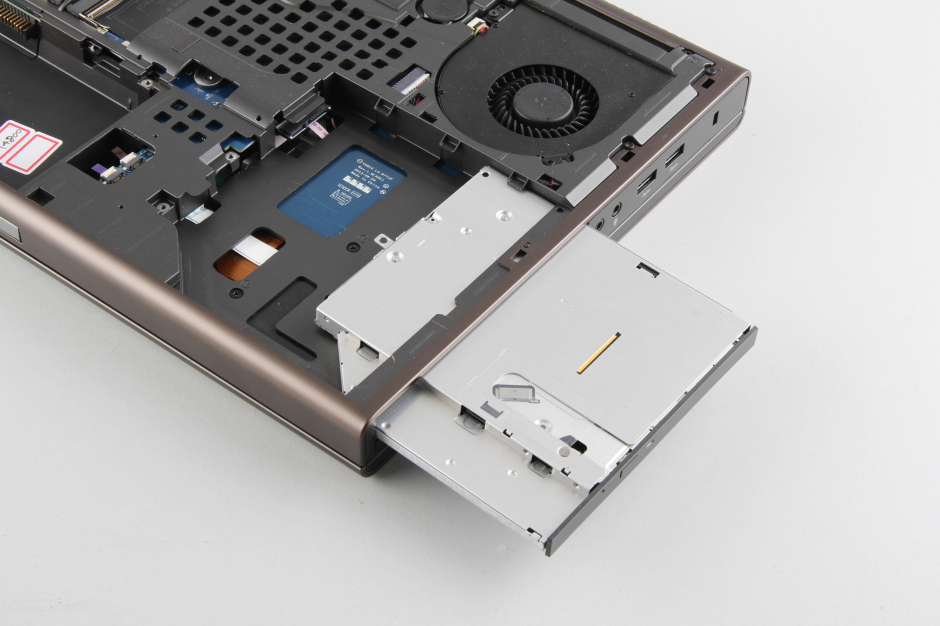
Pull out the DVD drive.
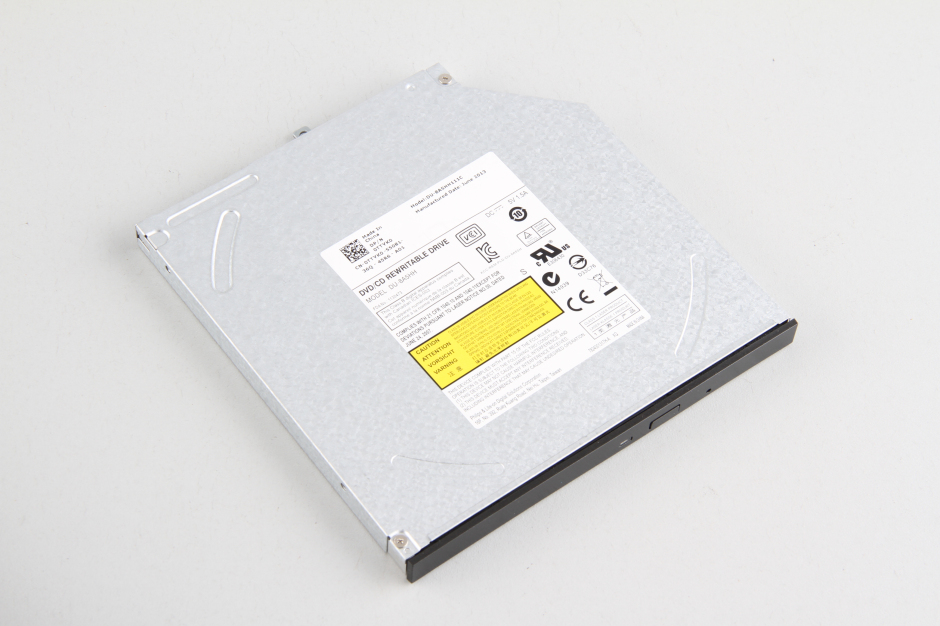
Dell Precision M4800 features a PLDS DU-8A5HH DVD burner.
Disconnect two antenna cables and remove one screw; you can remove the wireless card.
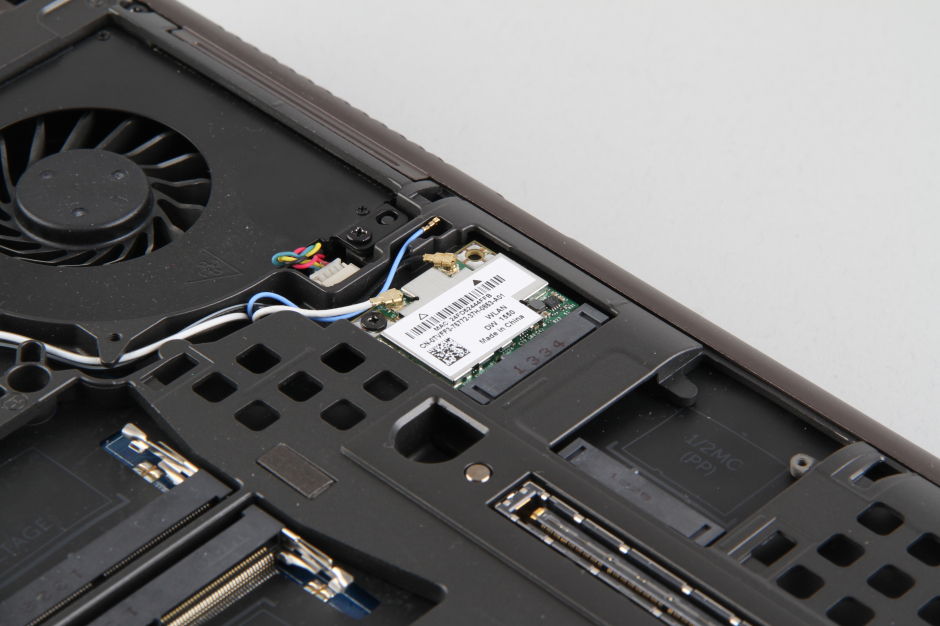
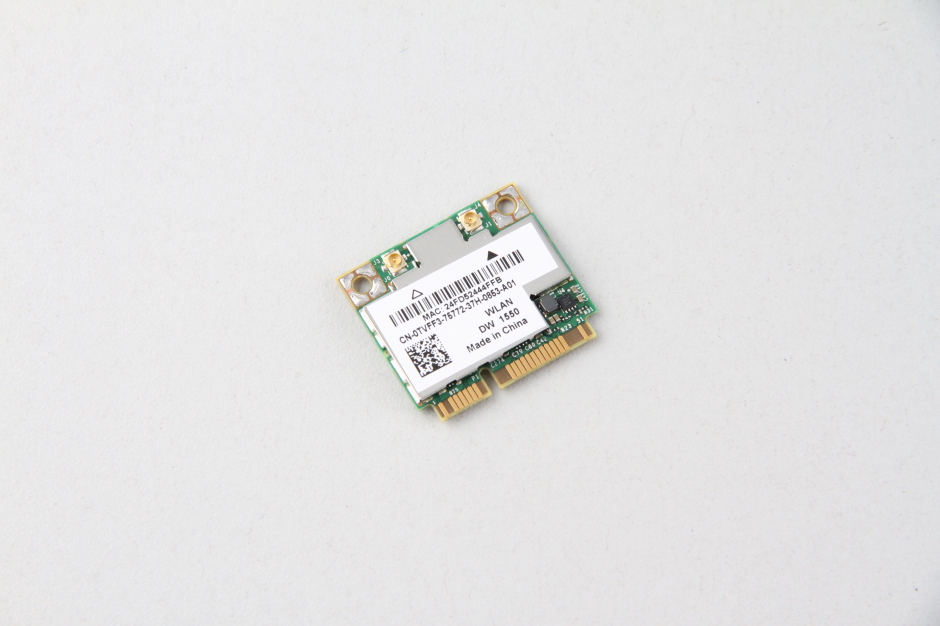
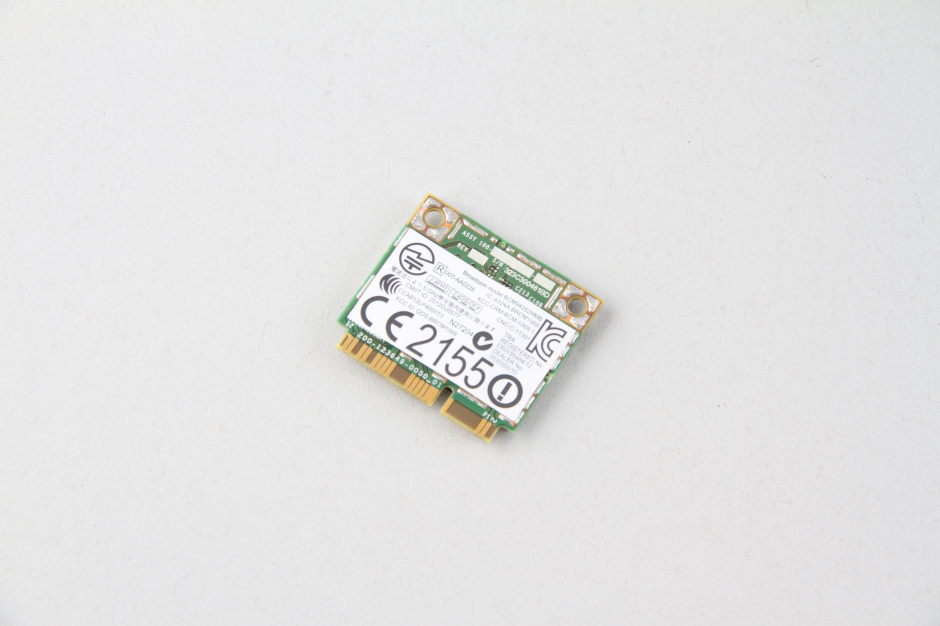
Dell Precision M4800 comes with a DW1550 wireless card, and the Dell model is 0TVFF3.
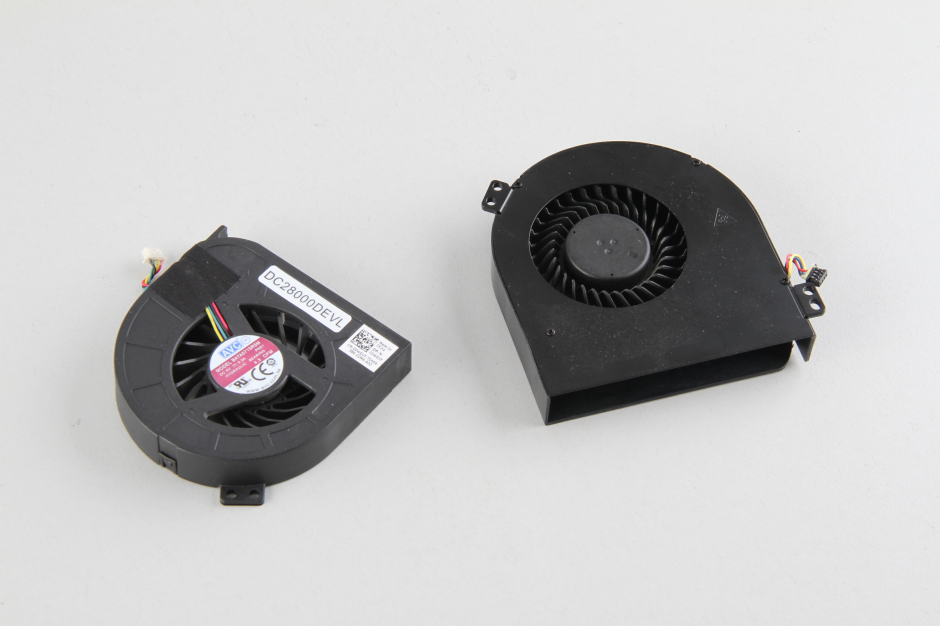
In the next step, we will remove two cooling fans.
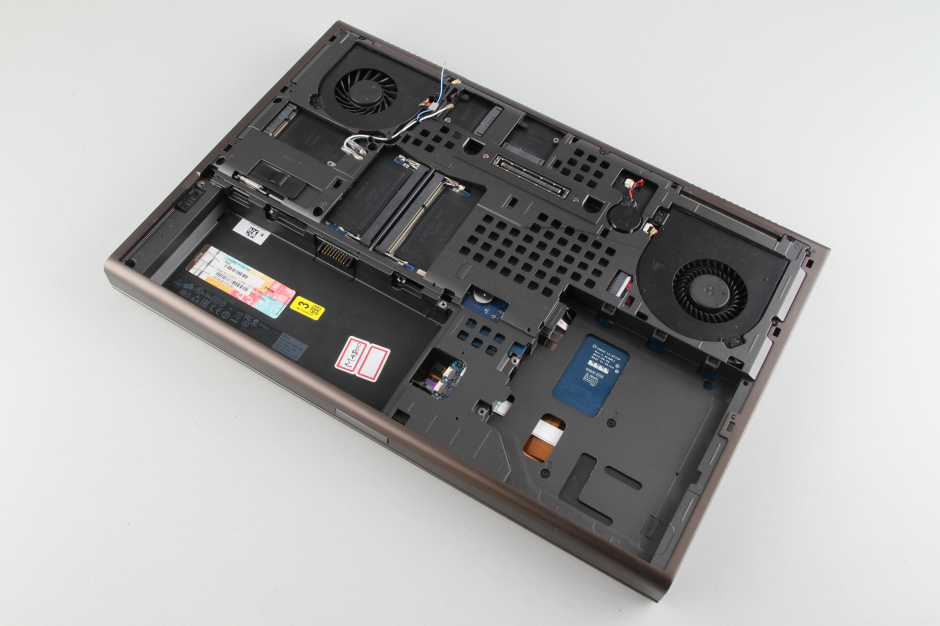
Remove two screws securing the left cooling fan and disconnect the fan cable from the motherboard.
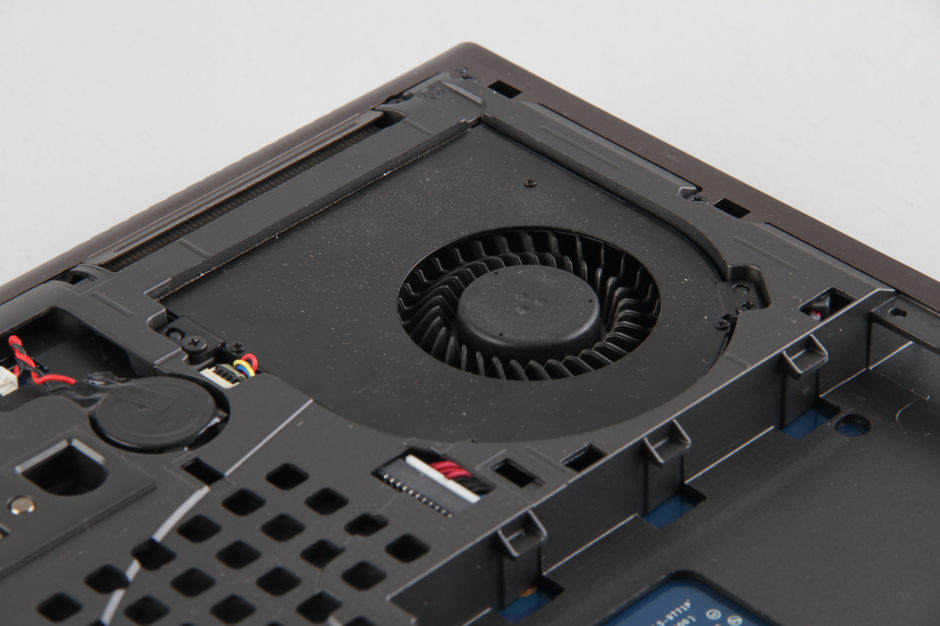
Remove two screws securing the right cooling fan and disconnect the fan cable from the motherboard.
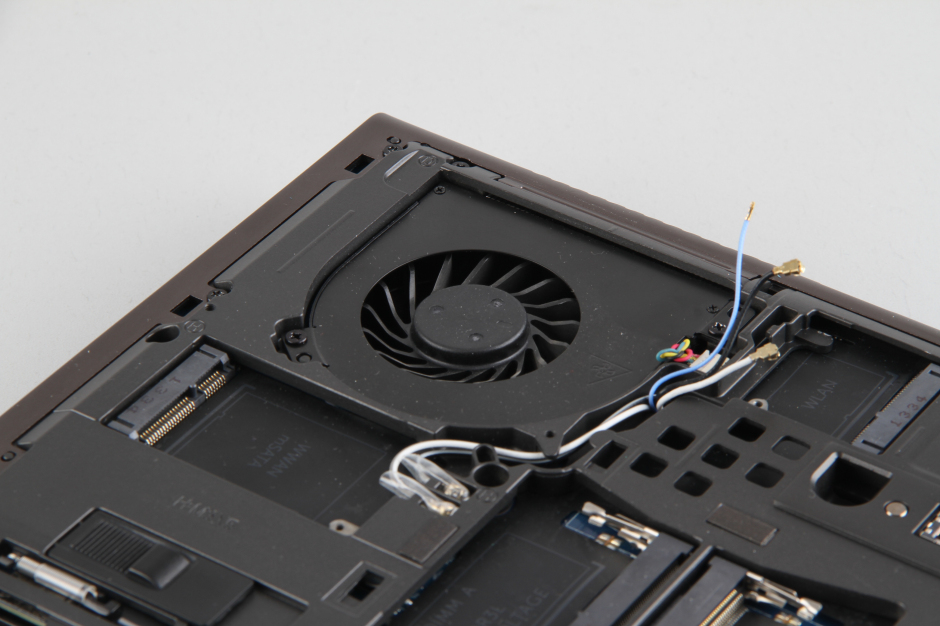
Remove two screws.
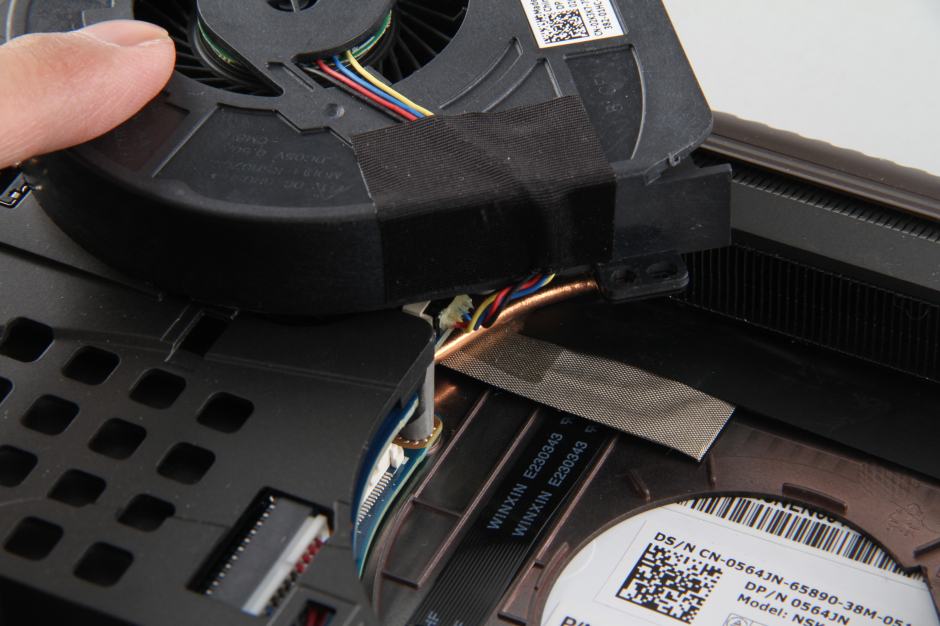
Dell Precision M4800’s CPU fan and GPU fan.
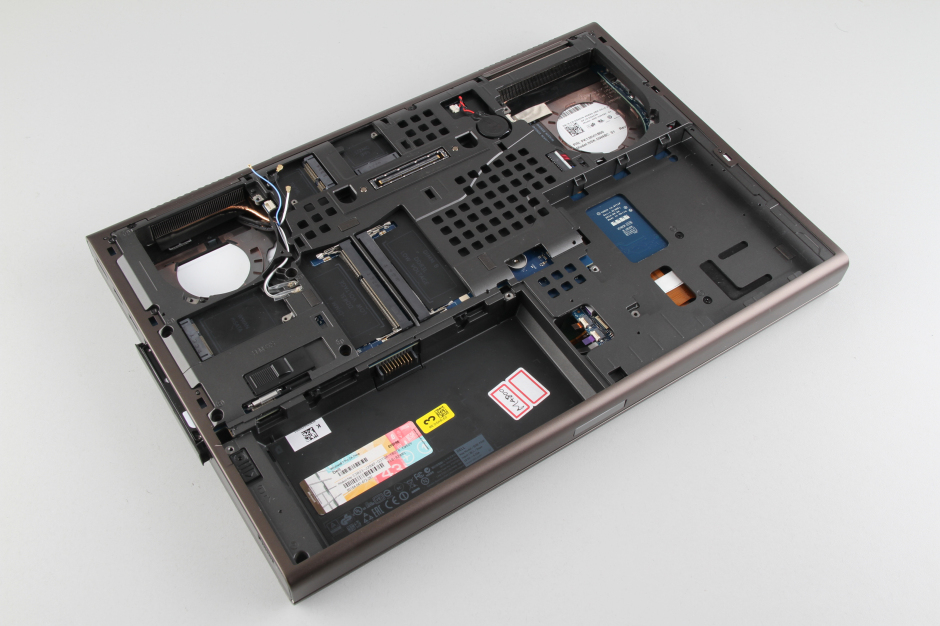
Remove the hard drive.
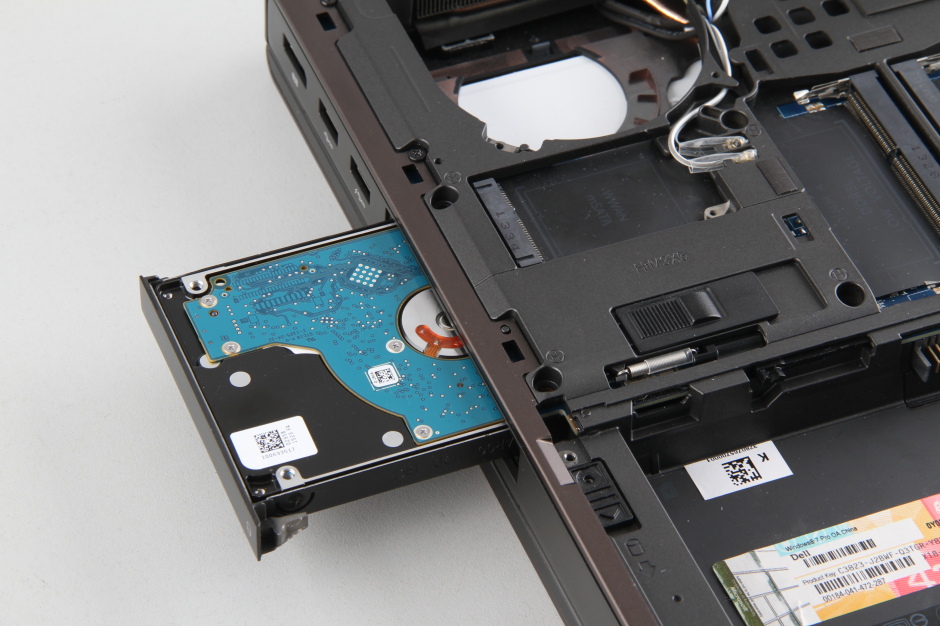
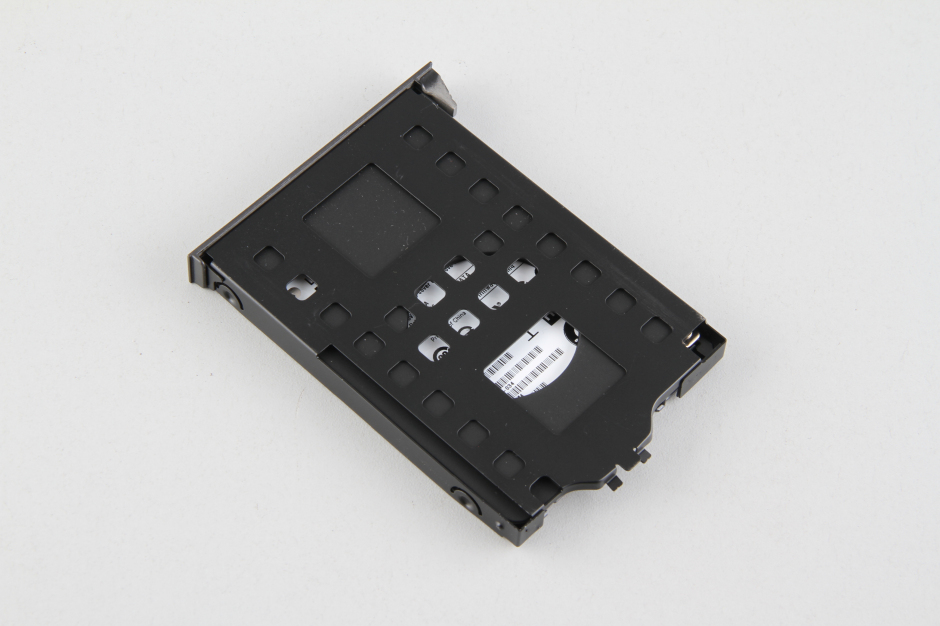
Turn over the laptop.
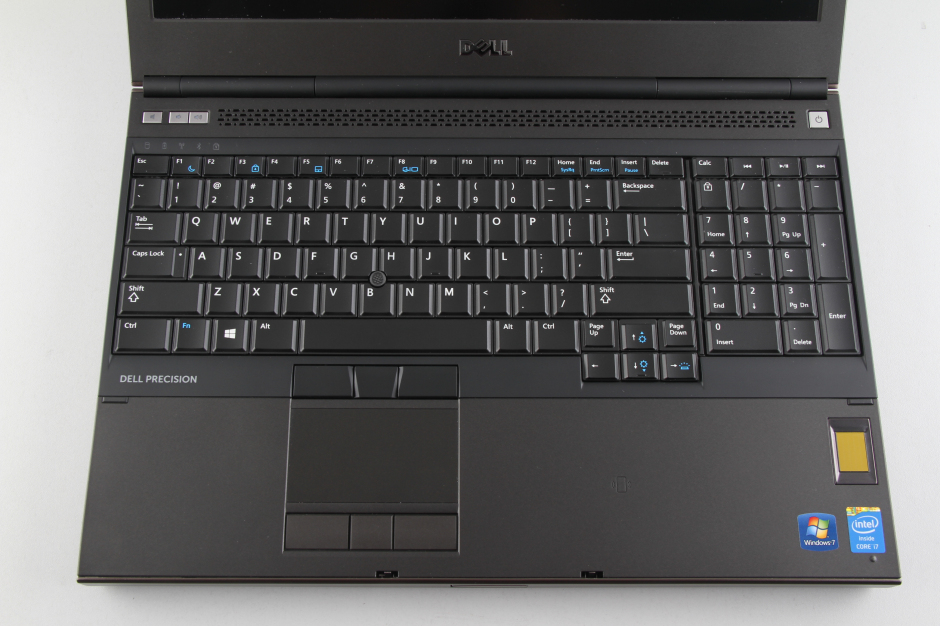
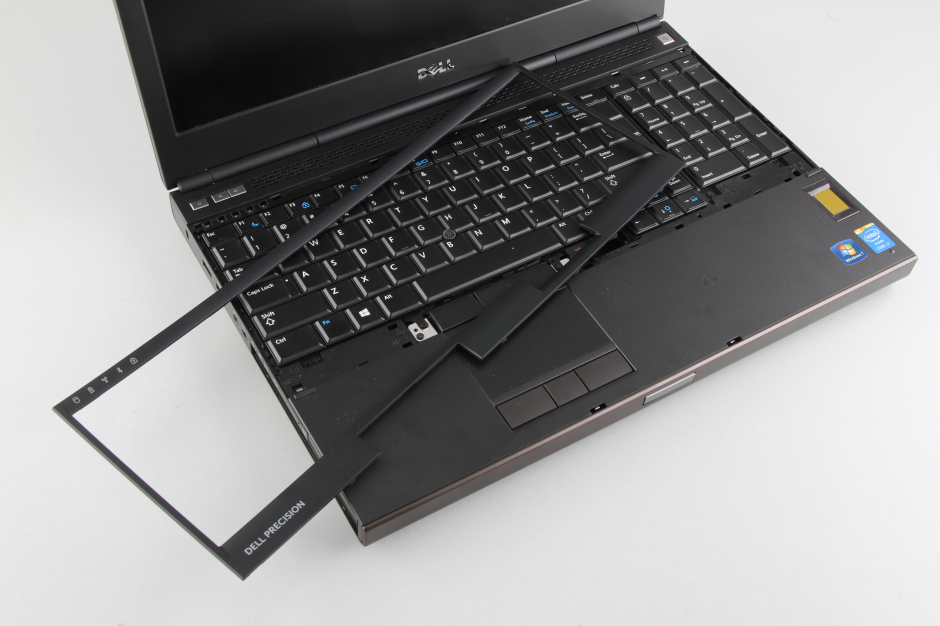
Pry up and remove the keyboard bezel.
Remove all screws securing the keyboard.
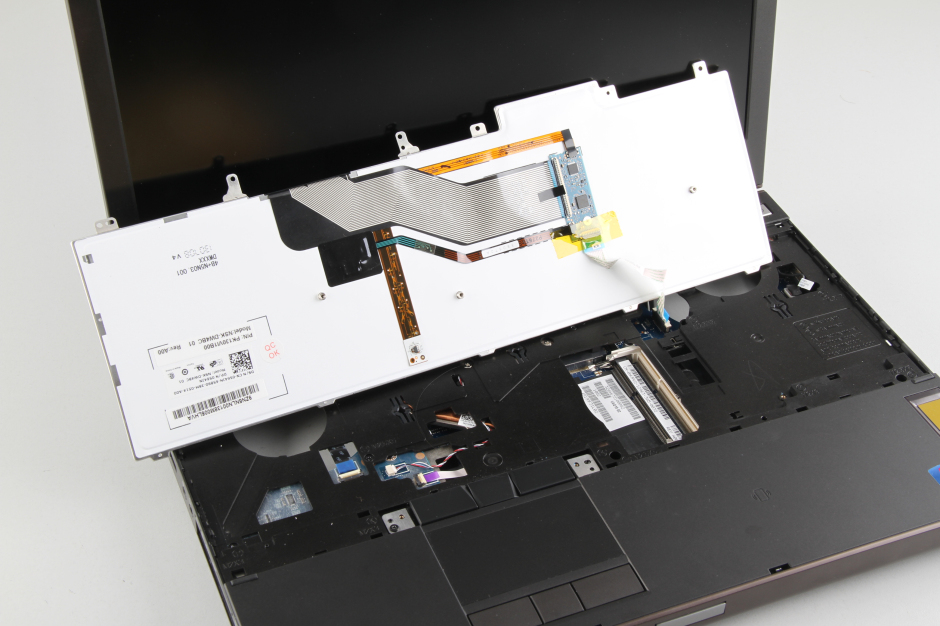
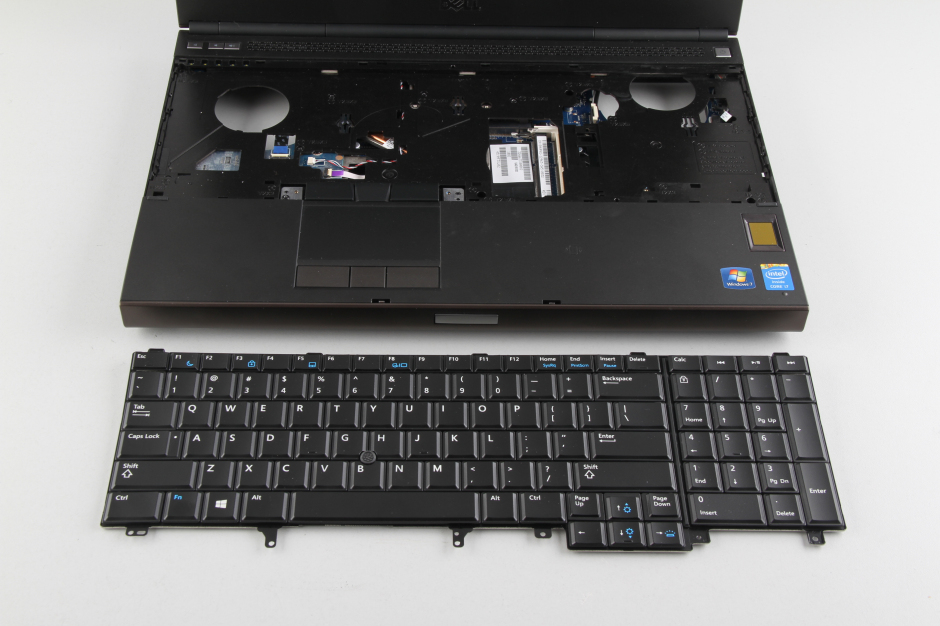
Lift up the keyboard and disconnect the keyboard cable and backlit cable.
Dell Precision M4800 backlit keyboard
Remove all screws securing the palm rest.
Pry up and remove the palm rest.
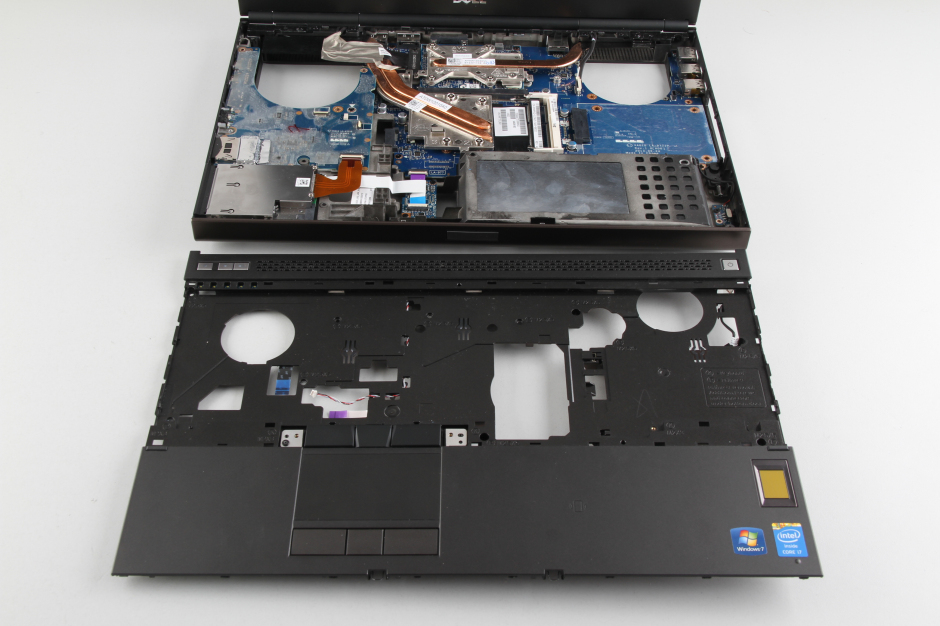
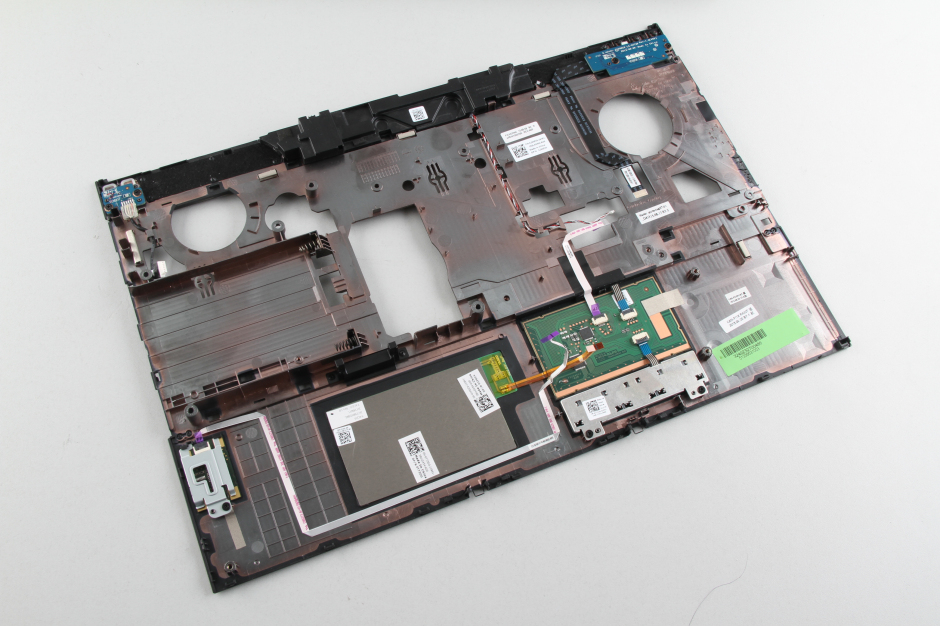
On the back of the palm rest, you can access the touchpad and two little boards.
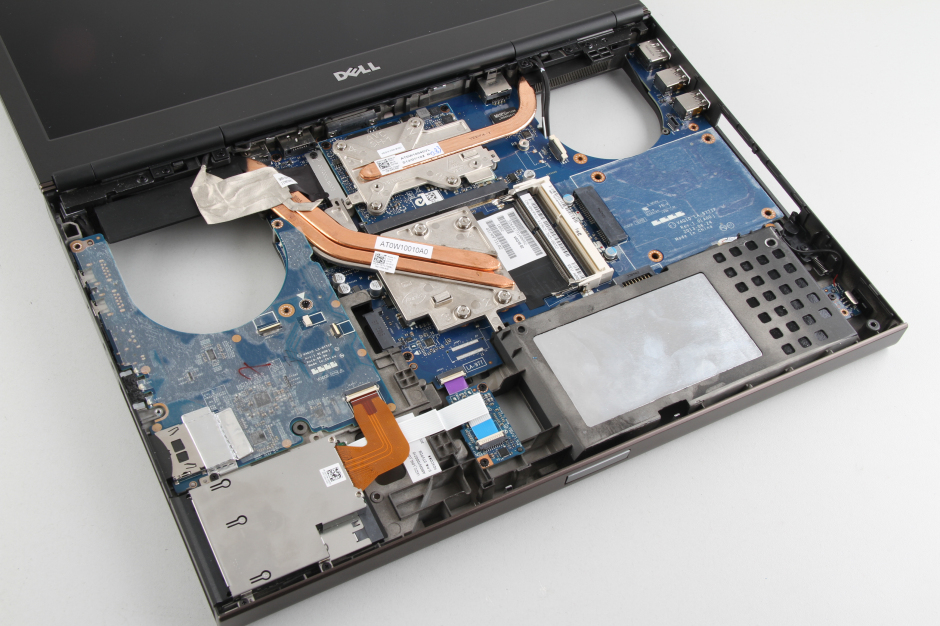
When the palm rest is removed, you can remove the heatsink and motherboard.



Excellent guide! I ordered a Precision 4800 partly because of its teardown ease, and it’s good to confirm that. I’ve disassembled many laptops, so I could probably have figured it out myself, but this is a very clear, well-photographed show. Thanks!
agree
It would be much more useful if arrows pointed out the locations of the various screws and added some tests to say how many screws there are in each step.
But your comments are very valuable.