As Dell’s high-end gaming laptop, the Dell G7 15 7588 boasts power performance, a high-definition screen, a cool appearance, and excellent heat dissipation. Today, let’s start the disassembly of the Dell G7 7588 to explore its internal structure.
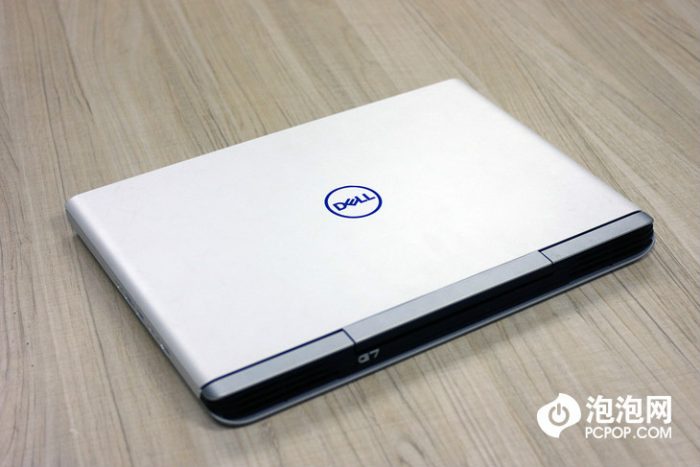
Before starting the disassembly, power off the laptop and disconnect the power cord.

There is only a screw found on the laptop’s back cover.

After taking out the back cover, its internal structure can be seen. The memory chip, the M.2 SSD, the 2.5-inch SATA HDD, and the wireless card are under the back cover. The user can upgrade and replace all these components. With this design on the back, it is more convenient for the user to get the laptop upgraded.

I will remove components one by one. First, remove the 56Wh battery. This laptop supports fast charge technology and can be fully charged quickly.

Next, remove the HDD. This HDD is made by Seagate. With a capacity of 1TB, it can meet user’s requirements for a large storage capacity.

It is the M.2 (SATA) SSD from Hynix, which has a capacity of 256GB. With this SSD, the user can store data and open the laptop faster.

The last one to be removed is the Intel 9560NGW dual-frequency wireless card. Its speed can reach up to 1.73Gbps. It supports 2.4GHz and 5GHz dual-frequency Wi-Fi and Bluetooth 5.0, which can bring the user a more stable wireless network experience and faster Bluetooth connection.

Now, remove all screws securing the middle frame. Take out four screws and disconnect clips on both sides, and then this component can be taken out.

This is the gaming laptop’s internal structure. The keyboard and the touchpad are placed on the top. The motherboard, other components, and the heat dissipation module are fixed in the middle frame. After taking out all the screws, we can see the motherboard.

Uncover the shield sticker on the back of the motherboard. The chipset integrated into the motherboard can be seen.


Hi, very interesting you unbuilt of the laptop. I have a question: Is the heatsink on this pure copper, or does it just have a layer of copper on the aluminum pipes? I want to use liquid metal on mine later, but I heard there is a risk of corroding into the aluminum. It would be nice to know that. By the way, do you plan on using liquid metal on yours? What conformal coating is recommended for this job? Thank you
I’m also waiting for that answer! Have you found out?
Also waiting on this detail