Recently, Lenovo released a new product in its ThinkPad T series, the ThinkPad T470. As a classic business laptop, the laptop has the same exterior design as other ThinkPad T series laptops. Today, we will disassemble the ThinkPad T470 to explore its internal structure and workmanship.
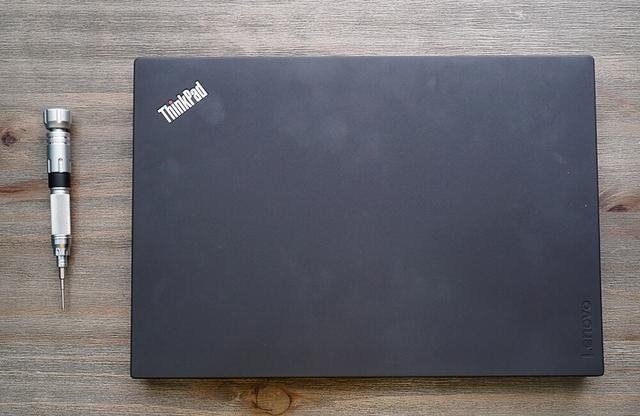
Many users consider ThinkPad to be a representative brand of durable laptops. This is not only because they rate the workmanship and material quality of the ThinkPad series very highly, but also because users can easily replace the broken parts and accessories themselves.
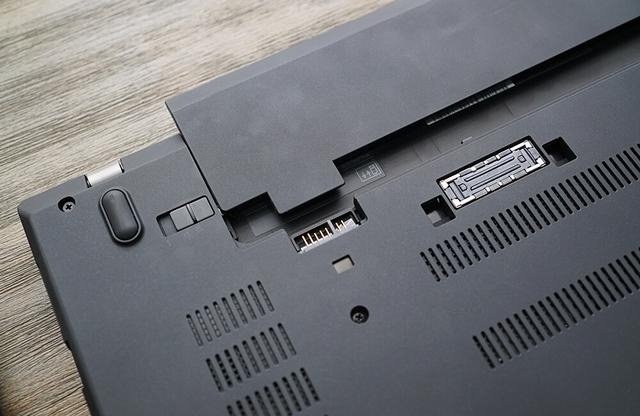
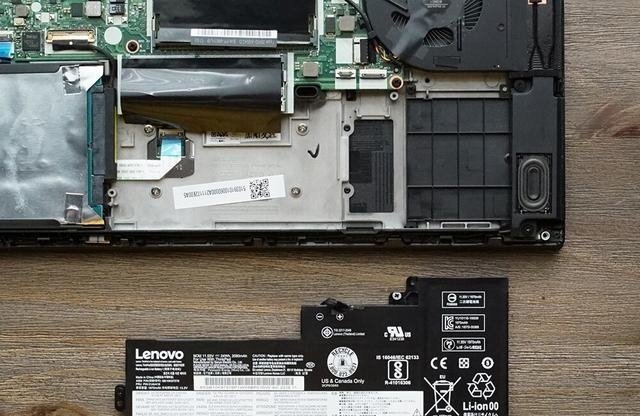
The disassembly process of the ThinkPad T470 is not difficult. First, remove the battery from the laptop.
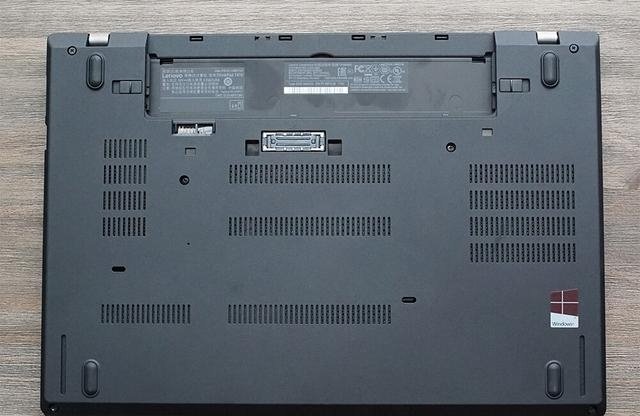
Then, we can directly disassemble the device. Removing the six screws at the bottom allows you to take off the bottom cover of the ThinkPad T470.
After removing the screws on the bottom cover, the back cover cannot be separated from the laptop body. Next, use a metal pry tool to open the back cover along the edges.
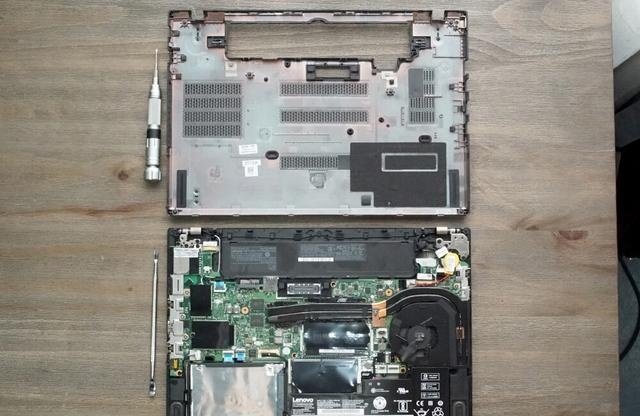
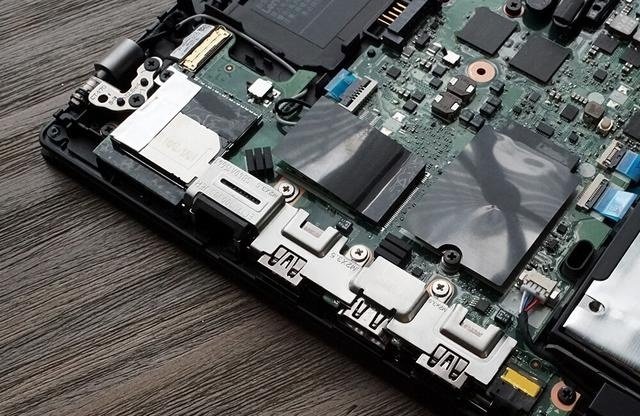
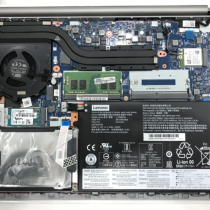
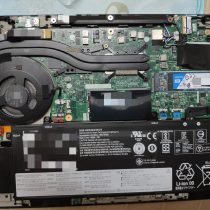
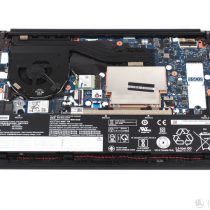
The ThinkPad T470 continues the signature internal layout design of the ThinkPad T series. The left side is the heat dissipation area, which is mainly responsible for cooling the CPU and graphics card. The battery, two memory slots, and a 2.5-inch hard drive are all located at the bottom.
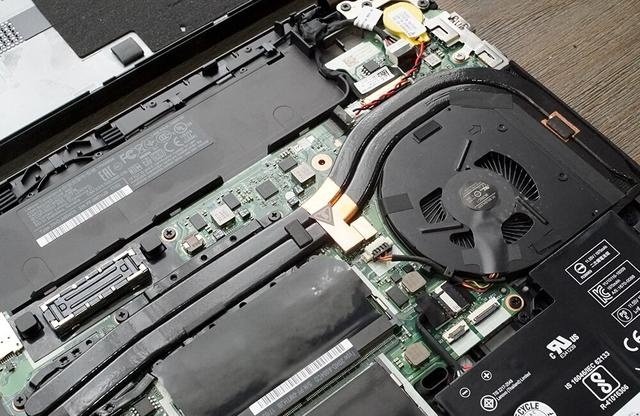
The CPU and GPU share the same dual heat pipe and ultra-thin heatsink.
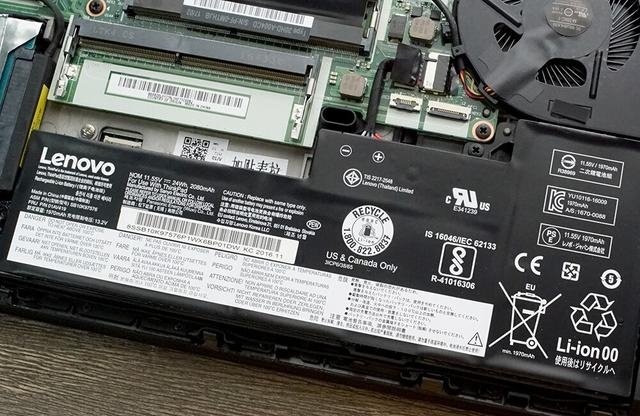
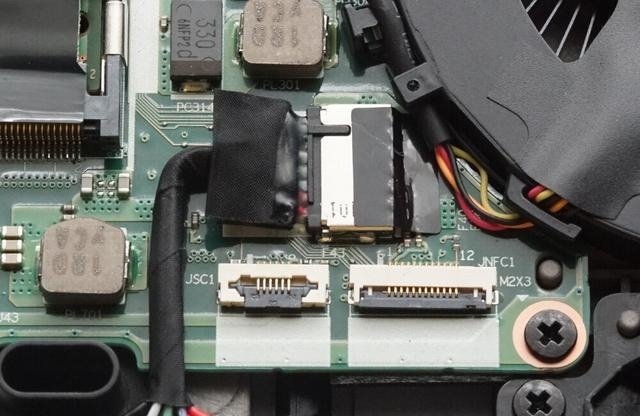
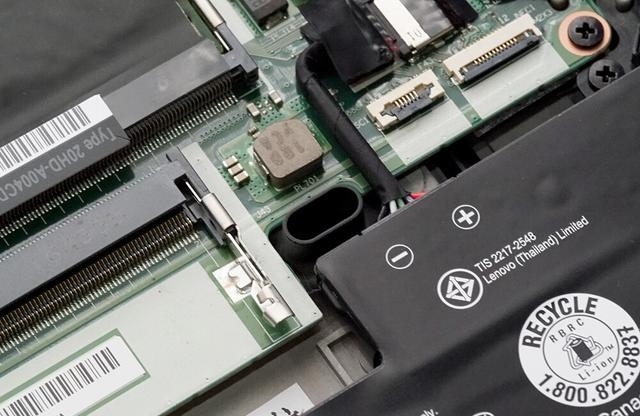
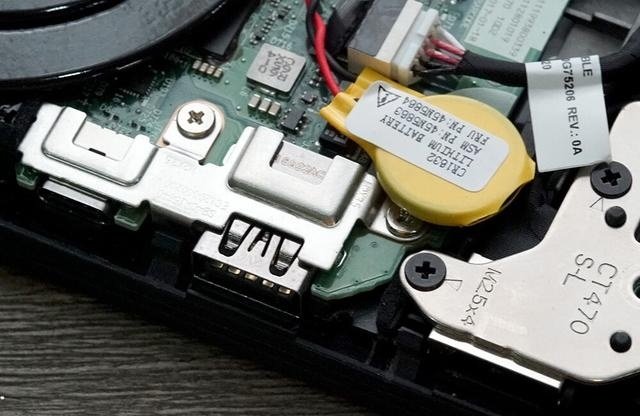
This laptop comes with a 24Wh battery. When removing it, please disconnect the battery connector to avoid short circuits or other issues.
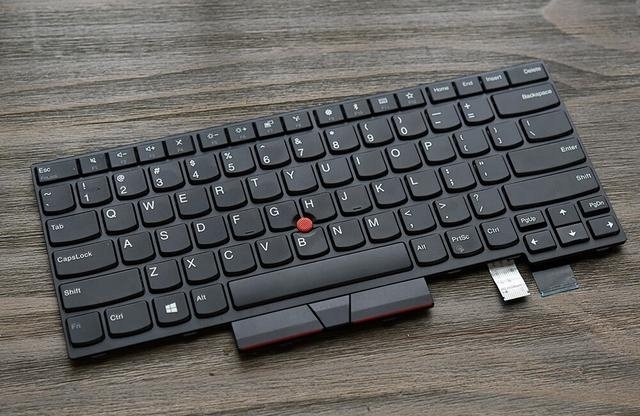
The laptop has two holes with diversion functions that can physically isolate circuit contact. Therefore, users need not worry when liquid is spilled on the keyboard.
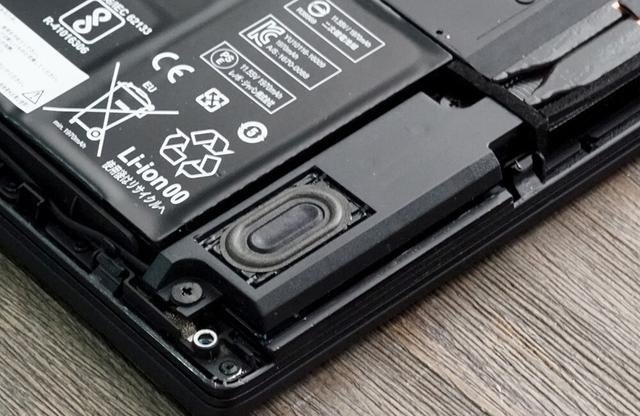
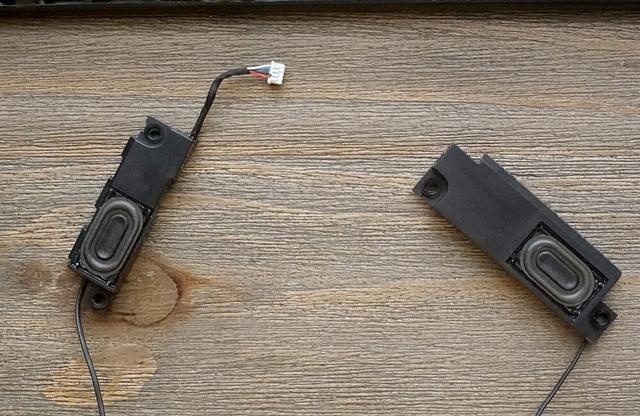
With a speaker unit on both sides, the ThinkPad T470 undoubtedly brings excellent sound quality.
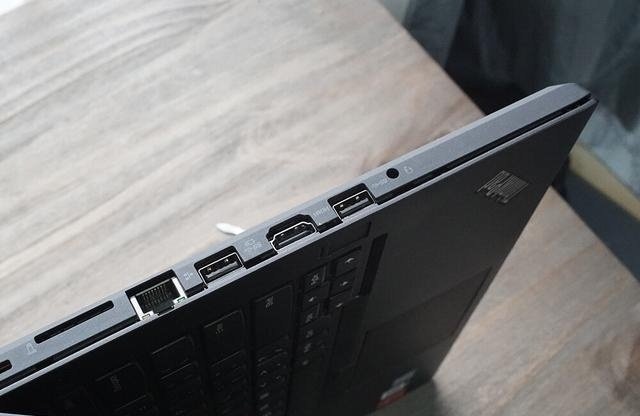
The IO ports on the two sides have been well protected.
This laptop has two memory slots, but only one 8GB memory module is installed. We recommend that users add an 8GB DDR4 memory stick or two 16GB DDR4 memory sticks.
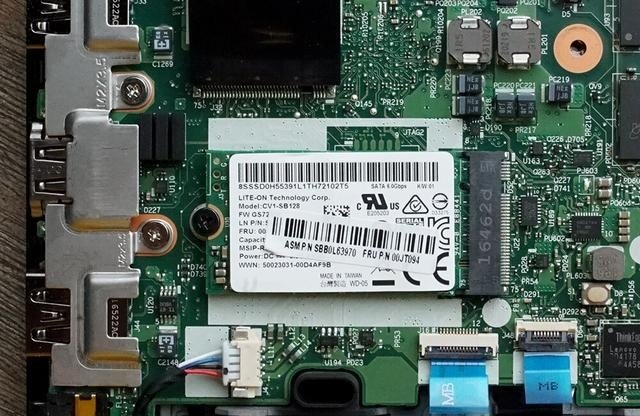
This laptop features an M.2 SSD with a 2240 form factor. Therefore, when replacing the drive, users must use a new SSD with the same specifications as the original SSD

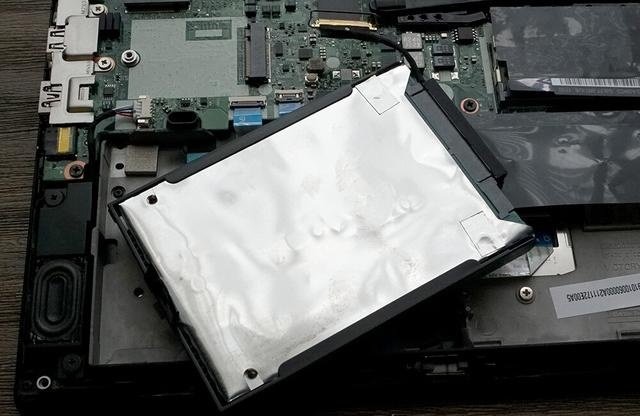
In addition to the SSD, it also comes with a 2.5-inch mechanical hard drive. The advantage of the mechanical hard drive is its large capacity, data stability, and low price. This hard drive is protected by ThinkPad’s APS system.
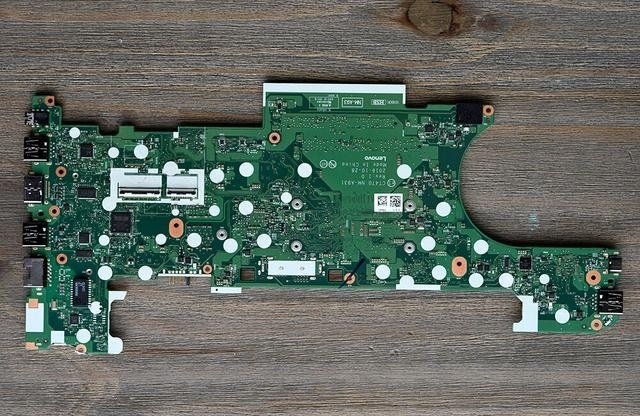
The two sides of the ThinkPad T470 motherboard.
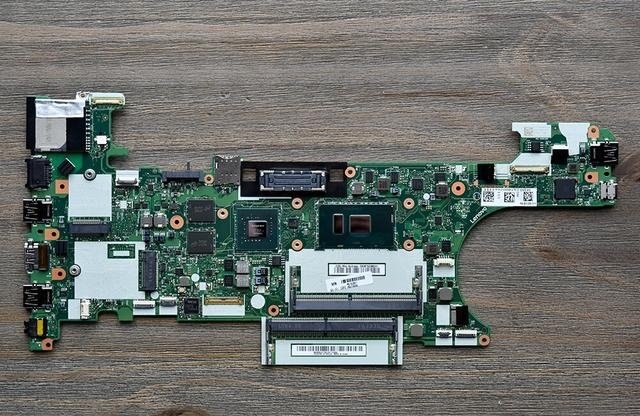
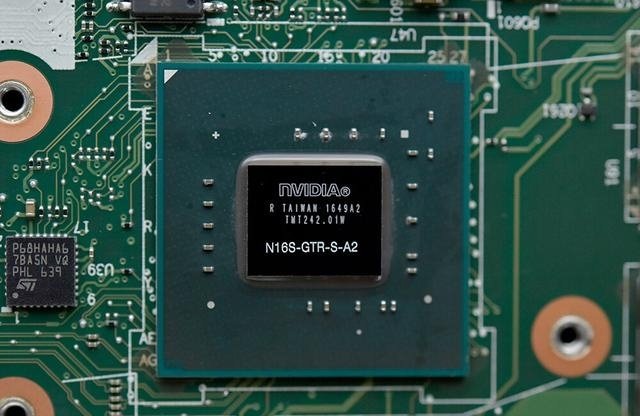
The 7th-generation Intel i5-7200U processor is directly soldered onto the motherboard, so it cannot be removed. At the same time, the GPU 940MX is also directly soldered onto the motherboard and features two GDDR5 memory chips.

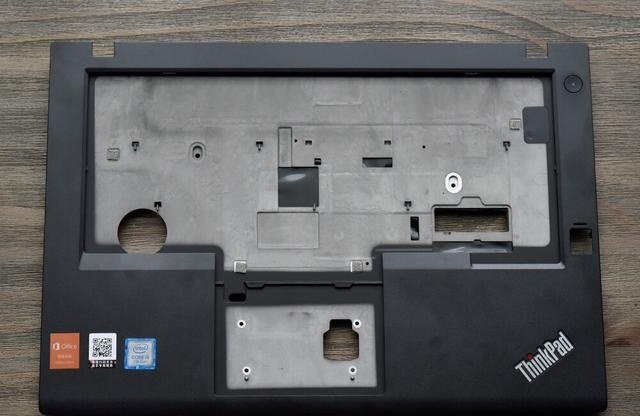
The T470 has a sturdy mold, which is one reason for its durability.
This keyboard does not come with backlighting, but users can replace it with a backlit keyboard if desired. The keyboard also provides an excellent tactile experience.
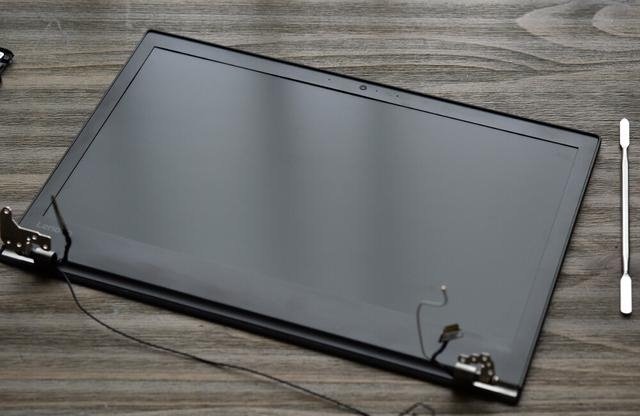
Close-up of the display assembly
This is the complete disassembly process of the ThinkPad T470. We have to admit that this laptop has excellent and durable craftsmanship. There is no doubt that the ThinkPad T series has won widespread popularity for its outstanding durability and high-quality materials.

Hello, can I install a 512 GB M.2 SSD?
Dear Kylie, Thank you for your guide. Can you tell me whether it is difficult to remove the flat cables from the power button and the trackpad without damaging them? These are glued to the bezel with double-sided adhesive tape. Thank you for the reply. Best regards, Otto
You only need to uncover it carefully, and it will not damage the cable.
Thank you for the details on the disassembly process. It was very useful.