Dell Vostro 15 7570 was released in September this year. This product is easily competent whether at home or in the office, processing documents, watching videos, or playing games. To better understand it, we will disassemble the Dell Vostro 15 7570 to explore its internal structure. Let’s take a look at disassembly.
Teardown is what we do! Follow us on Facebook for the latest repair news.
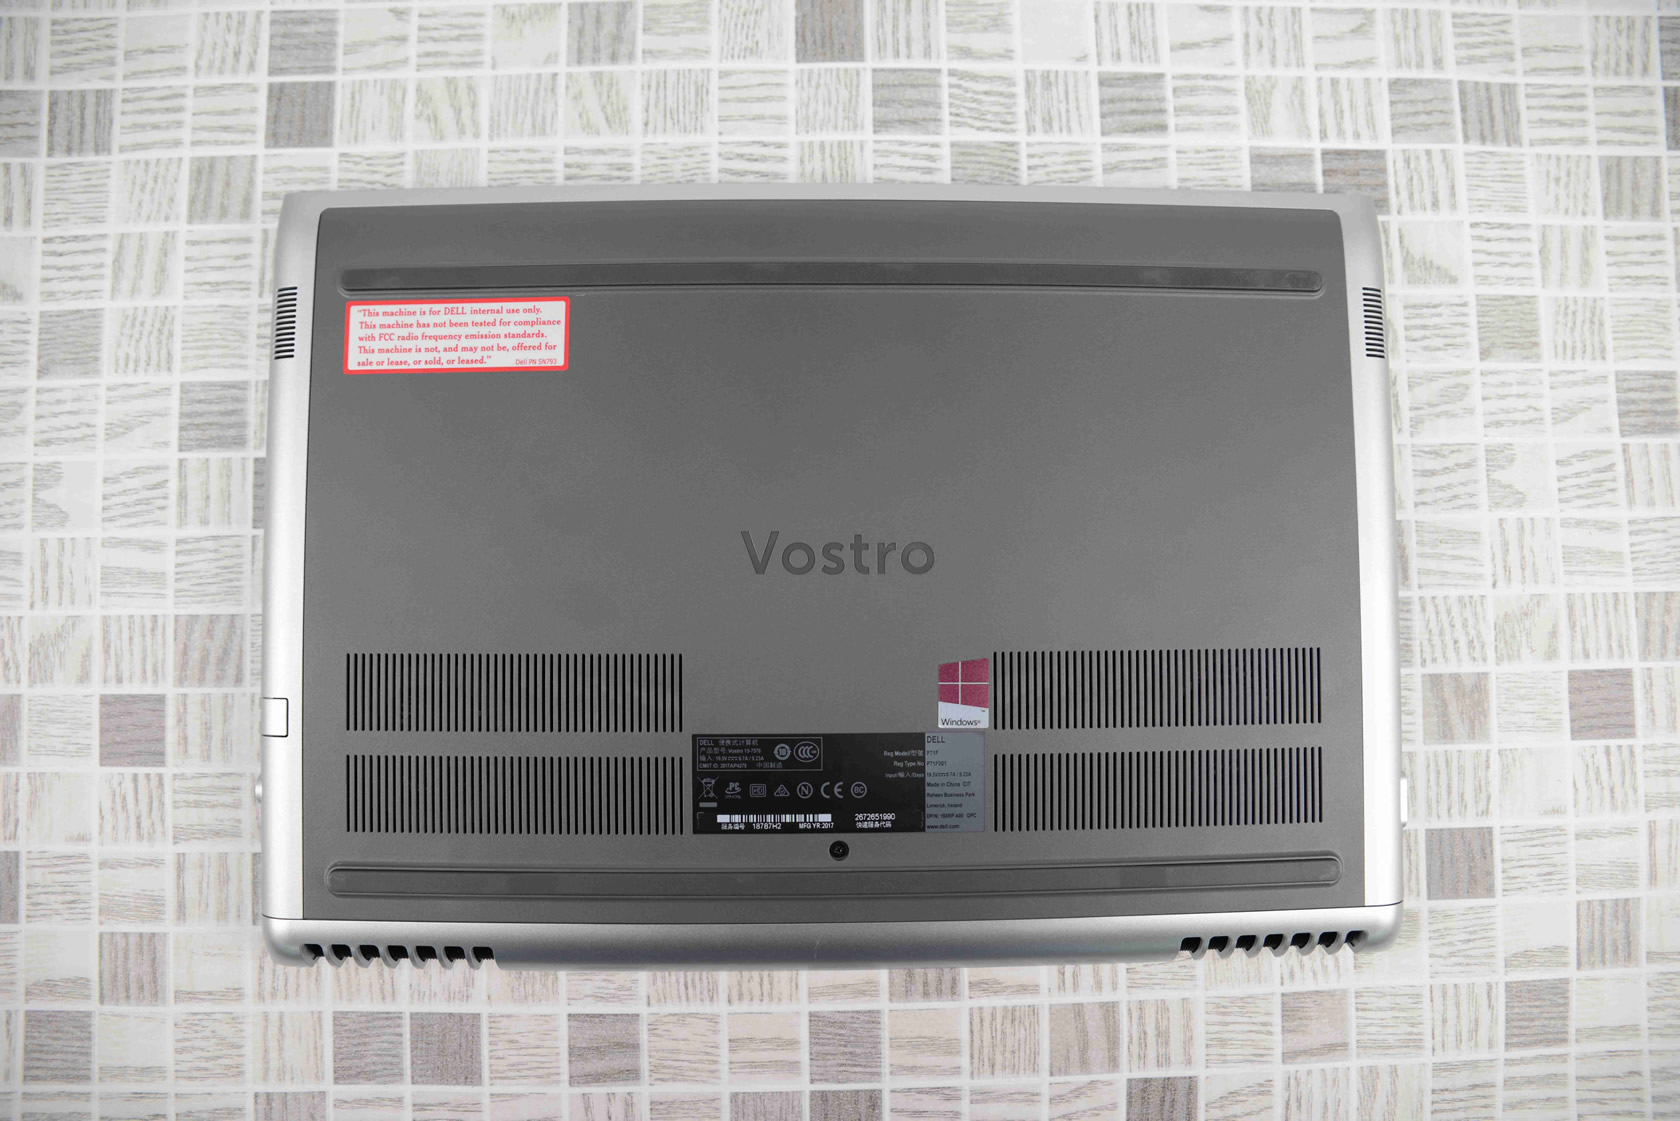
The first thing to do is to remove the screws securing the bottom cover. Because there are a lot of snaps securing the bottom cover of the laptop, we need to use a pry bar to release the snaps. After removing the bottom cover, we can see the internal structure of this product.
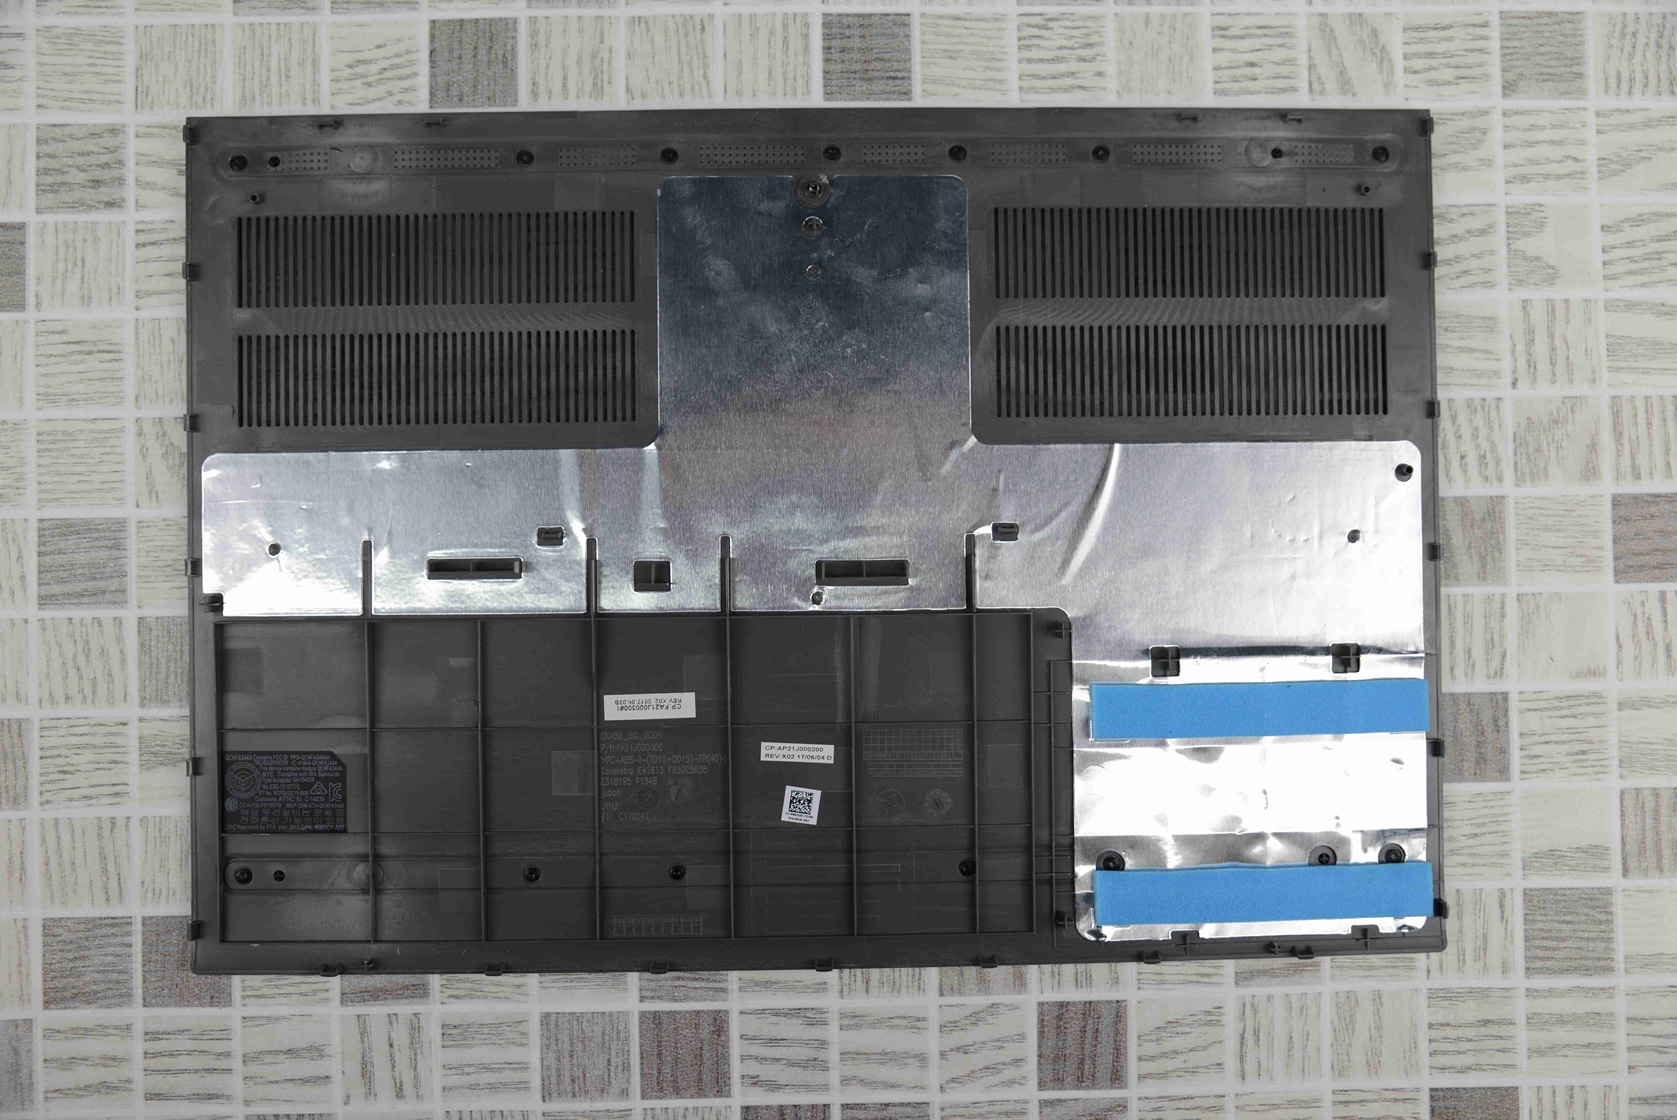
The back cover has two sponge cushions, which protect the hard disk and prevent shock from damaging it.
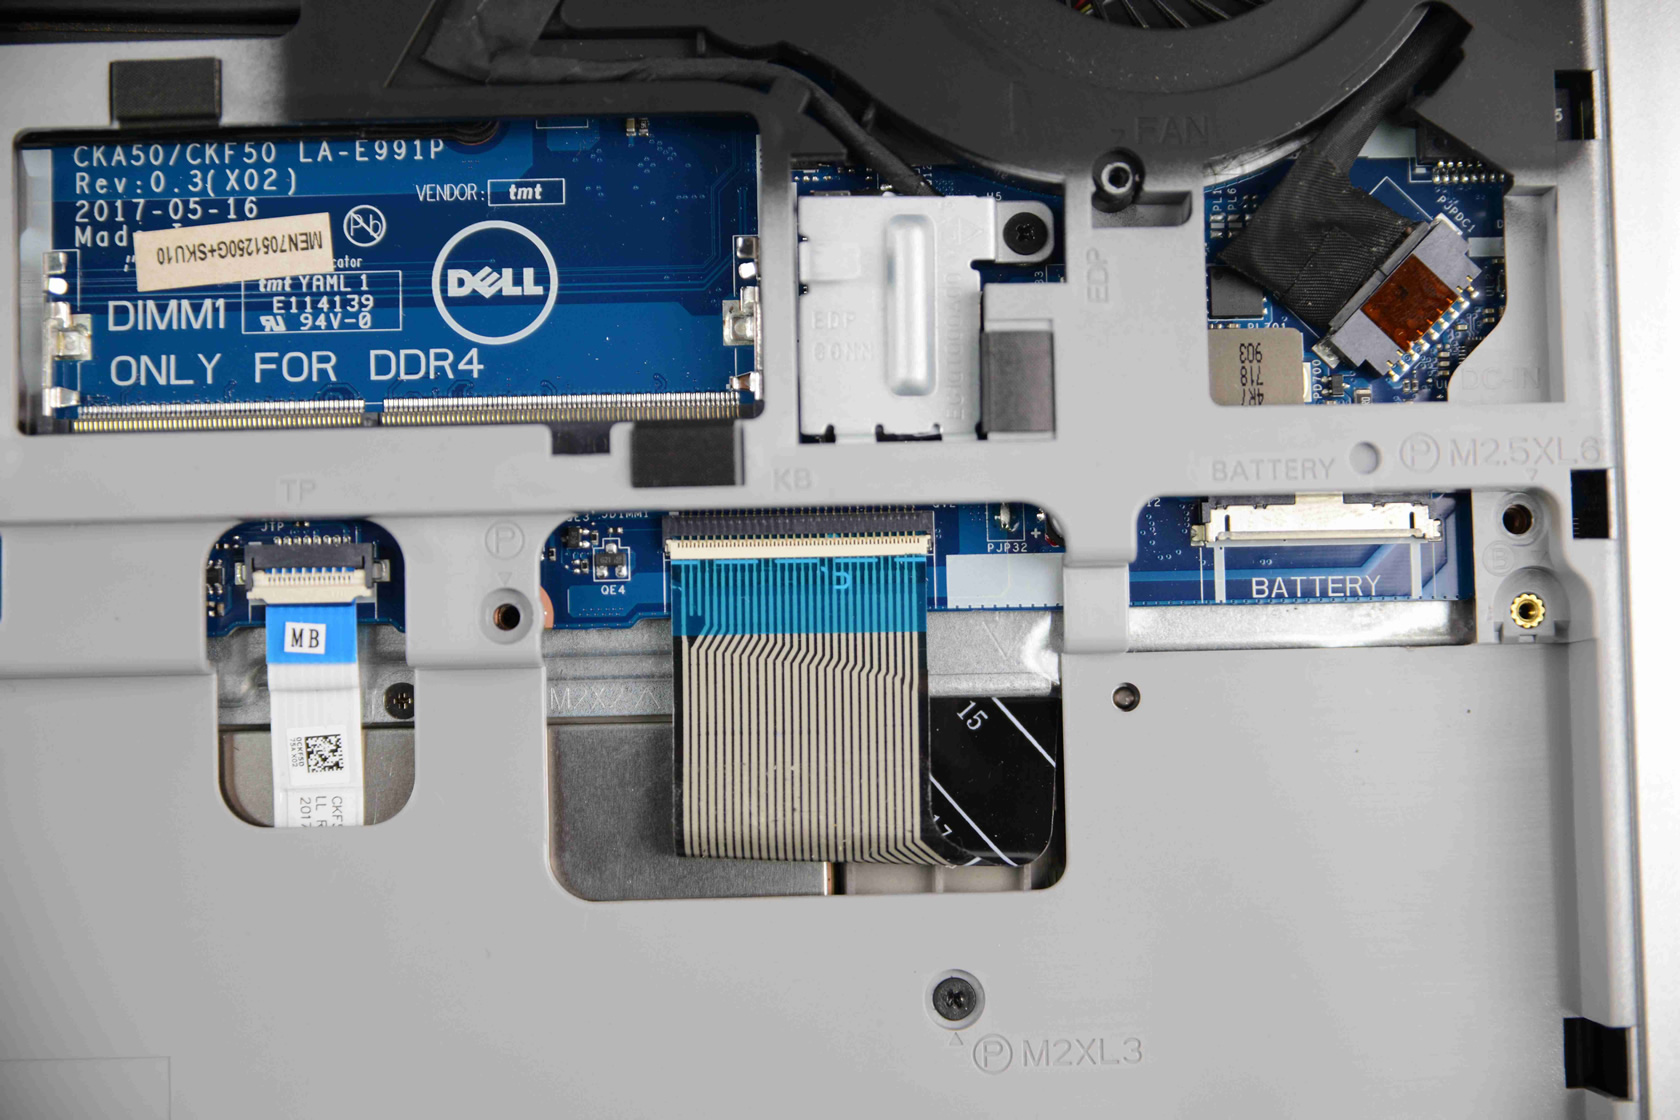
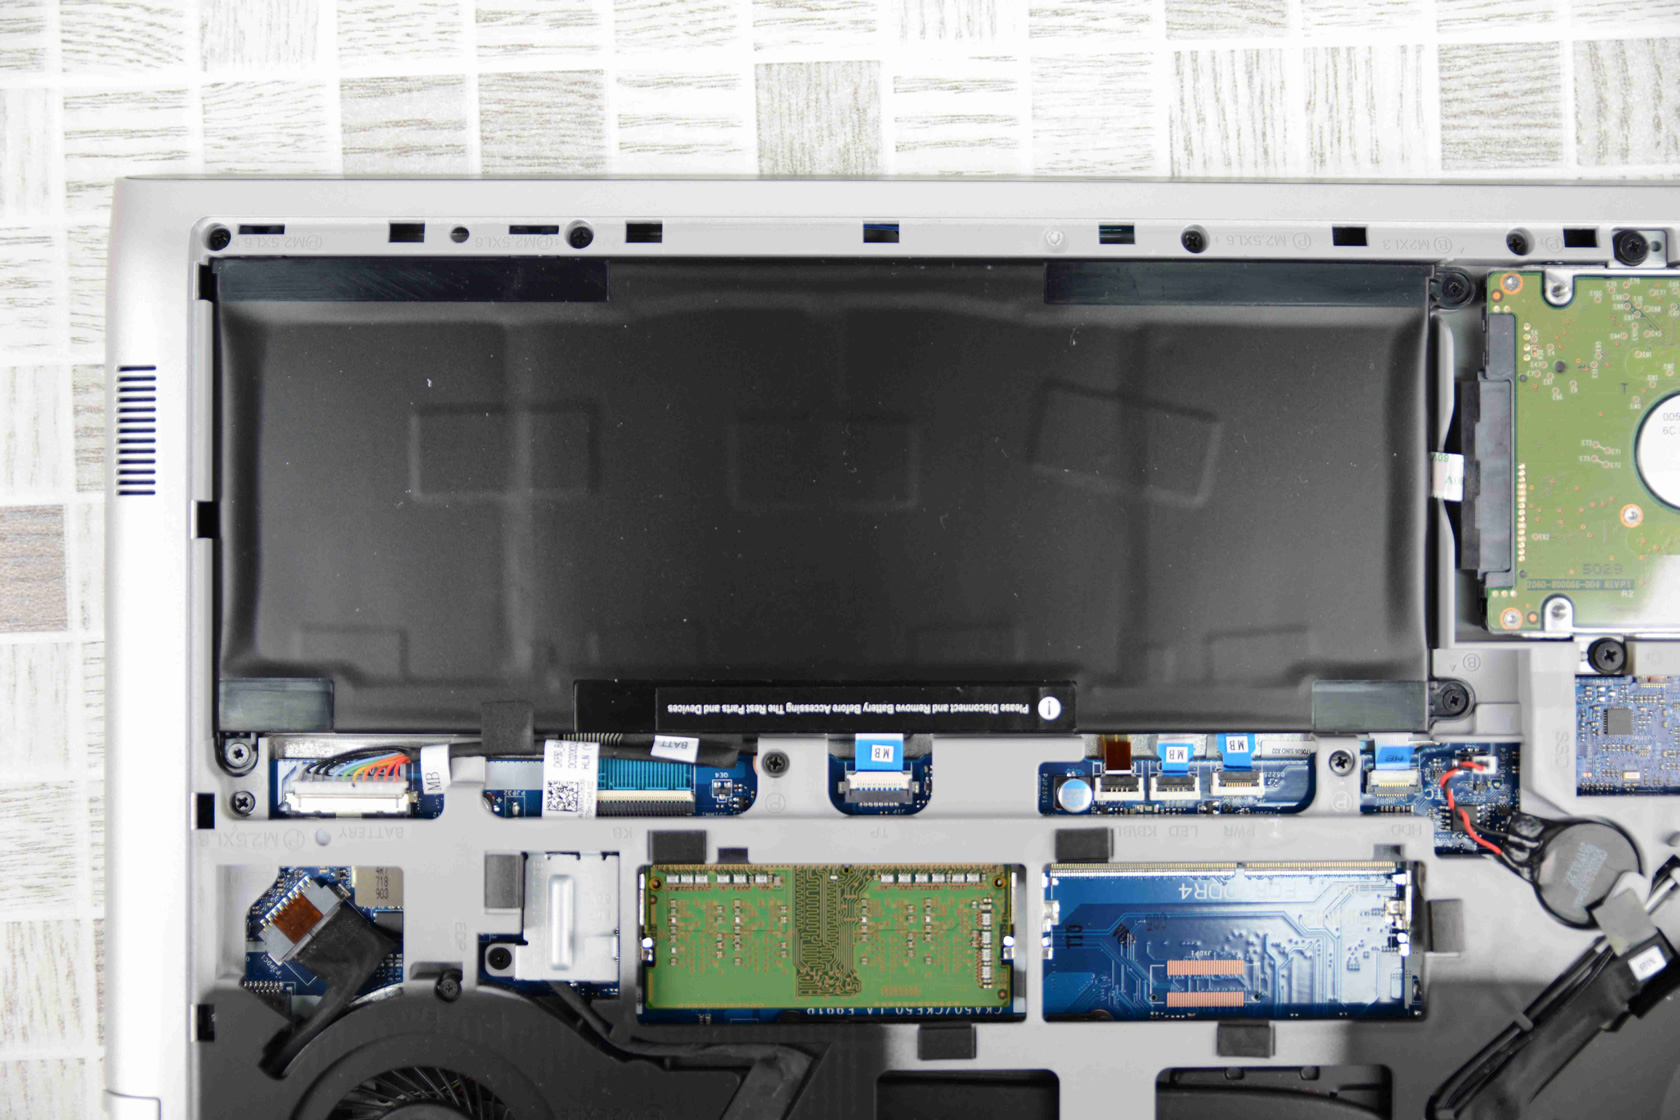
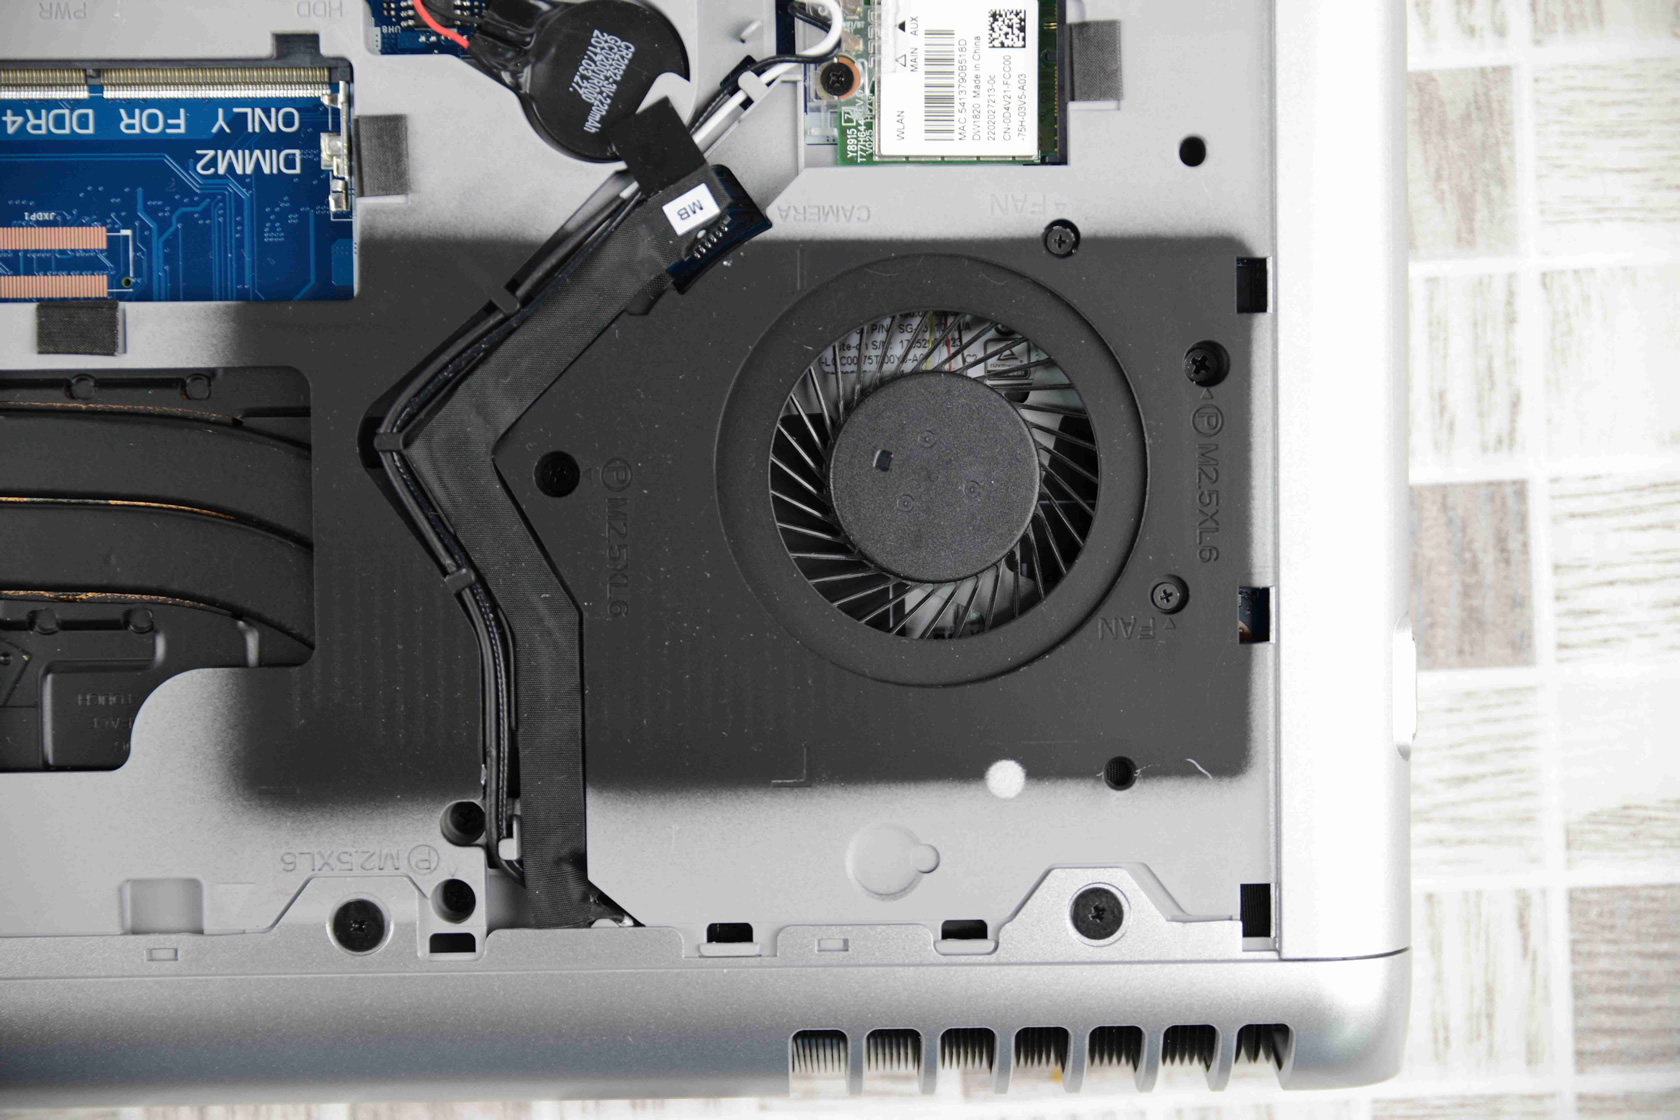
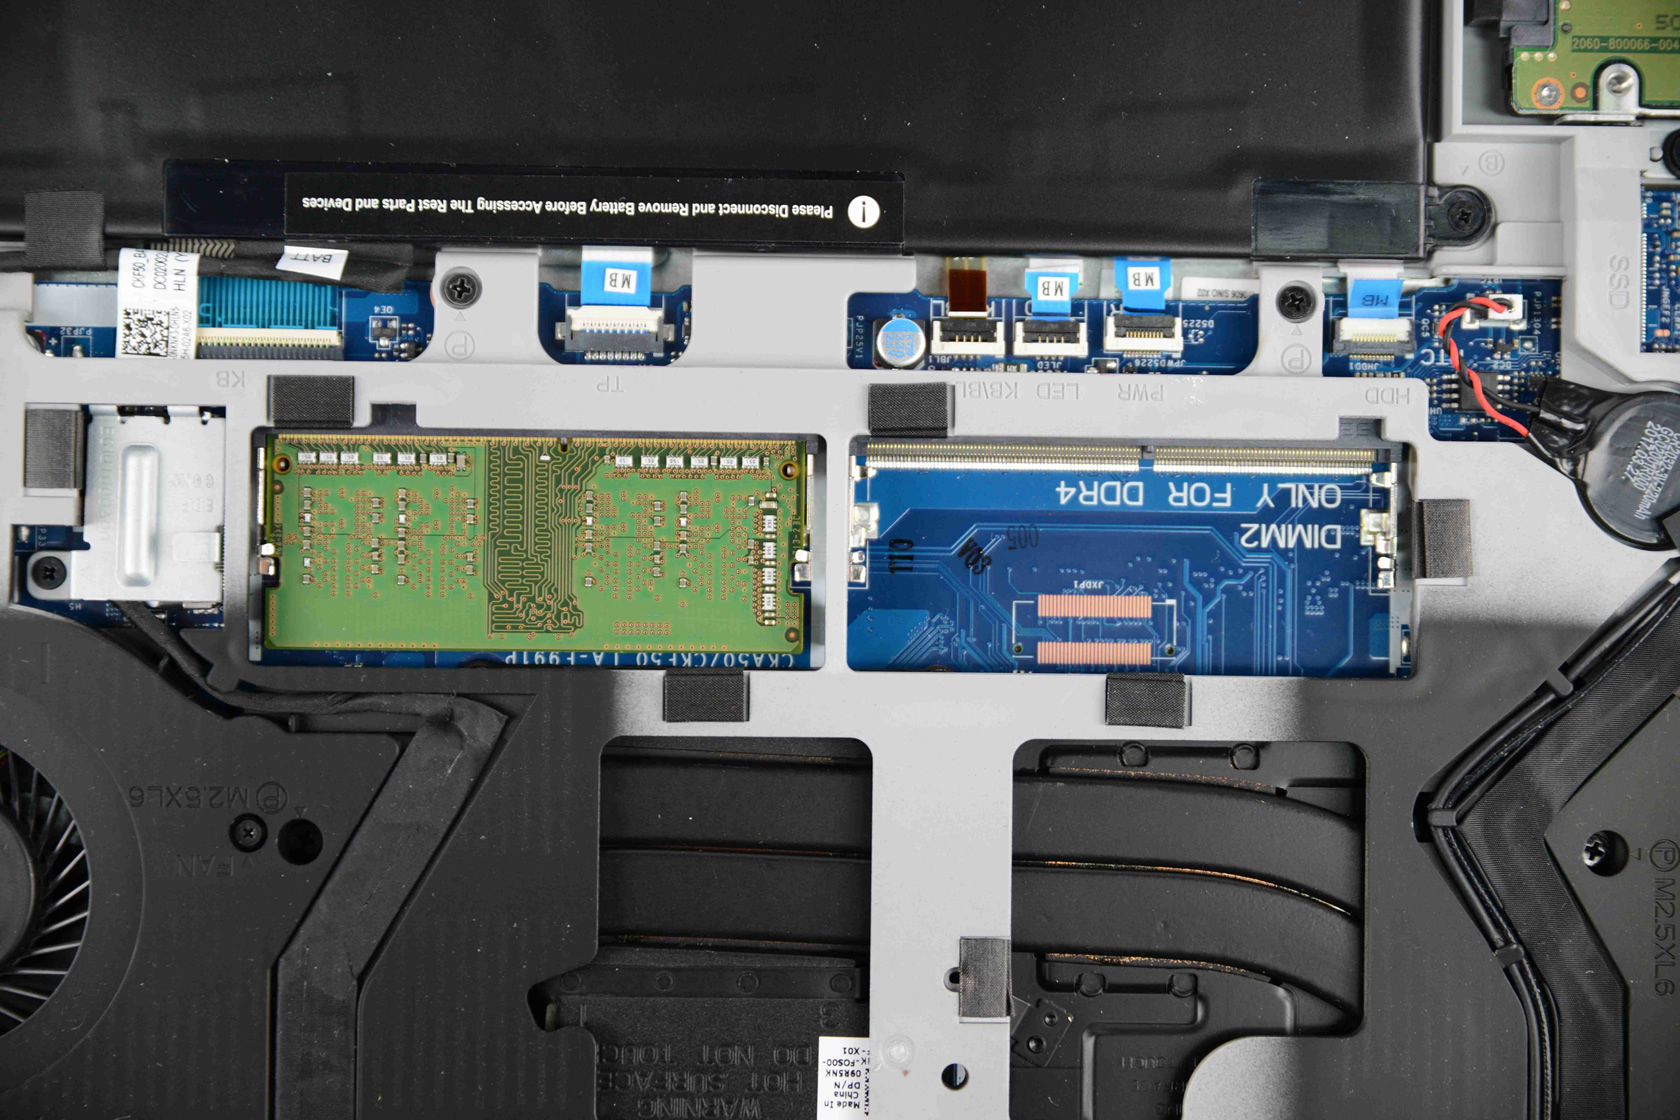
After removing the bottom cover, we can see its internal structure. The overall design is outstanding, and the layout is very reasonable. It has a dual copper pipe, dual cooling fan design, M.2 SSD, dual memory slots, a built-in battery, and a hard disk. Users can easily replace the SSD, hard drive, and memory.
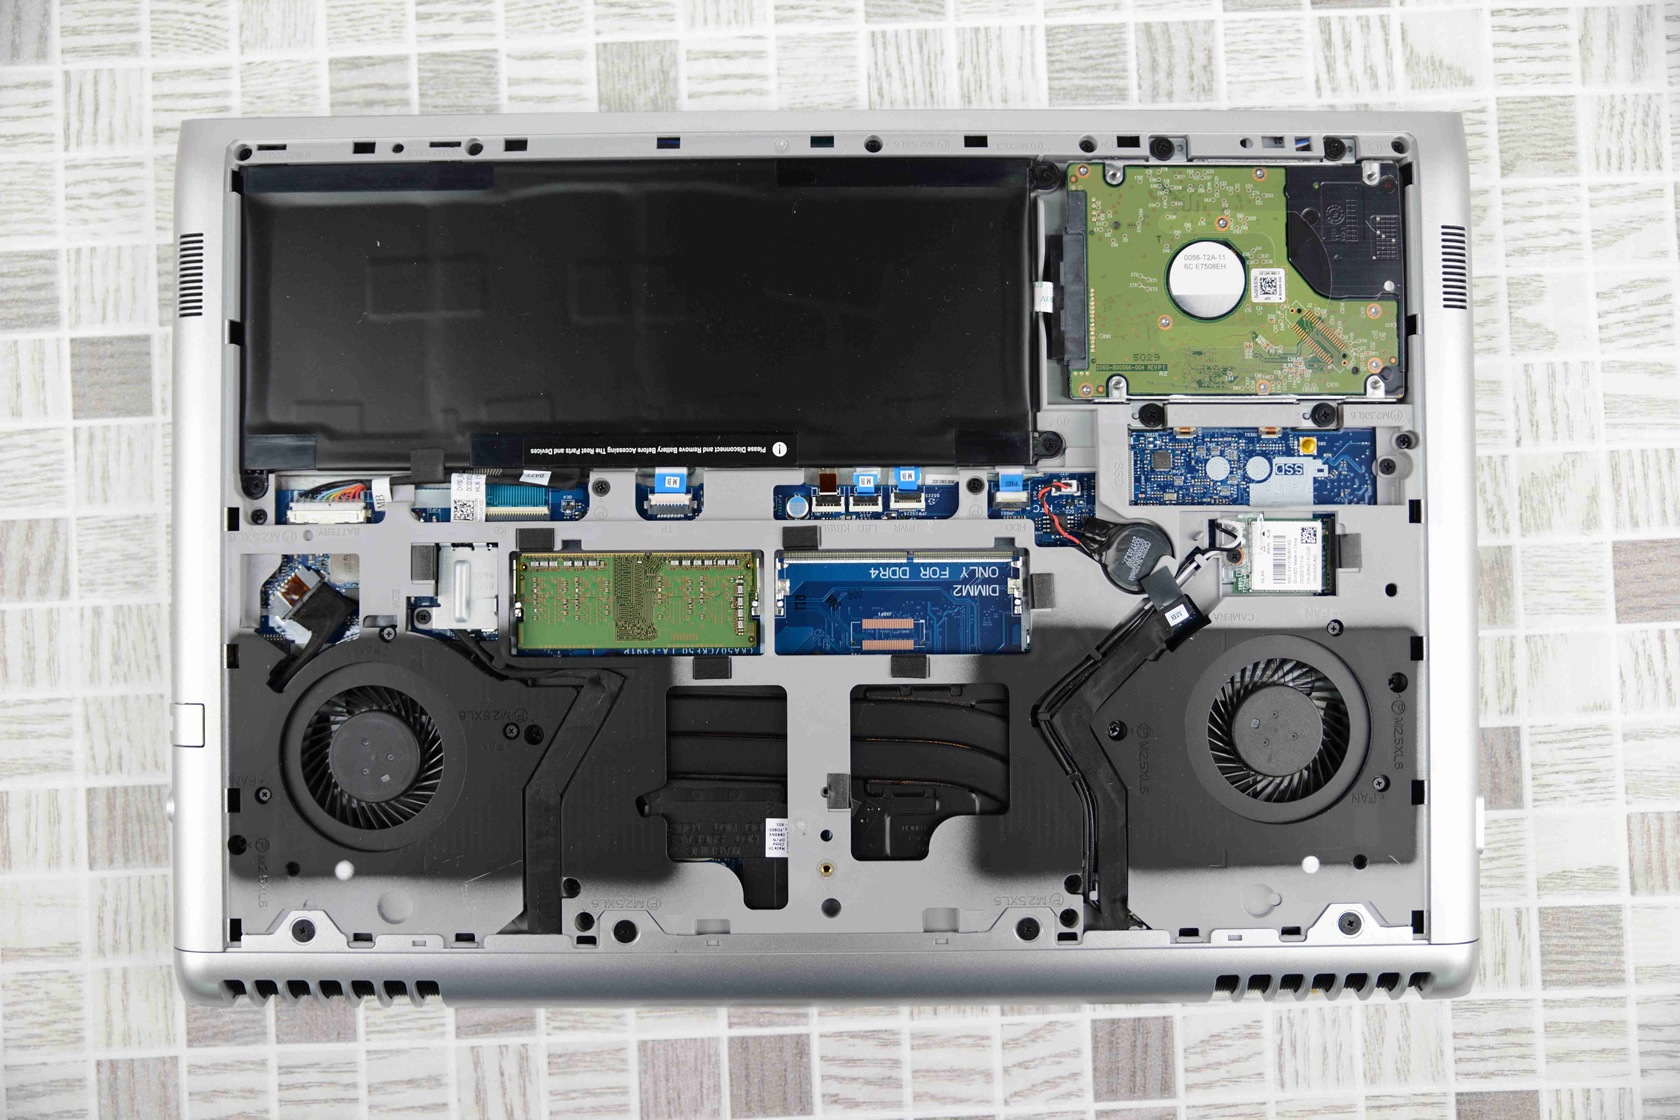
Before continuing our disassembly work, we need to disconnect the battery connector from the motherboard.
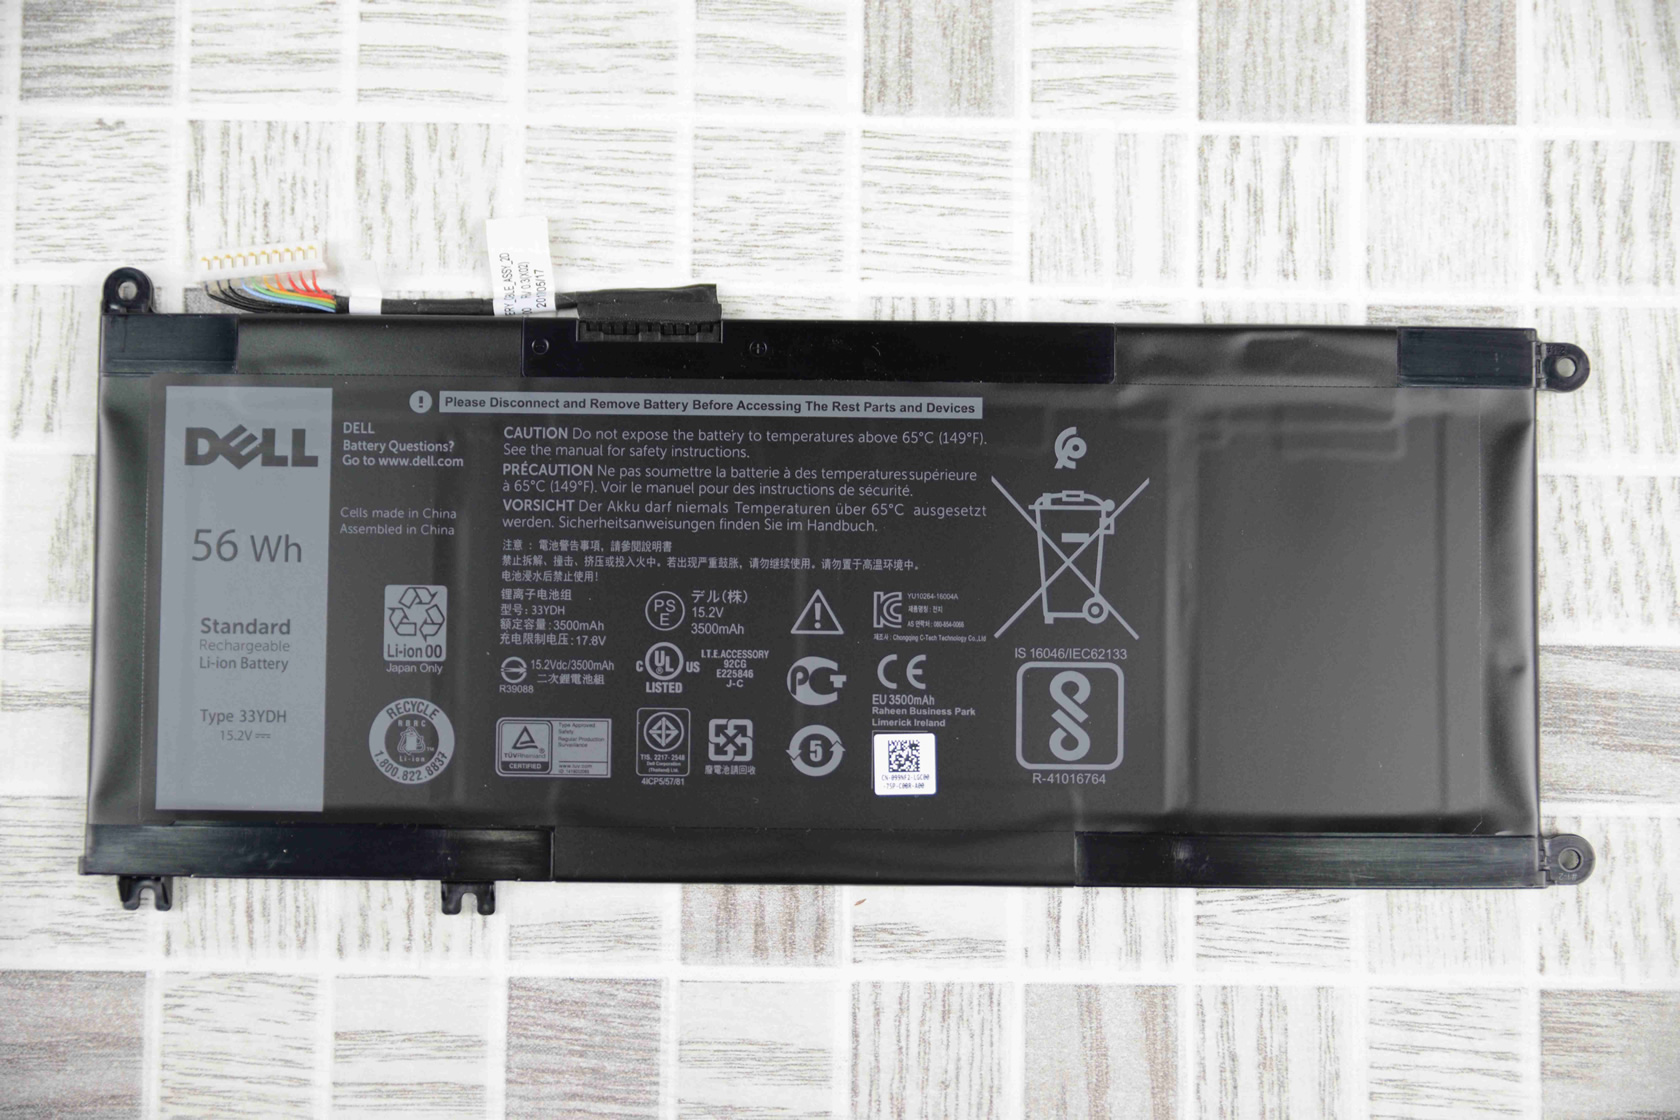
It comes with a 15.2V, 56Wh Li-ion battery, Dell P/N: 33YDH
Dell Vostro 15 7570 also supports fast charging technology, charging 30 minutes from 0% to 35%.
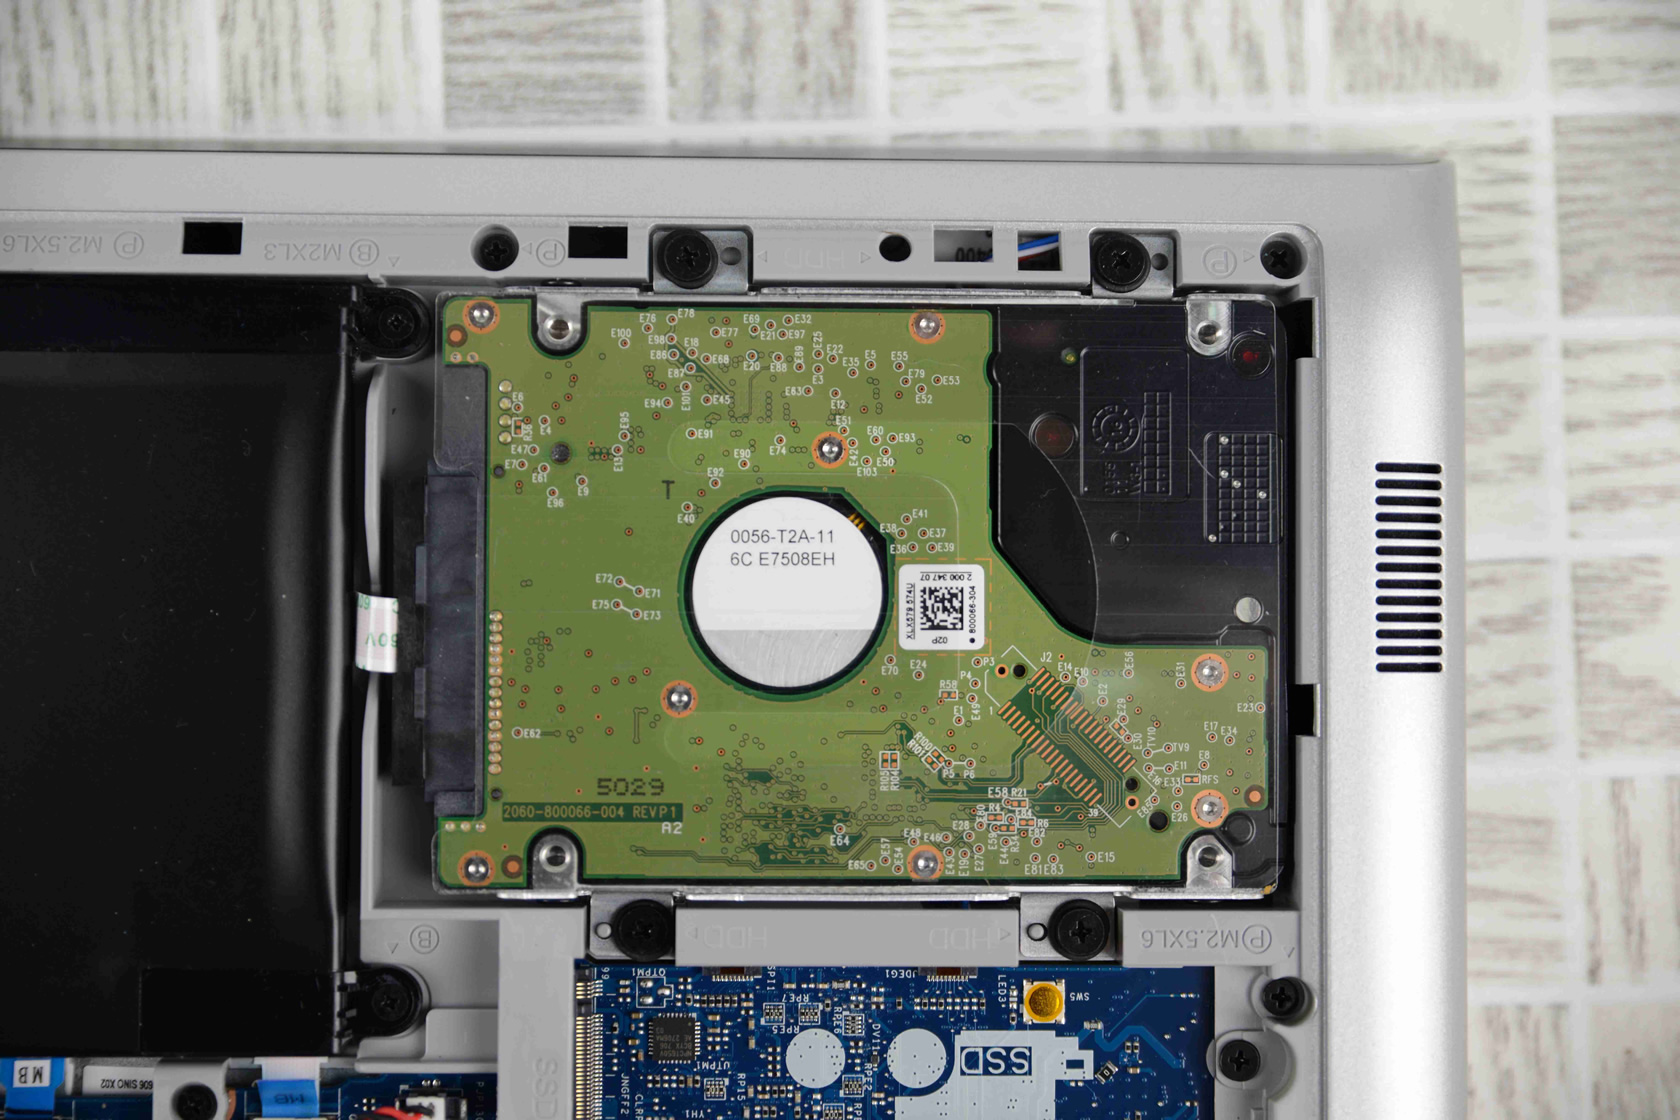
Remove the four screws. You can easily remove the hard disk module.
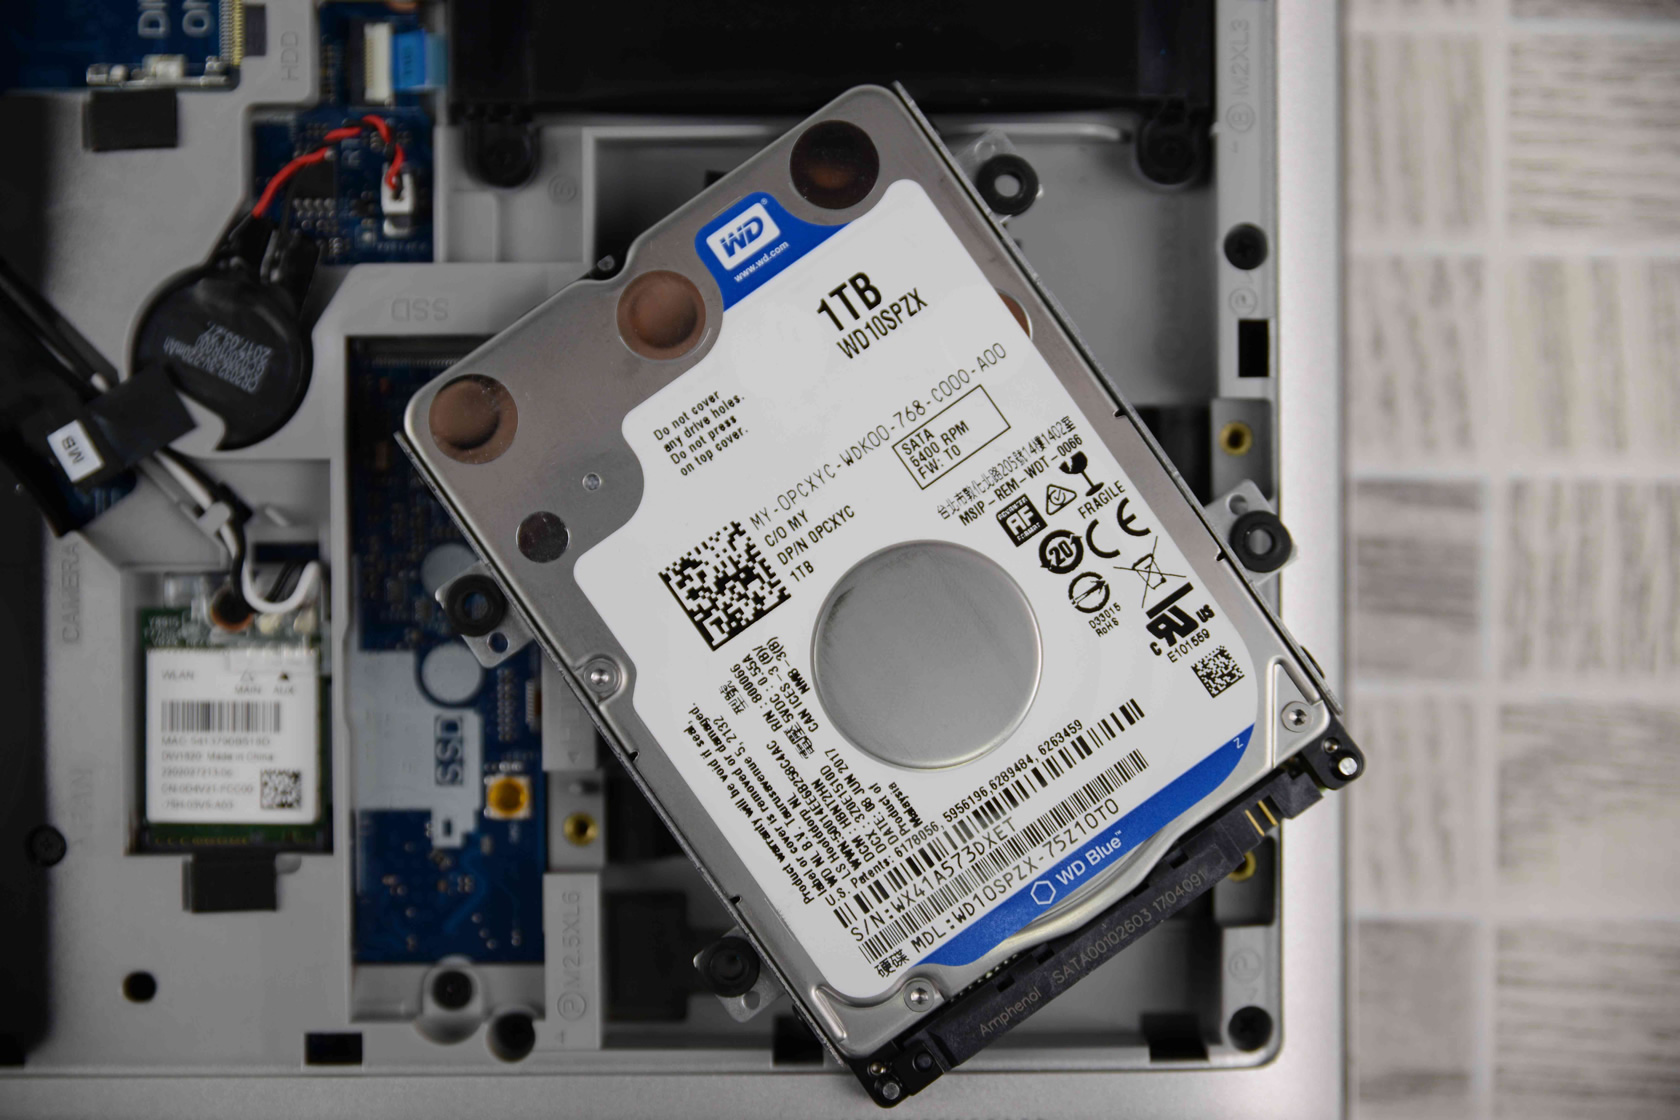
The laptop comes with a WD 1TB 5400RPM hard drive.
In addition to the CPU and GPU, the graphics card‘s flash memory chips, power capacitors, and motherboard chipsets are covered by the heat sink, and the cooling system design is perfect.
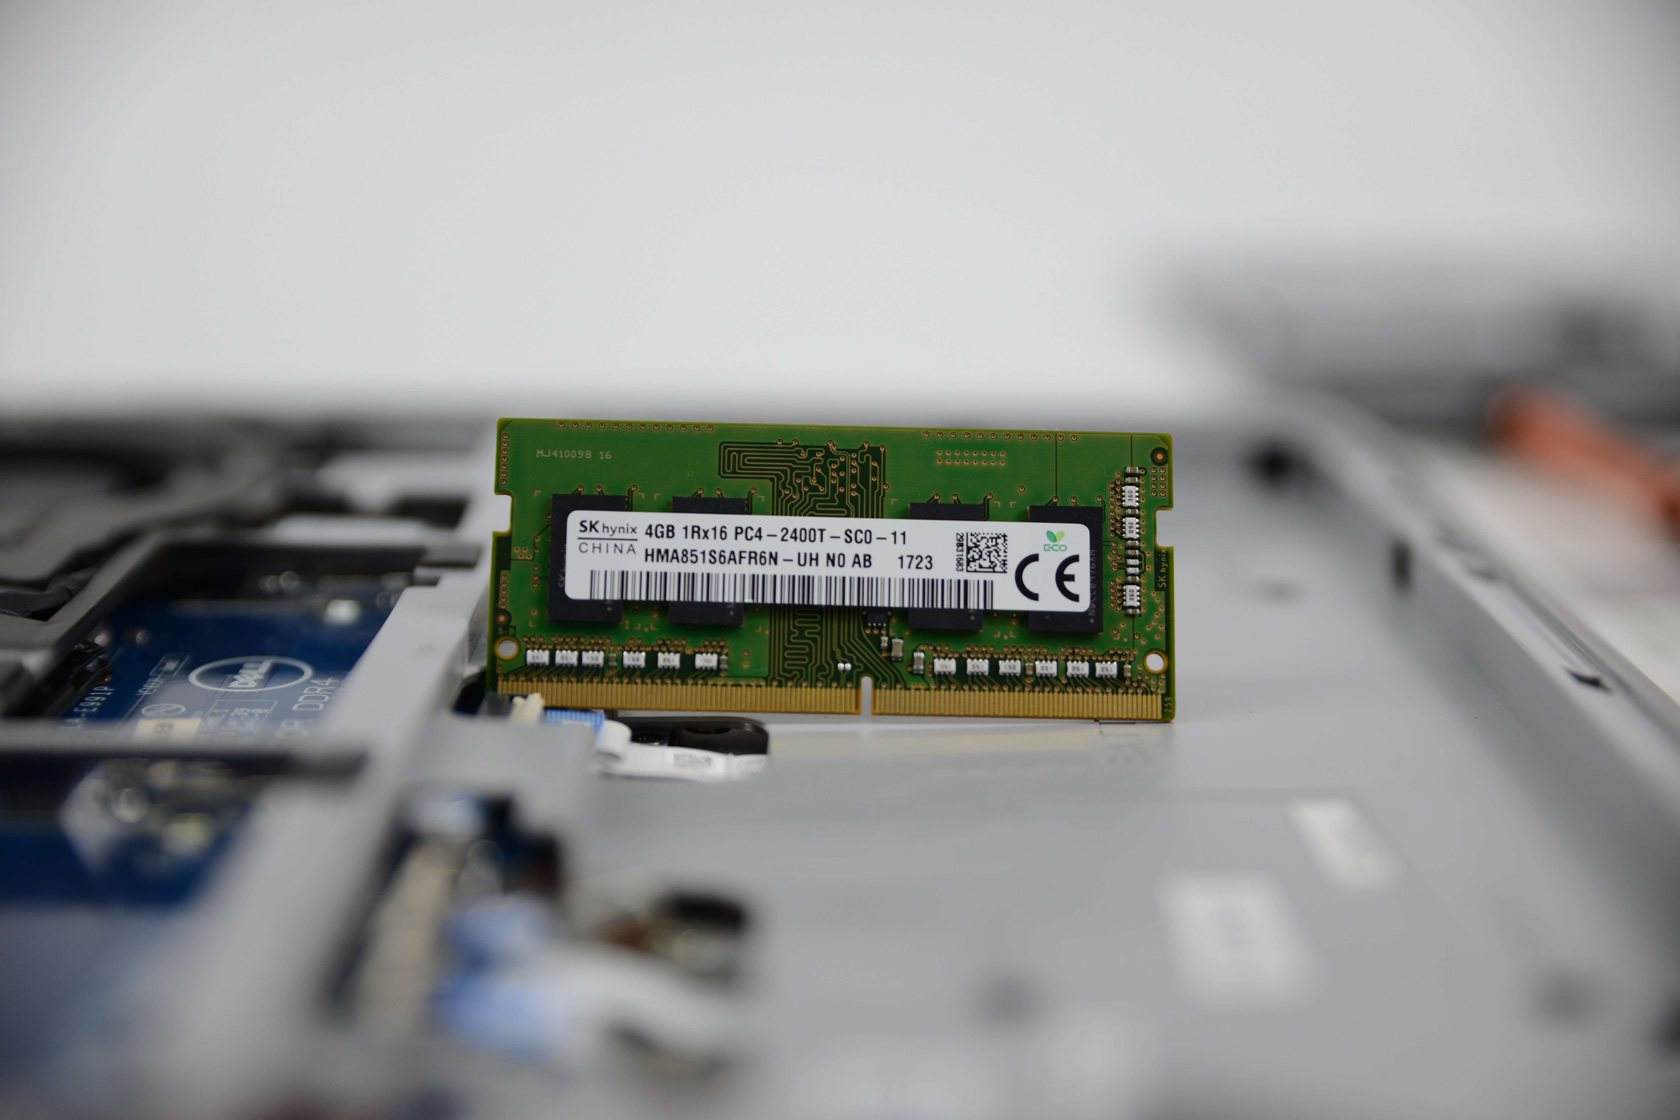
The laptop has two RAM slots and only has an SK Hynix 4GB DDR4-2400 MHz RAM. It supports up to 32GB DDR4 RAM.
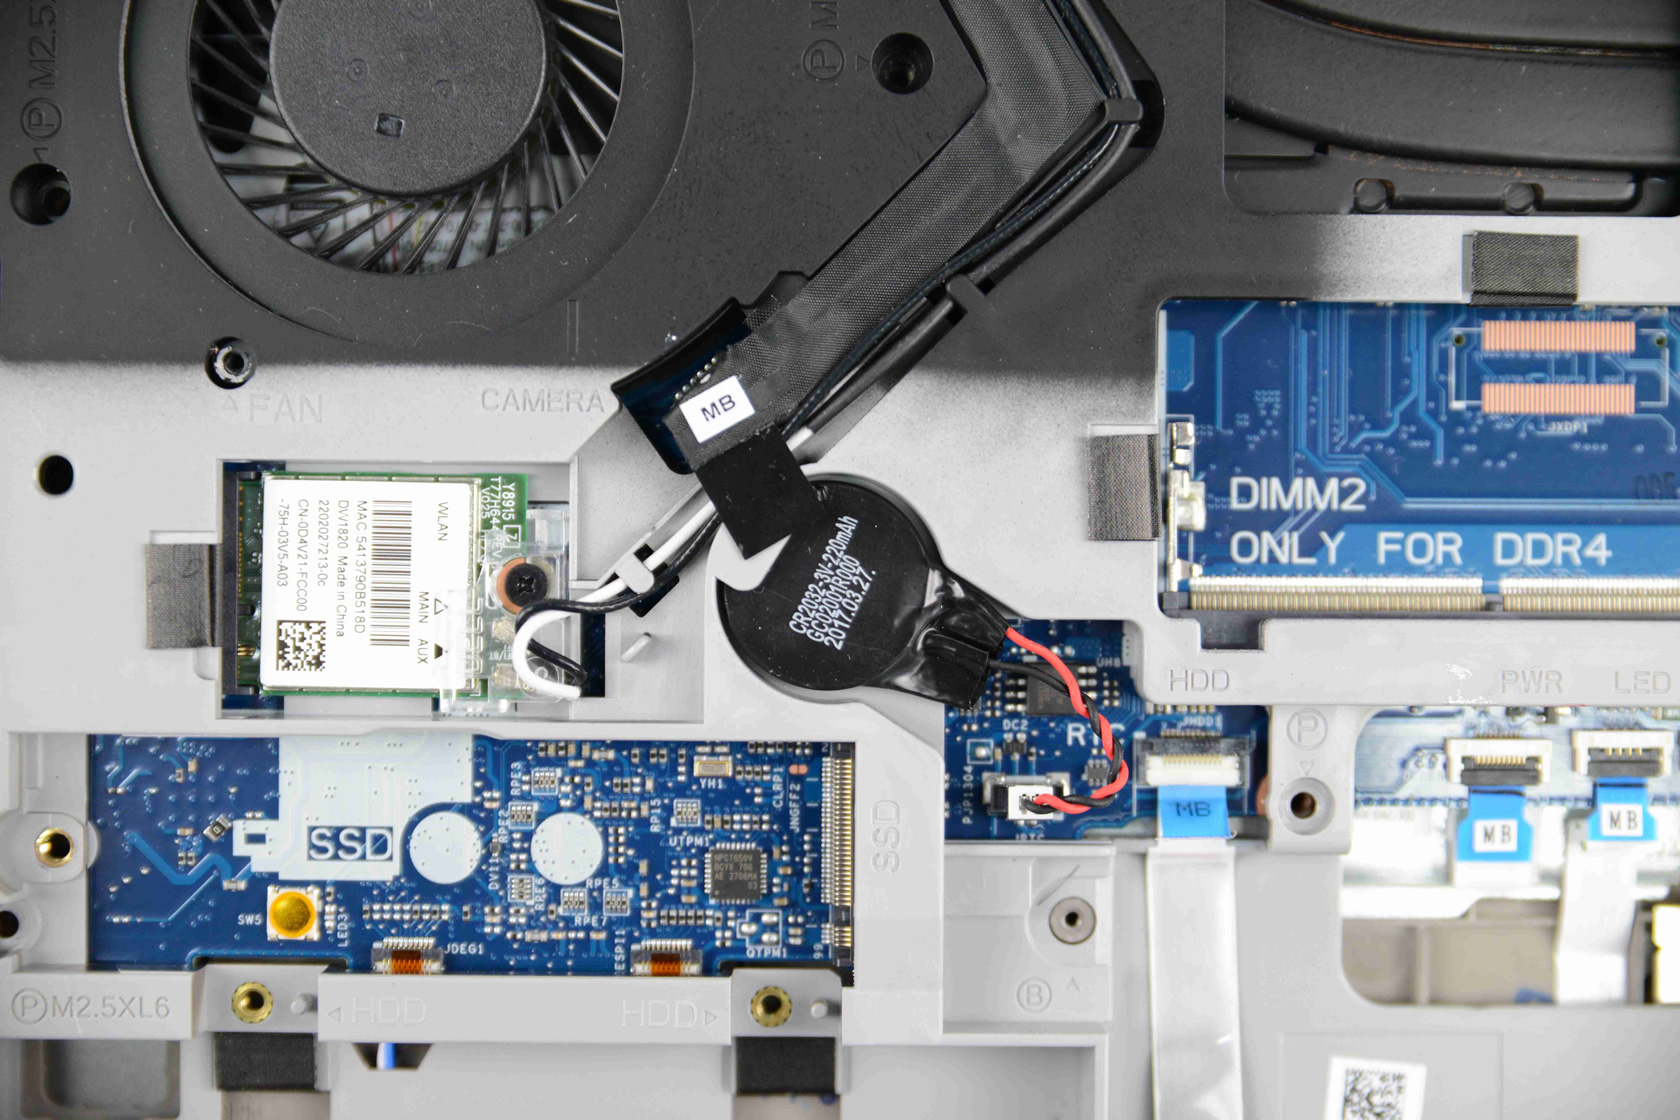
It also has an M.2 2280 SSD slot and supports SATA3 M.2 SSD. However, I do not know whether it supports PCIe NVMe SSD.
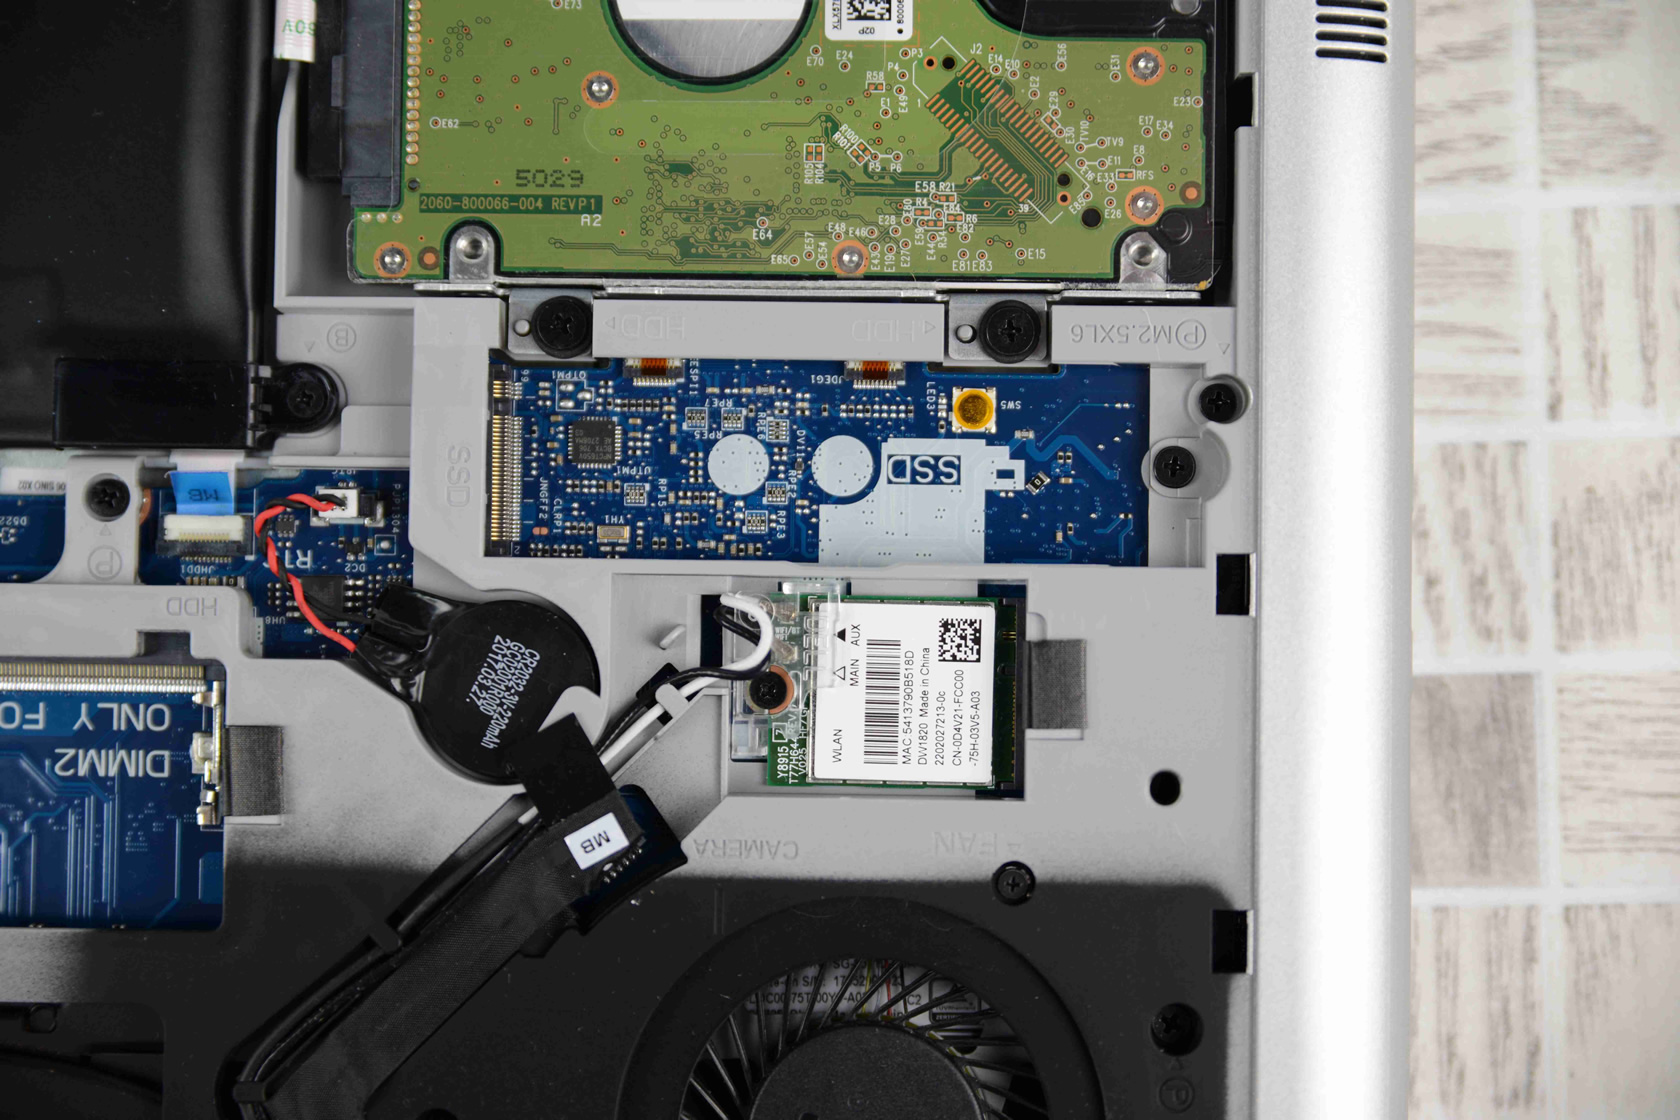
Its wireless network card and CMOS battery can be easily replaced.
