AR (Augmented Reality) is like an invisible hand that brings the internet and real life together. With the development of this technology, mobile phones have begun to support AR technology. In September last year, Lenovo released its first phone with TangoAR technology, the Lenovo PHAB 2.
The Lenovo PHAB2 Pro is the world’s first consumer-grade device with Google Tango technology, co-designed by Lenovo, Google, and Qualcomm. The hardware is equipped with a sensor array and three rear cameras. Real-world scenes can be turned into virtual spaces, allowing users to interact with virtual elements in the real world.
Teardown is what we do! Follow us on Facebook for the latest repair news.
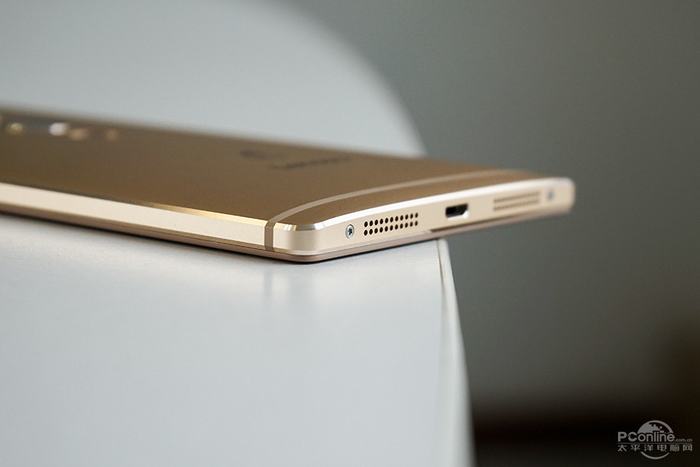
The first step is removing two screws beside the USB Type-C port with a screwdriver.
Due to PHAB 2 Pro body size is relatively large, so the size of the screw is much thicker than the general phone.
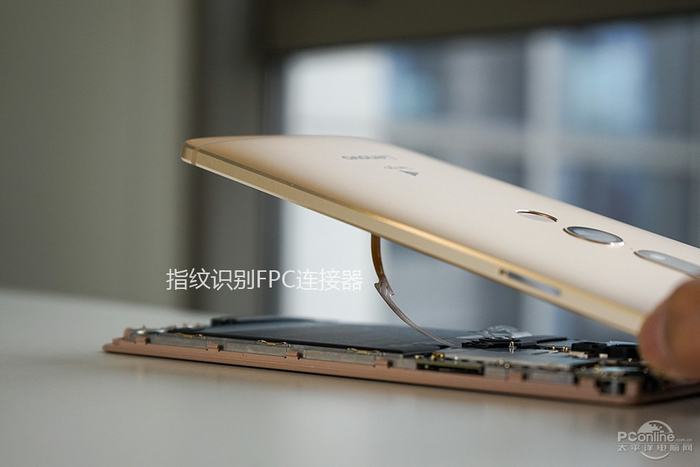
After opening the back cover, you can see a fingerprint module connected to the motherboard.
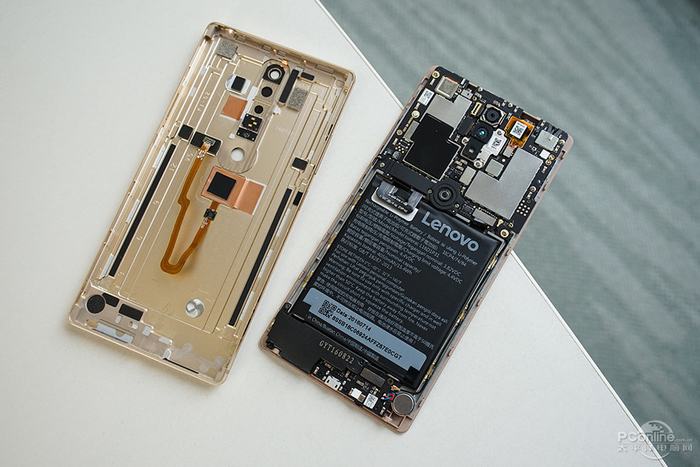
After removing the back cover, you can see a massive battery and motherboard. The PHAB 2 Pro’s fuselage also uses the classic three-stage design: the upper is the motherboard, the middle is the battery, and the bottom is the sub-board and speaker module.
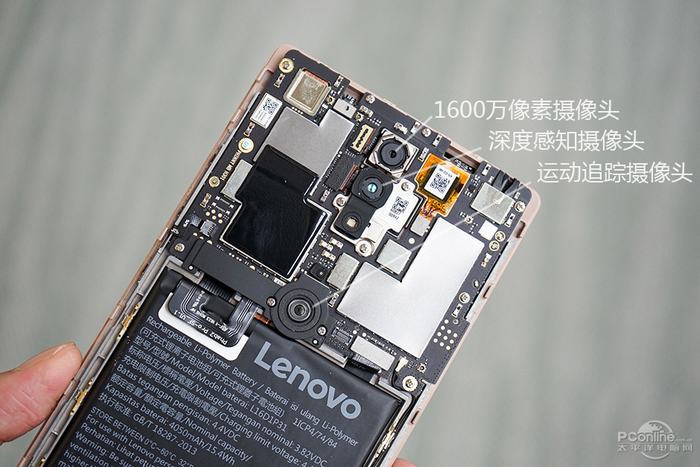
The PHAB 2 Pro has three rear cameras, including a 16-megapixel camera for camera/video recording, two depth-aware cameras, and motion-tracking cameras for AR-aware motion.
The back cover has four holes, in addition to the three cameras. The flash also has a hole.
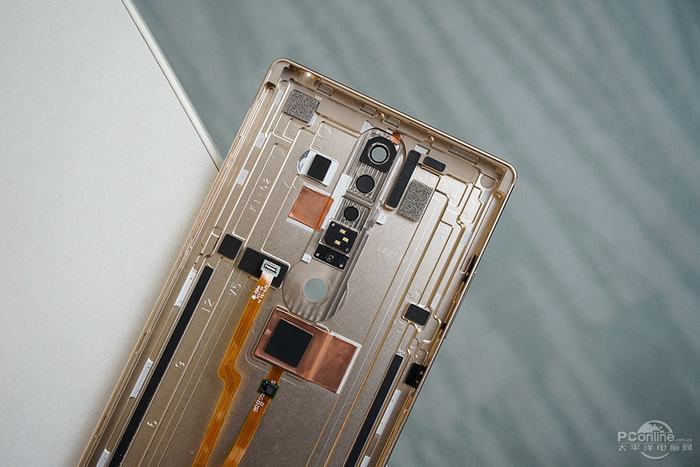
Remove three screws securing the plastic bracket.
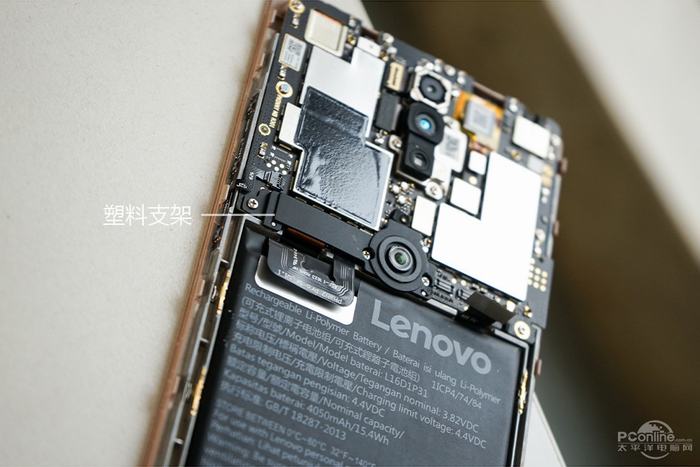
The bottom motion tracking camera is fixed with a plastic bracket, which secures the battery cable and the main FPC.
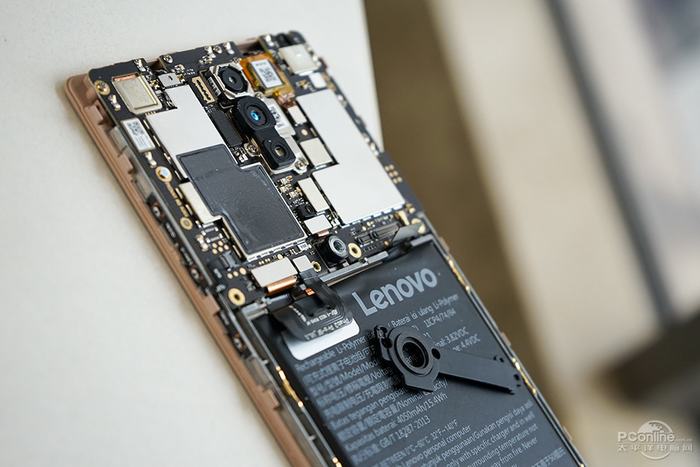
The depth-sensing camera surface is covered with a rubber ring to fill the space between the camera and the back cover.
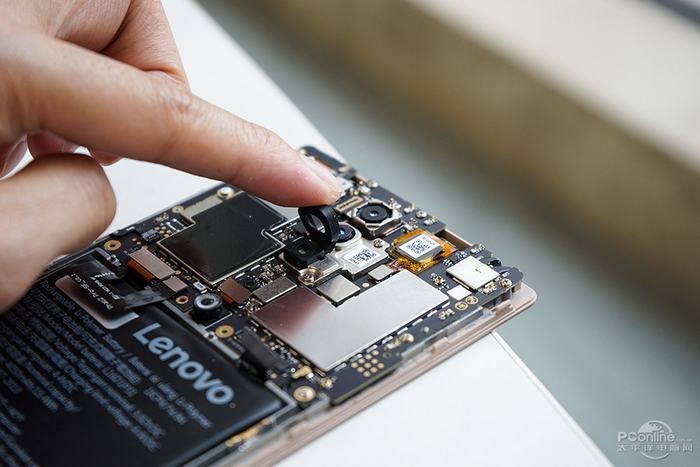
Remove three screws securing the camera bracket.
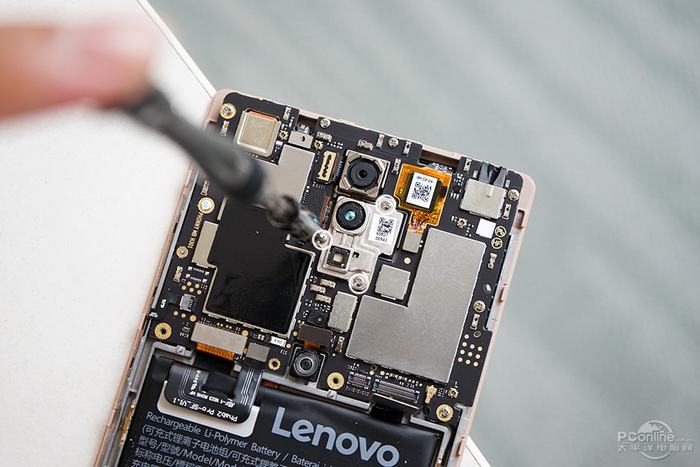
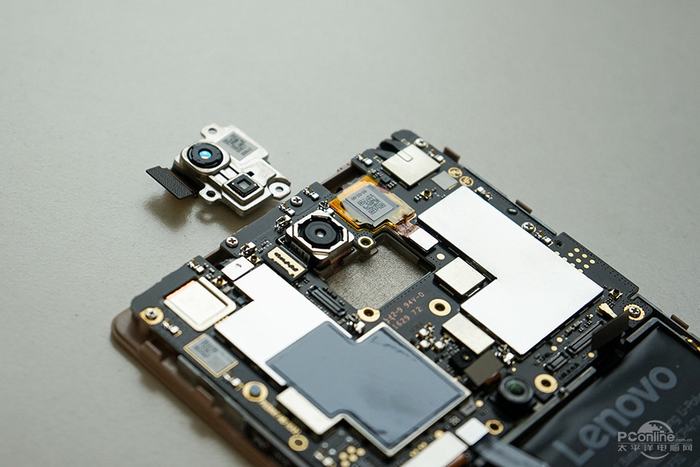
We can see the depth-sensing camera and the flash using the metal bracket fixed together.
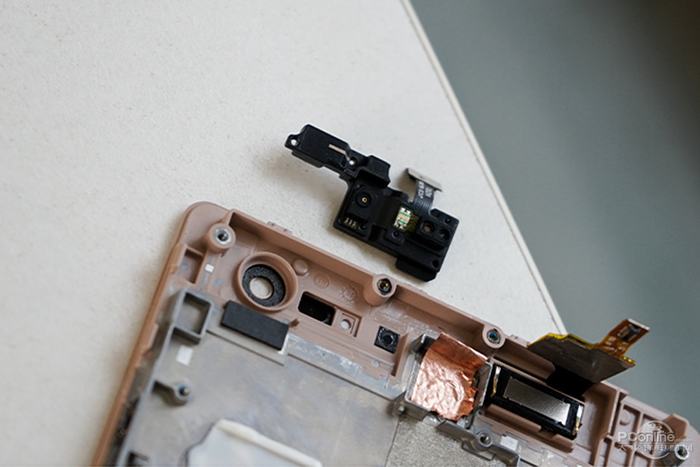
After removing the motherboard, we can see that the PHAB 2 Pro’s metal bezel has a copper pipe built into it, which is covered with a layer of grease. This pipe transfers heat from the chip to the entire metal bezel.
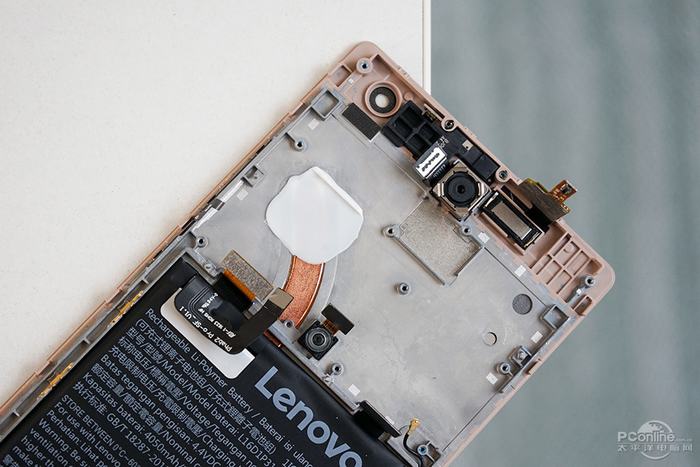
There is a groove on the metal frame, which is used to fix the position of the camera. The groove + screw design is quite strong.
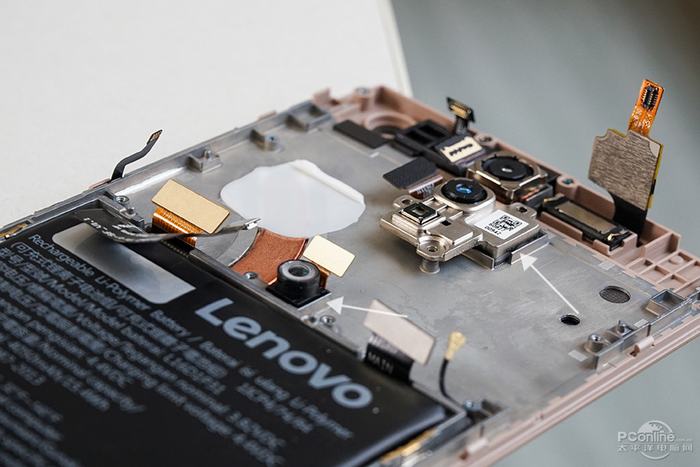
The light distance sensor and noise reduction microphone module are integrated into a module. The right side is a 16 MP camera. Then, the right is the handset.
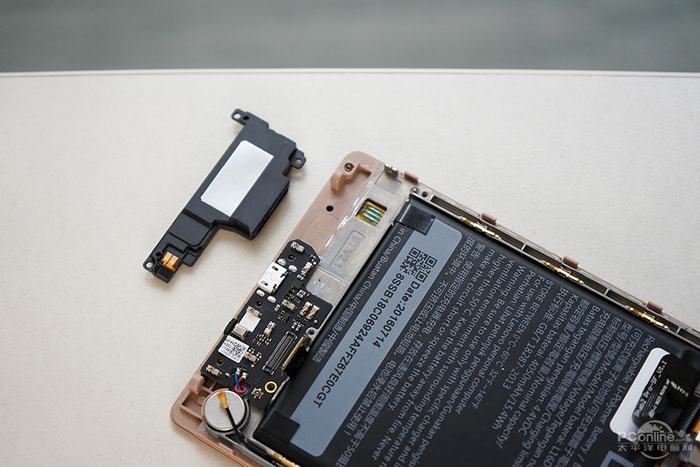
Remove the loudspeaker module. Under the loudspeaker is a sub-board.
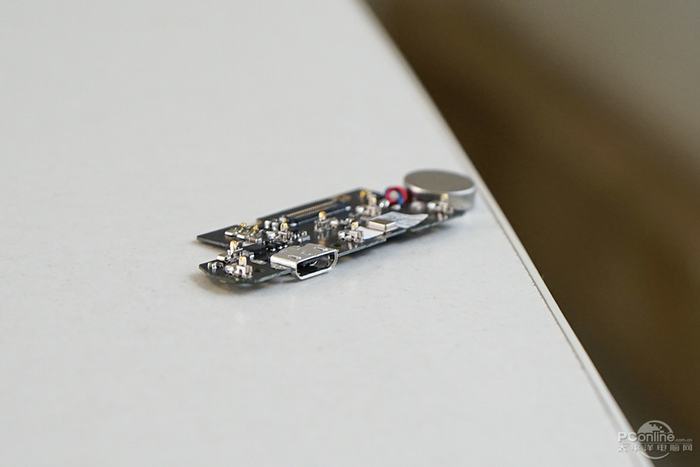
The sub-board integrated a micro-USB port, vibration motor, and microphone.
The PHAB 2 Pro is equipped with a Qualcomm Snapdragon 652 processor, 4GB of RAM, and 64GB of ROM. The chip and metal shield are also filled with thermal grease.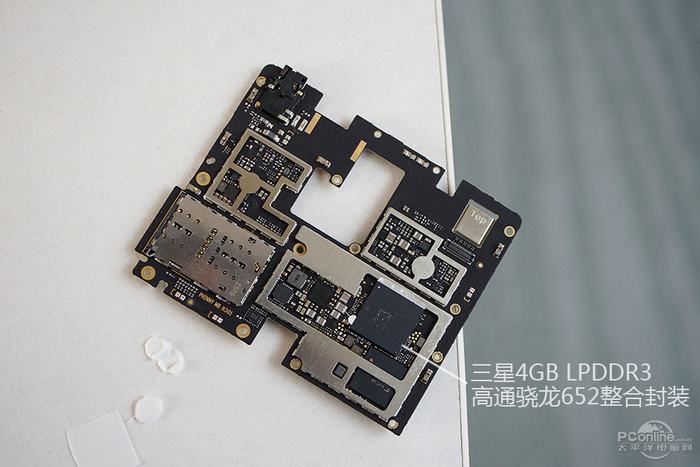
The Built-in 4050mAh battery supports fast charge.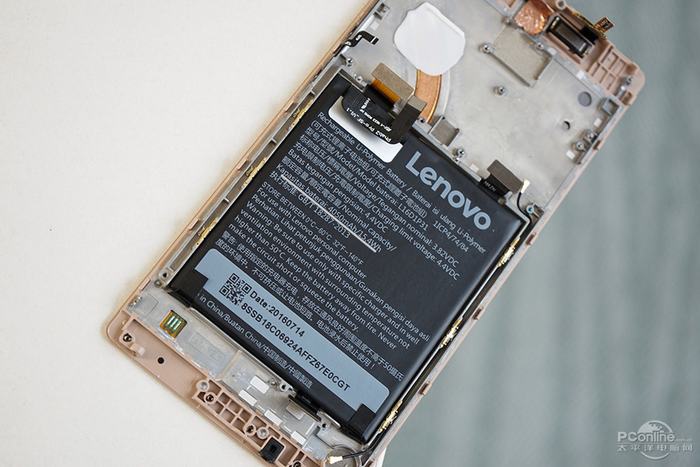
Overall, the Lenovo PHAB2 Pro is not difficult to disassemble, probably due to the larger size of the machine itself and the looser layout of the internal components, making future repairs easier.
PHAB2 Pro’s three rear camera modules use a specific structure to be fixed on the motherboard. In order to ensure the processor’s long-term high-frequency operation, PHAB2 Pro’s internally designed heat pipe allows the heat of the chip to spread to a larger area of the metal frame.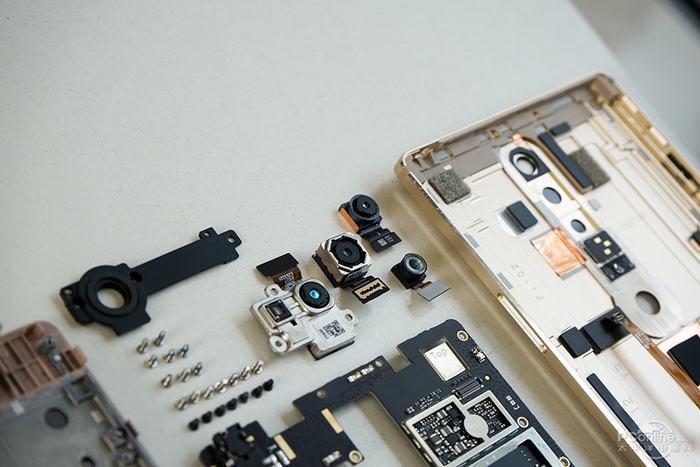


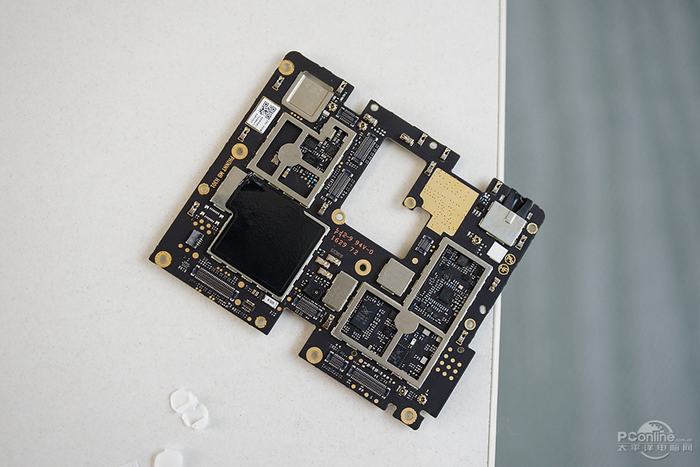
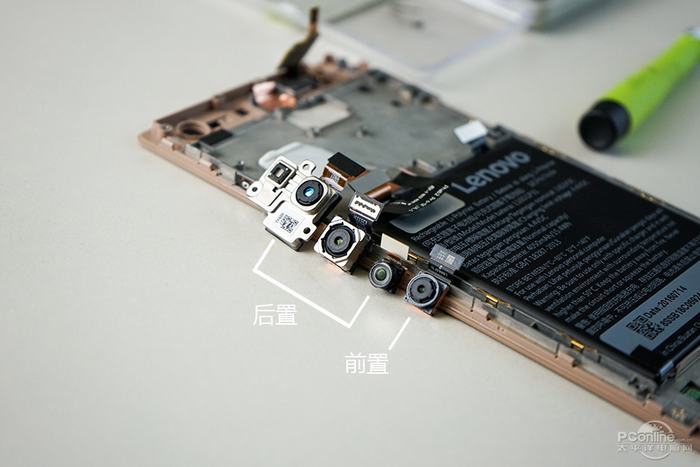
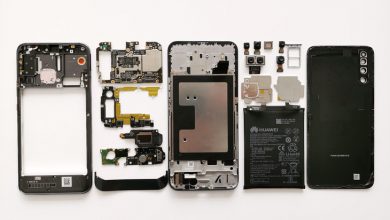
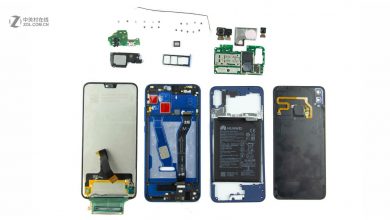
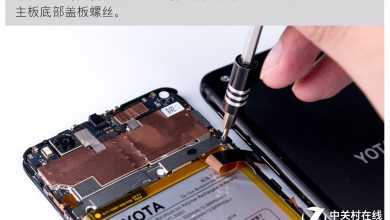
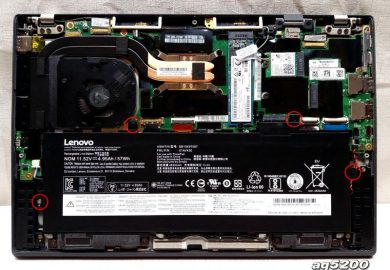
This is a really great teardown.
Is there any chance you could tell me where the antennas are or the connectors for the antennas?
It’s next to the battery connector. Please see picture 4.
I’m looking for a rear camera for my Lenovo Phab2 Pro (690M). My current lens is no longer focusing. I removed the camera and found that the lens was fixed. No focus or zoom is possible. Maybe you know where I got such a new camera? I would be very happy to receive an answer. Greetings, Matti.
Currently, there is no third-party spare rear camera for this mobile phone on the Internet. I suggest you contact Lenovo to get this camera.
did you find it?
लेनोवो के 2 टेबलेट का मॉडल नंबर 690 मदरबोर्ड होगा