In this guide, I will explain how to disassemble the Acer Aspire S7-391 to remove the bottom cover, SSD, cooling fan, heat sink, speakers, and motherboard.
Looking for more guides? Follow us on Facebook for all the latest repair news.
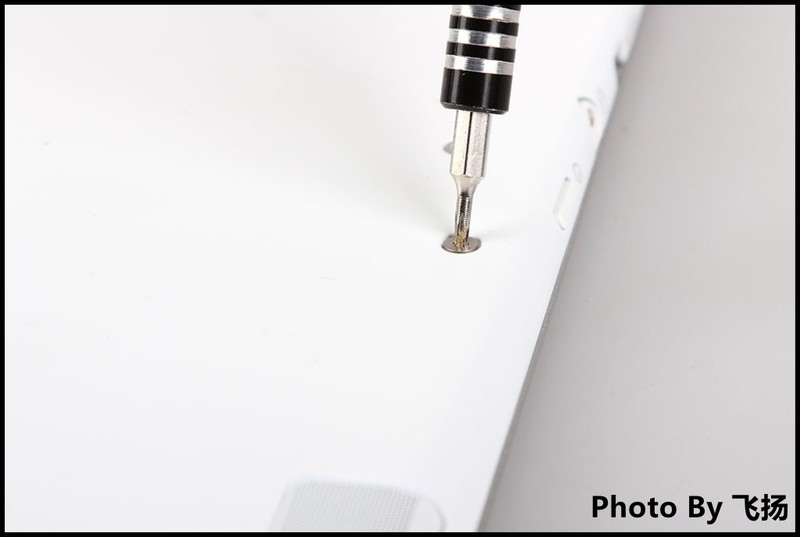
Remove all screws securing the bottom cover.
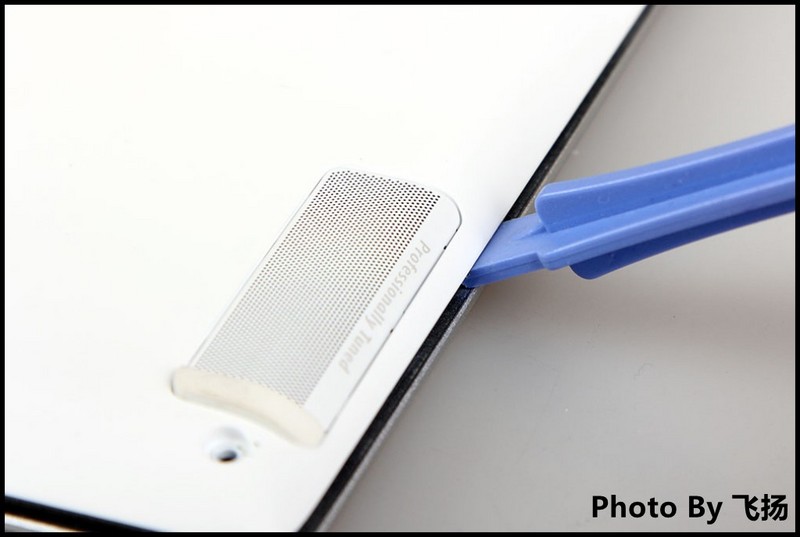
Insert a pry tool between the bottom cover and the palm rest. Since there are clips on the bottom cover that secure it to the palm rest, slide the pry tool to unlock all the clips. Once all clips are released, you can remove the bottom cover.
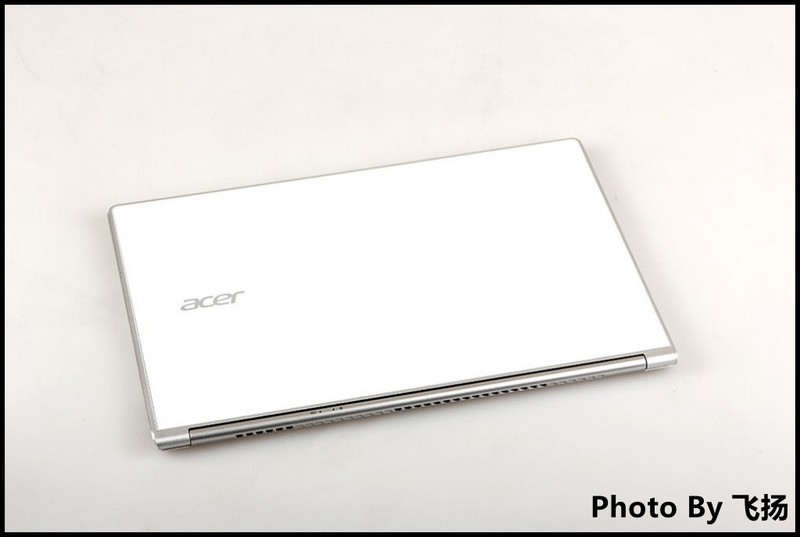
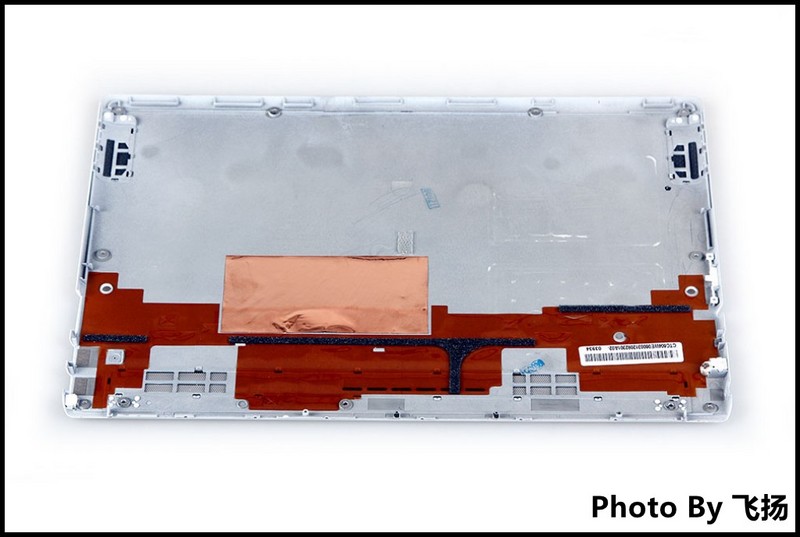
There are several heat dissipation stickers on the bottom cover of the Aspire S7-391.
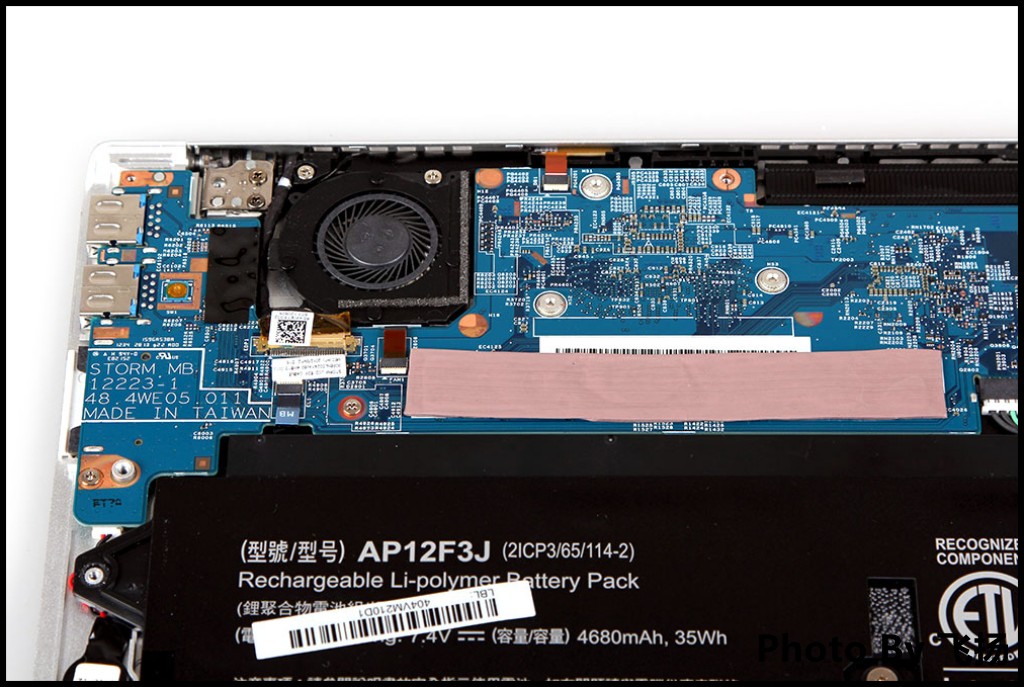
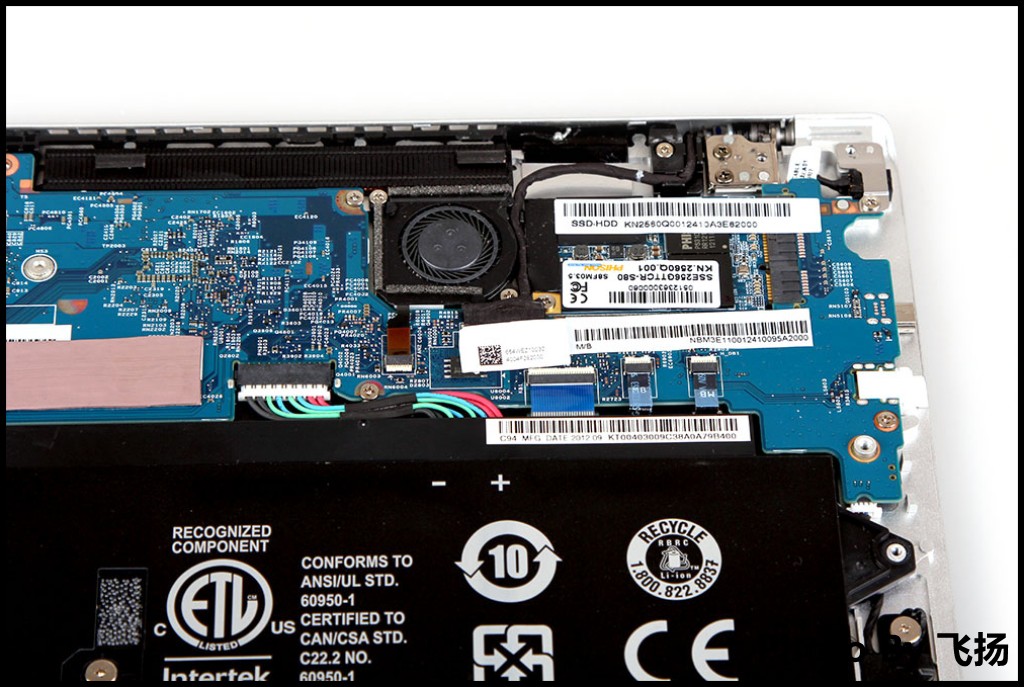
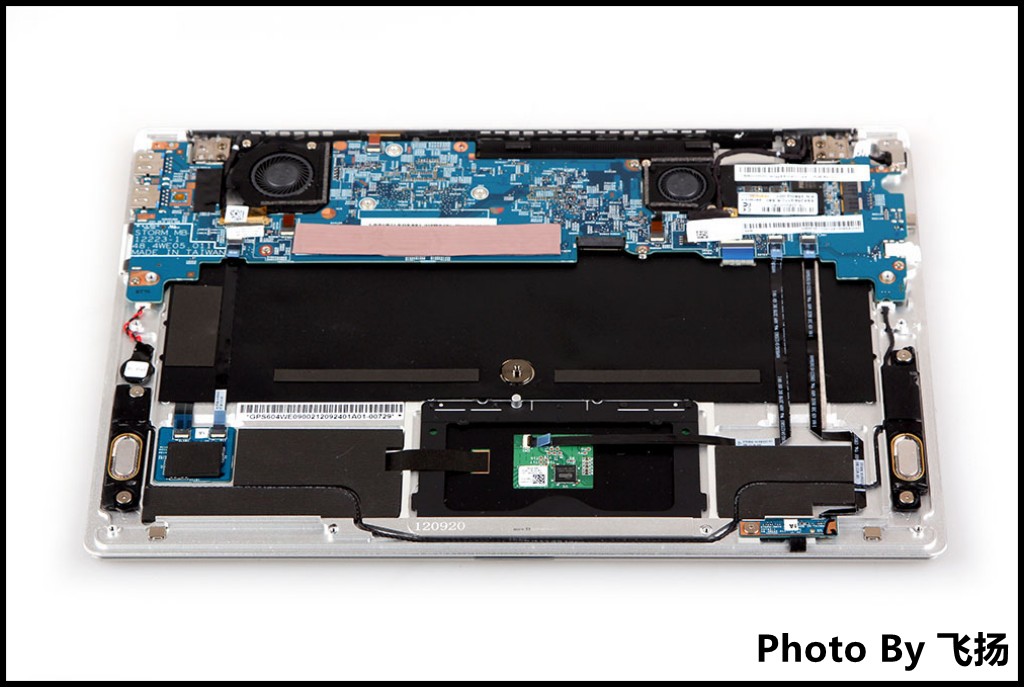
Under the bottom cover, you can access the battery, speakers, SSD, and motherboard.
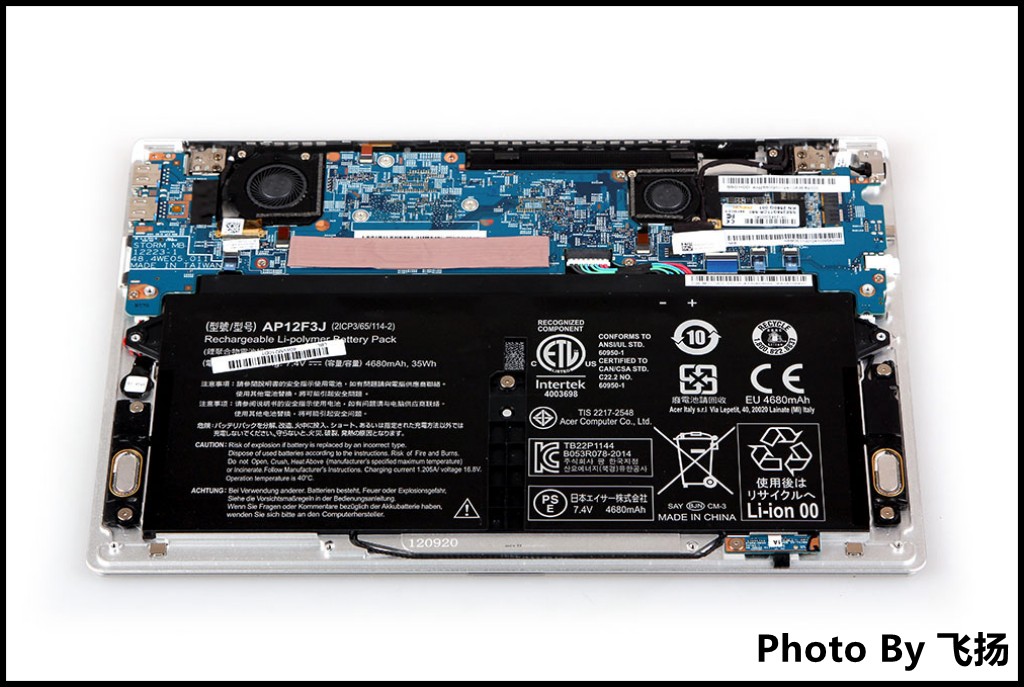
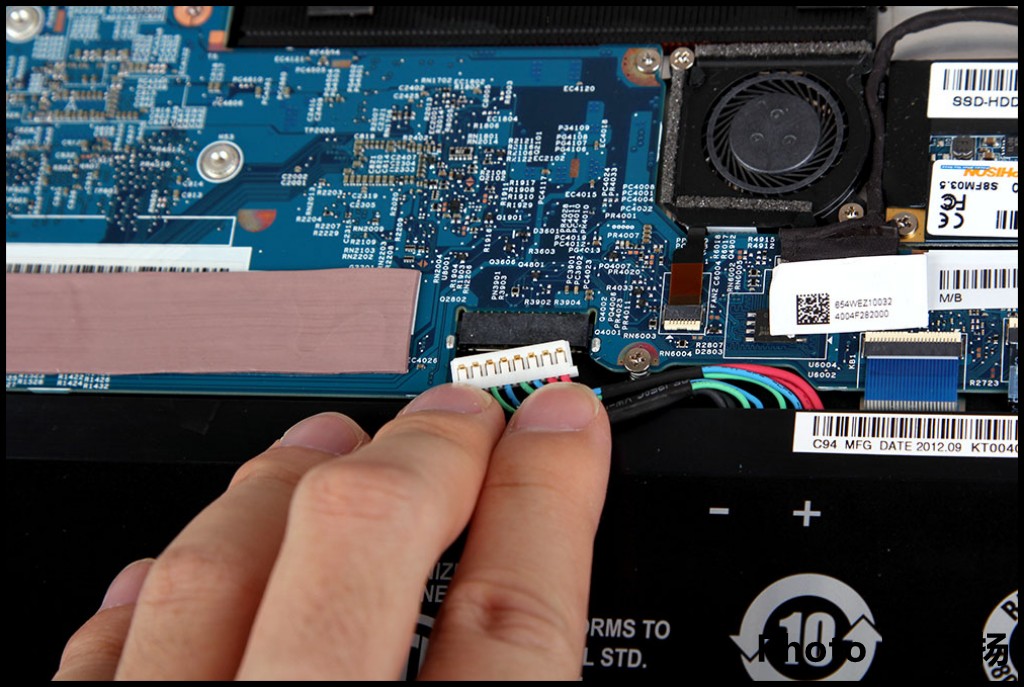
To ensure safety, we disconnect the battery connector from the motherboard.
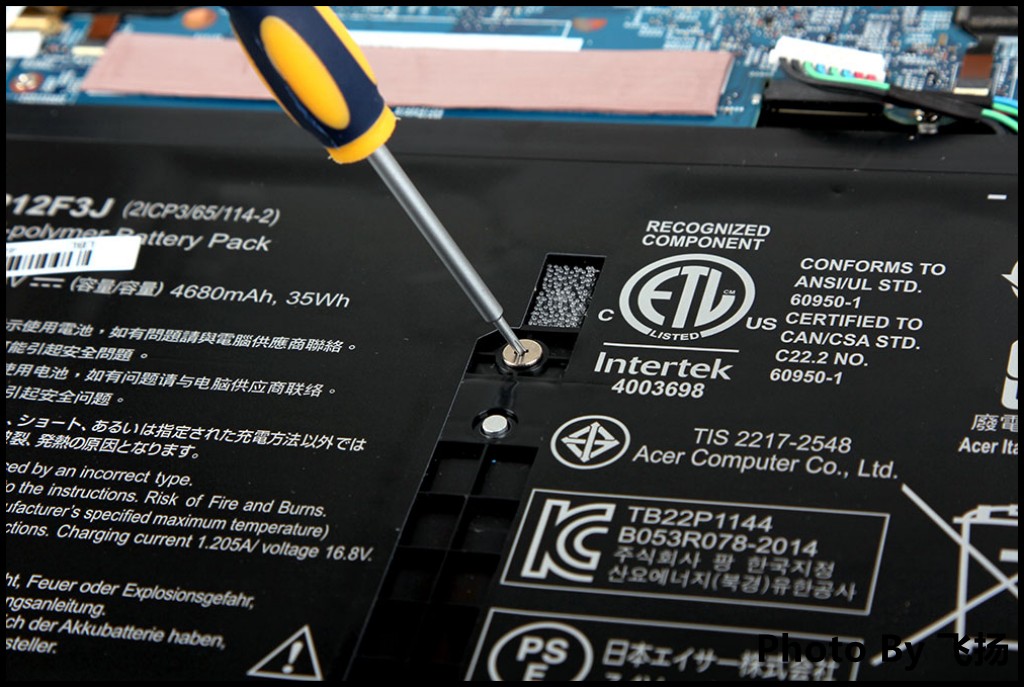
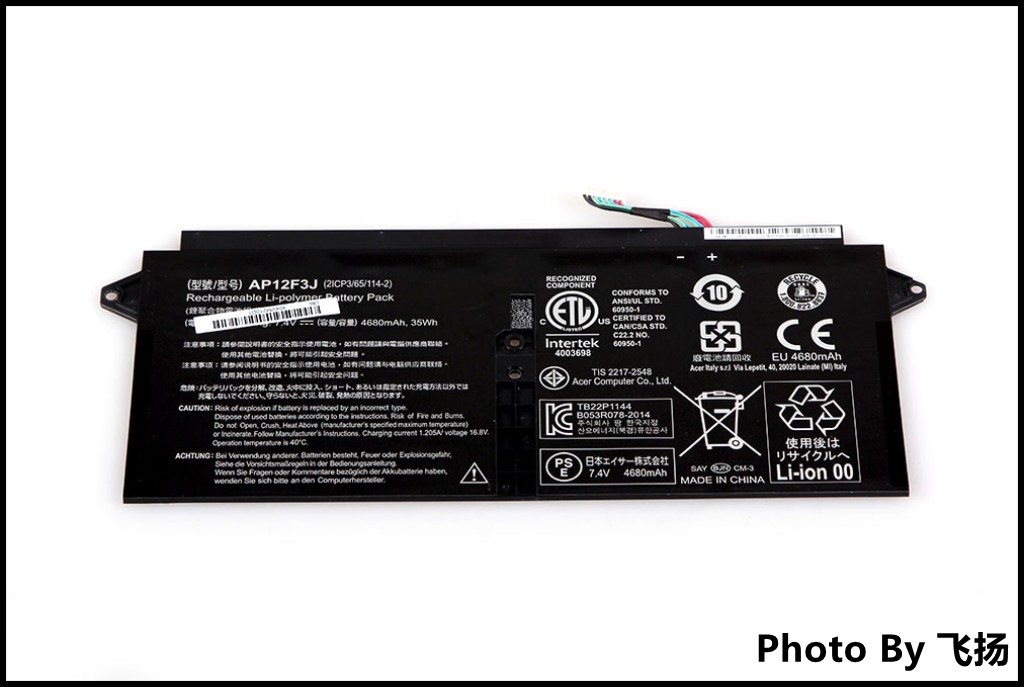
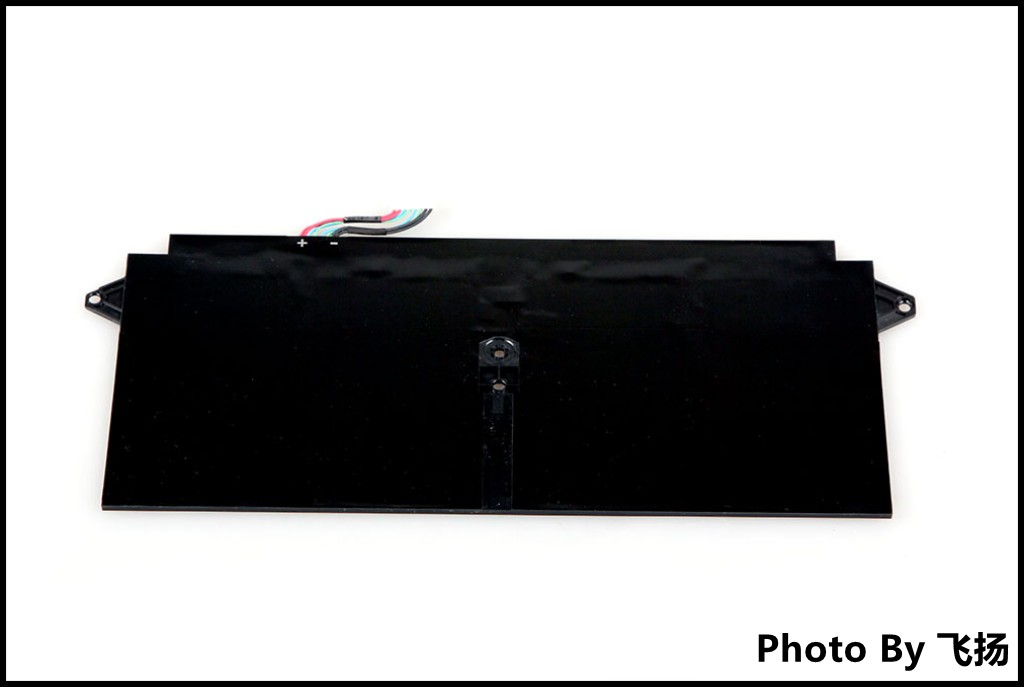
Remove the screw securing the battery and take out the battery.
The Acer Aspire S7-391 comes with a 4680mAh, 35Wh Li-polymer battery. Its Acer part number is AP12F3J.
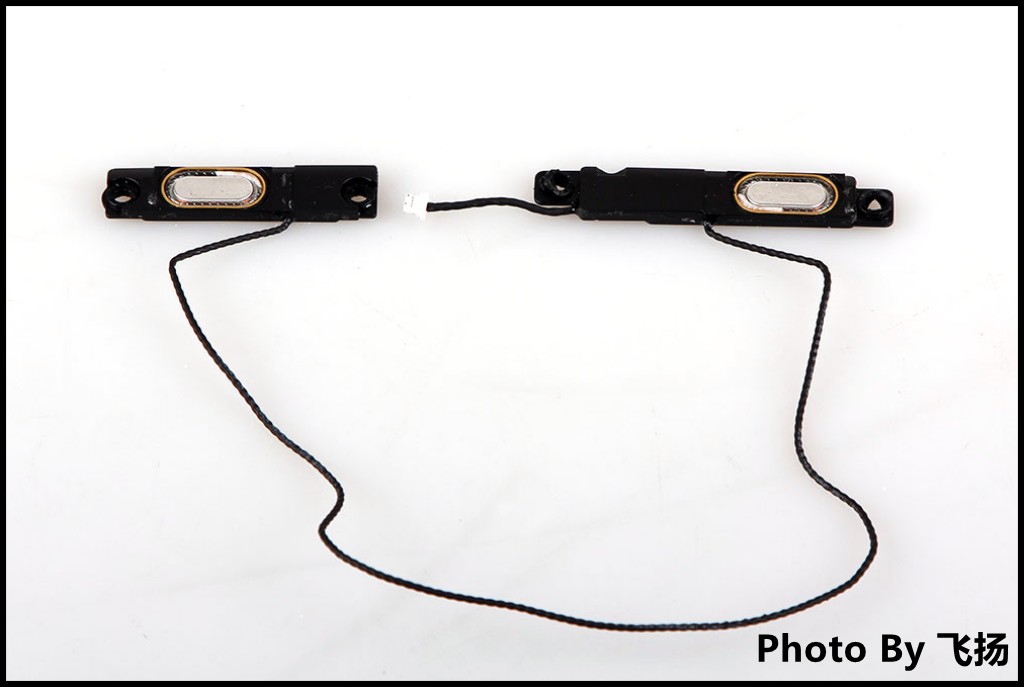
Remove the four screws securing the left and right side speaker modules.
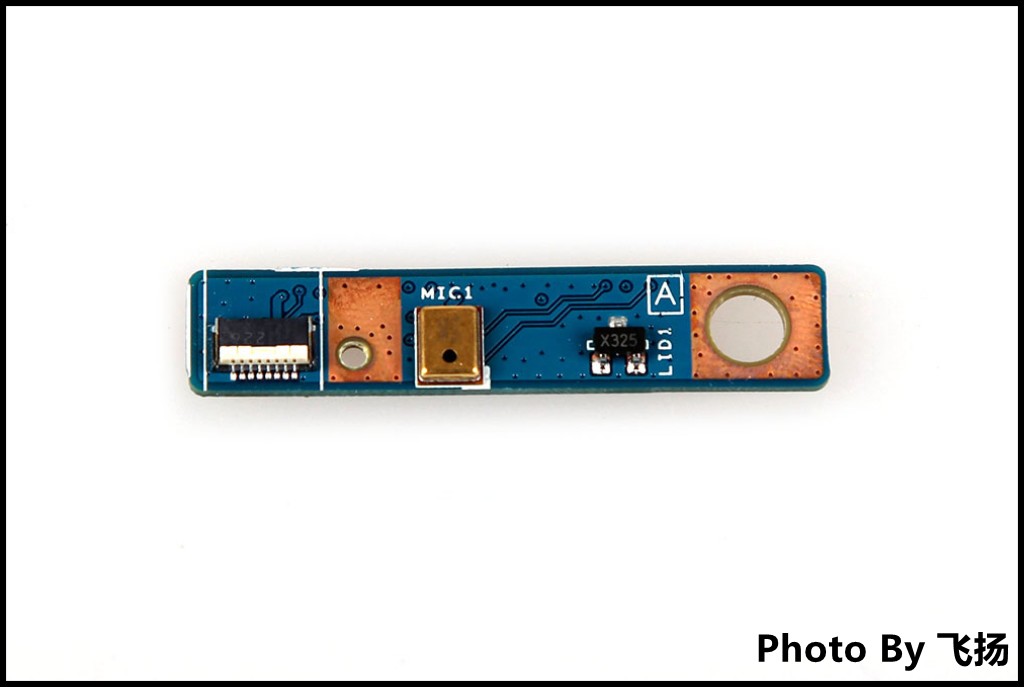
Close-up of the speaker modules
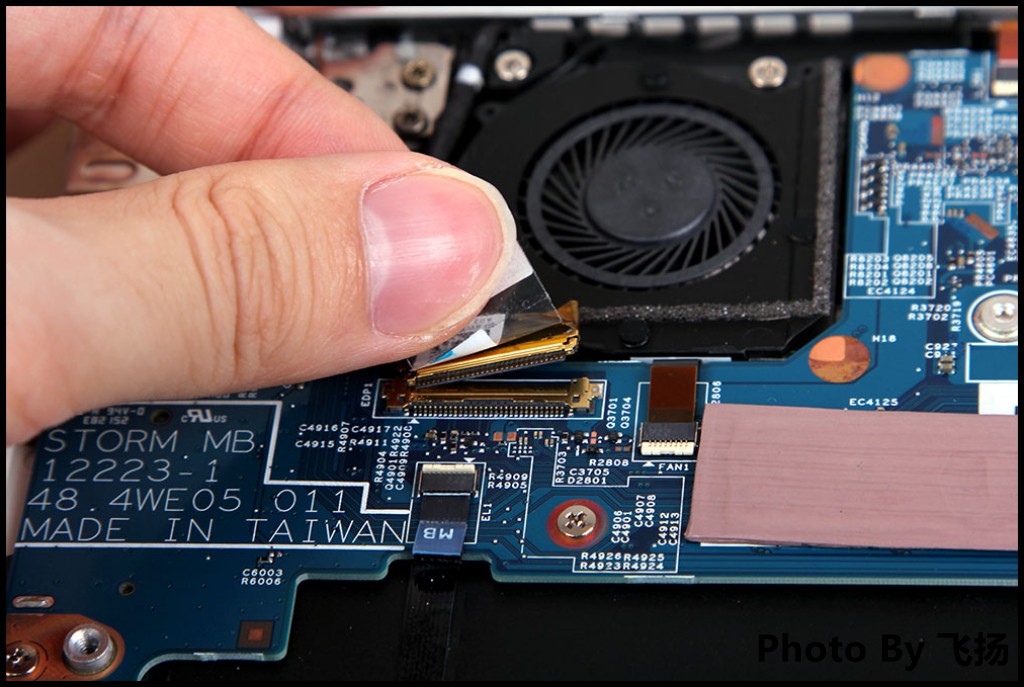
Disconnect the LCD cable from the motherboard.
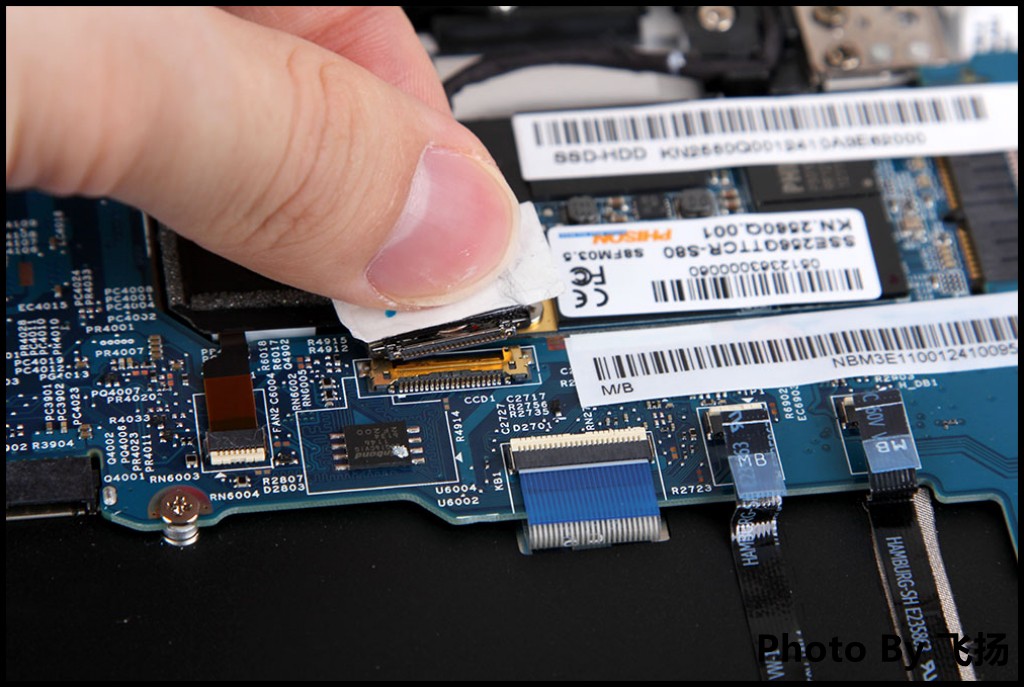
Remove the screw securing the SSD and take it away from its slot.
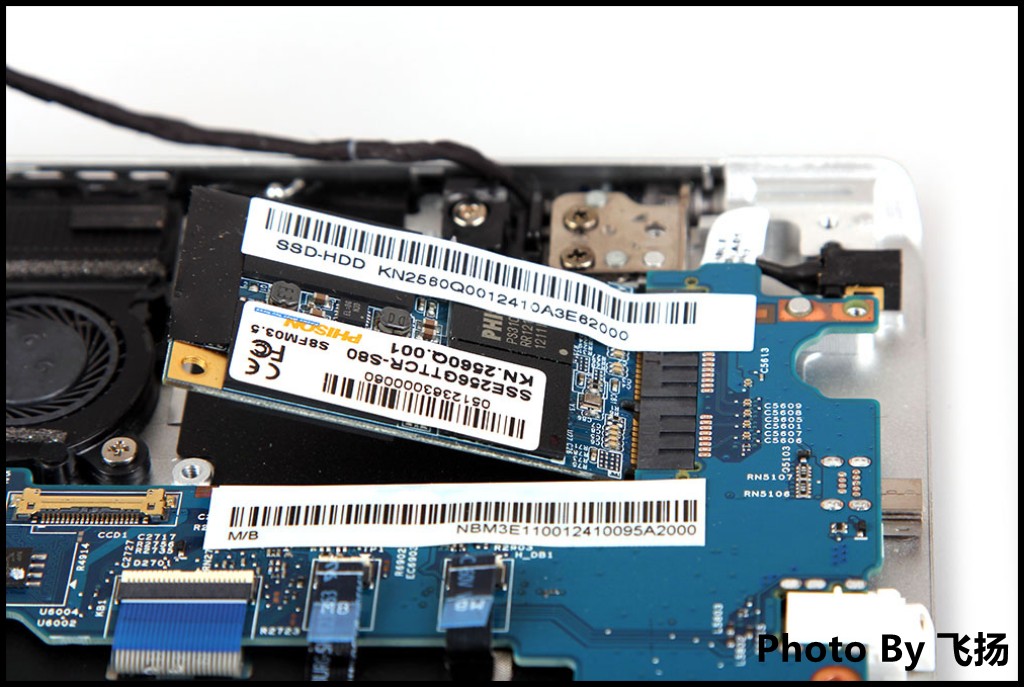
The laptop comes with a 256GB SSD.

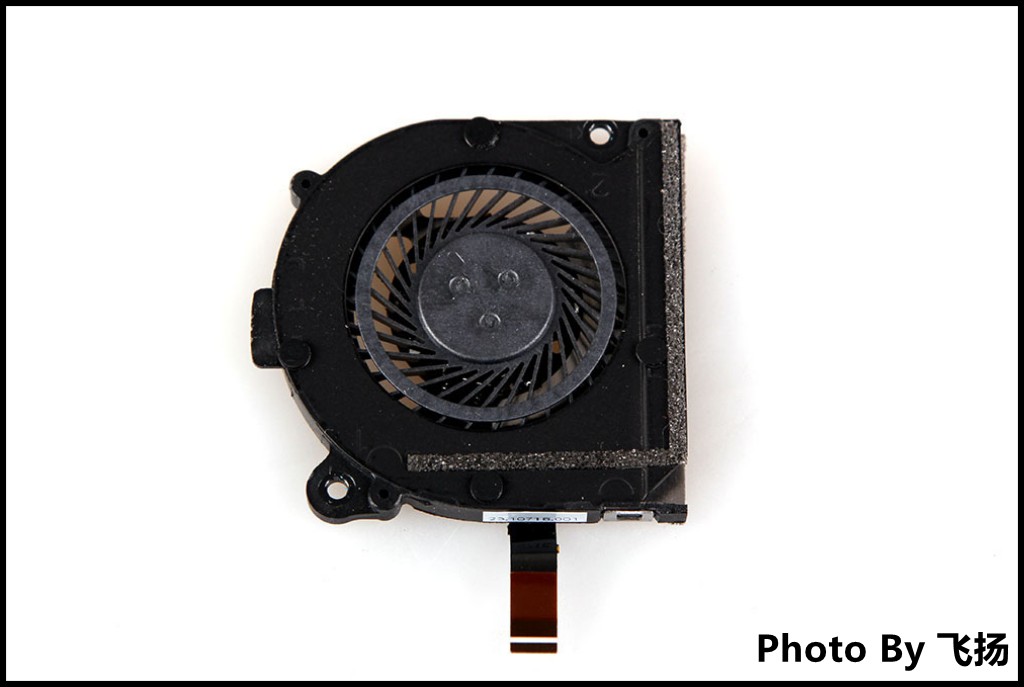
Aspire S7-391 CPU cooling fan
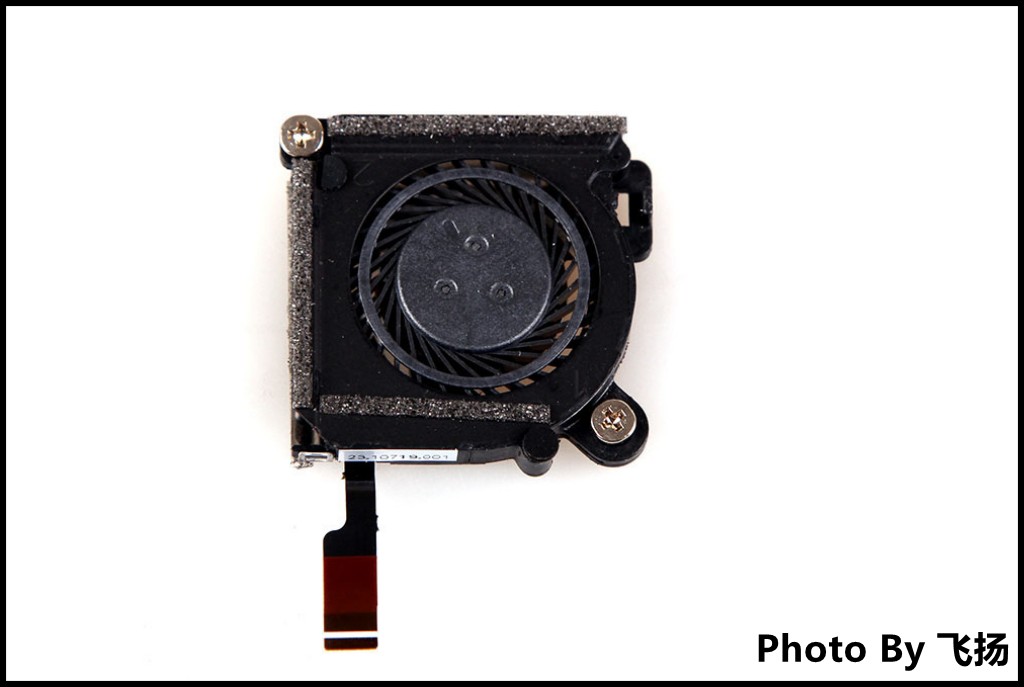
Aspire S7-391 GPU cooling fan

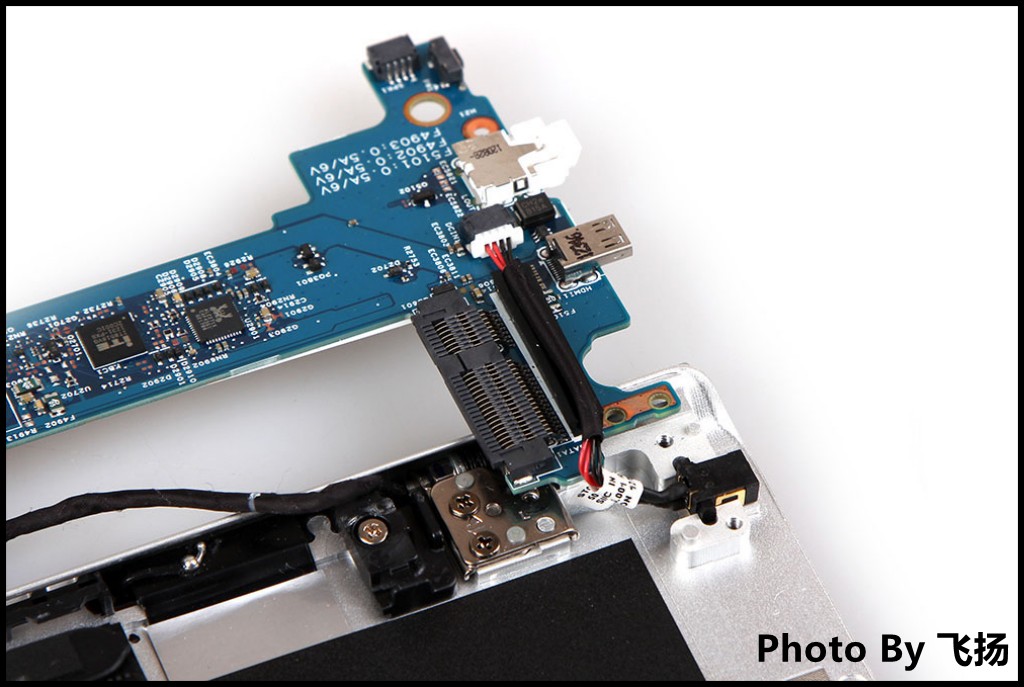
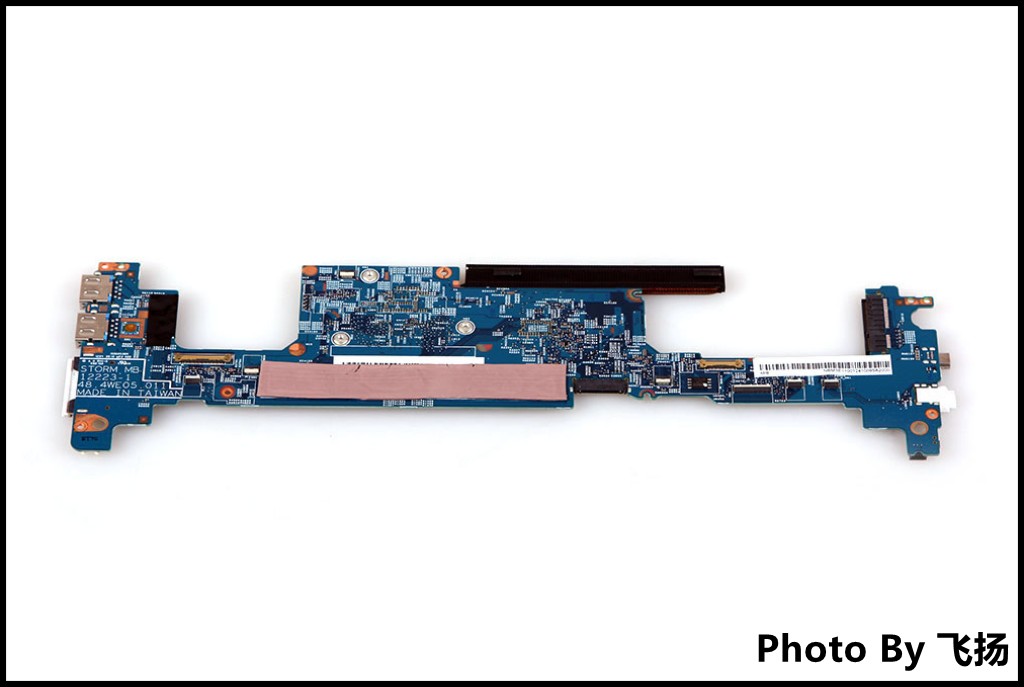
Remove the screws securing the motherboard and disconnect all ribbon cables from it.
Lift the motherboard from one side with your hand and remove it.
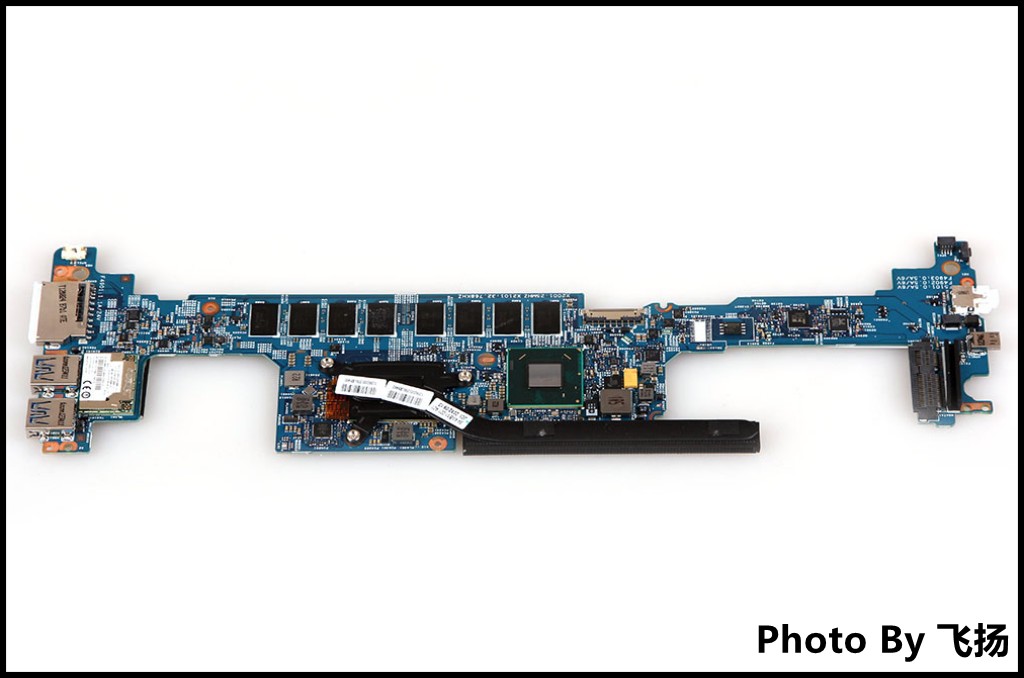
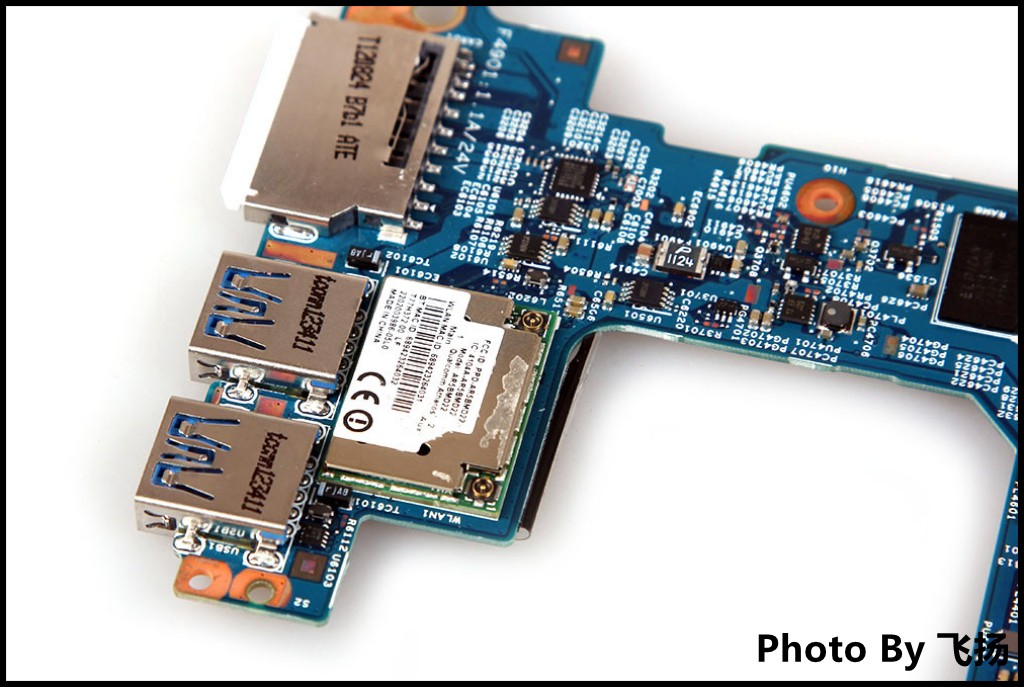
The wireless network card of the Aspire S7-391 is soldered to the motherboard, so it is not replaceable.
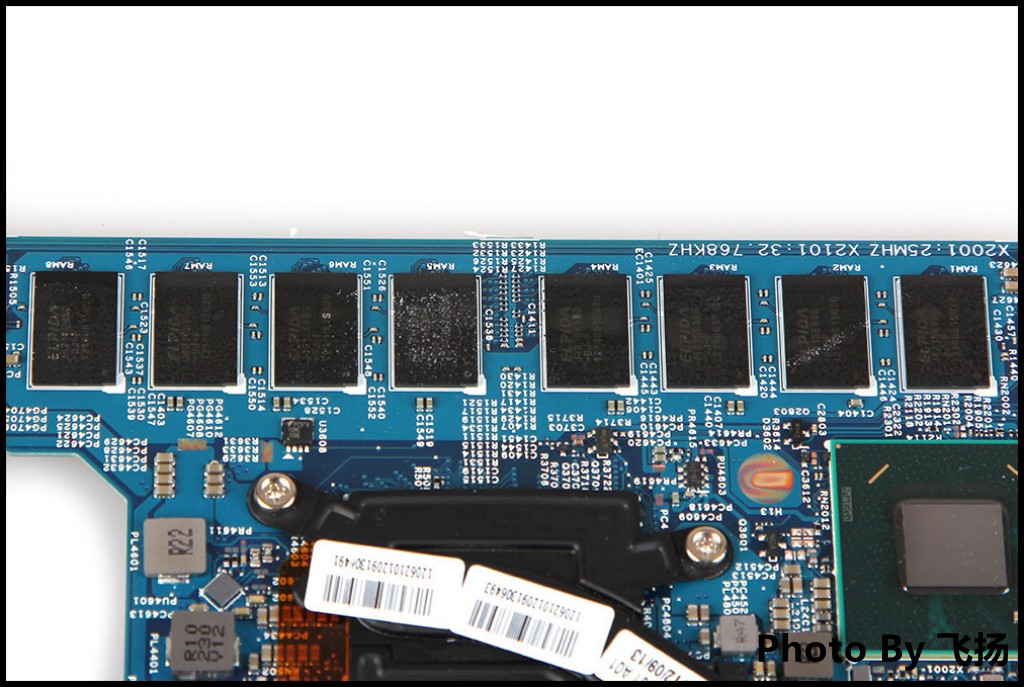
The memory chips of the Aspire S7-391 are also soldered onto the motherboard, and there are no spare memory slots, so its memory is not upgradeable.
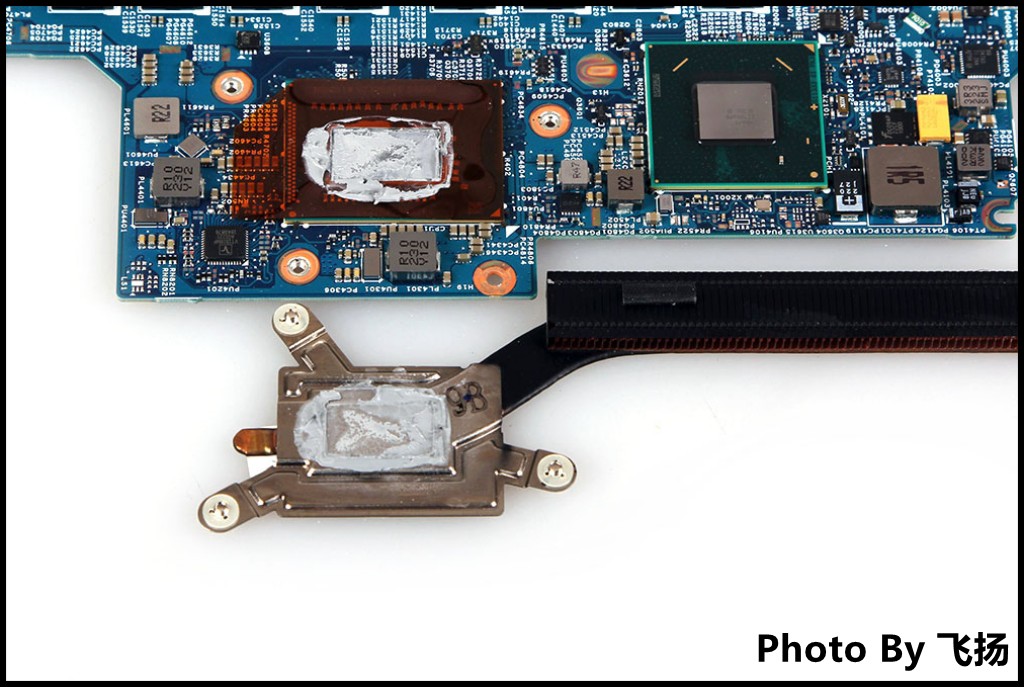
Remove the three screws securing the heat sink.
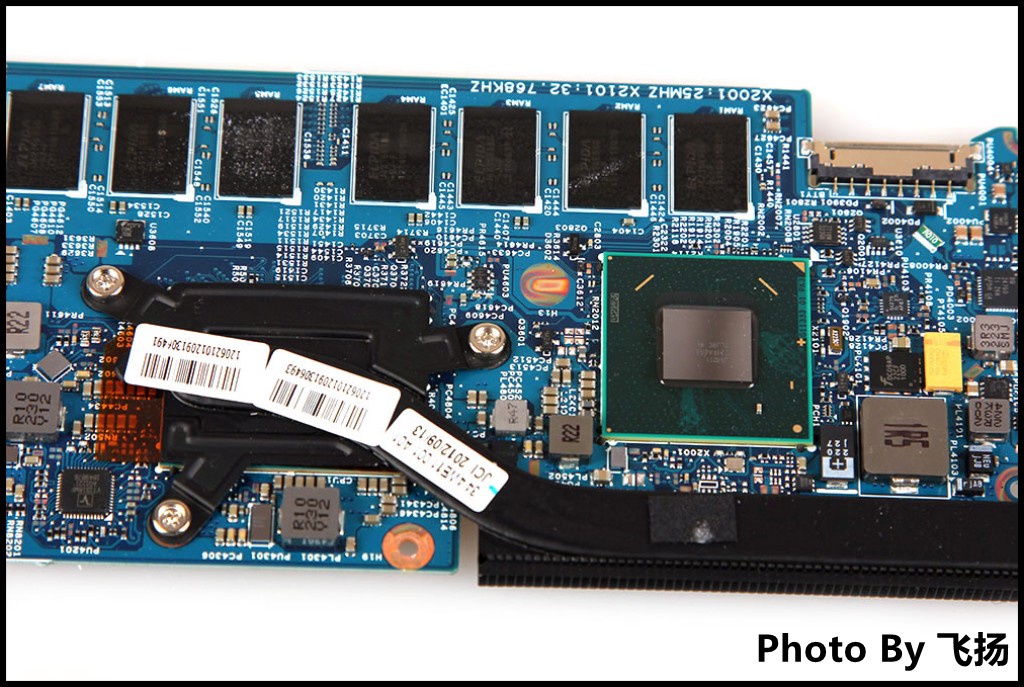
Close-up of the Aspire S7-391 processor
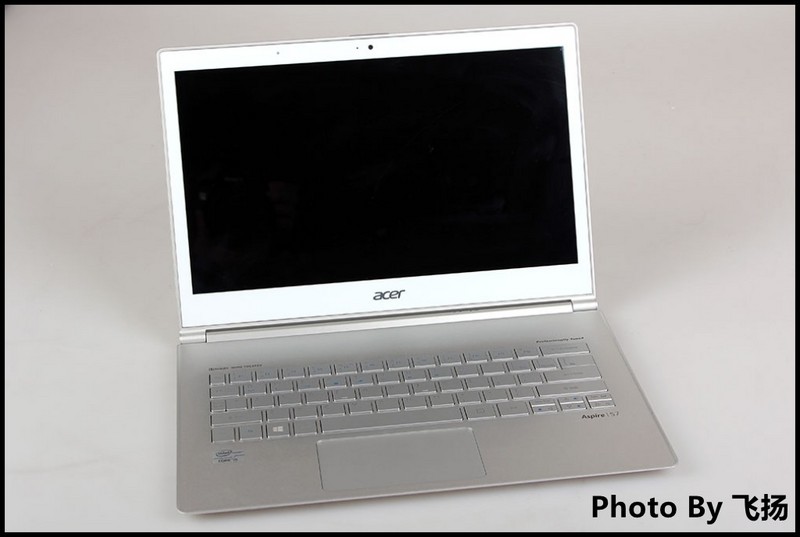
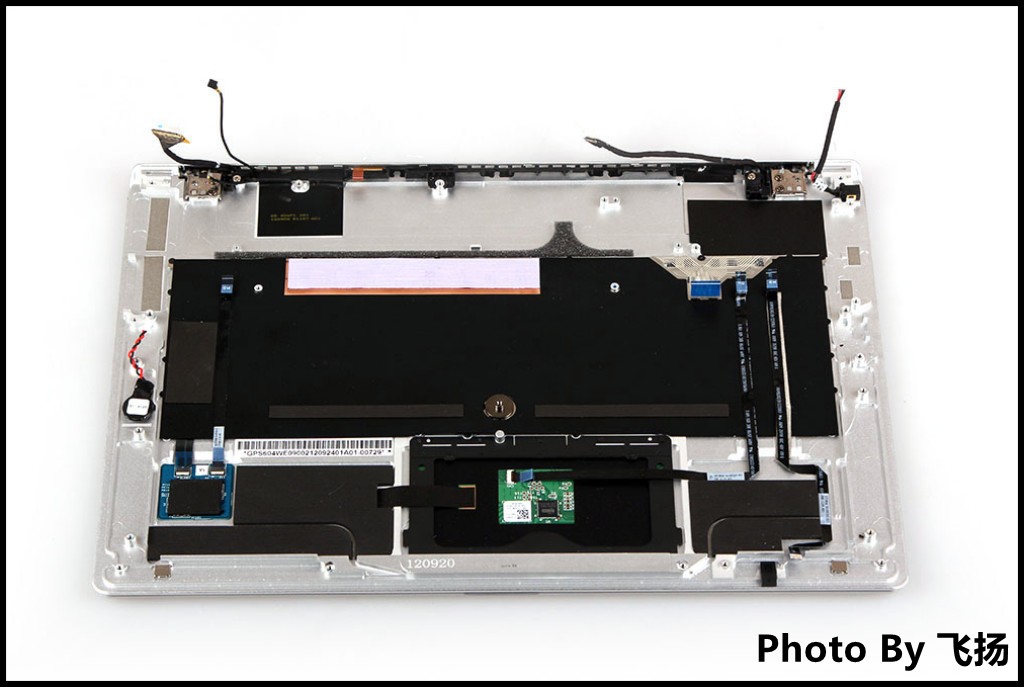
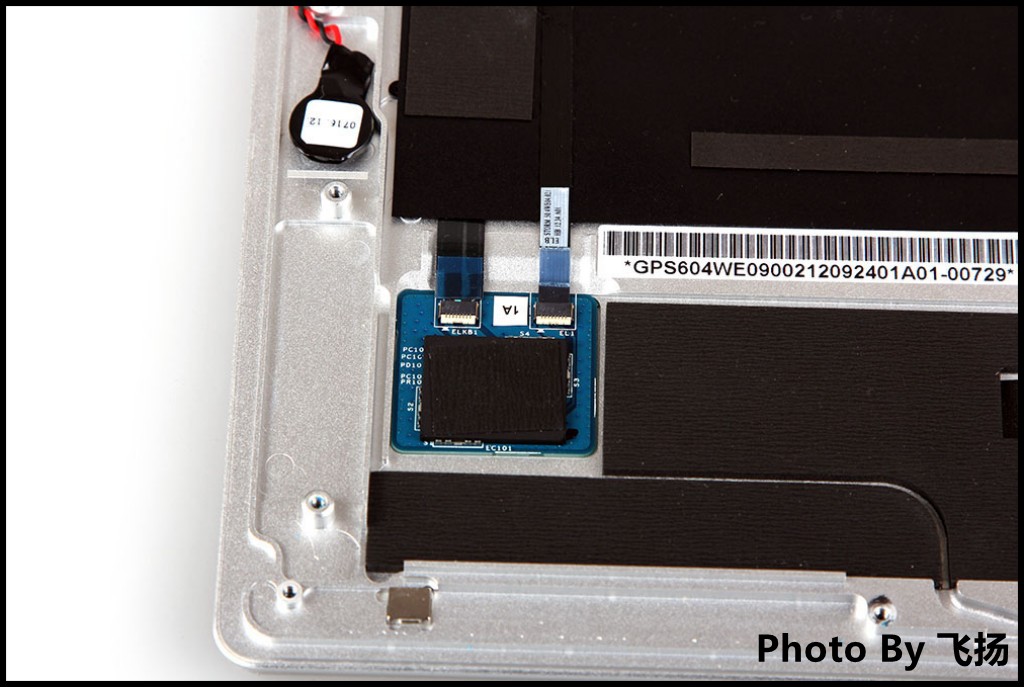
Palm rest
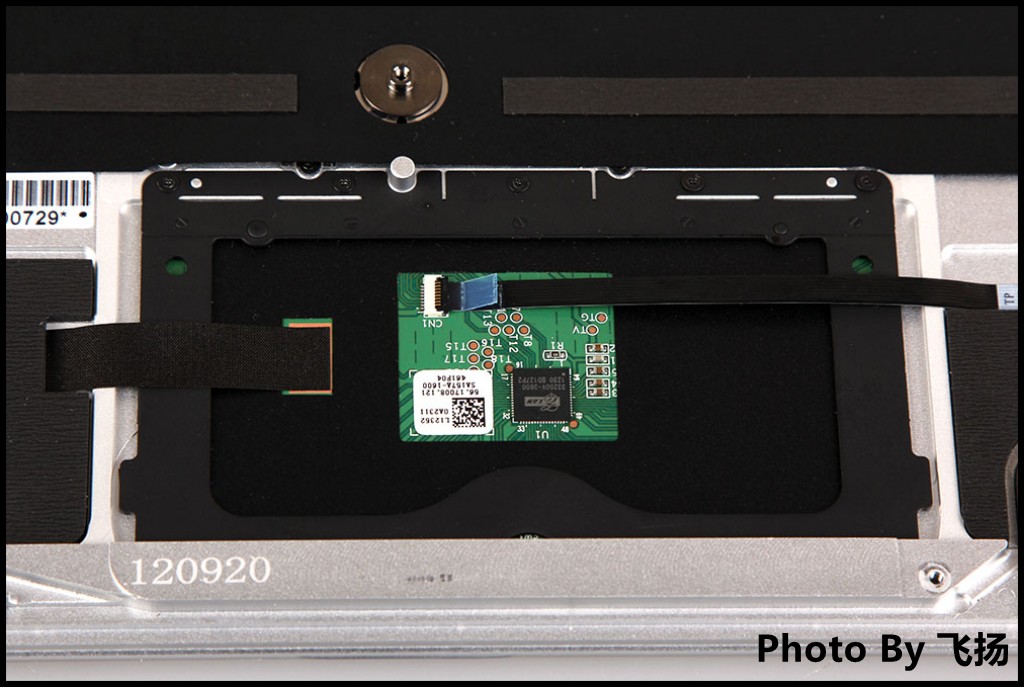
Touchpad
Source: zol.com.cn