MSI GT60
MSI GT60 Disassembly
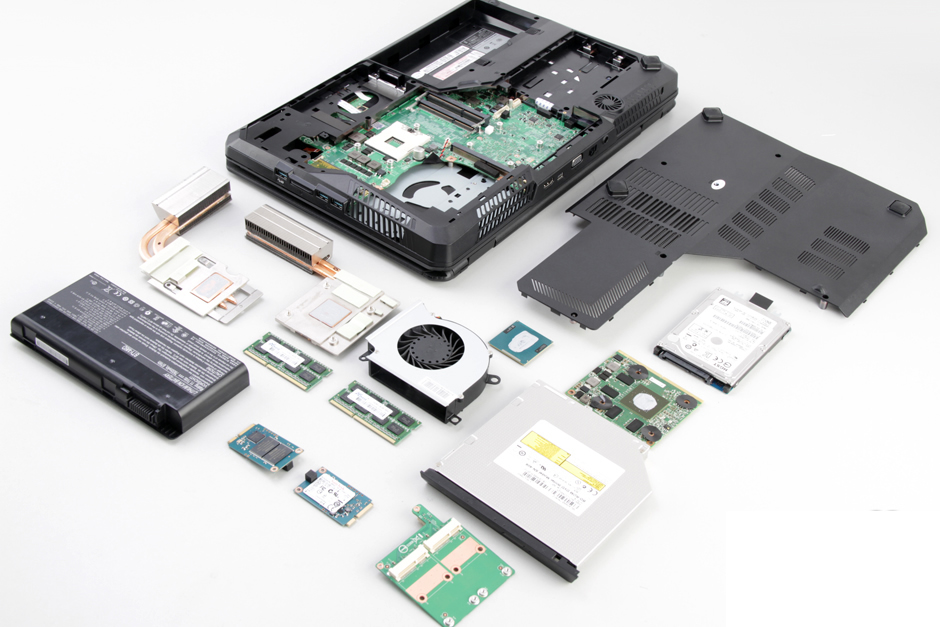
In this guide, I’ll explain how to disassemble the MSI GT60 to remove and replace the battery, SSD, hard drive, service cover, DVD drive, graphics card, memory, cooling fan, and motherboard.
Want to be the first to see inside of the latest smartphone and laptop? Follow us on Facebook for the latest teardown news.
Unlock and remove the battery.
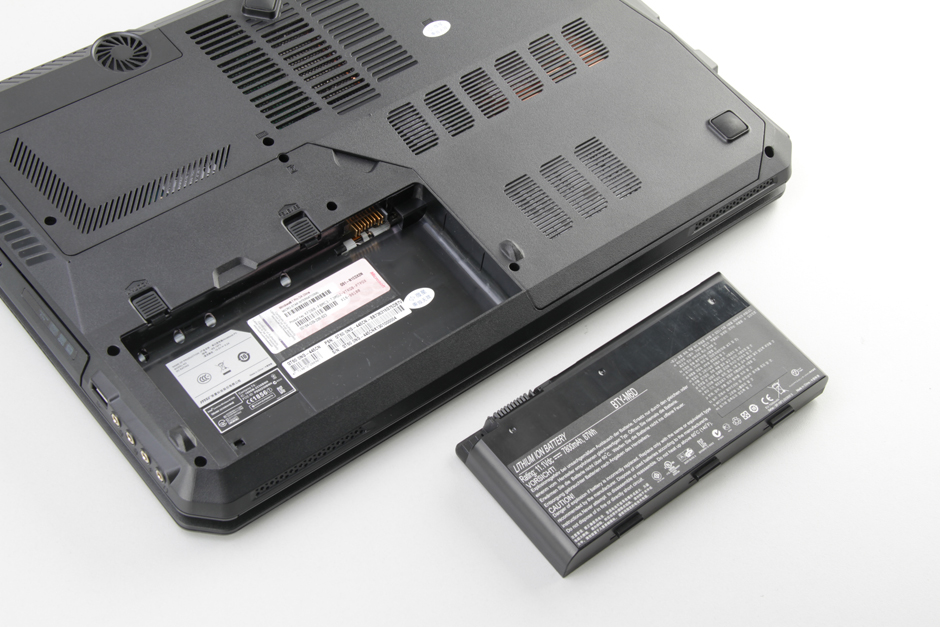
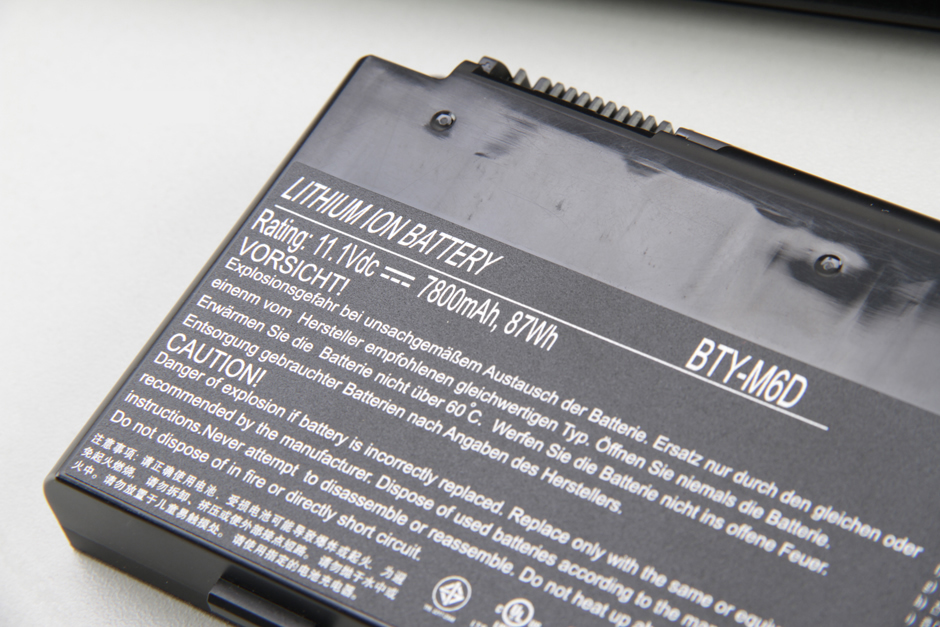
The laptop features an 11.1v, 7800mah, 87wh big capacity Li-ion battery, MSI P/N: BTY-M6D.
MSI’s warranty label
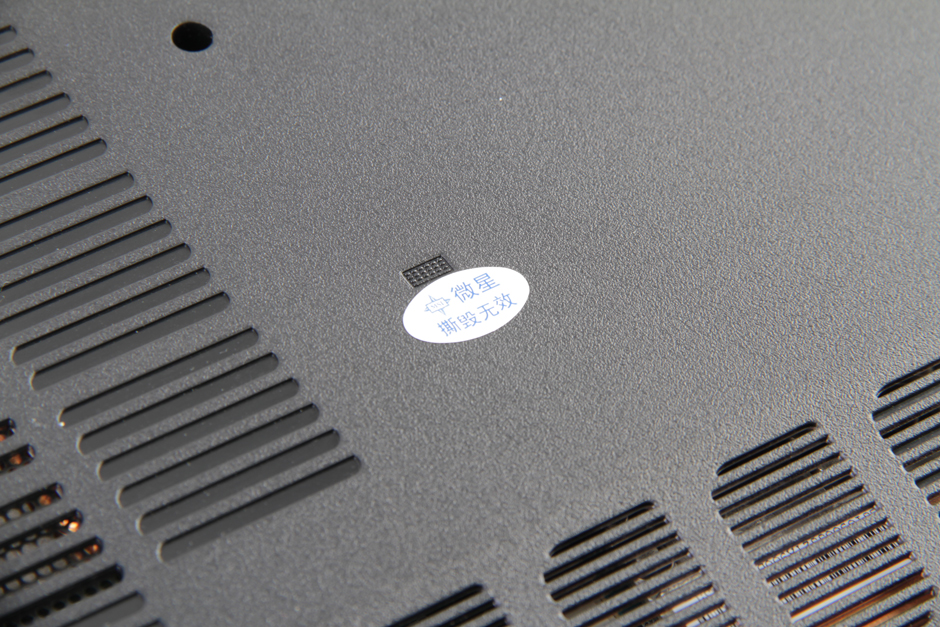
Now remove the screw under the warranty label; that means the laptop will void the warranty.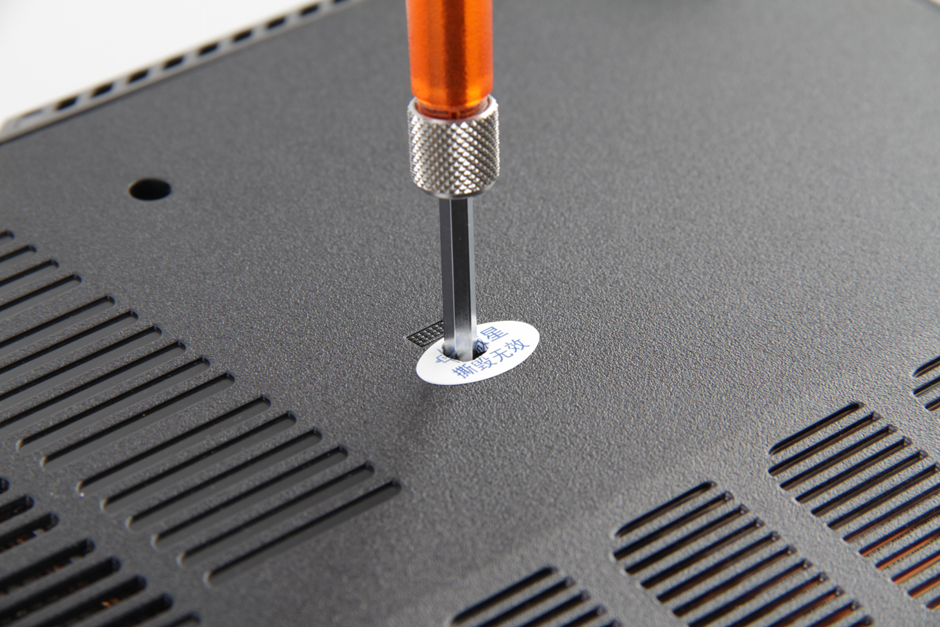
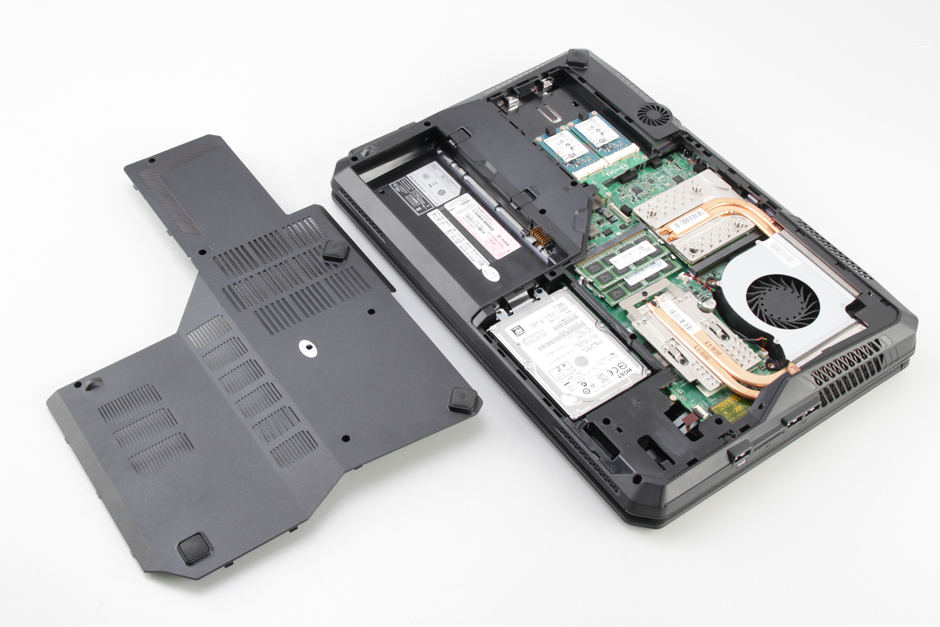
Remove this screw and the other five screws securing the service cover, remove the service cover.
Under the cover, you can find the hard drive, heat sink, cooling fan, SSD, and memory.
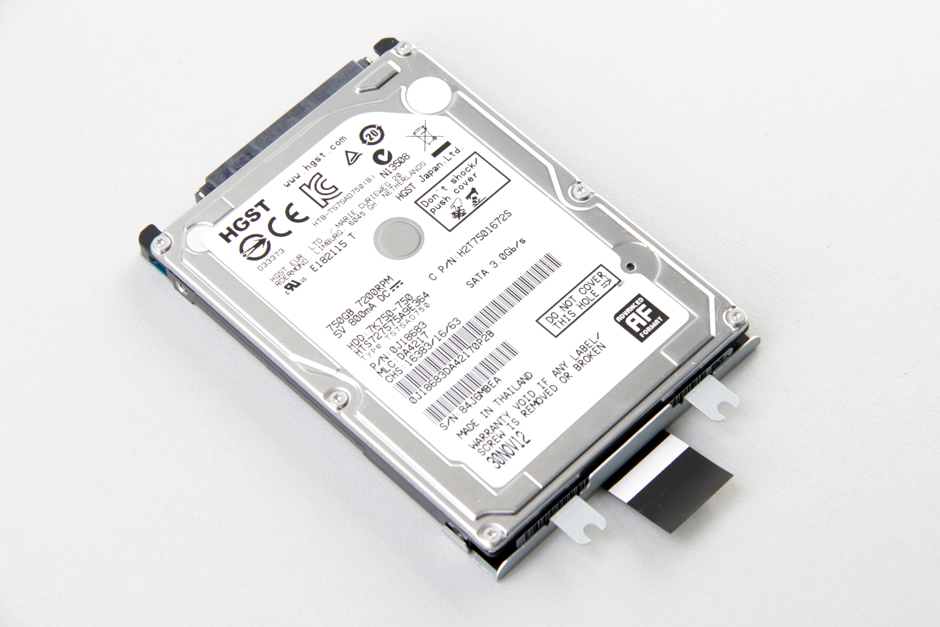
Remove two screws securing the hard drive module. You can remove the hard drive module.
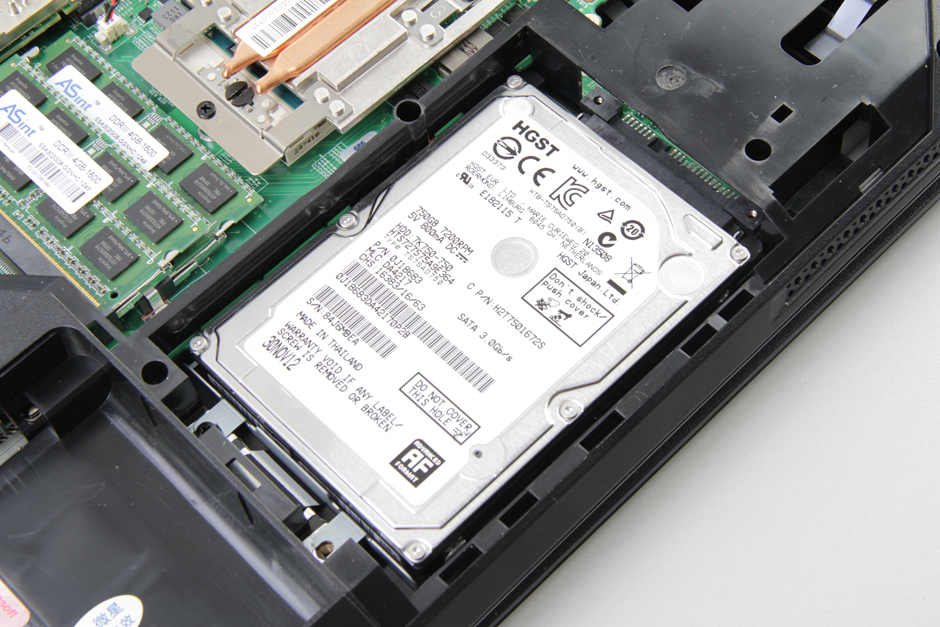
The laptop comes with an HGST 750GB 7200RPM hard drive.
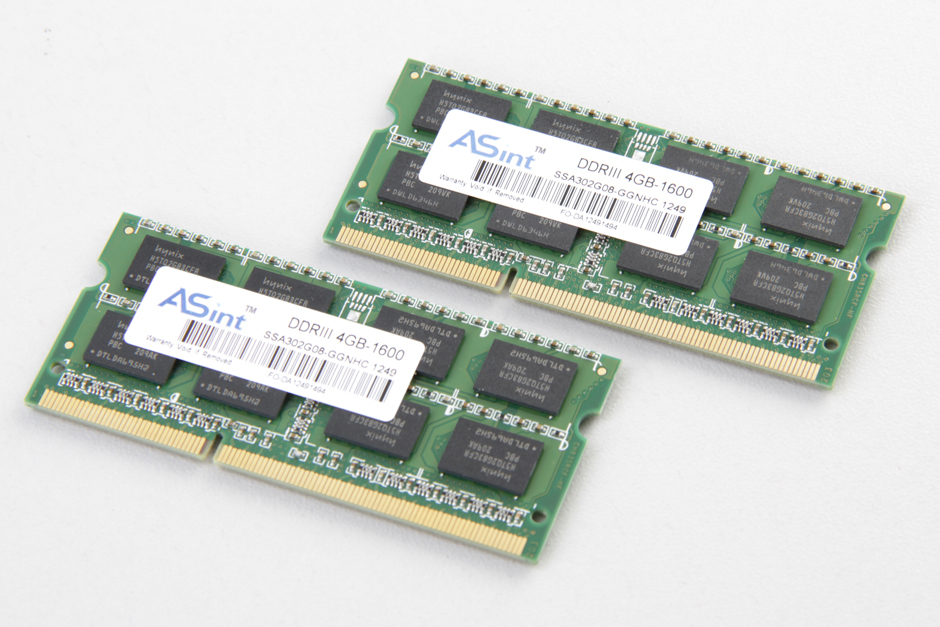
Remove two RAMs.
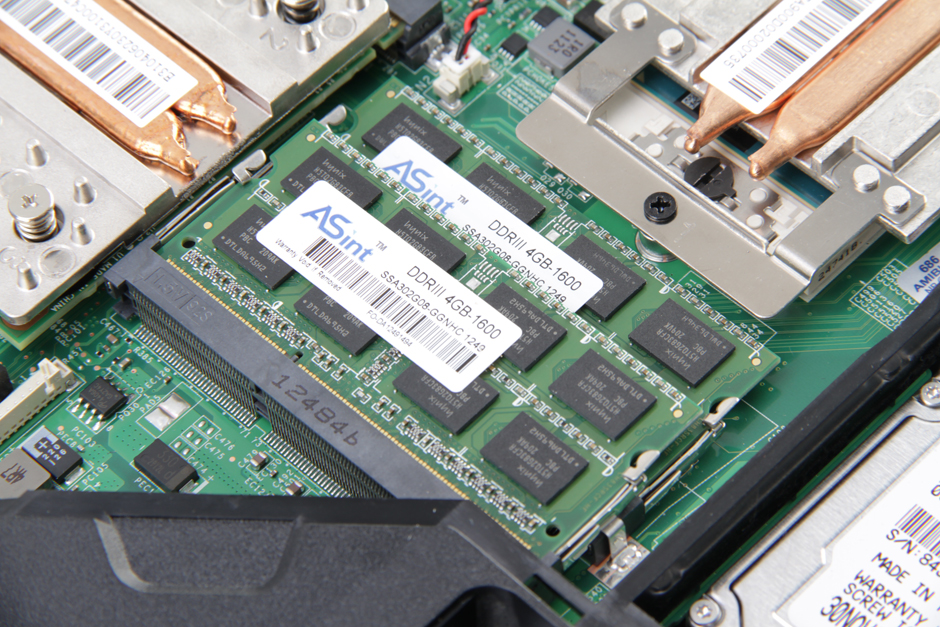
The MSI GT60 comes with two ASINT 4GB DDR3 1600MHz RAMs.
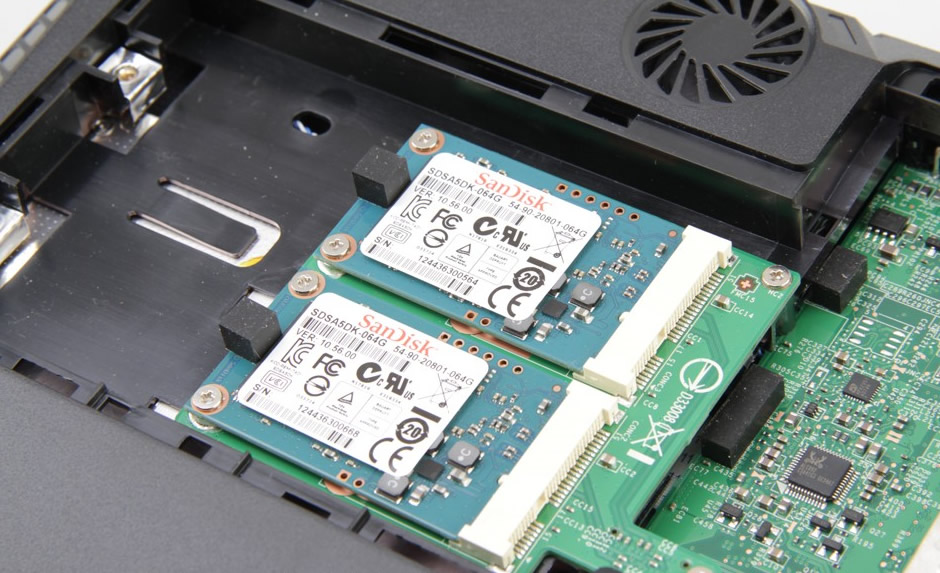
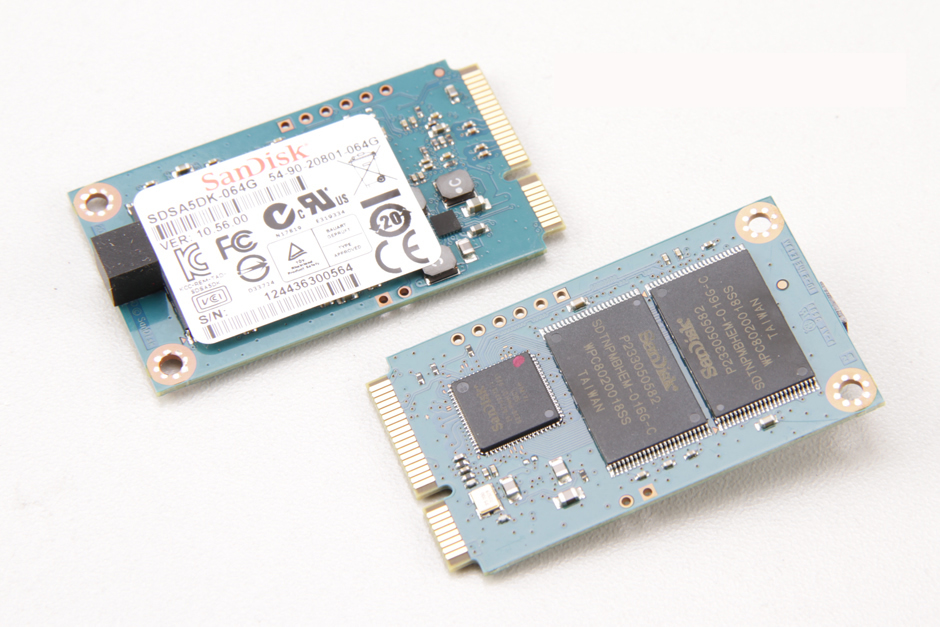
The MSI GT60 features two SanDisk 64GB mSATA SSD.
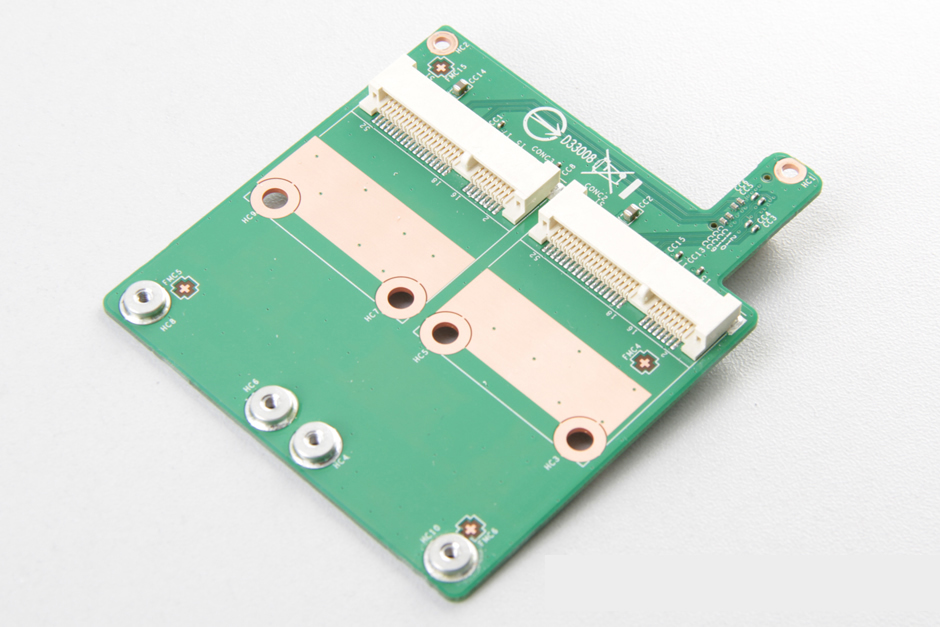
Remove two screws securing the HDD board and remove the HDD board.
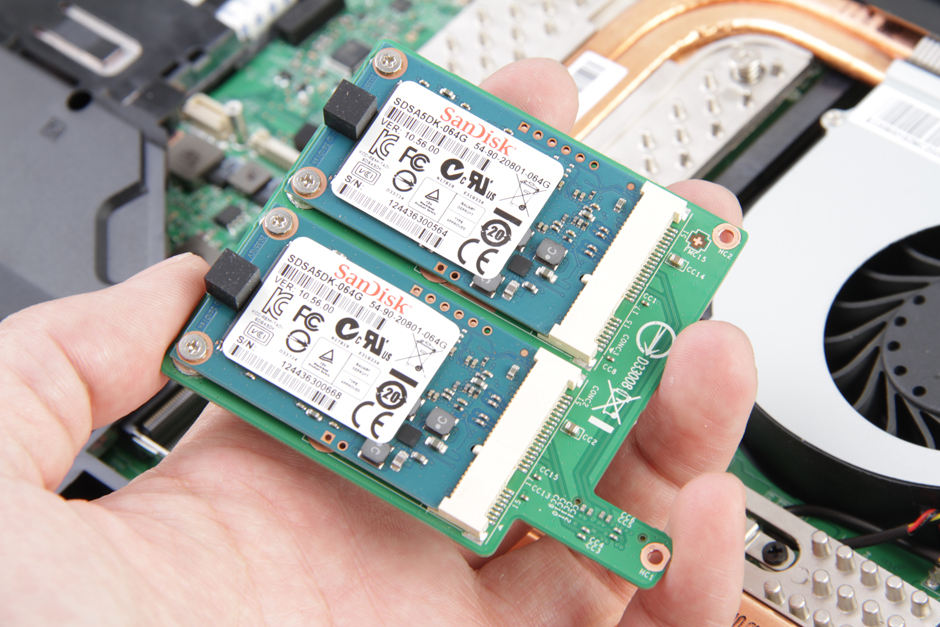
Remove two screws securing the SSD and take it out.
HDD board
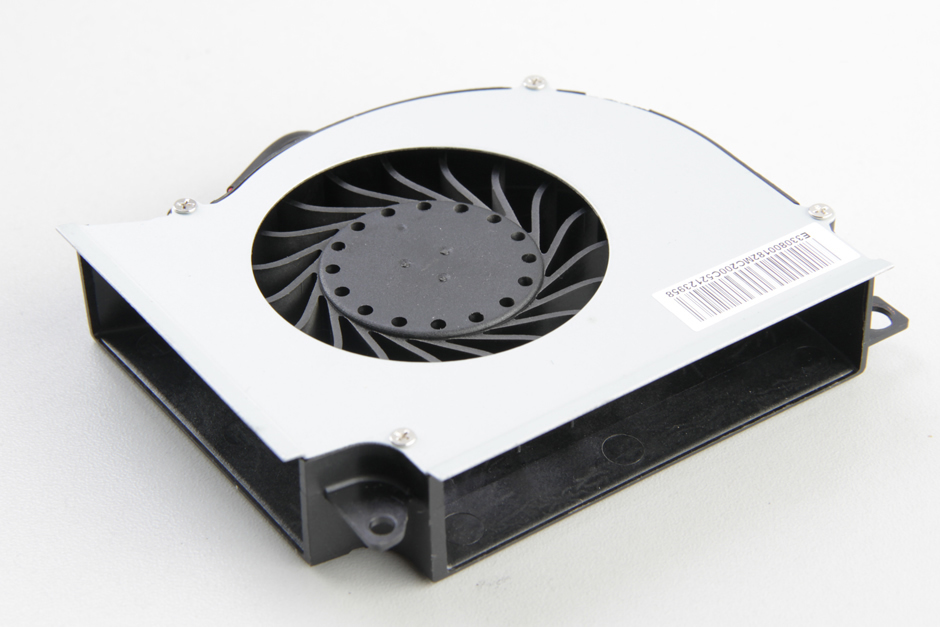
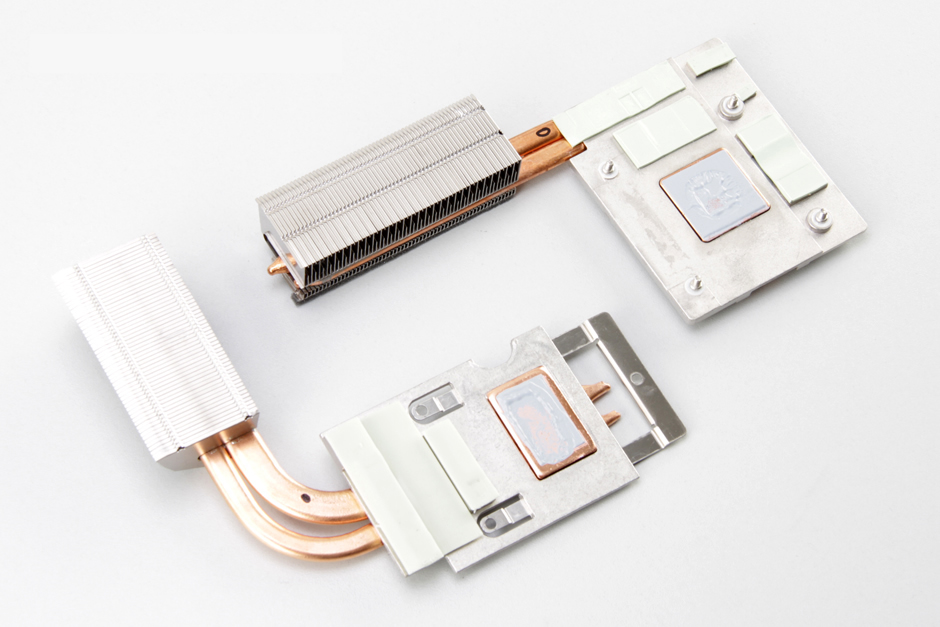
Remove all screws securing the heat sink and cooling fan.
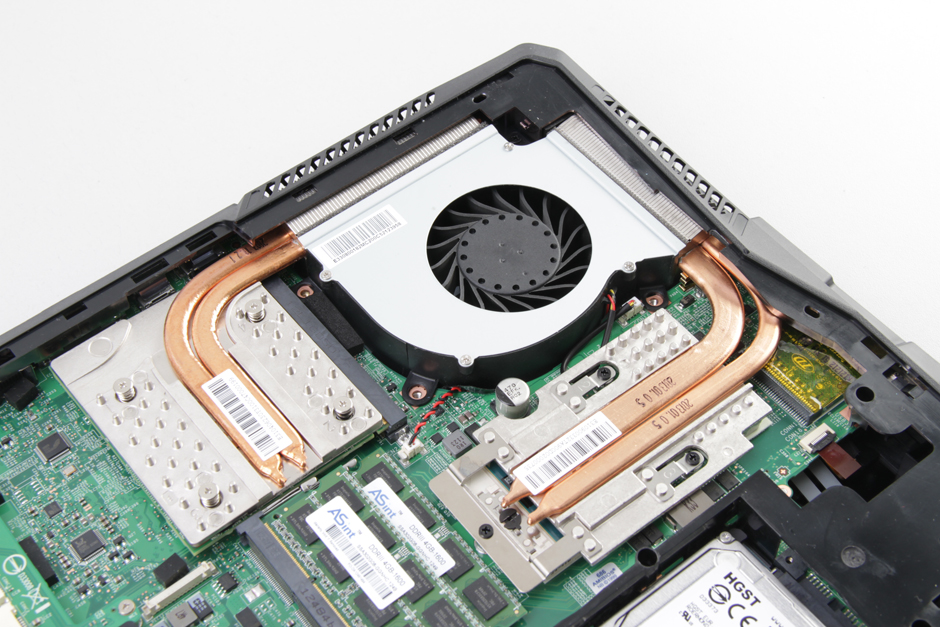
Cooling fan
Heatsink
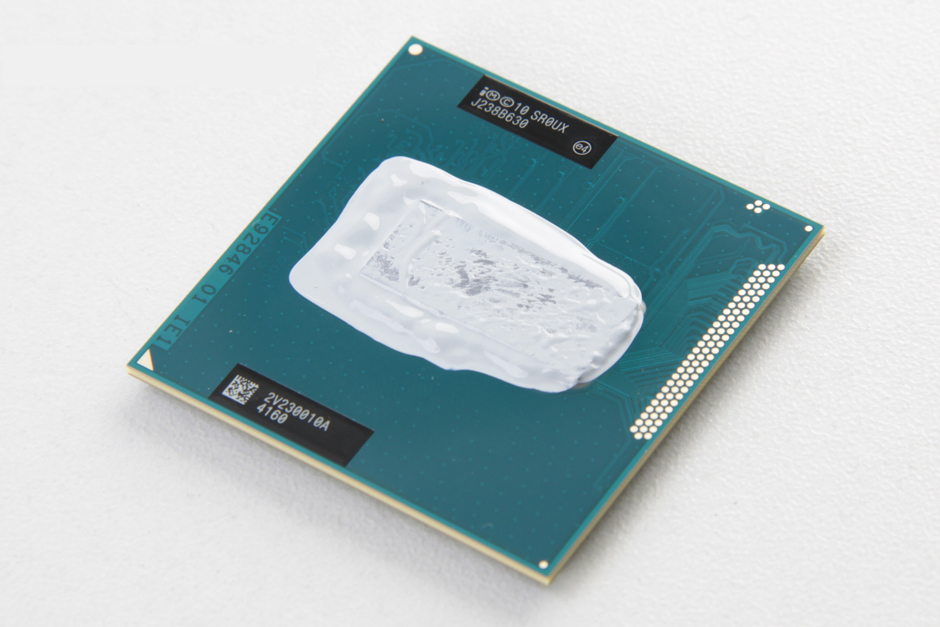
Intel® Core™ i7-3630QM processor (6M Cache, up to 3.40 GHz)
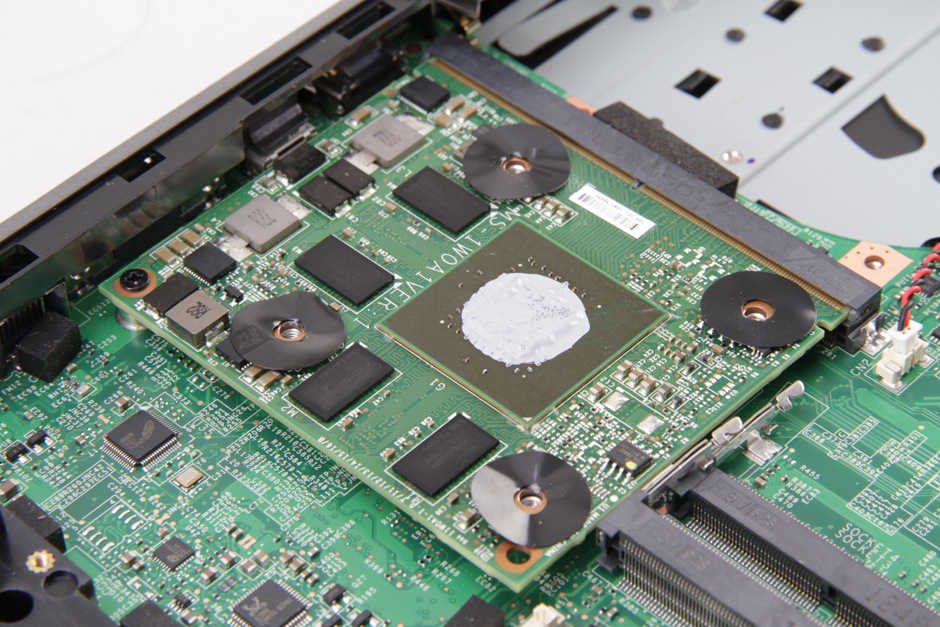
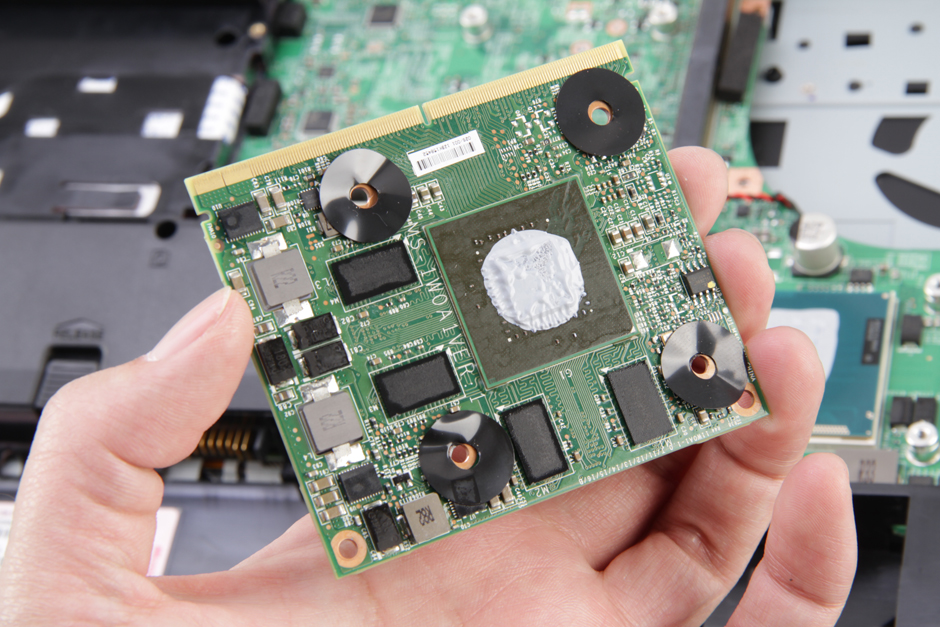
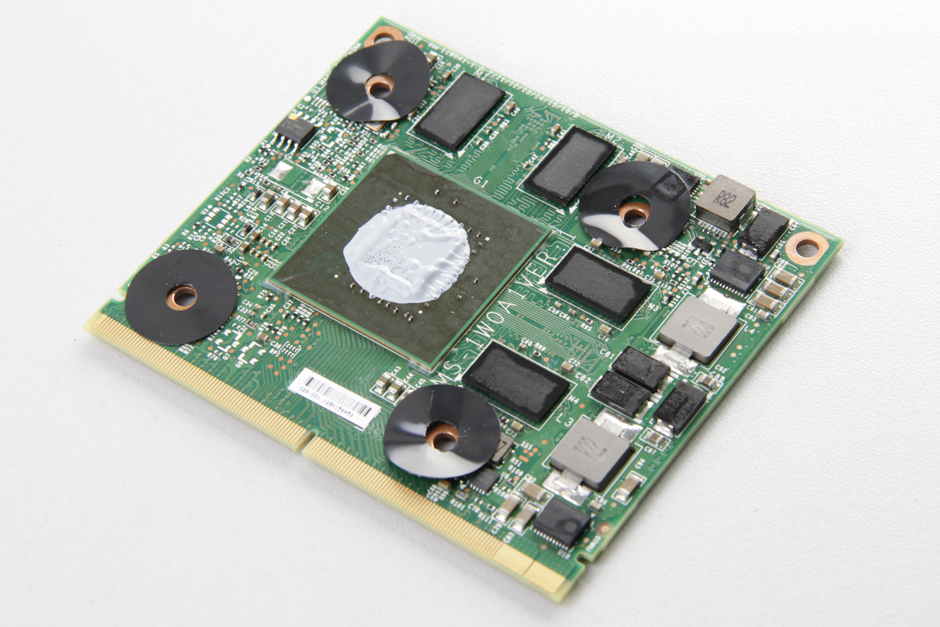
NVIDIA Quadro K2000M professional graphics card, with MXM slot, 28nm process, Support for Optimus, PhysX, Verde Drivers, CUDA, 3D Vision, and 3DTV Play.
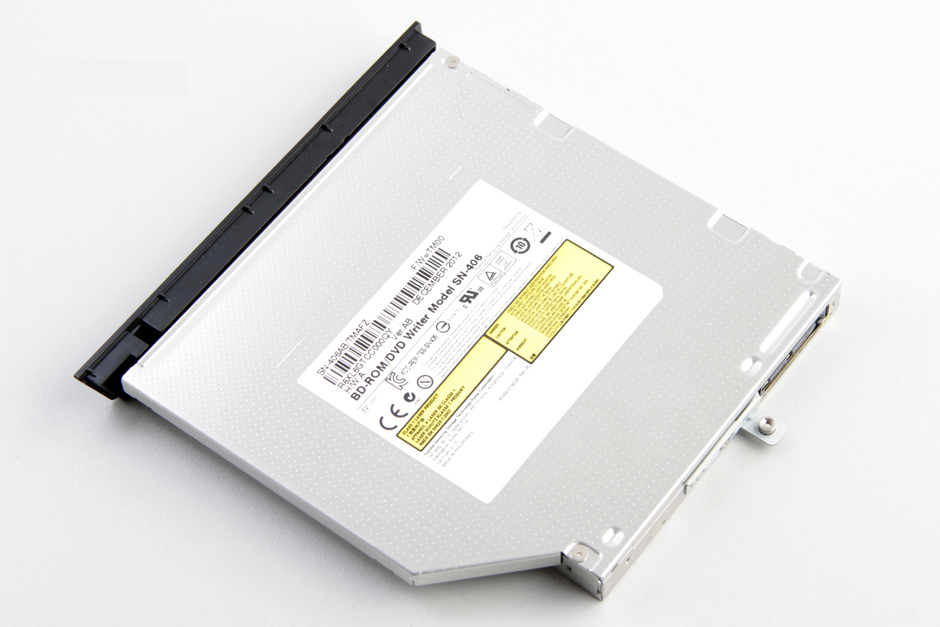
MSI GT60 features a Samsung SN-406 Blu-ray burner.
