Razer BladeRazer Laptop
Razer Blade 2013 Disassembly
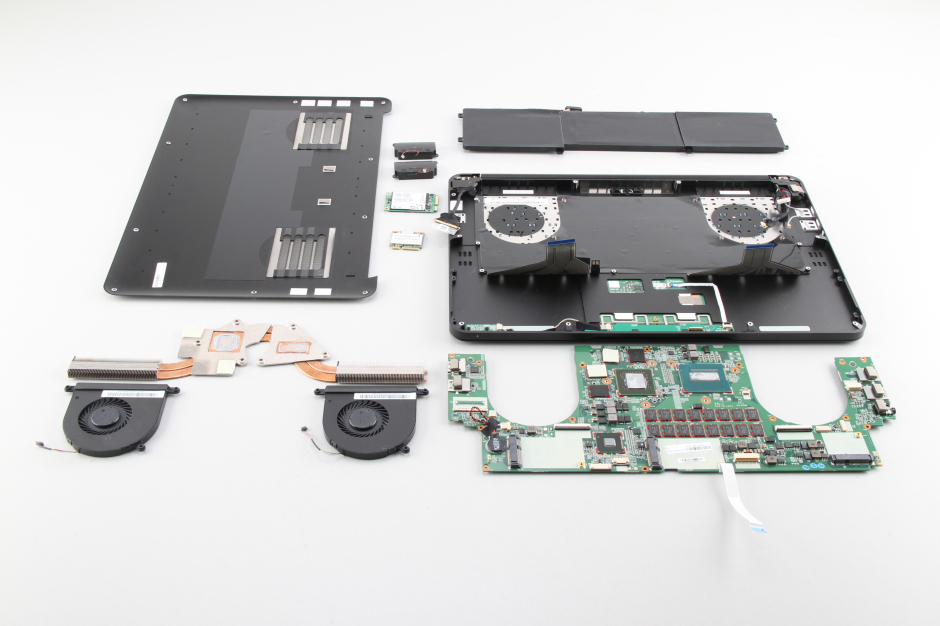
In this guide, I’ll explain how to disassemble the Razer Blade 2013 to remove and replace the battery, SSD, heat sink, cooling fan, wireless card, and motherboard.
Looking for more guides? Follow us on Facebook for all the latest repair news.
Tools needed
- 1 x small Phillips head screwdriver
- 1 x small plastic scribe
Razer Blade 2013 teardown step:
Note: Please make sure to turn off your laptop and remove the AC adapter.
Step 1: Remove the bottom case
-
- The laptop model is RZ09-0102.
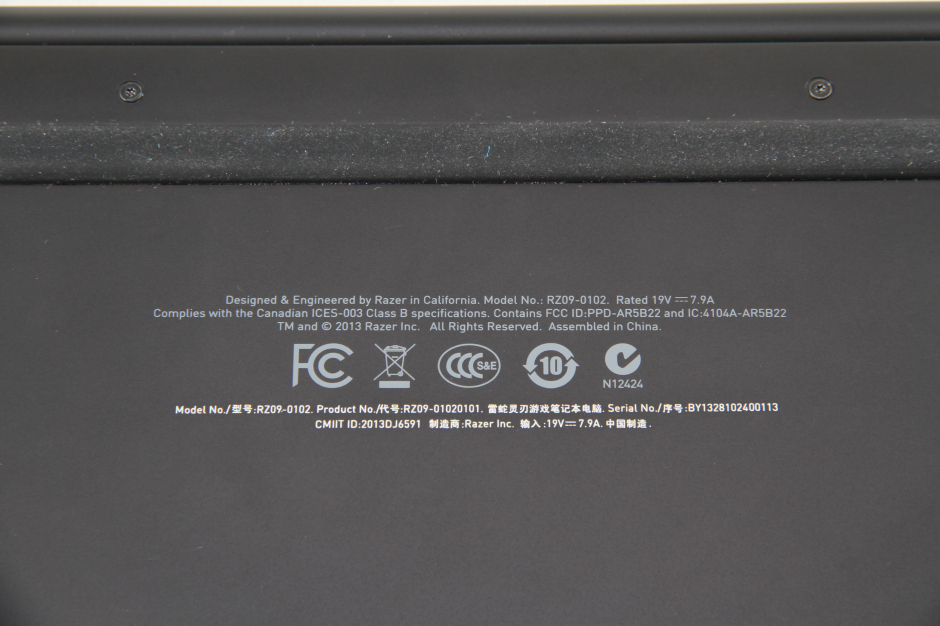
-
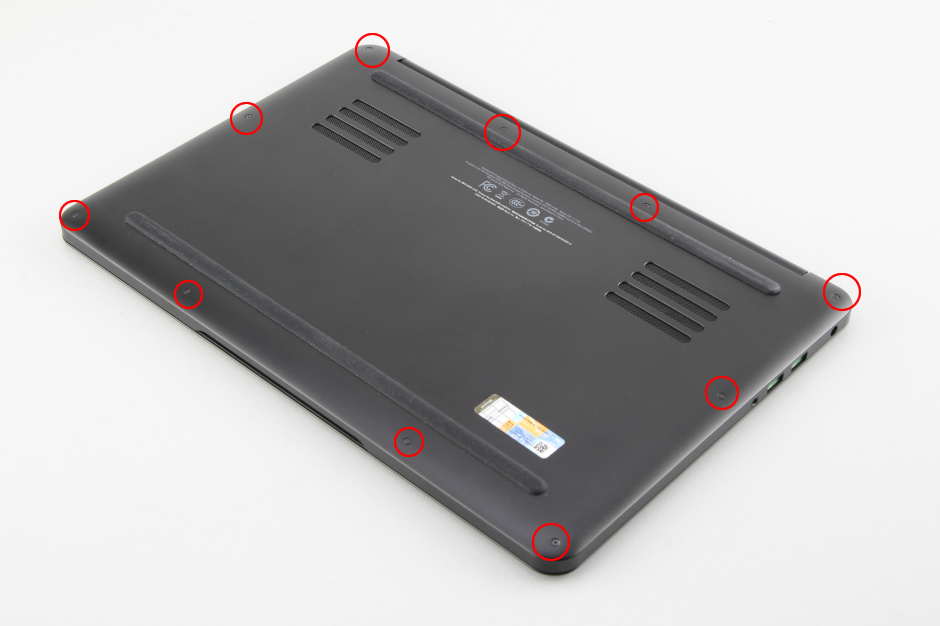
- Remove ten screws securing the bottom case. You can remove the bottom case.
-
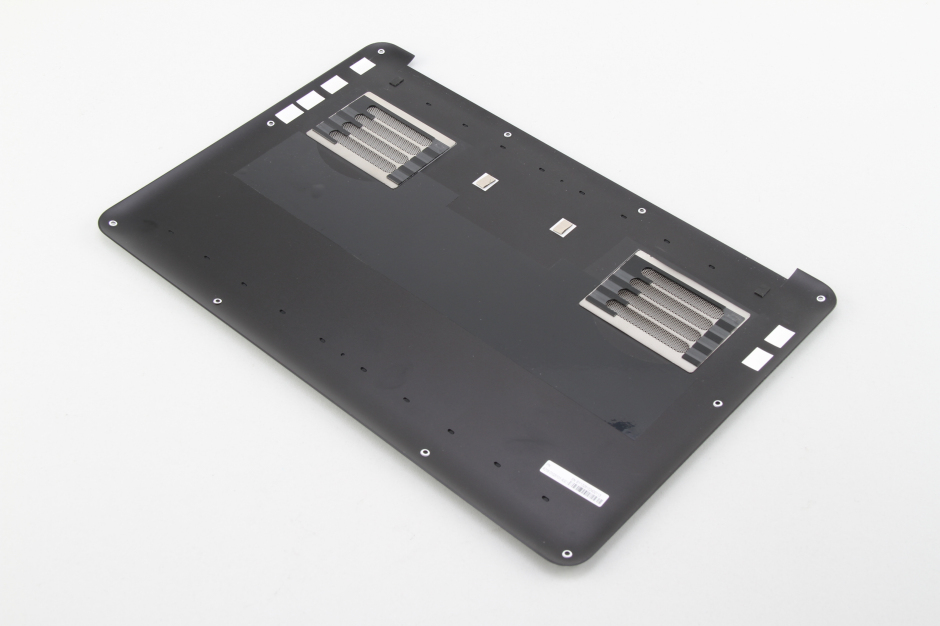
- Here’s the bottom case.
Step 2: Remove the battery.
-
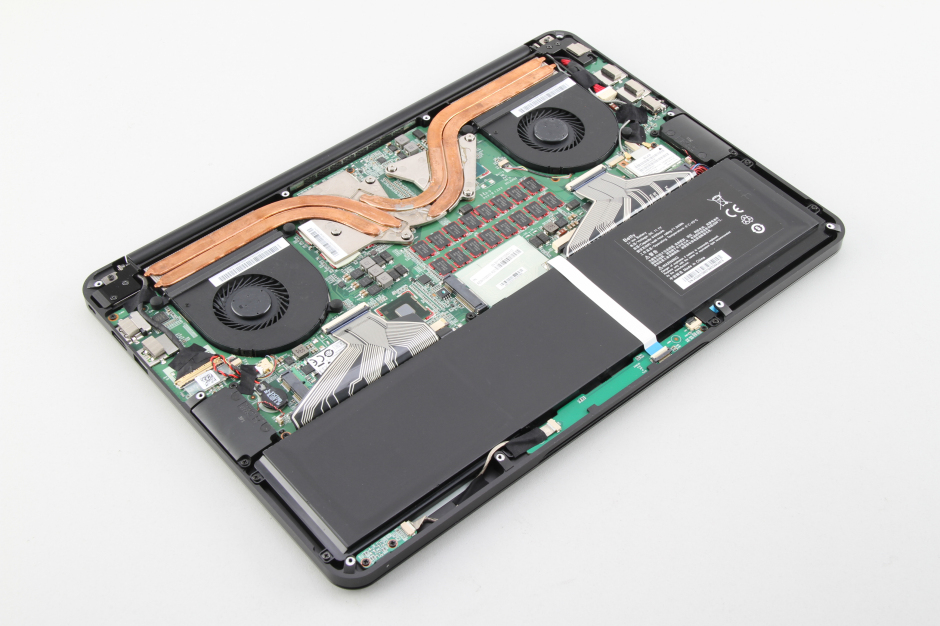
- Under the bottom case, you can get access to the battery, SSD, wireless card, heat sink, and cooling fan.
- Disconnect the white cable and remove six screws. You can remove the battery.
-
- battery
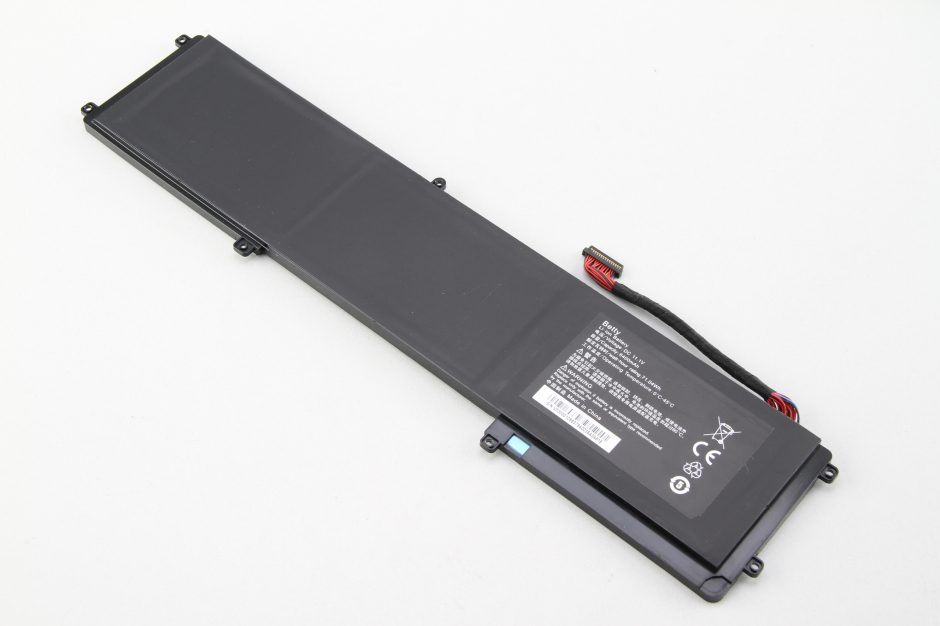
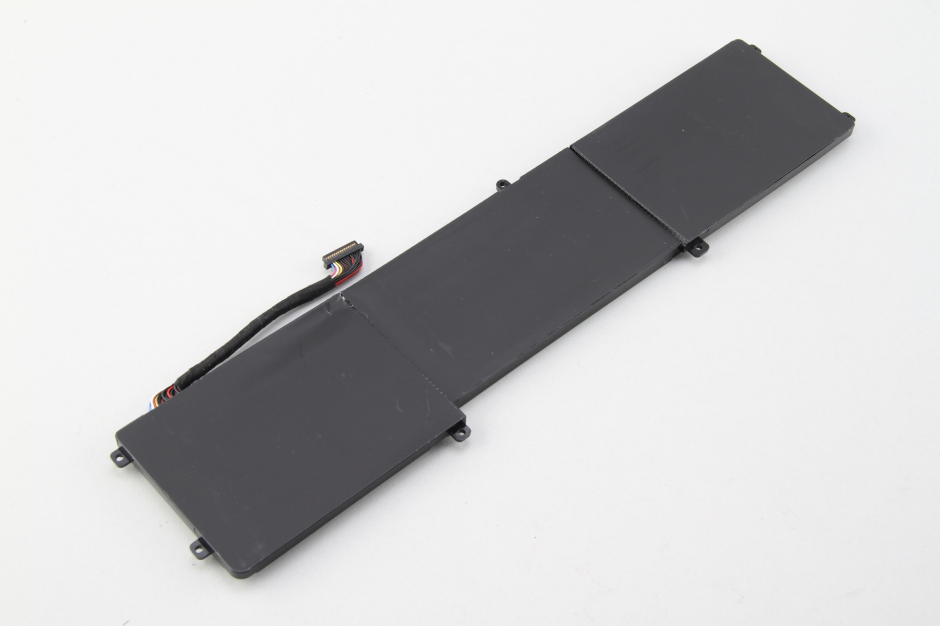
Step 3: Remove the SSD.
-
- Remove one screw securing the SSD and take it out.
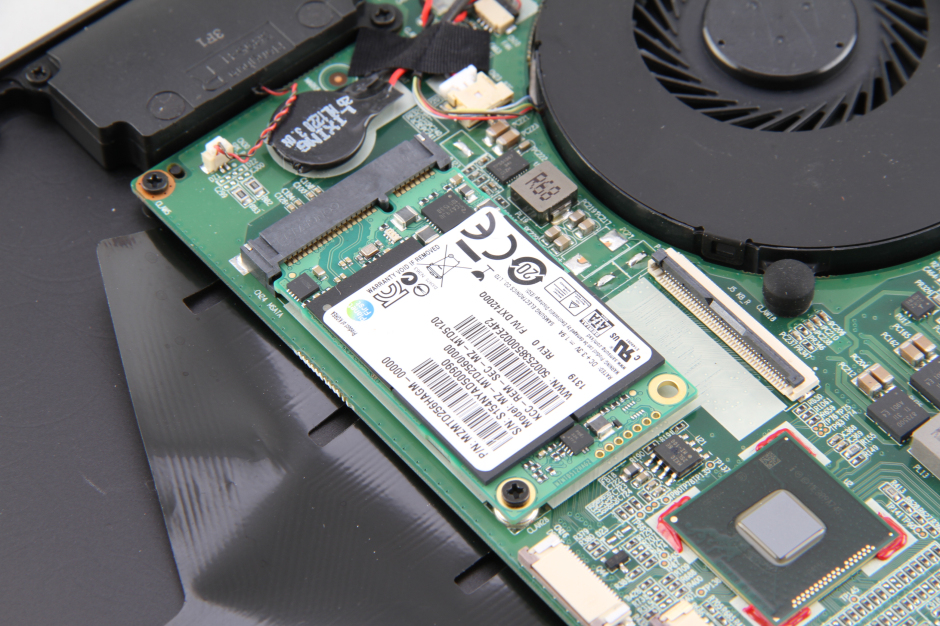
-
- Pull out the SSD.
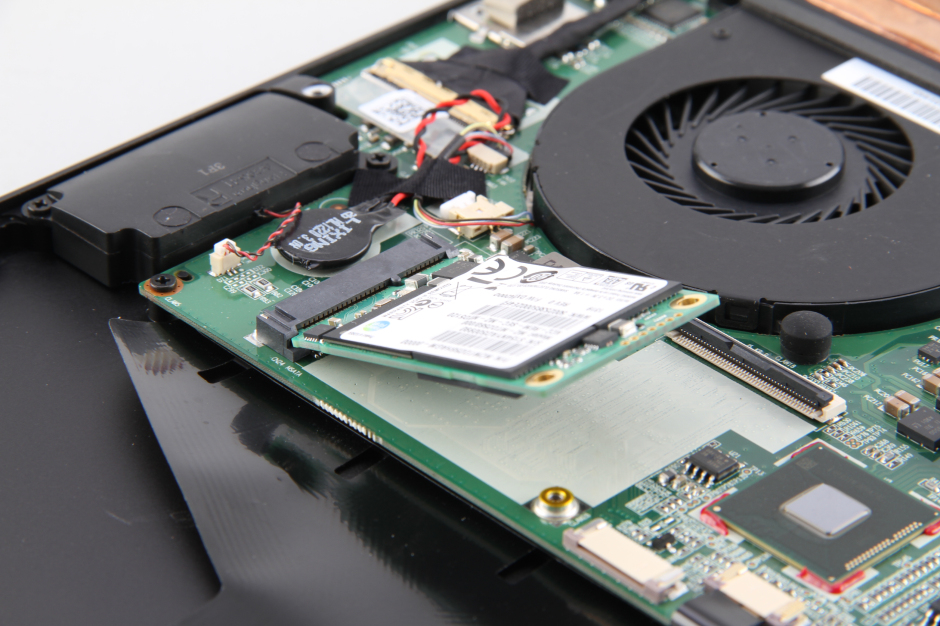
-
- Samsung 256GB SSD, Samsung model: M2MTD256HAGM-00000.
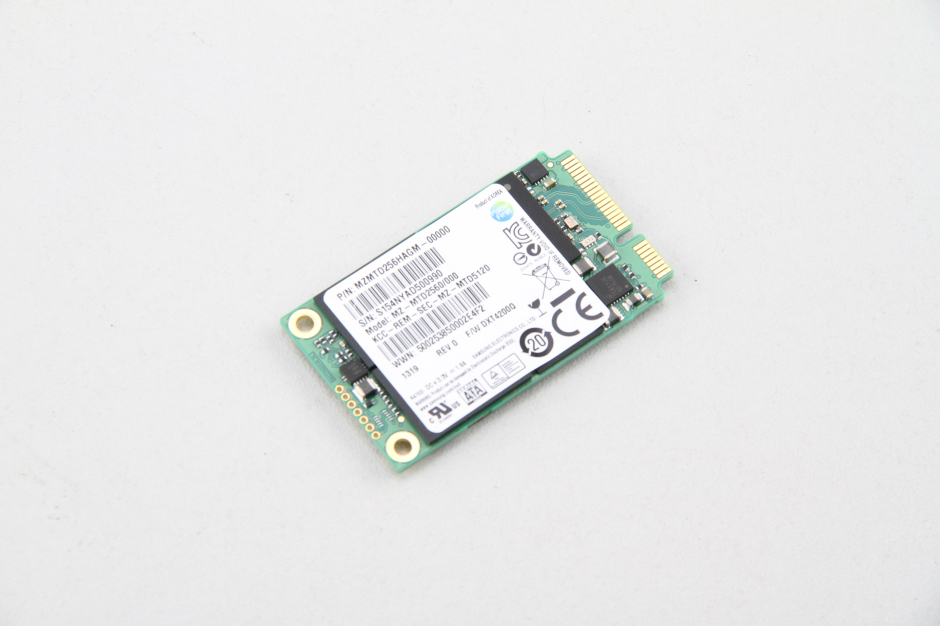
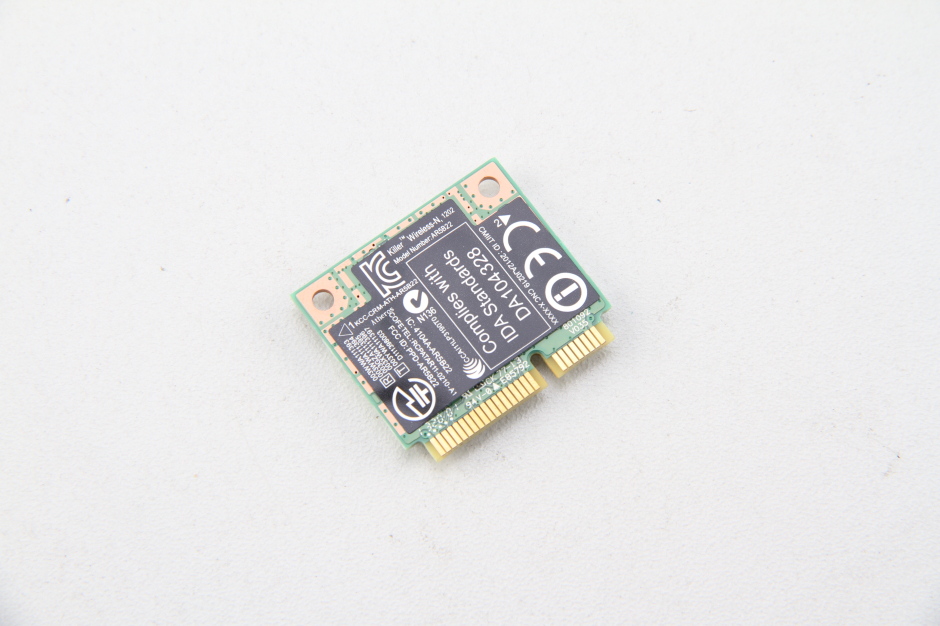
Step 4: Remove the wireless card.
-
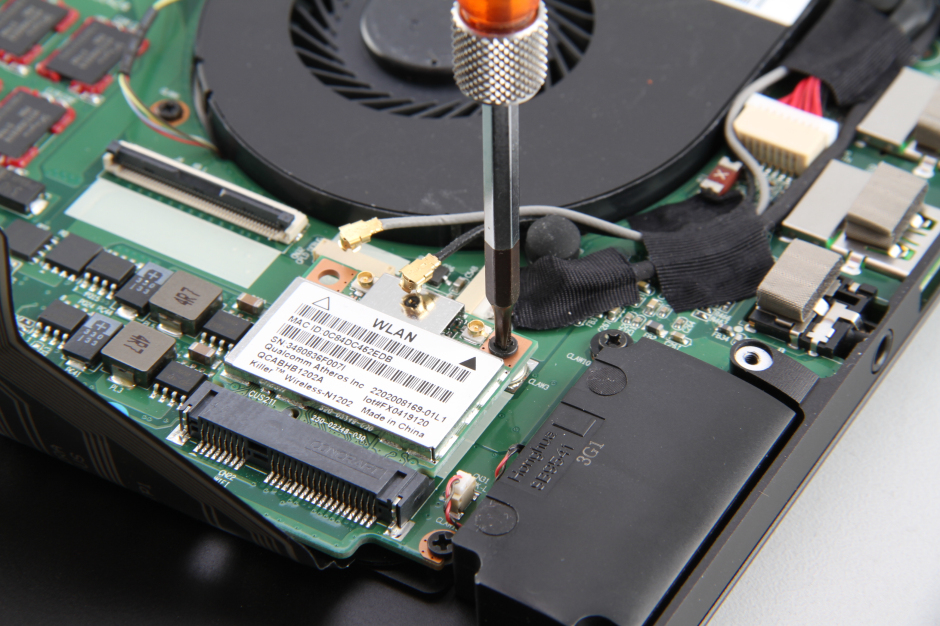
- Disconnect two wireless card antennas.
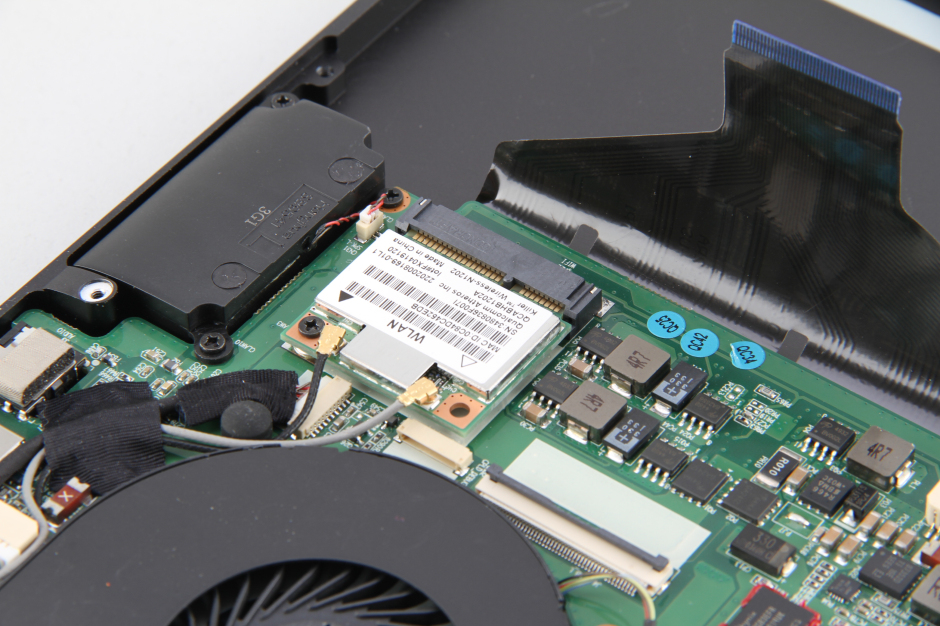
- Remove one screw securing the card.

- Killer Wireless-N, 1202 wireless card, model: AR5B22.

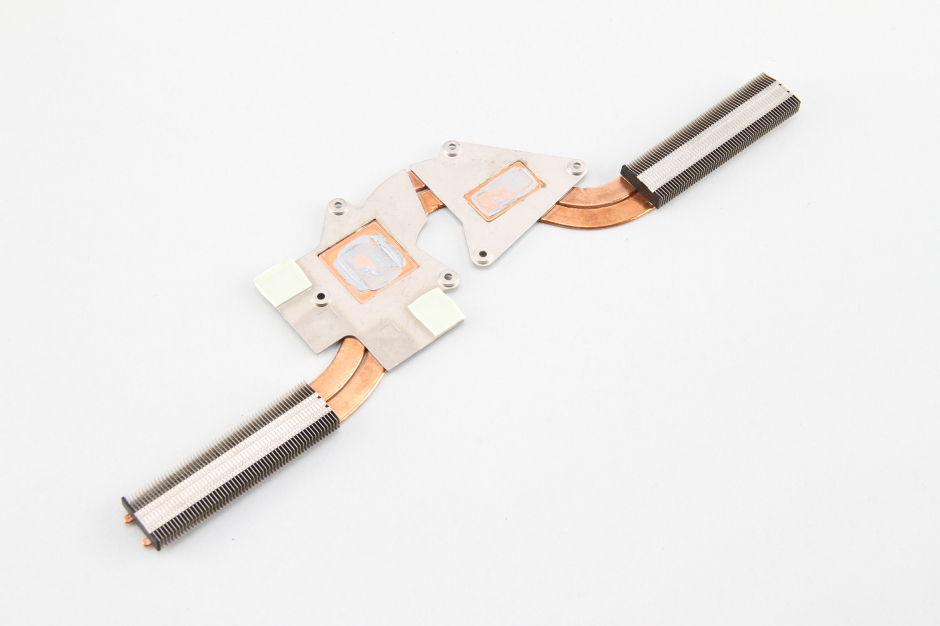
Step 5: Remove the heat sink and cooling fan.
-
- Remove all the screws securing the cooling fan (left and right). Disconnect the cooling fan cable.
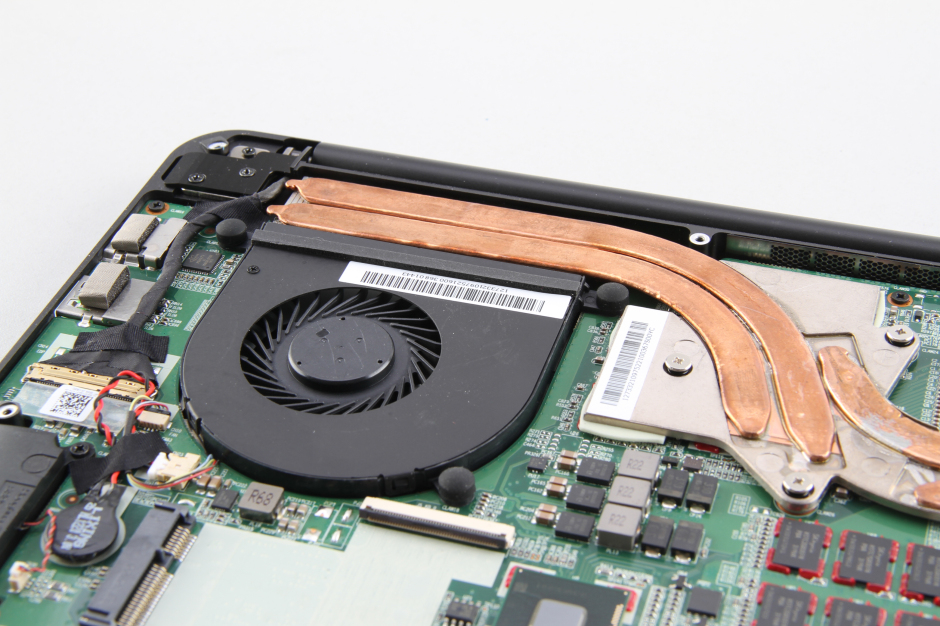
-
- Cooling fan
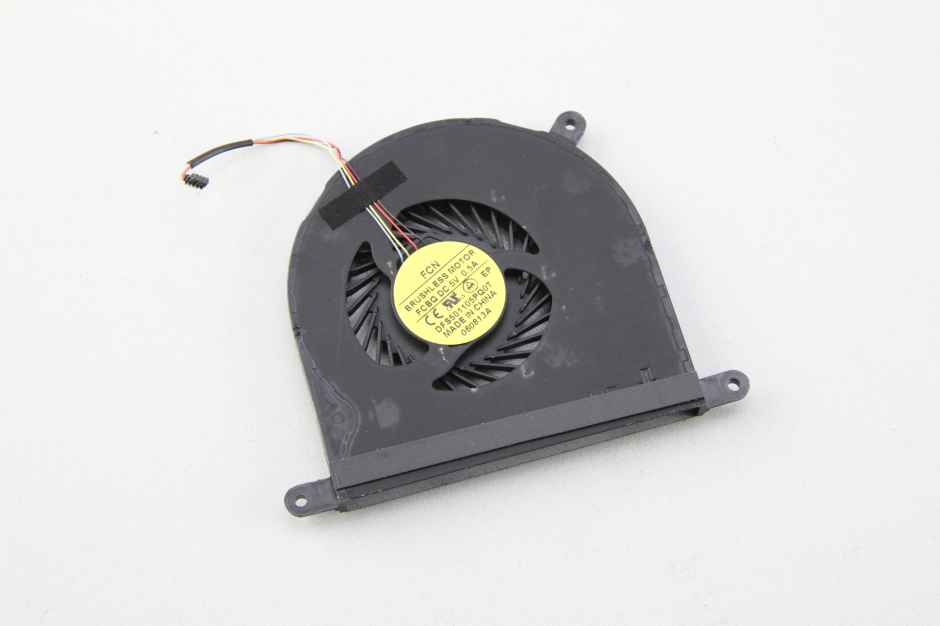
-
- Heatsink
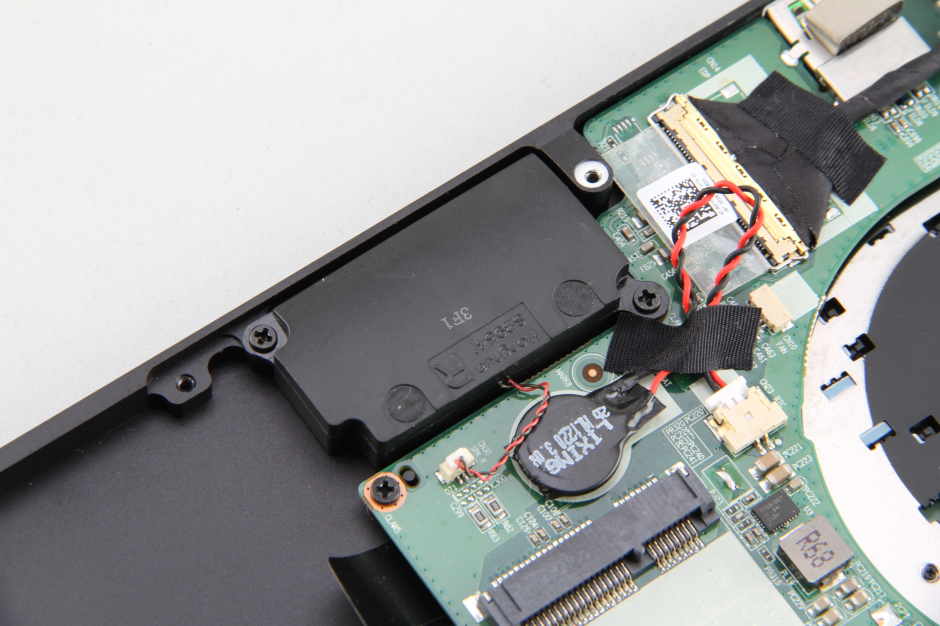
Step 5: Remove the speakers.
-
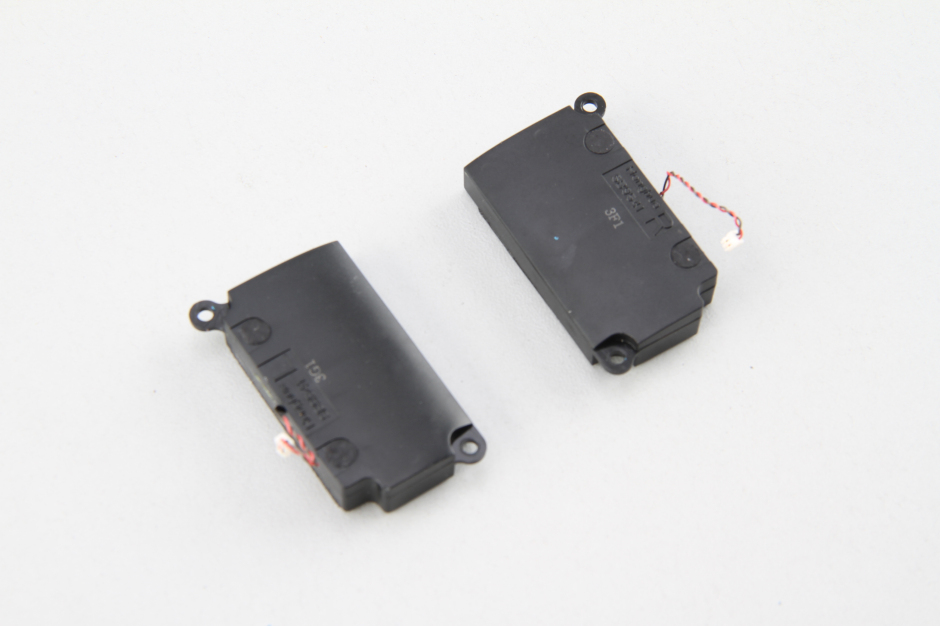
- Remove two screws securing the speakers (left and right). Disconnect the speaker cable.
-
- Two speakers
Step 5: Remove the motherboard.
-
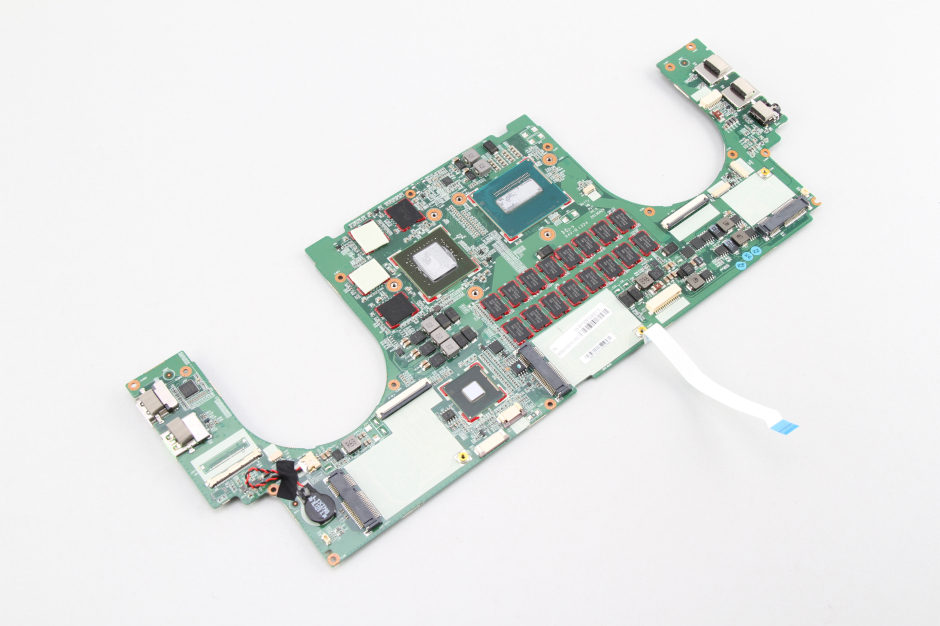
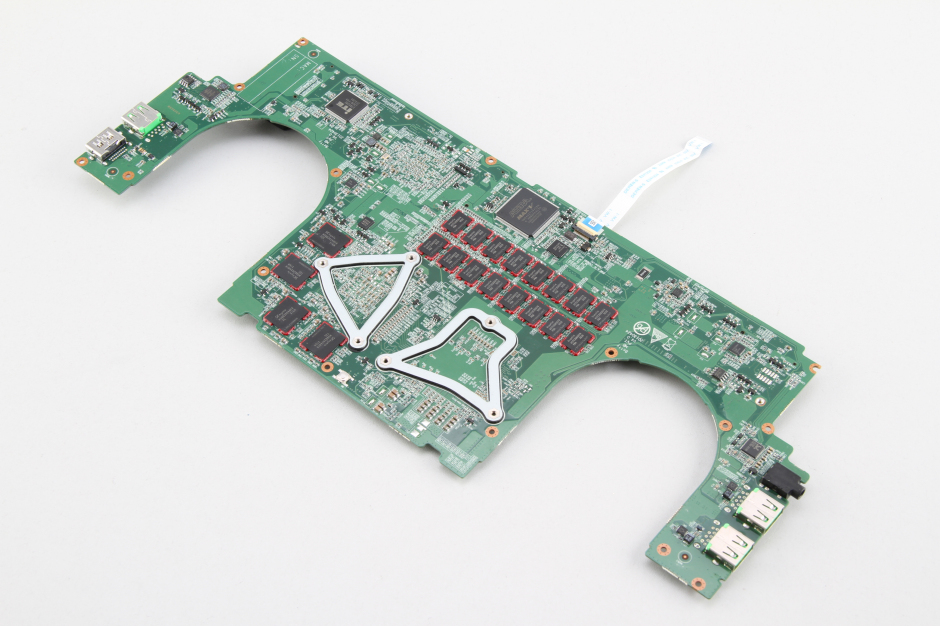
- Motherboard
-
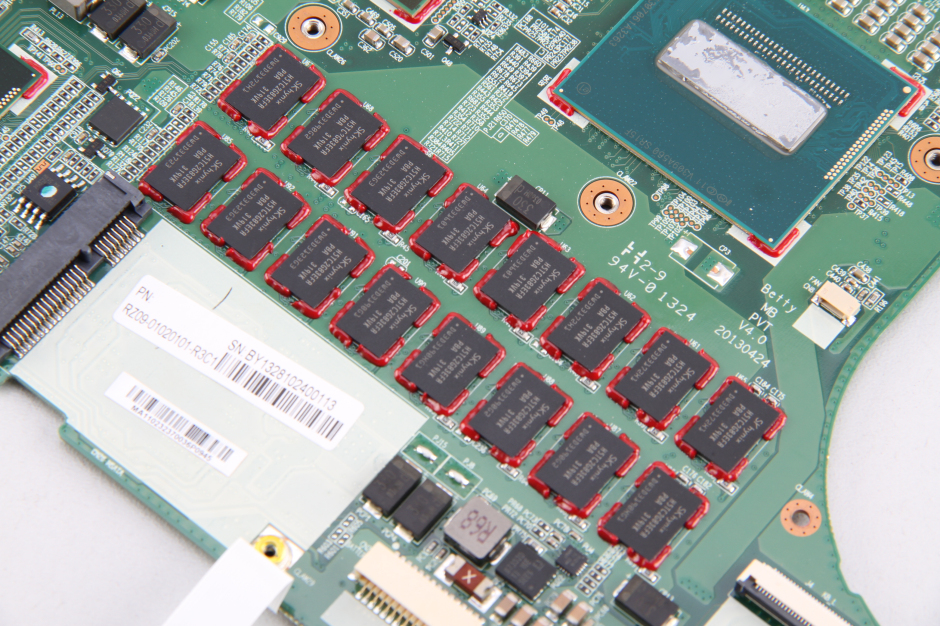
- Memory chips


My 2013 Razer Blade is starting to show signs of damage from general use. Often the battery indicates that it is “plugged in, not charging”. When the battery reaches around 1%, the laptop powers down due to a lack of power even when plugged in. To my knowledge, the Razer cannot be instructed to run via AC only. Would removing the battery bring about the desired effect of forcing the laptop to run off AC and preventing power down due to insufficient battery charge?