Lenovo TabletLenovo Yoga Tablet 2Teardown
Lenovo Yoga Tablet 2 Teardown
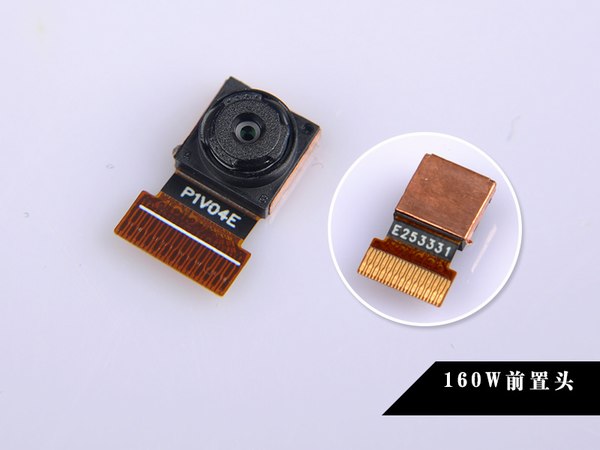
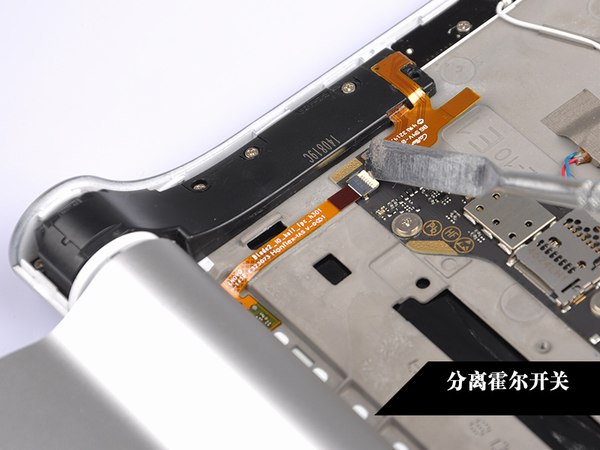
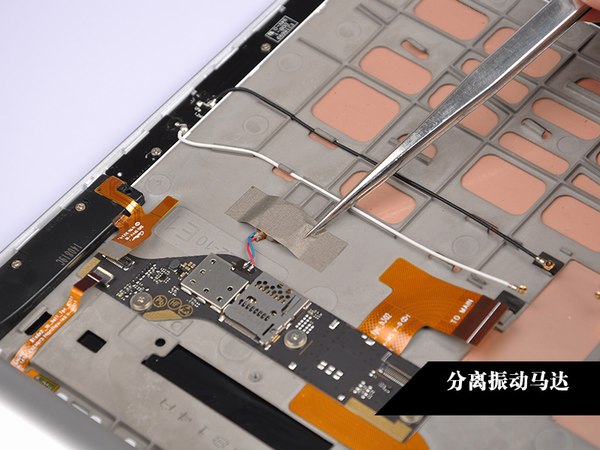
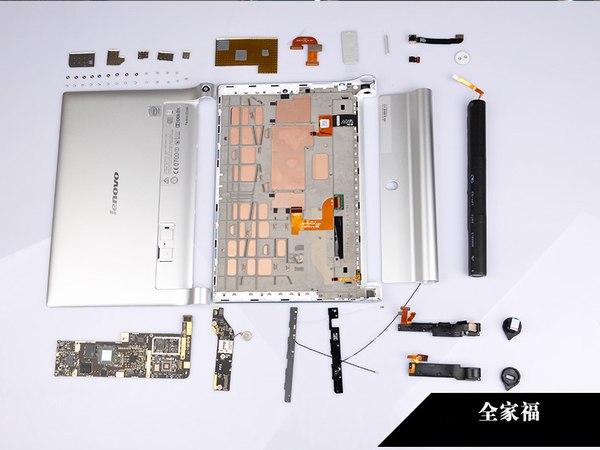
In this guide, I’ll explain how to disassemble the Lenovo Yoga Tablet 2 to remove the battery, rear camera, front camera, speakers, and motherboard.
Looking for more guides? Follow us on Facebook for all the latest repair news.
Lenovo Yoga Tablet 2 Teardown Step:
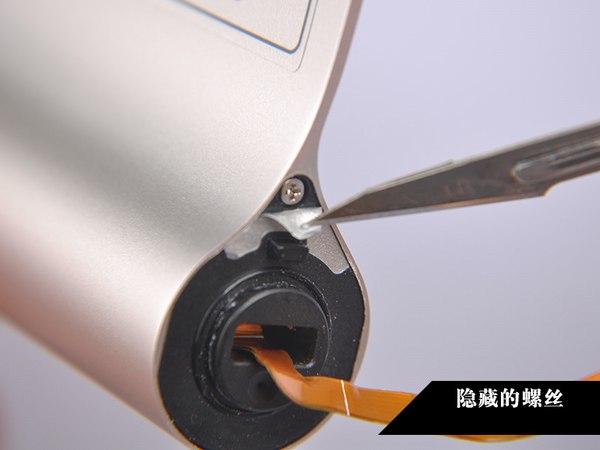
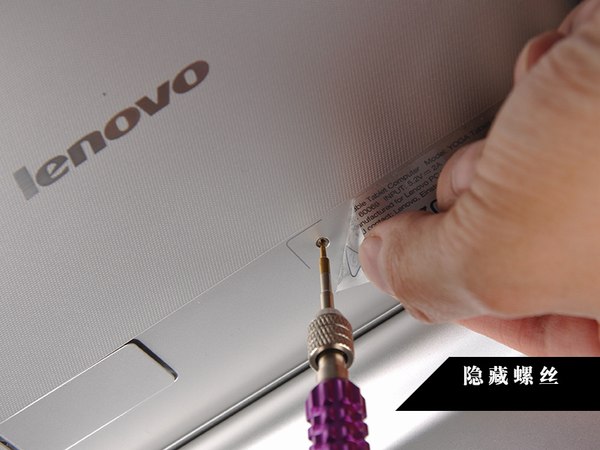
First of all, open the cover and remove the hidden screw.
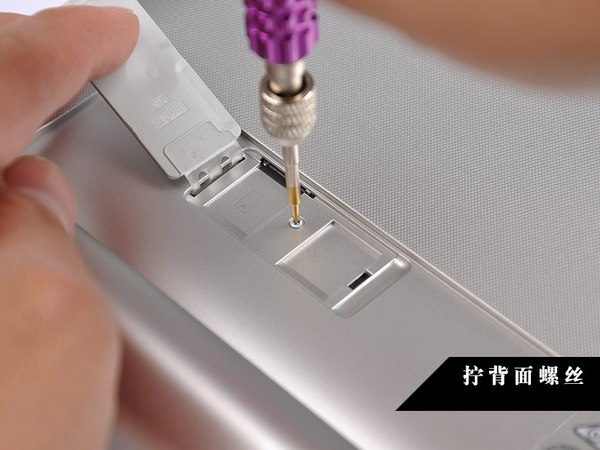
Lift up the scotch tape and remove the hidden screw.
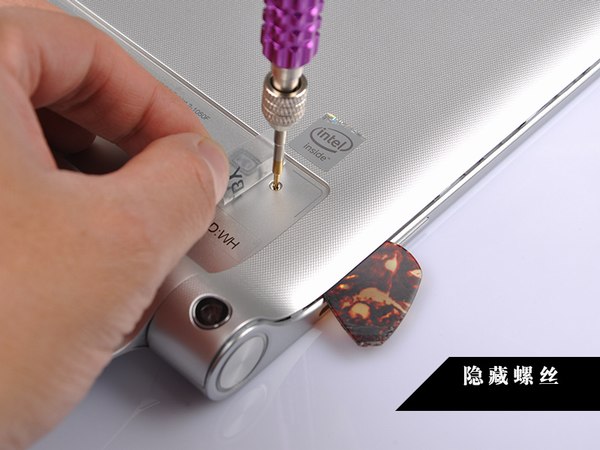
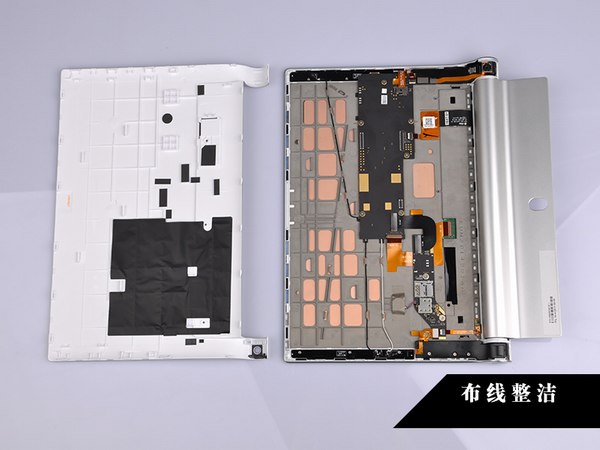
Pry up and remove the back cover.
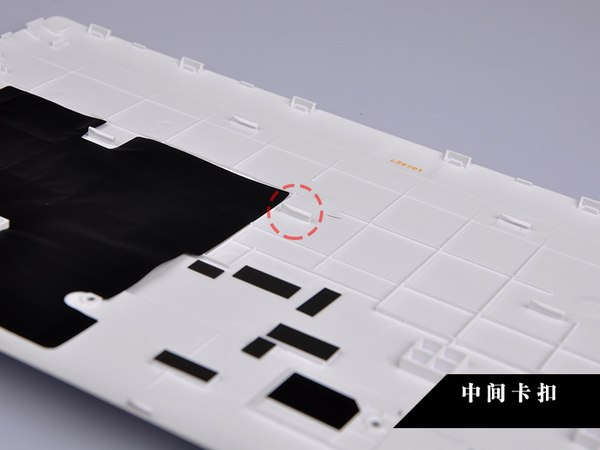
There are some snaps on the back cover. It can strengthen the robustness of the back cover.
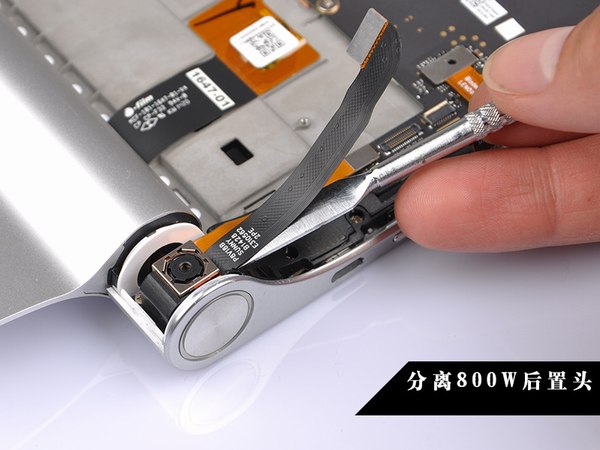
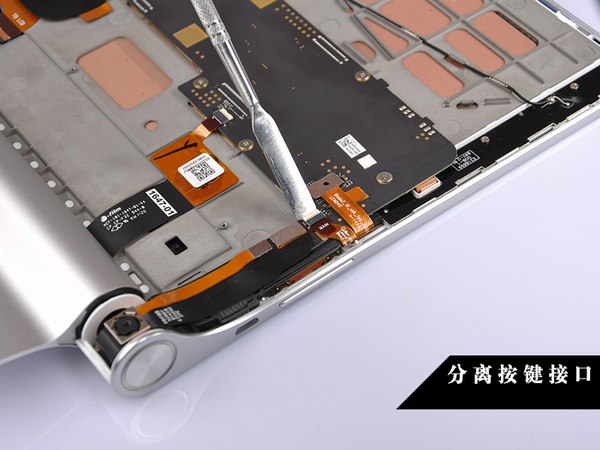
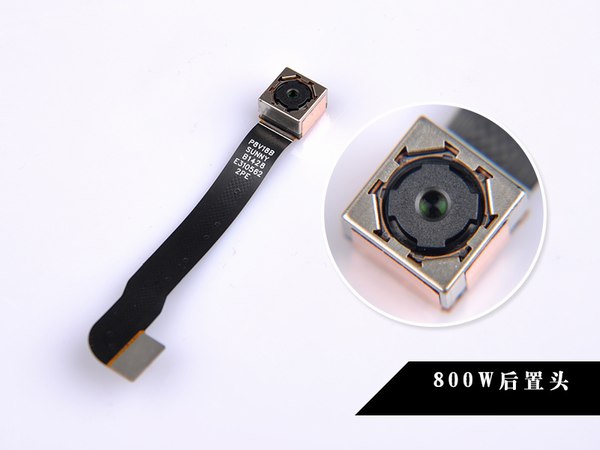
Disconnect the rear camera cable and remove the rear camera.
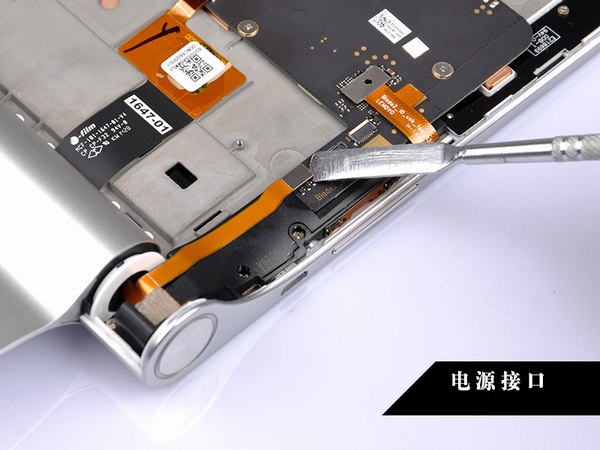
Disconnect the DC power jack cable.
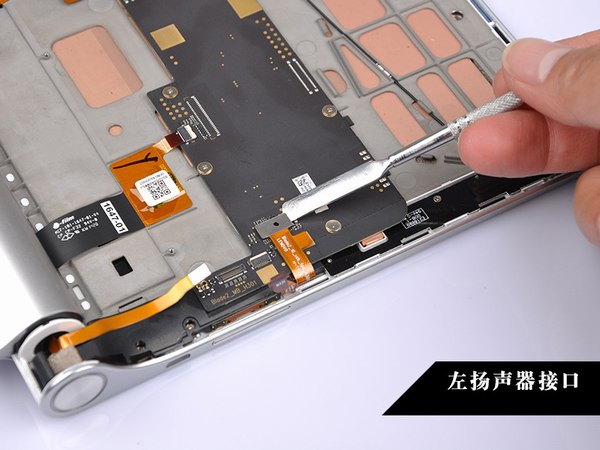
Disconnect the left speaker cable.
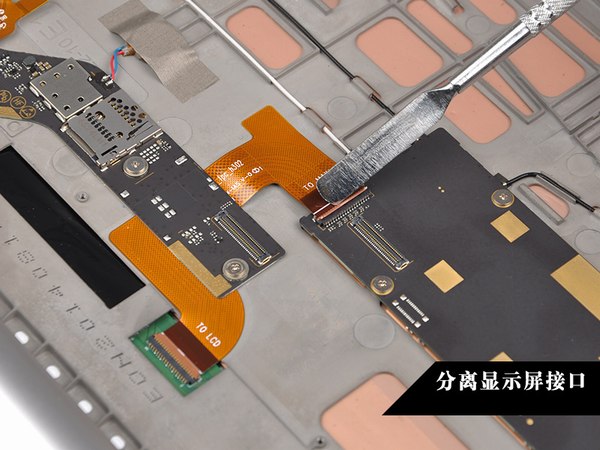
Disconnect the touchscreen cable.
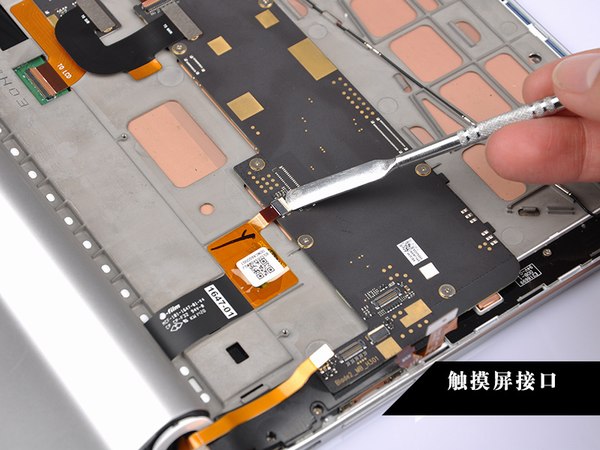
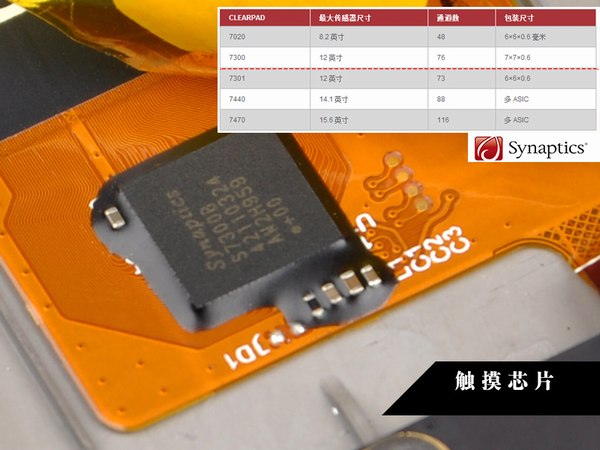
Synaptics 7300b touch chip, support for 76 channels.
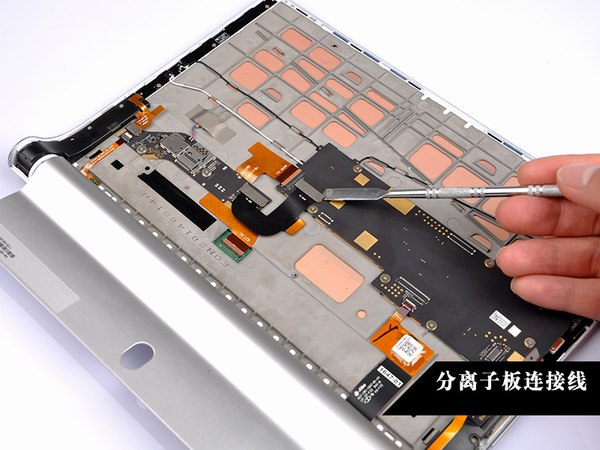
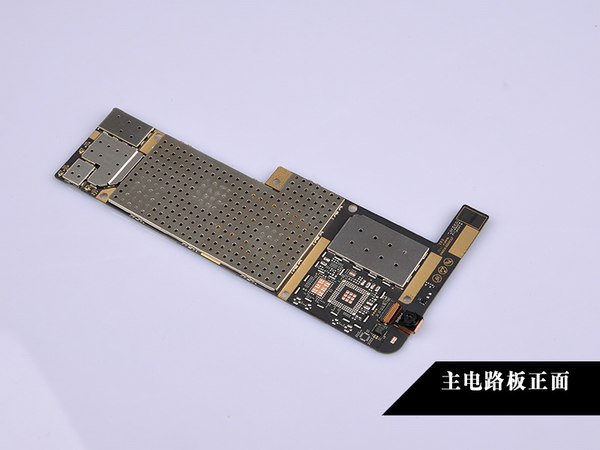
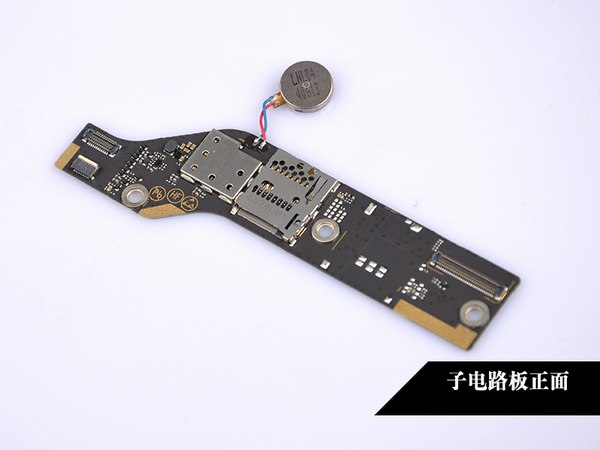
Lenovo Yoga Tablet 2 has two boards, two boards connected via a soft cable.
Remove six screws securing the motherboard.
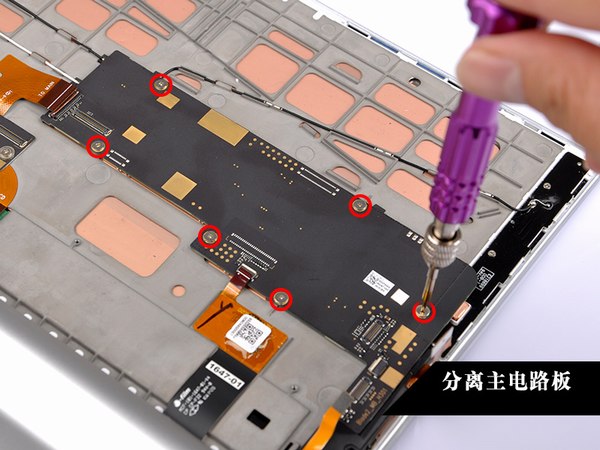
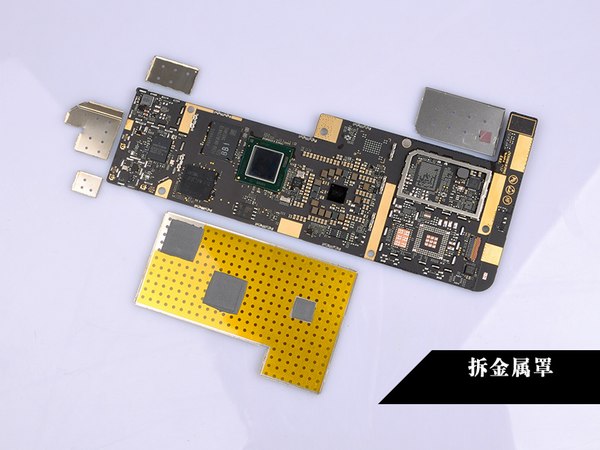
The motherboard is covered with a metal shield to prevent electromagnetic interference and ensure signal stability.
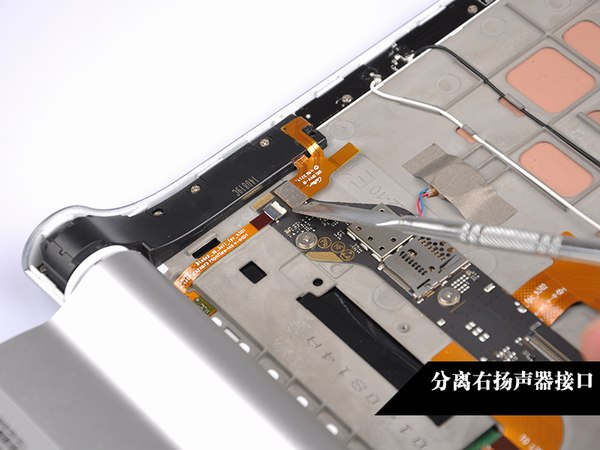
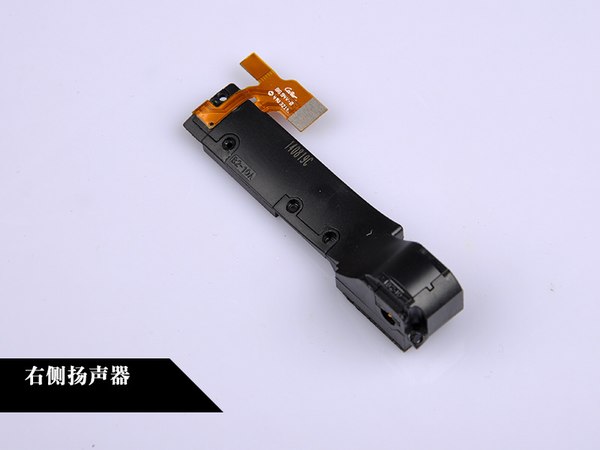
Disconnect the right speaker cable.
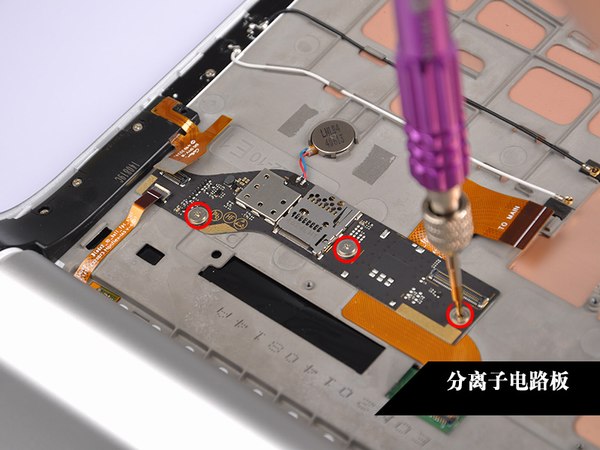
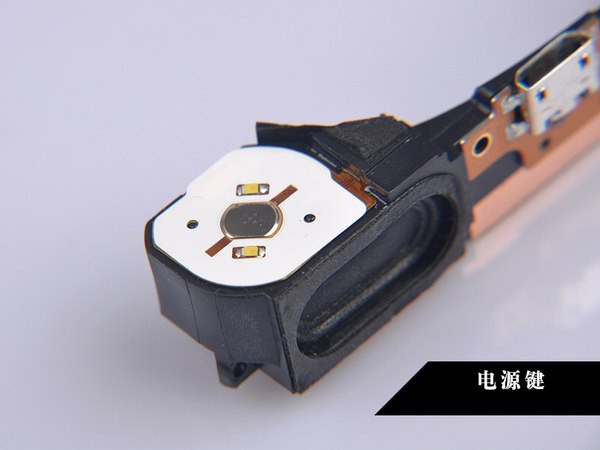
Remove three screws securing the little board.
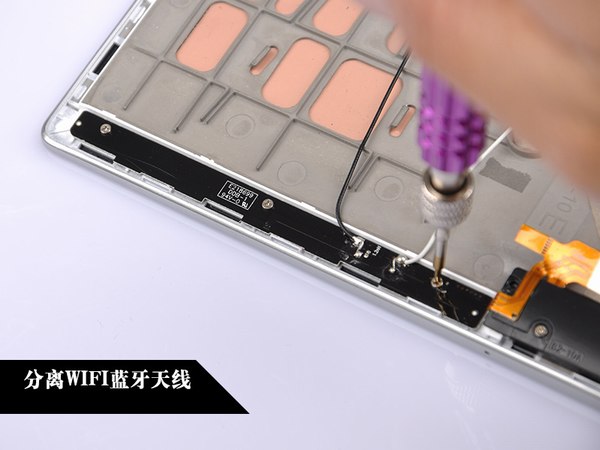
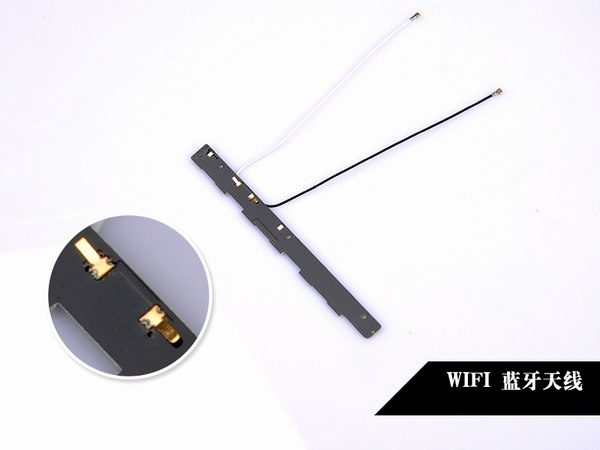
Remove three screws securing the Wi-Fi antennas.
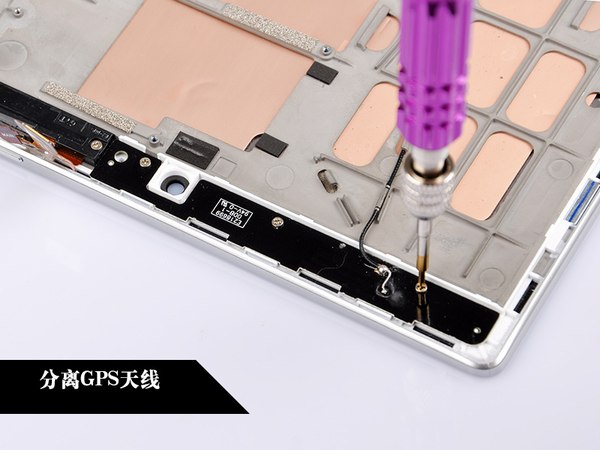
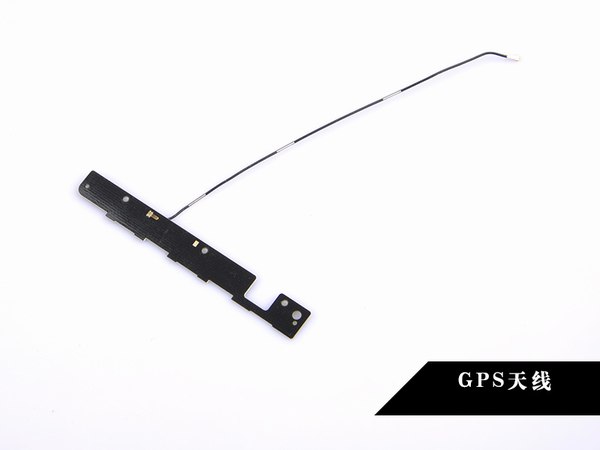
Remove three screws securing the GPS antennas.
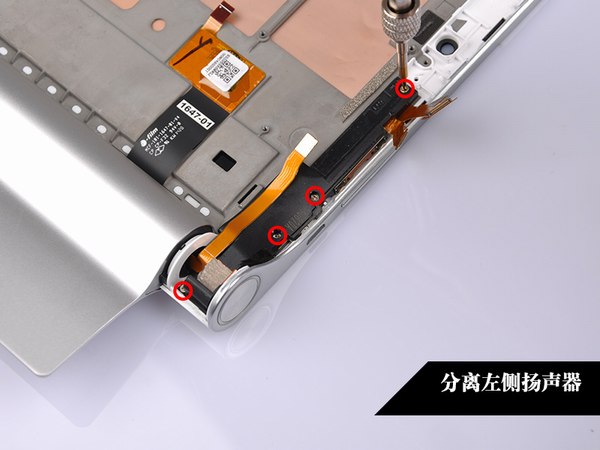
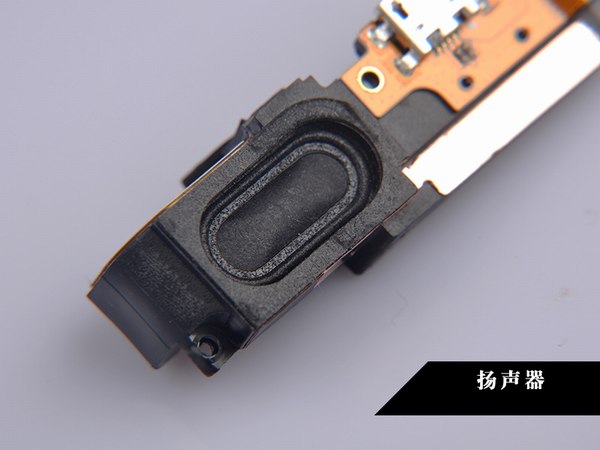
Remove four screws securing the left speaker.
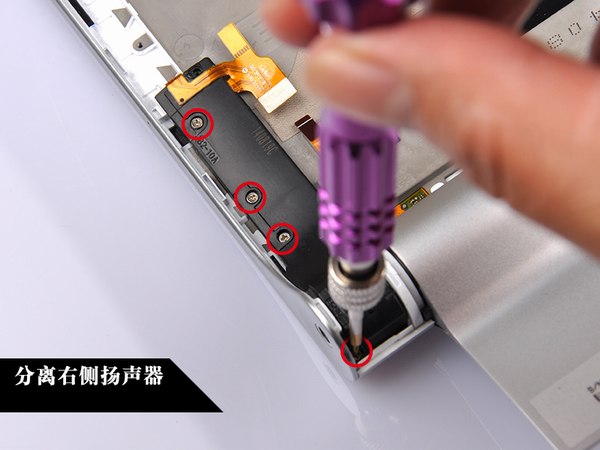
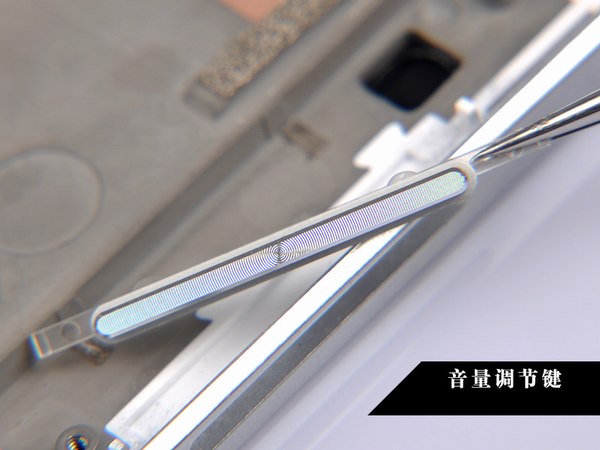
Remove four screws securing the right speaker.
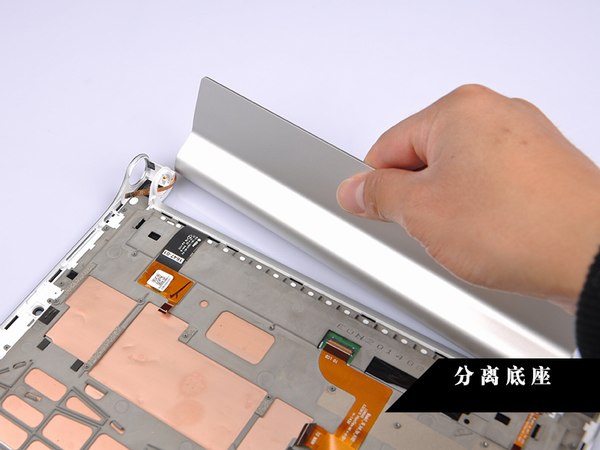
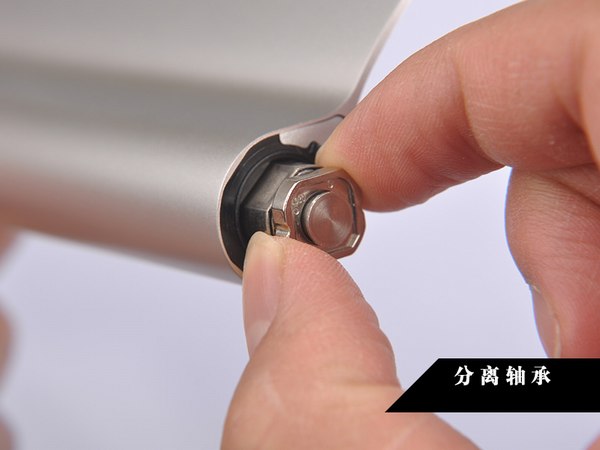
The other side of the base does not find an LCD hinge.
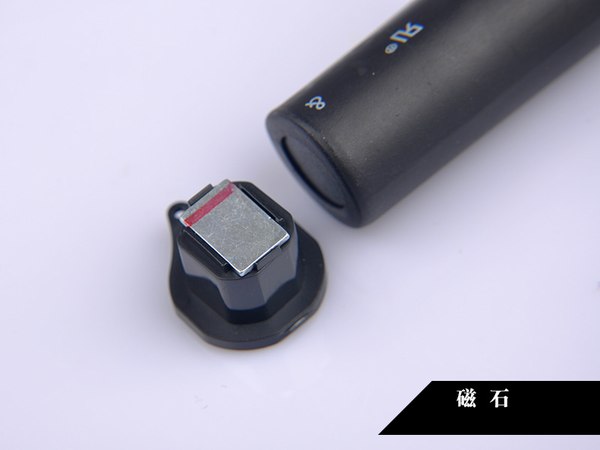
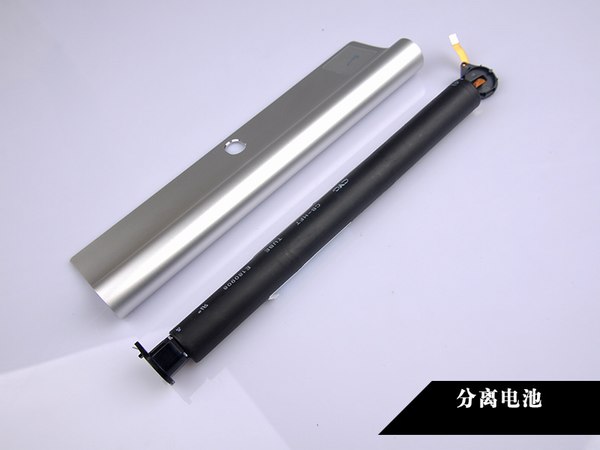
There is a magnetite on the battery.
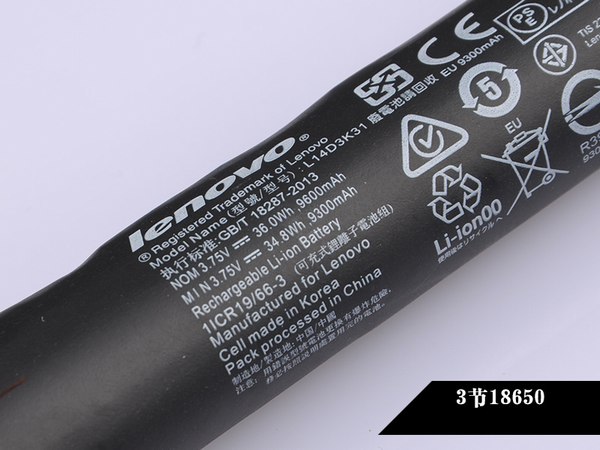
Lenovo Yoga Tablet 2 has a 3.7V, 9600mAh Li-ion battery, Lenovo model: L14D3K31.
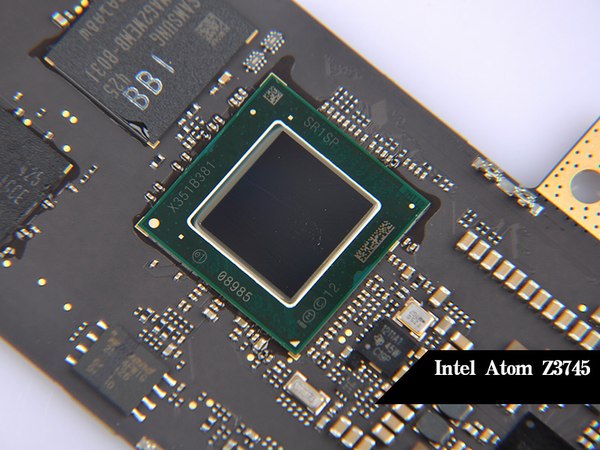
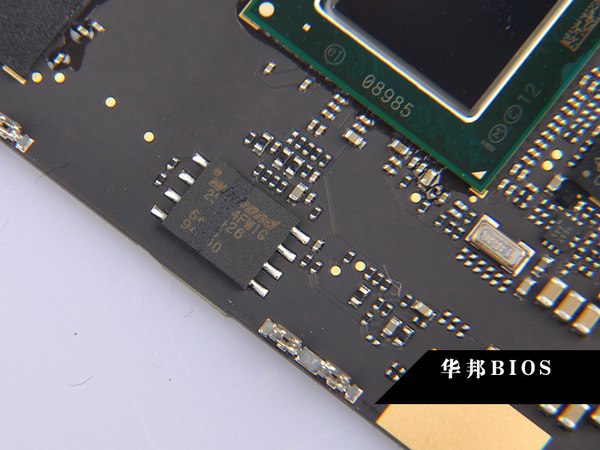
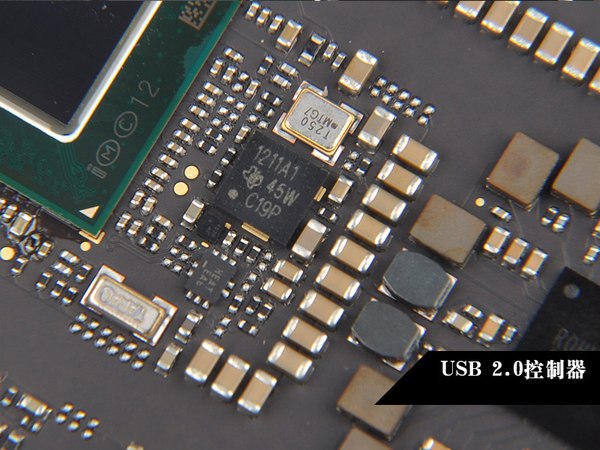
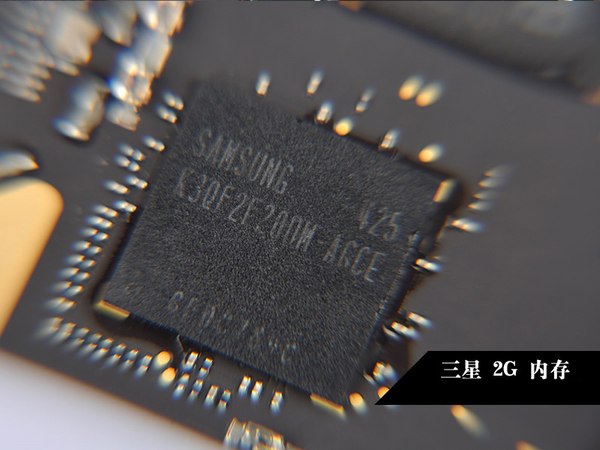
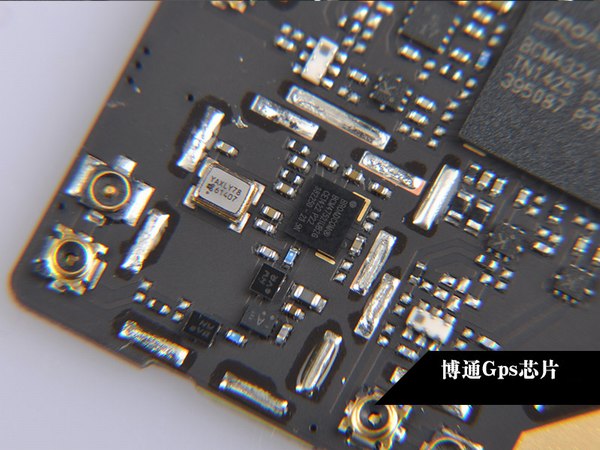
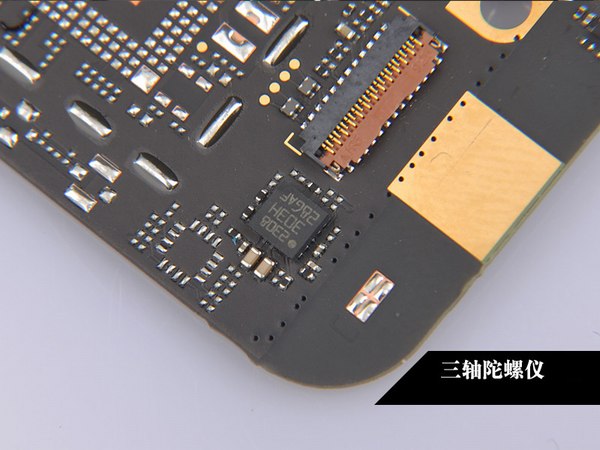
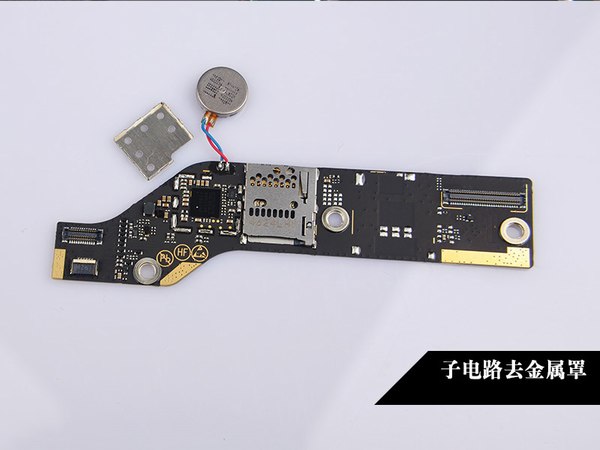
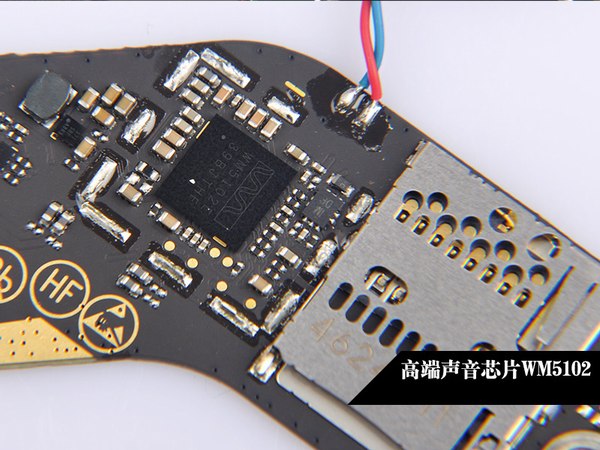
Once remove the metal shield, you can see the chips.
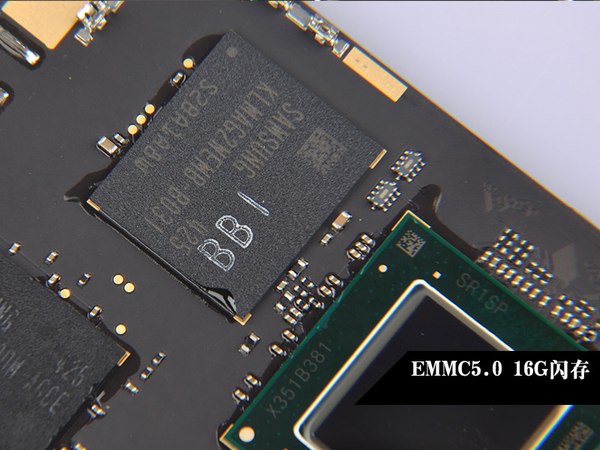
EMMC5.0 16GB ROM, read speed 170MB/S, write speed 11MB/S
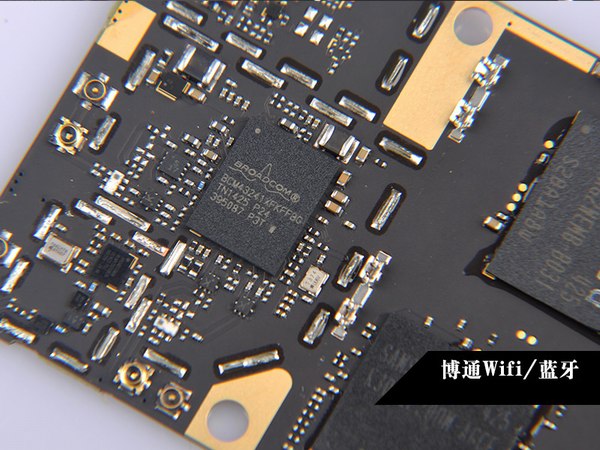
Broadcom Wi-Fi, Bluetooth chip
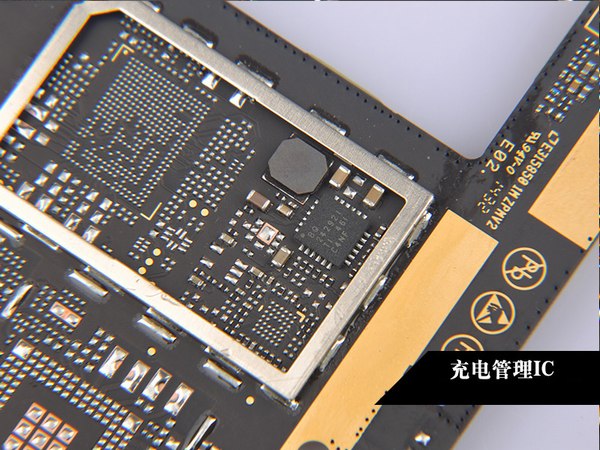
BQ242921 Power Management Chip


Hello.
Dziękuję.
A jak wymienić ekran w Lenovo Yoga tablet 2 10 cali?
Thanks for the article. What about replacing the digitizer/touch screen? Is it glued, or are there just other screws? I have some cracks on it, and I want to repair it. When I asked for official service, they wanted more money than for a whole new tablet.
Great article indeed.
To answer the question about the glue, yes, the screen is glued to the chassis. It is glued along the edge of the screen, from the edge and about 4-7mm inwards.
I have to stress that you replace the screen at your own risk, but this is how I replaced mine with a new screen and digitizer from eBay.
Try heating the edge of the screen with a hairblower or other device so the glue lets go more easily. Beware not to use excessive heat. (I didn’t heat my screen long enough for the heat to travel through the screen and ended up prying the screen from the chassis and peeling off the excess glue.)
To loosen the screen, pry it open with a screwdriver or other by running through one of the slots near the edge of the chassis. I started in a corner and worked myself from there.
Be careful along the rest stand, as the plastic “anchors” can get damaged. But don’t worry, the screen has some support as well, so the plastic won’t give up when you get another screen if some anchors get broken.
Toss the screen away as it is garbage now, mine was at least.
Get a new one. (Screen + Digitizer) I got mine cheap at eBay.
My new screen didn’t come with adhesive or glue, but I had great success with a superglue/gel compound from Loctite. I think it’s called extreme repair.
Connect the cables, and put your table back together.
Great Success.
The glass is completely glued to the touch screen, any attempt at removing the glass will damage the screen. Just ask my Yoga Tab 2. 🙁
Please, my Lenovo Yoga Tab 2 screen is cracked. It has ink all over it, though it is still responding to touch. Which reliable site should I order it from, or how do I go about replacing the screen or making an order for a new part? I’m really confused.
You know, I do not see what I need, but I like the way you did it. I’m looking for two parts and both are the same. Only one is from Lenovo Yoga, and the other is from Lenovo Yoga 2. Those are two little metal things where you put a SIM card in. And that’s because those SIM cards go three in one. Next time, I hope you show me how to do that.
Hi, I am waiting for the Tab 3 Pro. But there is no LTE modem. I want to add one if possible. Does anyone know how to add a 3G/LTE modem to Yoga? Perhaps there is already one on MOBO but with a plug? Or do I have to find a new MOBO?
Where can I get the replacement for the 8 MP rear camera?
Can you tell me a website? My camera got broken.
Thanks,
Giuseppe
Is the battery size the same as the 18650? Can it be replaced by 2x 18650? Thank you.
You can not, but you can open the battery and replace the old 18650 cells with two new 1860 cells.
David, thanks for the reply. Greatly appreciated!
Hi, I have to replace the battery. The orange power cable is cut, so the battery isn’t connected to the main board anymore. I have the Windows version, but it looks the same. Do I have to do all the passages in the description to replace the battery? (In the guide, the battery is unplugged at the end.) Or do I don’t need to do all that? I’ve already found the battery on eBay, but unfortunately, I couldn’t find the cable. Thank you!
Hi, do you know where I might find the USB assembly? I bought one of these refurbished tablets, and the USB port failed after two months.
Hi, it is seem to very hard to find the USB assembly, you need to replace the USB port.
Hi, I don’t know if you still need it, but I got one here
http://m.ebay.co.uk/itm/OEM-LENOVO-YOGA-TABLET-2-1051F-REPLACEMENT-USB-CHARGING-PORT-VOLUME-BUTTONS-FLEX-/131698660337?txnId=1354030127003
Hi, I’m looking for the part name of both Wi-Fi and GPS antennas. Also, does anyone know where to get them?
Please contact Lenovo to replace the Wi-Fi module.
Yes. I don’t want to overpay and I’m certain it’s only the fault of the connector on the antennas because it got pulled out while rescuing a sim card that turned out to be too small.
Awesome work! My battery connector got cut into two halves, where can I get this part?
Hi, My Lenovo Yoga Tab 2 has switched off automatically after displaying Lenovo. After that, my Tab 2 won’t turn on, and it’s even not charging. Please give me a solution.
Exactly the same issue. Did u find a solution? Plz advice.
Same issue for me, did u find a fix?
If your Lenovo Yoga Tab 2 will not turn on, try a different charger cable and power adaptor. Otherwise, the battery will be completely dead and must be replaced.
I had a similar problem after I replaced my screen as described above. I got my tablet working again by removing the back plate of the tab and refitting the screen and power cables. I would check the connectors first before buying a new battery.
TLTR: Check for loose cable connections before changing the battery.
Martin,
Good Evening.
Can you recall the exact events and the exact failure or loose contact inside the tablet? Many are having this problem with Lenovo Yoga 3-8. I have 2 such units in my house. The older Tablet is perfectly working. The newer one is showing the battery as 0% and after a hard reset, it is starting. It is running always on external power. The battery is not dead as a dead battery will show charging % and the charge will drop suddenly.
Regards
Hi. I replaced the USB interior connector flat cable of my Yoga 10 HD because the USB port was broken, and it didn’t charge anymore. The tab is running fine afterwards except the backlight of the display doesn’t work anymore. Any idea why? I was very careful in disassembling and assembling all the fpcs on the main board. Remark: the power cable was disconnected from the battery for about two weeks.
Can I just thank you for this article? Without giving it much thought, I slipped a Nano SIM card into the space for the Micro SIM in my old Yoga 2 8-inch tablet and could only get it out by dismantling the case. Your step-by-step illustrations made it a five-minute job to open the case carefully and retrieve the SIM. You’re a life-saver. John
I need a battery for Lenovo Tab 2.
Round battery, any seller?
Hi, the focus on my protector is not focusing. I think it has something to do with the slider. How can I fix it?
Hi
Please I need a Lenovo Yoga 2-1050l (volume ways).