
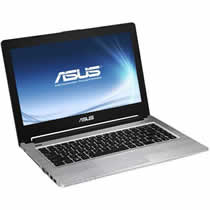
In this guide, I will explain how to disassemble the Asus UX303LN. I will remove the battery, wireless card, keyboard, palm rest, hard drive, heat sink, cooling fan, and motherboard.
Looking for more funny teardowns? Follow us on Facebook for all the latest repair news.
Remove all screws from the bottom cover.
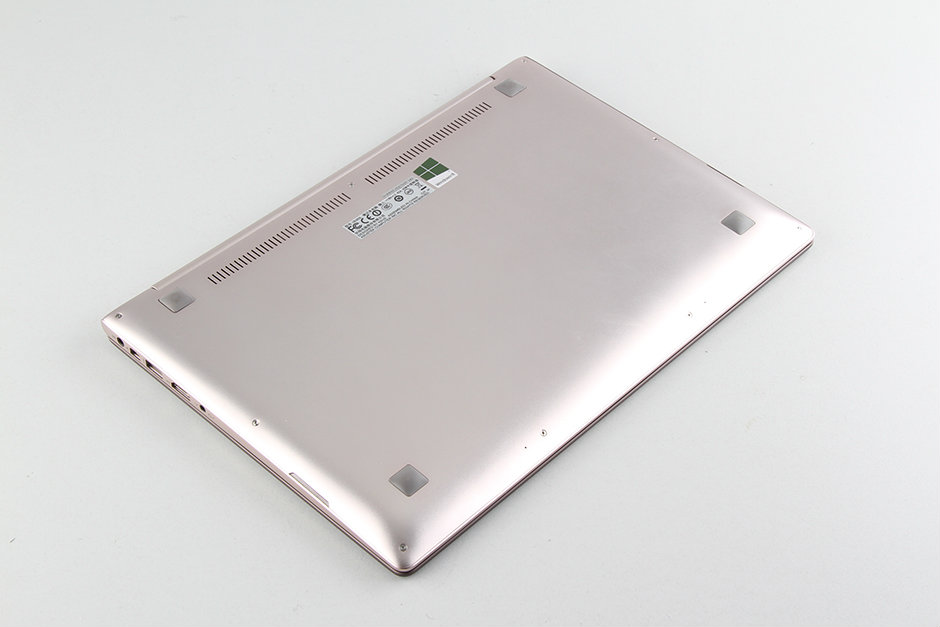
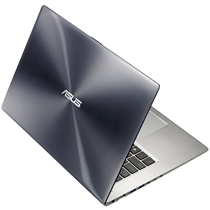
Insert a plastic pry tool between the bottom cover and palm rest. Slide the pry tool to separate the bottom cover from the laptop completely. Since there are no clips on the bottom cover, you can easily separate it.
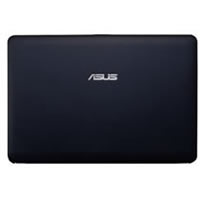
There are no parts on the back of the bottom cover. There are only four sponges at the corresponding positions of the hard disk to prevent damage from vibrations.
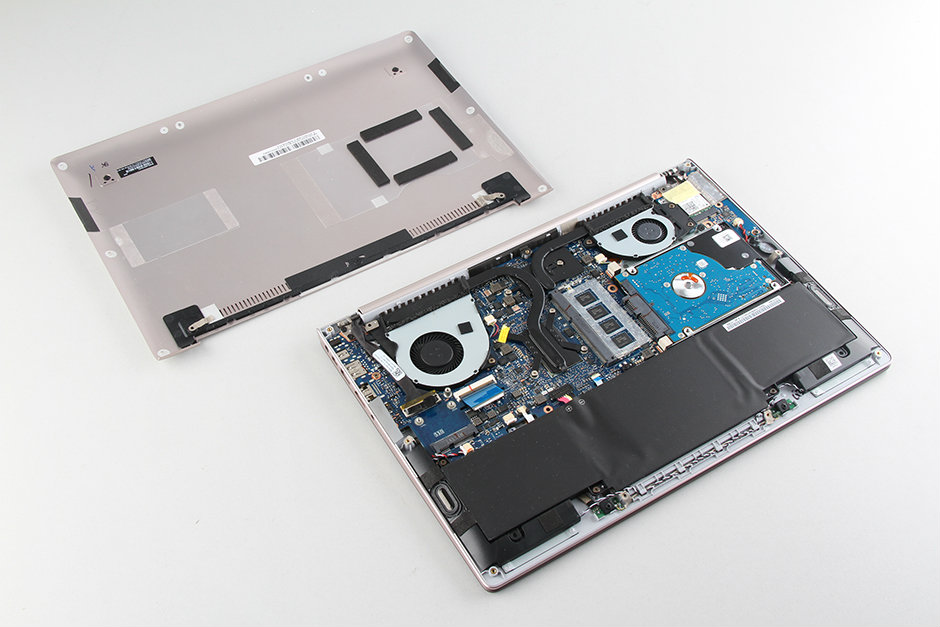
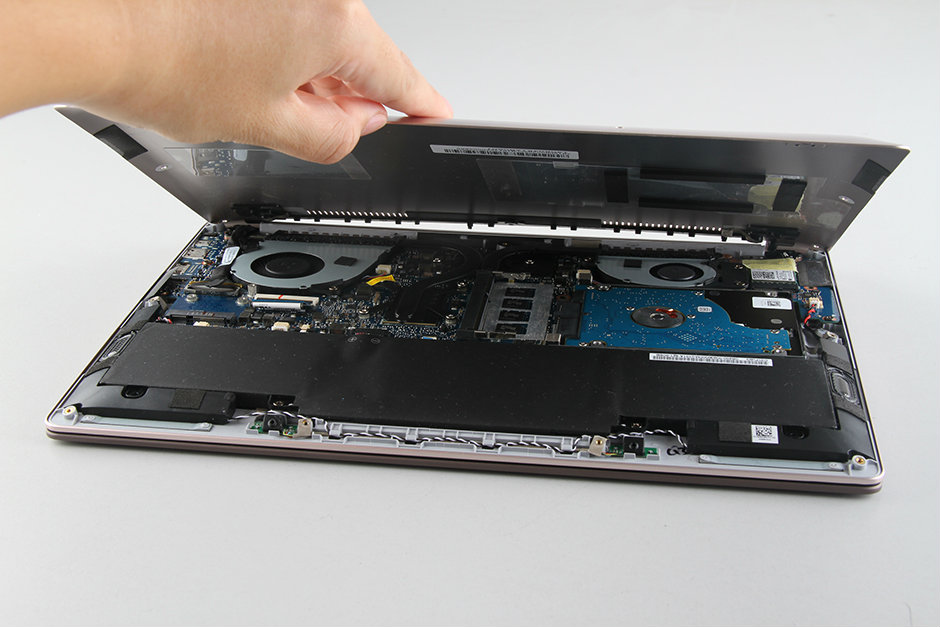
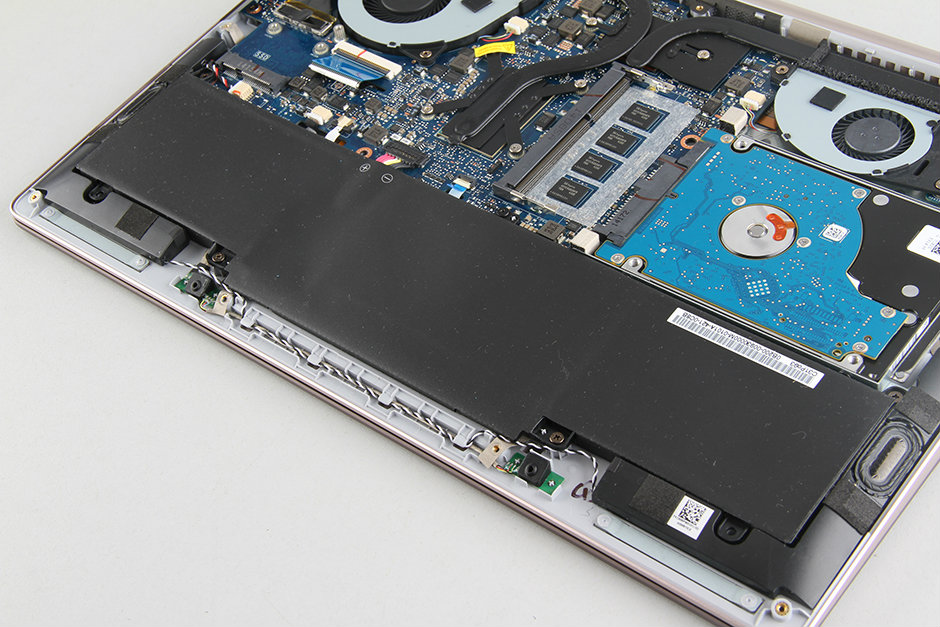
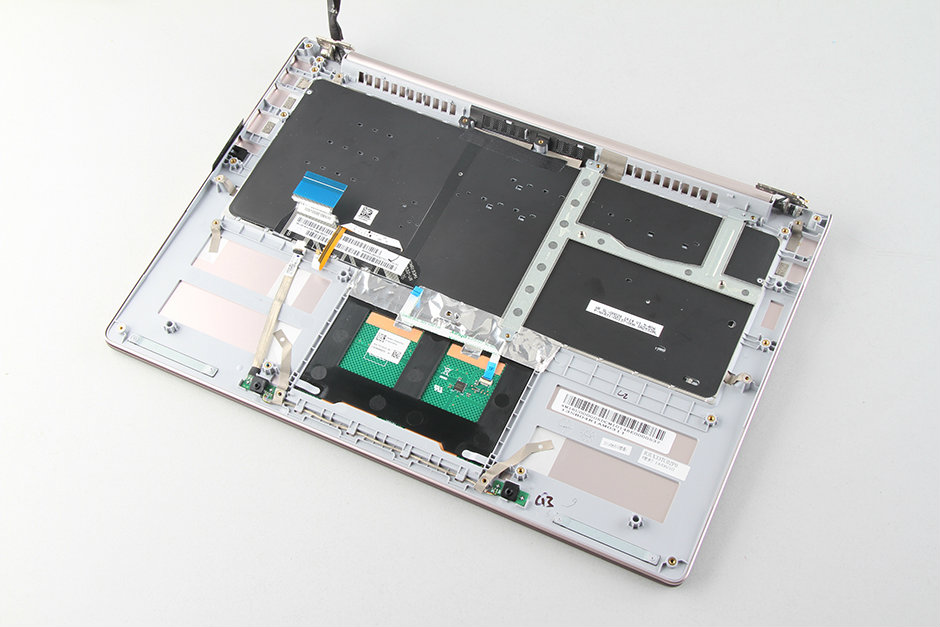
After removing the bottom cover, you can access the battery, speakers, wireless card, hard drive, heat sink, and cooling fan.
Remove the screws securing the battery. Disconnect the battery power cable and the two speaker cables.
The Asus UX303LN battery has been removed.
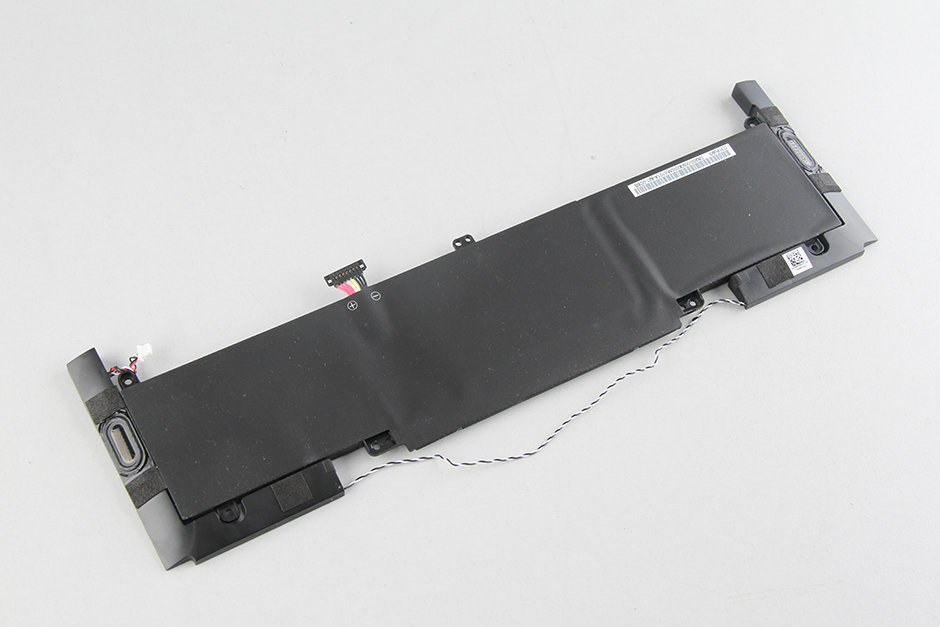
The speaker module of the ASUS UX303LN is mounted on the battery.
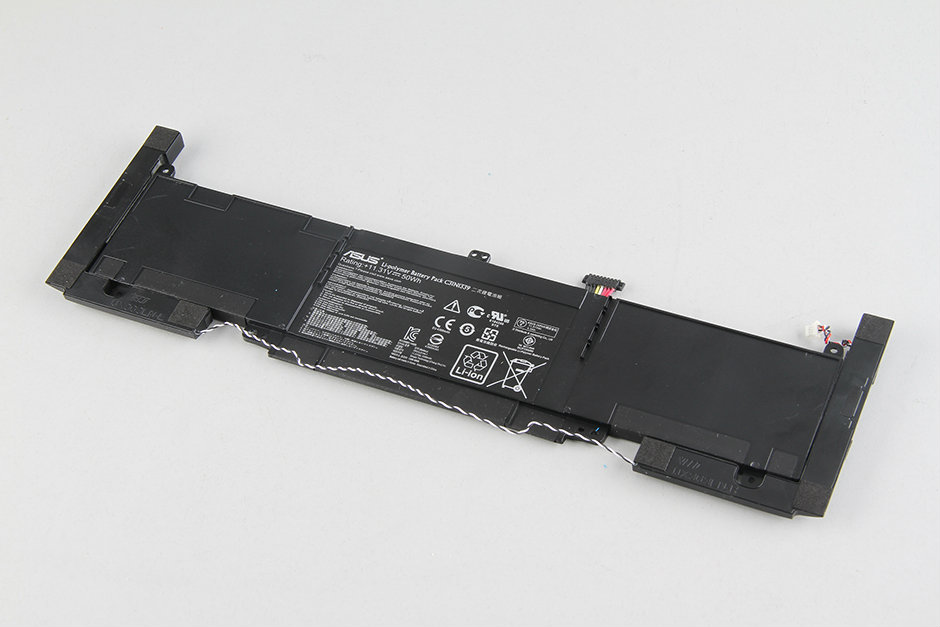
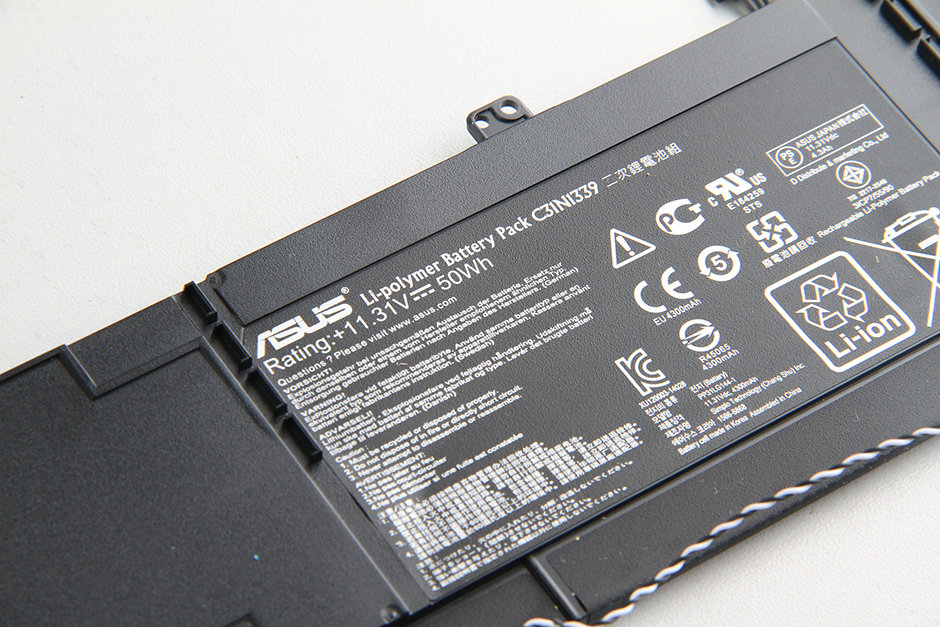
The laptop comes with an 11.31V 50Wh Li-polymer battery, and the Asus part number is C31N1339.
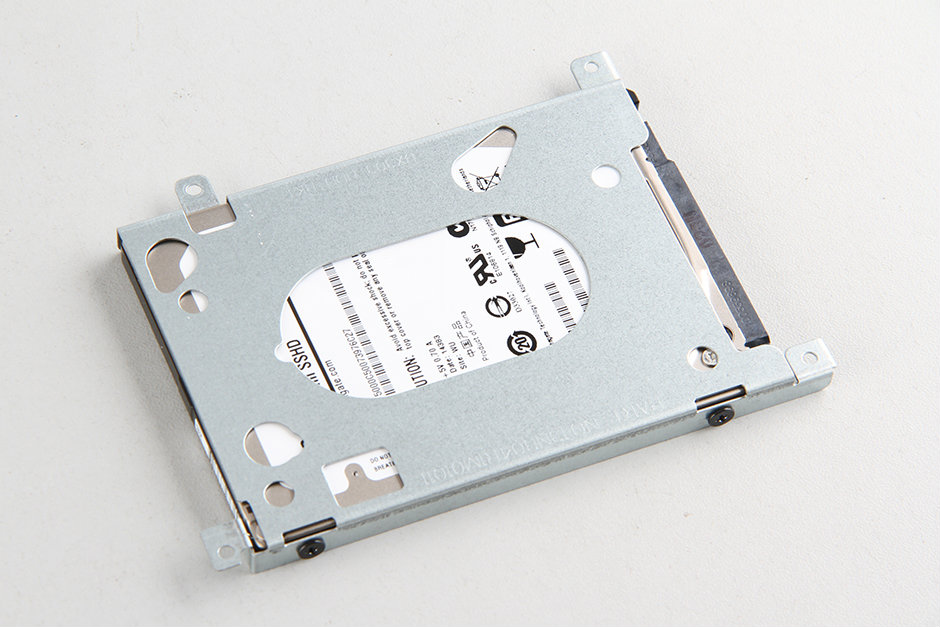
Remove all screws securing the hard drive module.
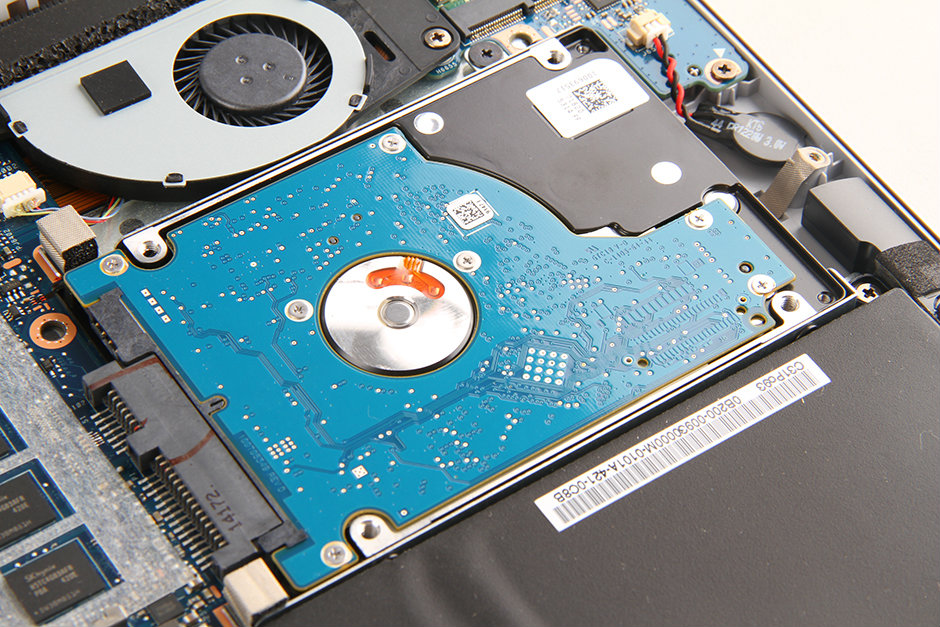
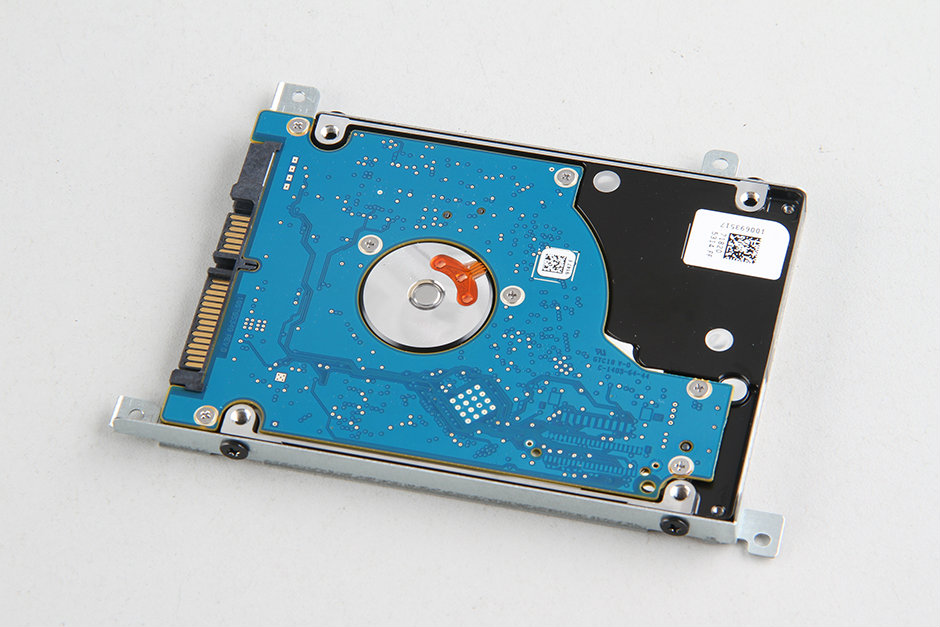
The Asus UX303LN featured a Seagate 500GB hard drive. It is mounted on a metal bracket. If you need to replace the hard drive, you must remove it and install it on the new hard drive.
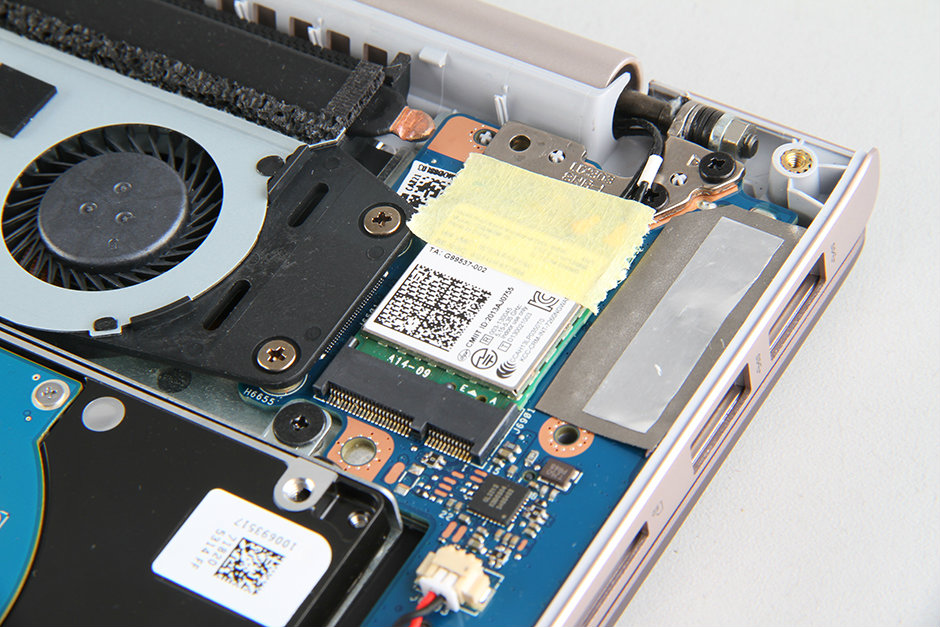
The laptop has a spare mSATA slot for users to upgrade the SSD.
Asus UX303LN wireless card
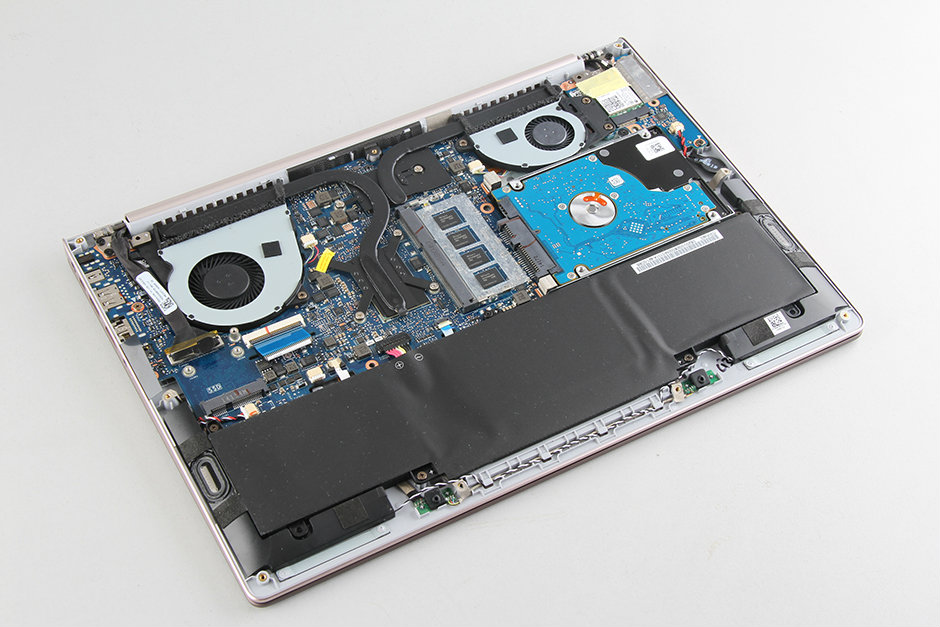
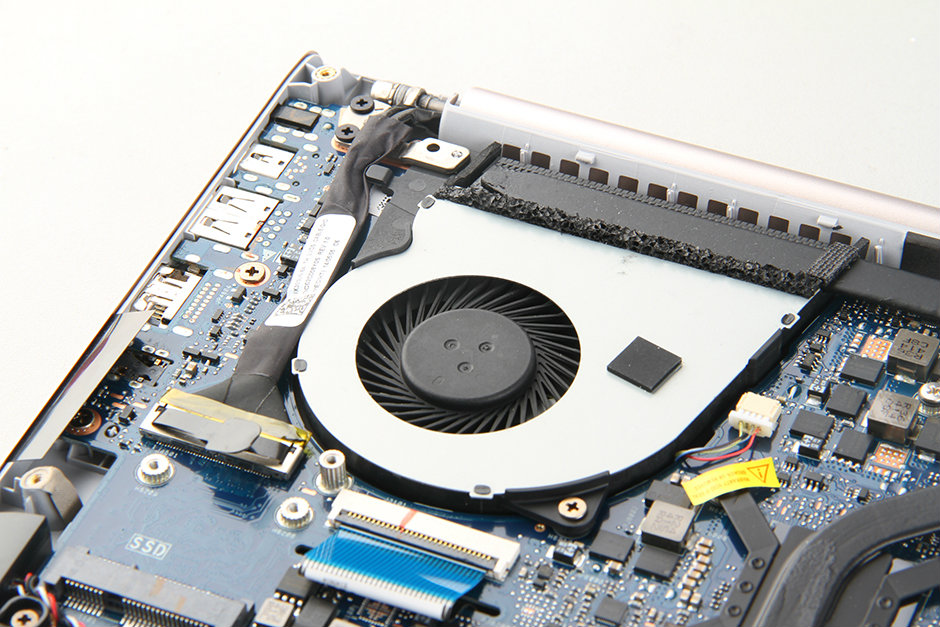
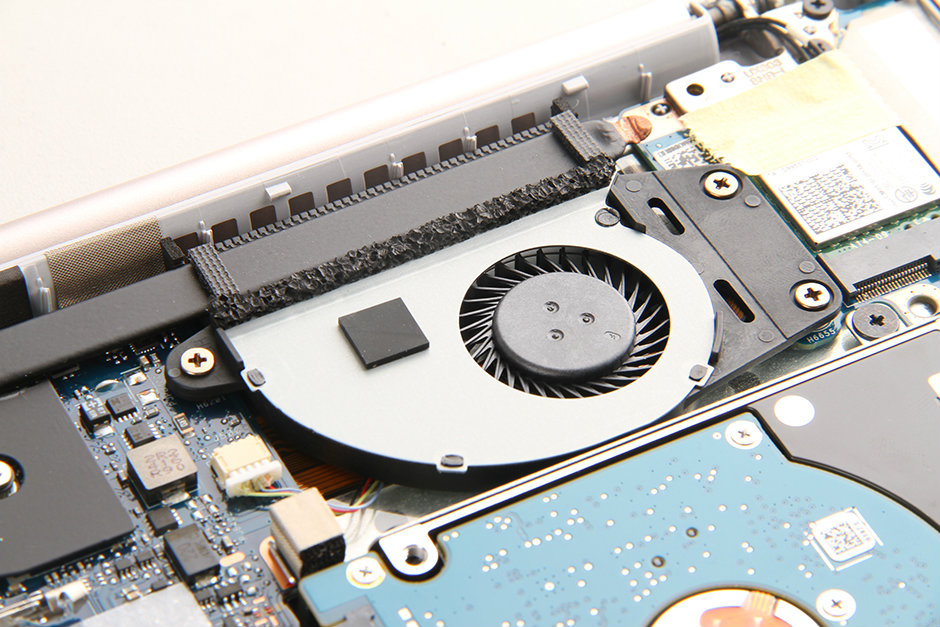
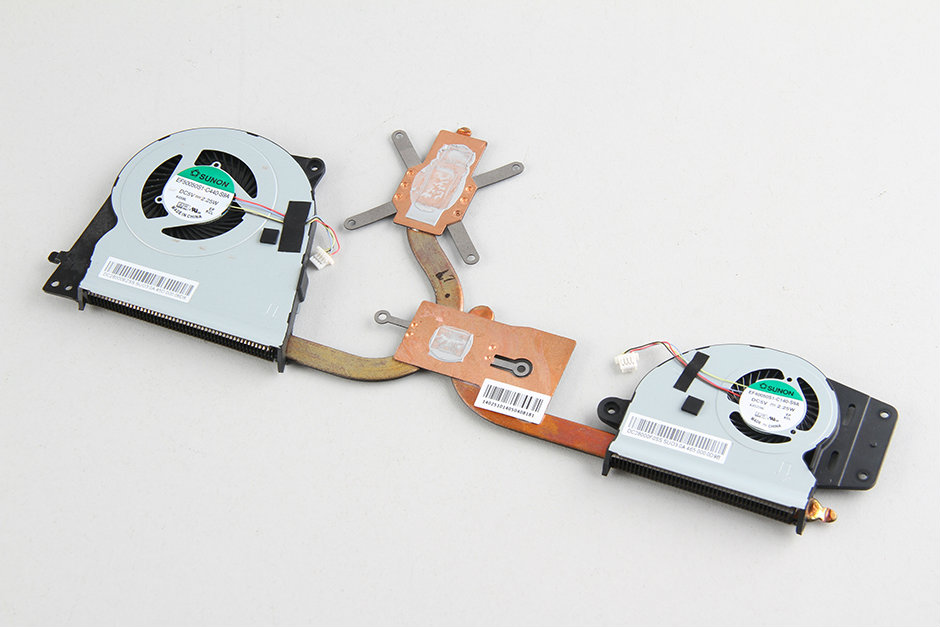
Heat sink and cooling fan
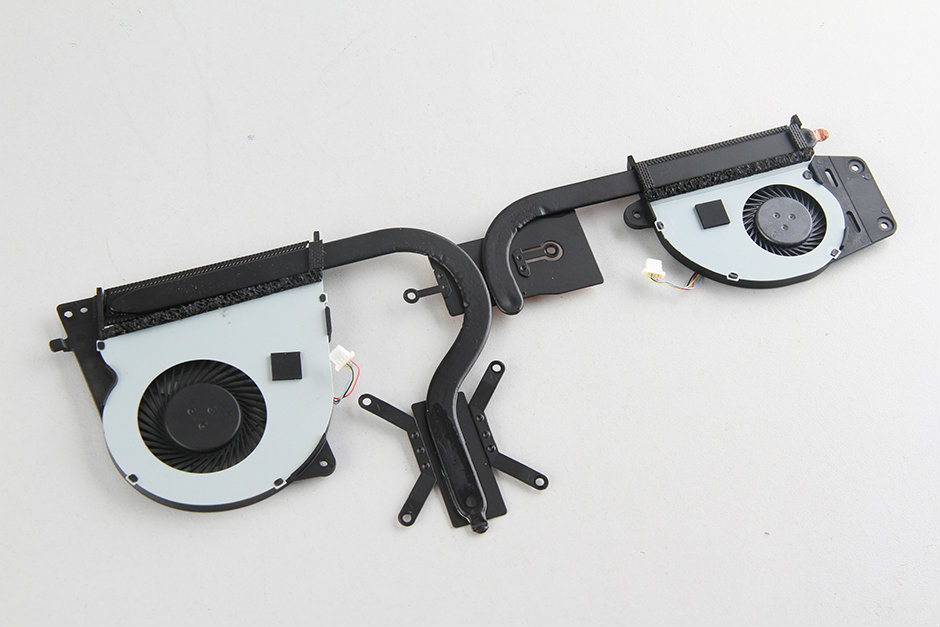
The cooling fan is coming from SUNON.
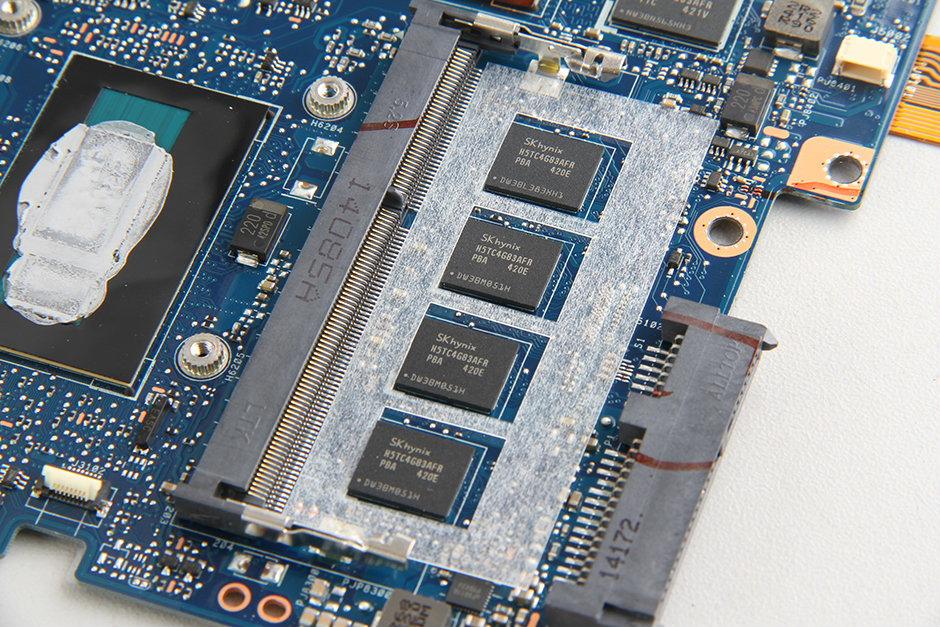
Motherboard and USB board
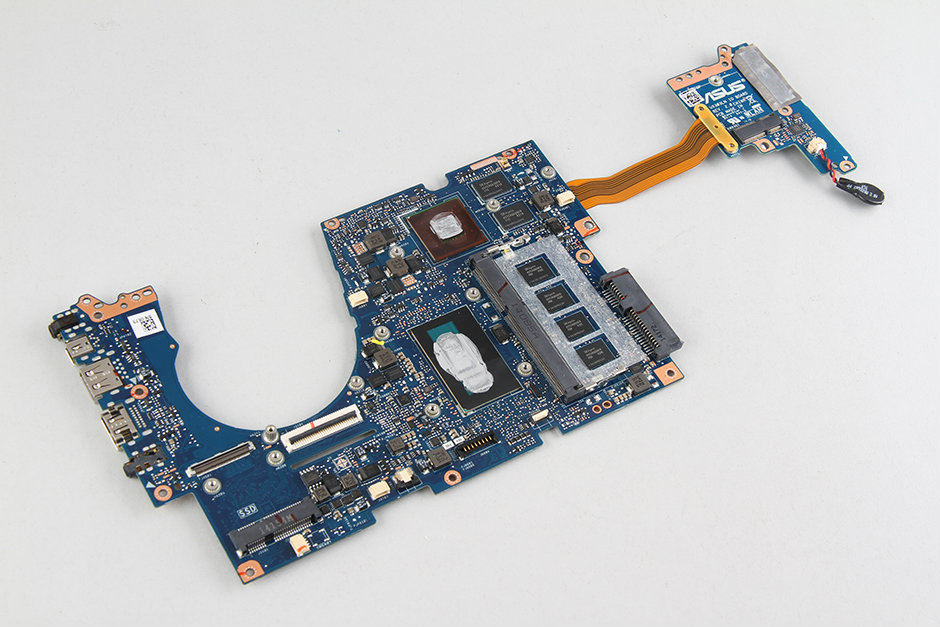
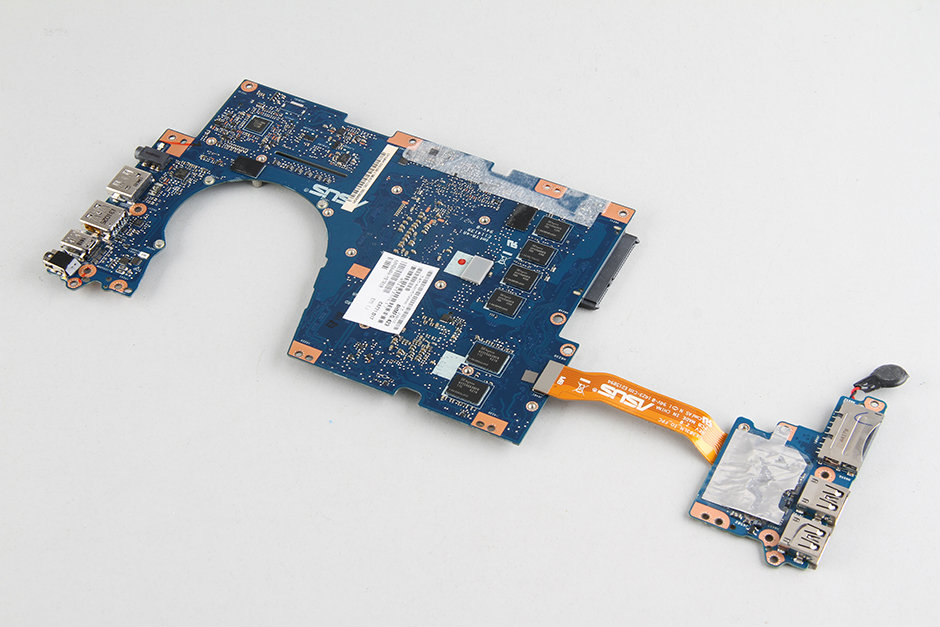
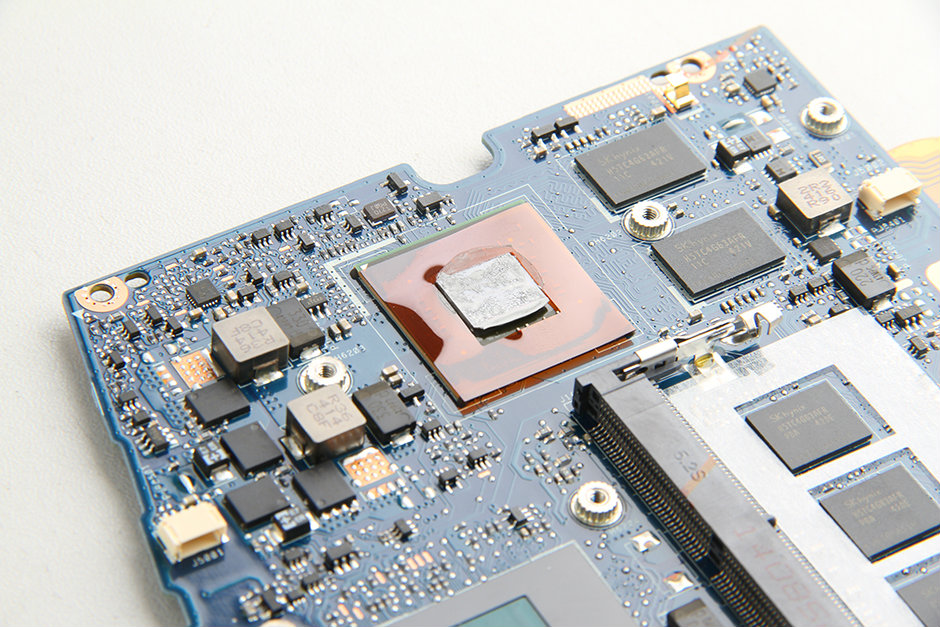
The NVIDIA GeForce GT 840M graphics card has 2GB DDR3 video memory.
The Intel Core i7-4510U processor is soldered onto the motherboard, so the processor in this laptop cannot be upgraded.
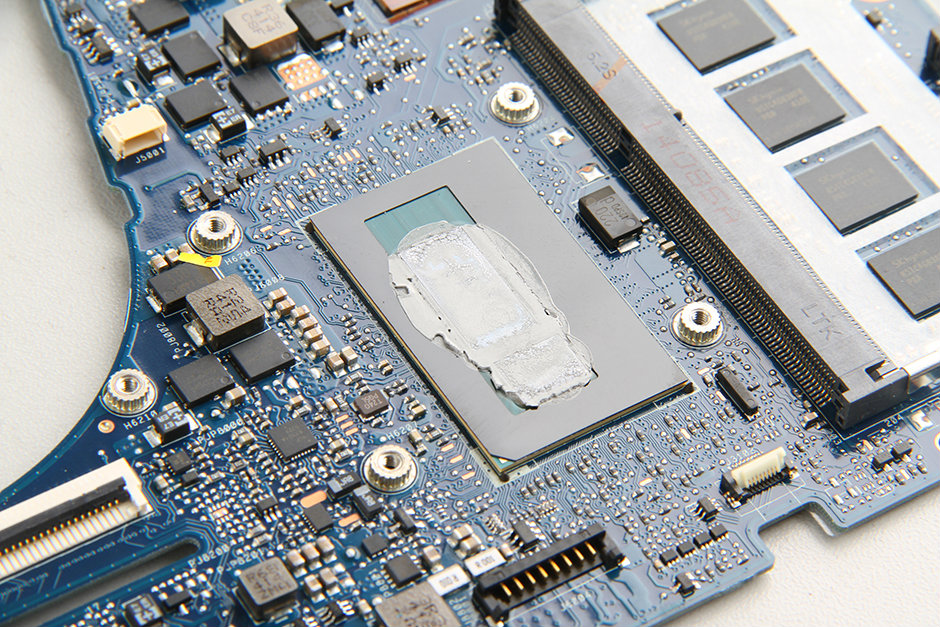
The 4GB SK Hynix memory chips are soldered onto the motherboard.
The laptop also features a spare memory slot, allowing you to add another 4GB module.
When the motherboard is removed, you can access the touchpad and keyboard. At this step, you can replace the keyboard on your laptop.
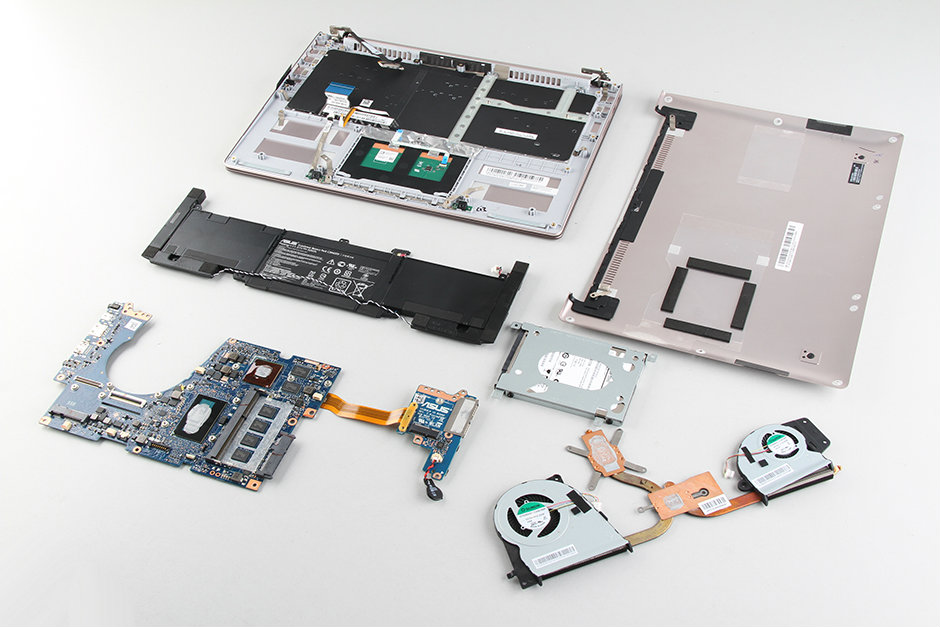
Asus UX303LN internal parts
I can’t open the bottom case. Could you give me any help? I removed the screws, but the bottom doesn’t move away from the side of the screen. 🙁
You need to use a pry bar to remove the bottom case.
You also have two screws under the rubber feet on the back side.
Hi,
What kind of screwdriver do you use?
Thanks
Tor 5 and Phillips (cruciform) screwdriver
The plastic hinge anchor under the screen is broken. Any idea on how to repair this?
I had the same problem, and it is a quality issue. I sent it to be repaired, but they could not do it and gave the entire money back for the laptop. It is a beautiful laptop but has terrible quality at the hinge.
Hi, everyone. Have you tried to replace the whole keyboard? If so, can you give me a hint? Because you open the laptop and disassemble the screws, it is not easy to divide the keyboard from the metal.
Currently trying to do the same. Have you found any solution?
EDIT: In fact, you can’t. The keyboard is soldered to the case.
If you want to repair your keyboard, you need to buy a whole new palmrest and keyboard.
Could someone please let me know the motherboard model? Looking at getting a replacement.
Good Question, I’m trying to find out as well. (or an upgrade)
Hello! Can you send me this picture in 4 K (the back of the motherboard)? I would really appreciate it. Thanks.
Sorry! The laptop is no longer in our office.
How do I open the hinge cover to replace the hinge (the silver strip that is still left on when you take off the bottom cover)? The hinge broke, and it’s no longer under warranty.
Thanks. I looked through all the pages, but there are no specific instructions on how to open the small cover over the hinge.
It says Visit our repair blog to learn how to remove and install the LCD hinge on Asus UX303LN, but there are no instructions specifically for hinge replacement.
To replace the battery, all you need to do is take off the bottom cover. But for the hinge, even after you take off the bottom cover, there’s still another small cover over the hinge. And this small cover doesn’t have any screws to remove.
It’s quite easy, you just have to move it to the side, and it goes off.
The breaking hinge is an epidemic with this model. Look at the Amazon reviews.
Hello, UX303L’s owners,
There is now an unpleasant mark on the screen.
It is located in the middle of the screen (6.7 cm top, 10cm edge). It’s 0.5cm high and 9cm wide. It’s as if something had worn the screen. This is probably due to friction with the keyboard.
I contacted Asus support, but they did not want to know.
Do other people have the same problem?
Thanks
How about digitizer disassembly? Any tips here?
Hi, does anyone know how to remove the LCD bezel safely to access the LCD panel for replacement?
Hi, what is KBC in this notebook?
Great post! Thank you for sharing!