Asus LaptopAsus UX42VS
Asus UX42VS Disassembly
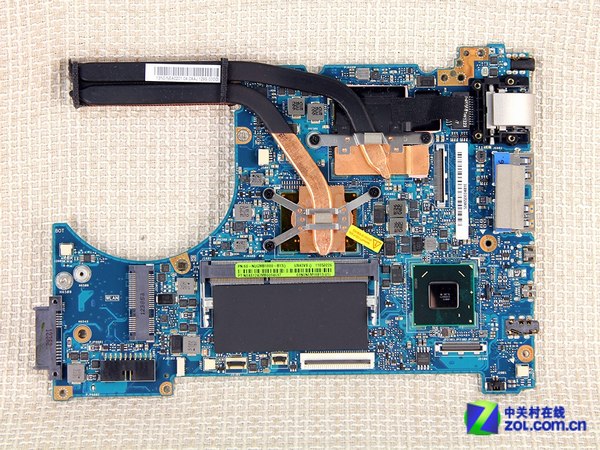
In this guide, I’ll explain how to disassemble the Asus UX42VS to remove and replace the battery, hard drive, SSD, keyboard, palm rest, wireless card, RAM, speakers, cooling fan, and motherboard.
Want to stay connected to MyFixGuide.com? Follow us on Facebook to check out the latest teardown news.
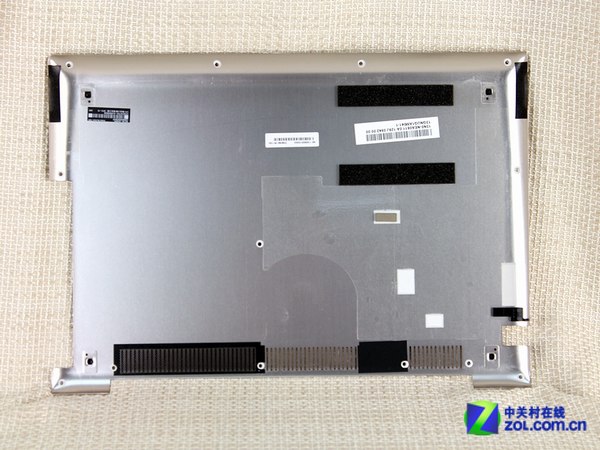
Remove thirteen screws securing the bottom case.
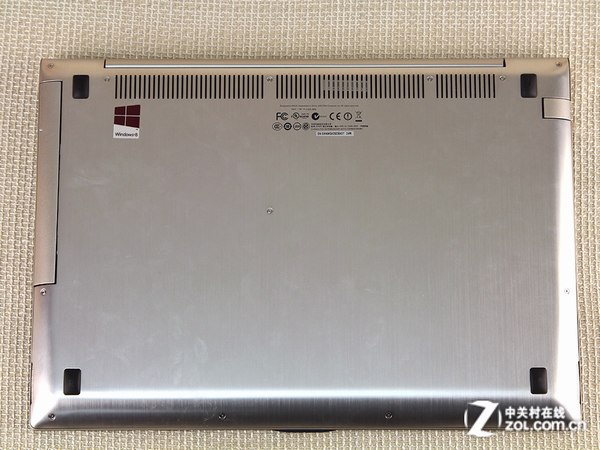
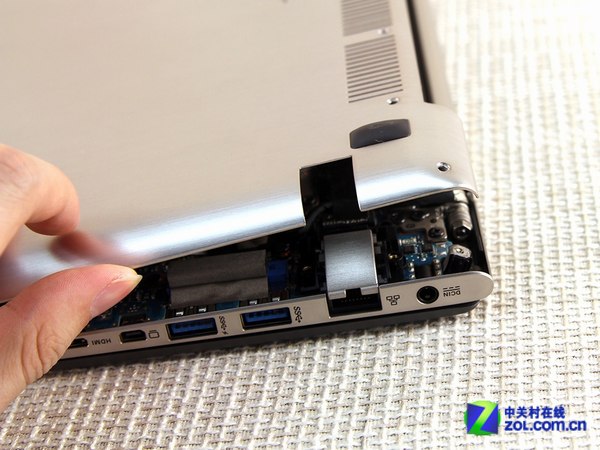
Pry up and remove the bottom case.
When the bottom case is removed, you can access the battery, hard drive, SSD, keyboard, palm rest, wireless card, RAM, speakers, cooling fan, and motherboard.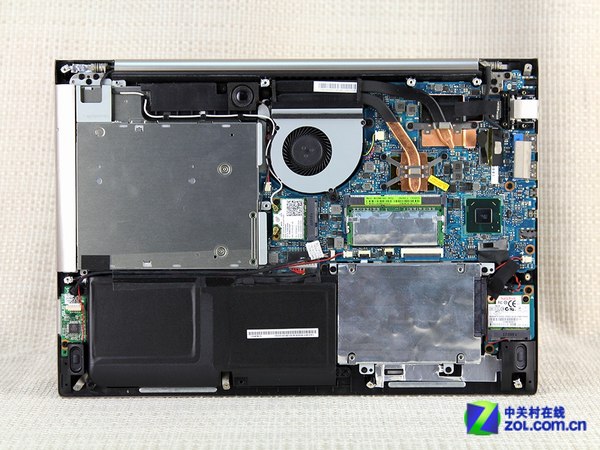
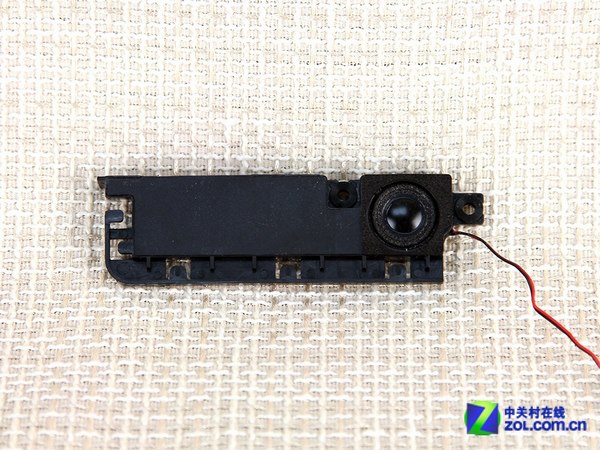
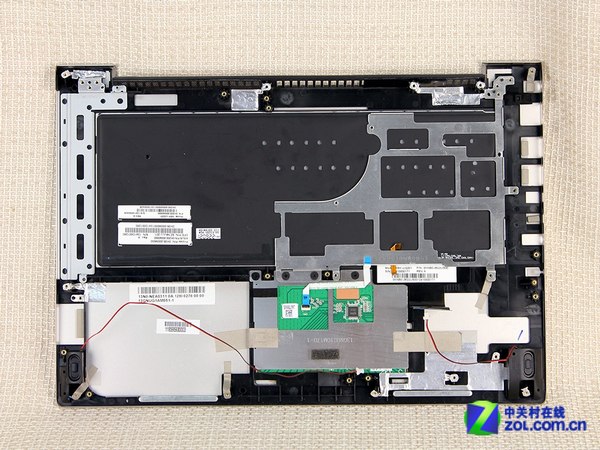
Uncover scotch tape. It is used to fix the speaker cable.
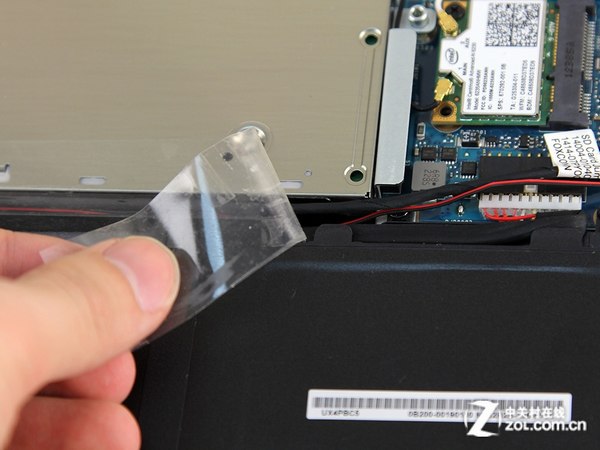
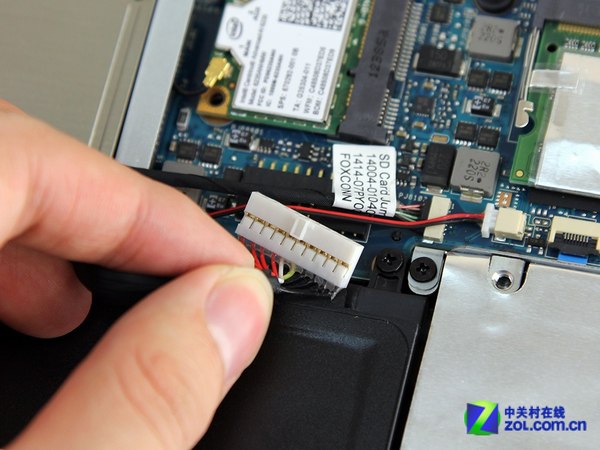
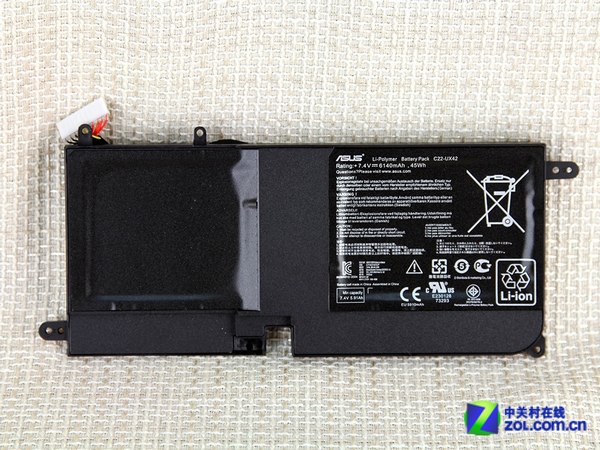
Disconnect the battery power cable and remove the screws securing the battery. The battery can be removed.
Asus UX42VS features a 7.4v, 45wh Li-polymer battery. Asus model: C22-UX42.
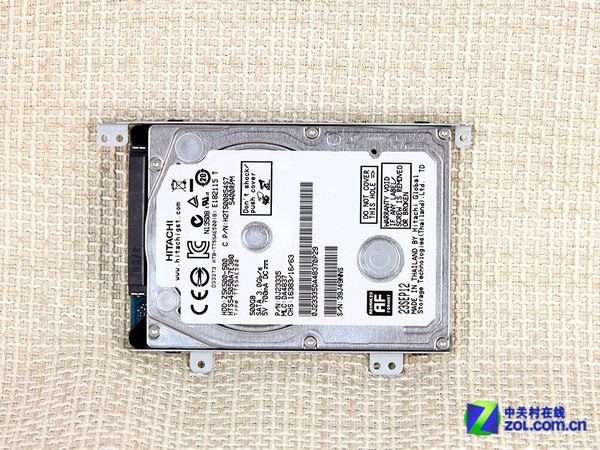
Remove four screws. You can remove the hard drive module.
Asus UX42VS installed a Hitachi 500GB 5400RPM hard drive.
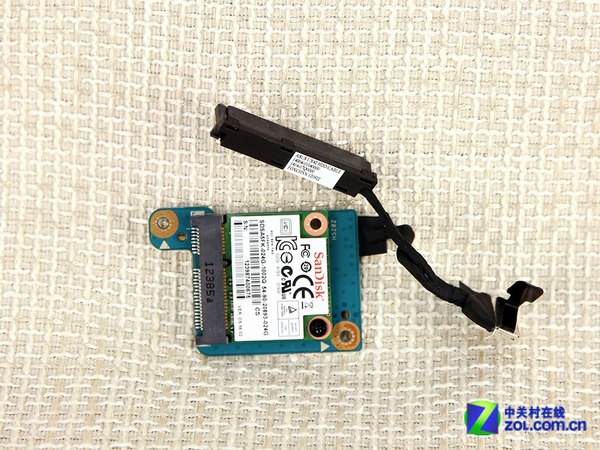
Disconnect the SATA cable and remove the screws. You can remove the little board.
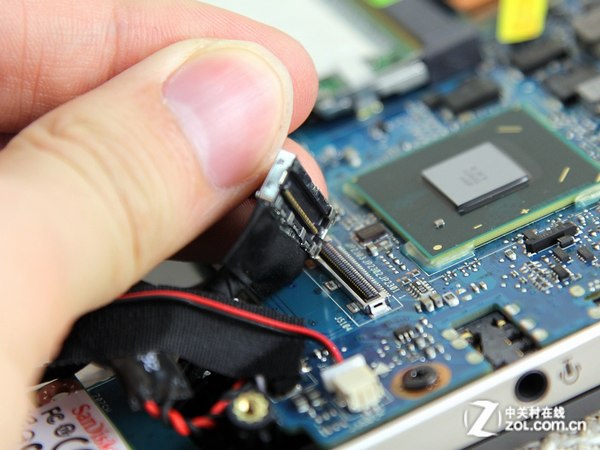
There is a SanDisk 24 GB SSD on the little board.
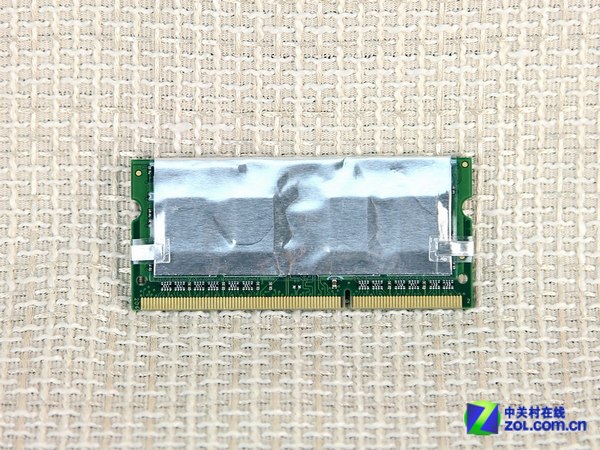
Asus UX42VS installed a 2GB DDR3 RAM.
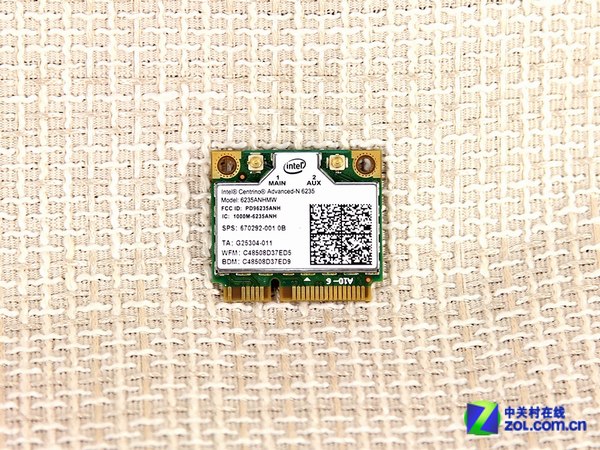
Intel Centrino Advanced-N 6235 wireless card plus Bluetooth
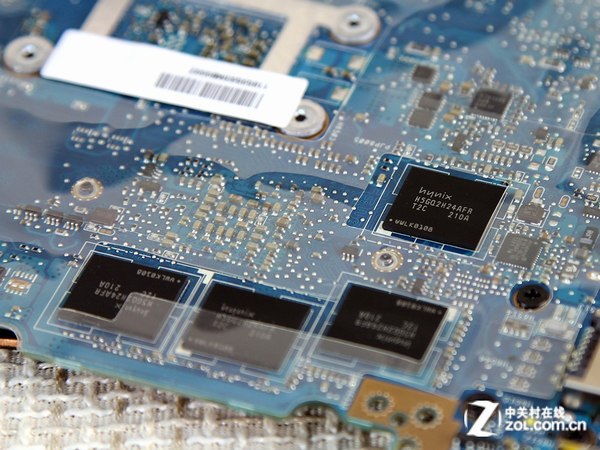
The memory chips are integrated into the motherboard.
For more guides, check out the Asus UX42VS device page.

