
In this guide, I will explain how to disassemble the Dell Inspiron 14R 5421 and remove the hard drive, DVD drive, keyboard, palm rest, speakers, heat sink, cooling fan, and motherboard.
Want to stay connected to MyFixGuide.com? Follow us on Facebook to check out the latest teardowns.
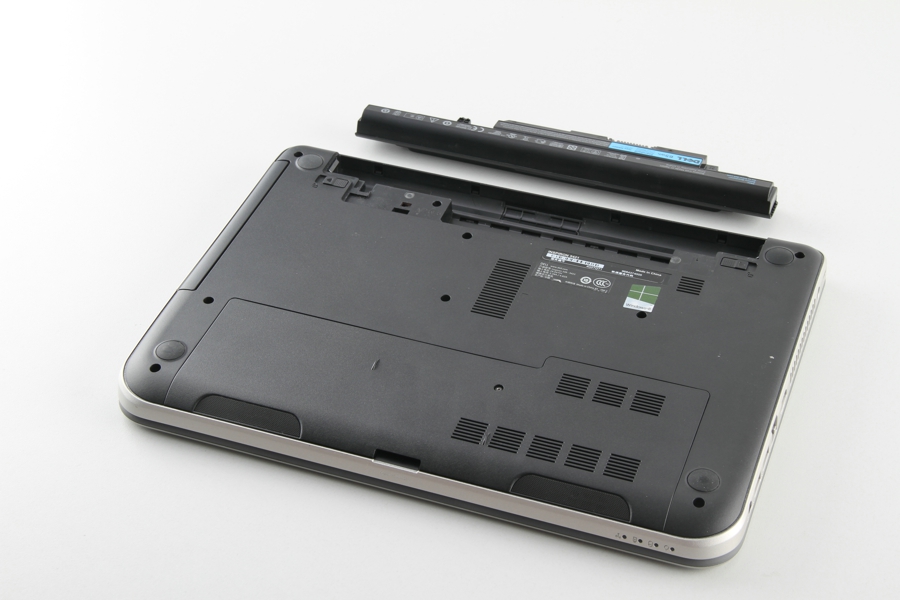
Unlock and remove the battery.
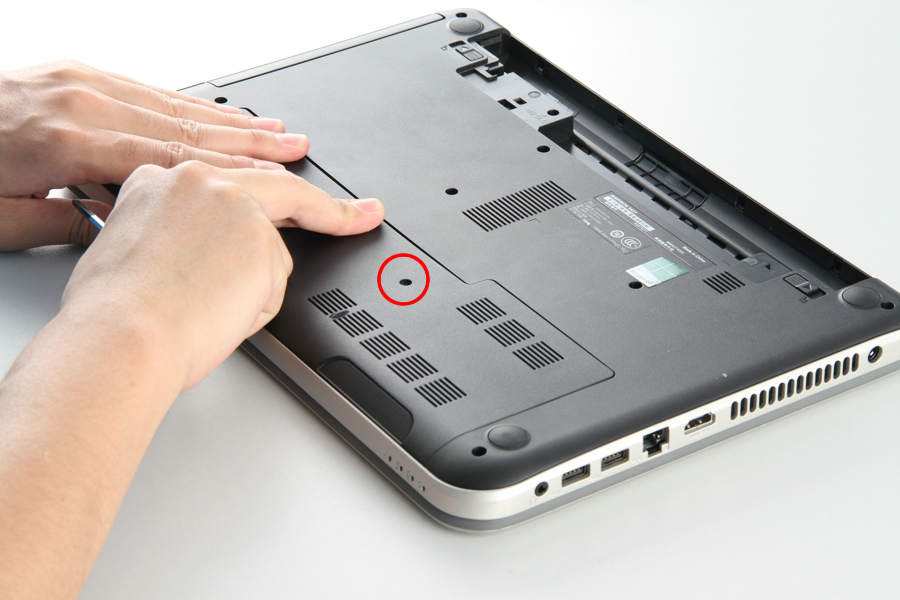
Remove the screw securing the service cover. Insert a plastic pry tool into the groove on the service cover, then pry up and remove the service cover.
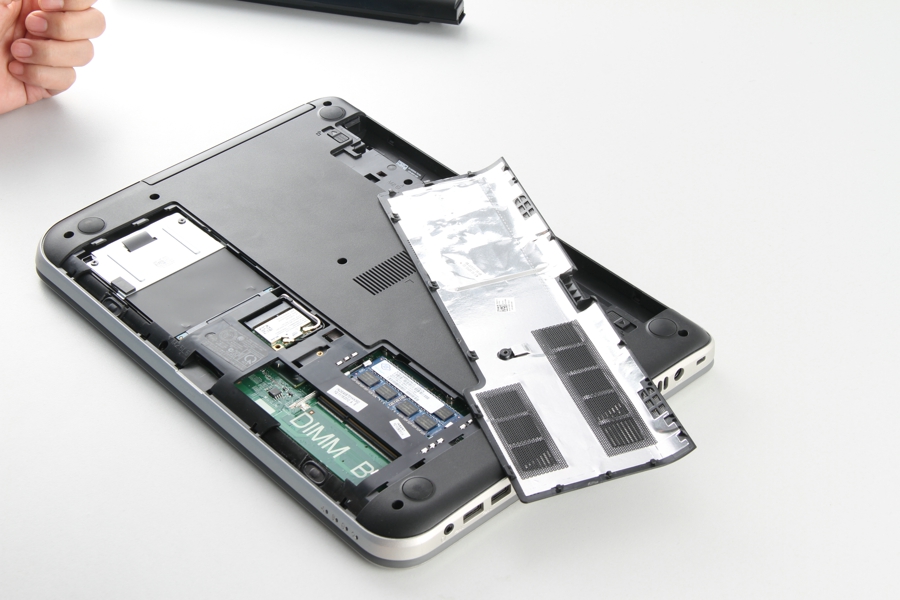
Remove the service cover.
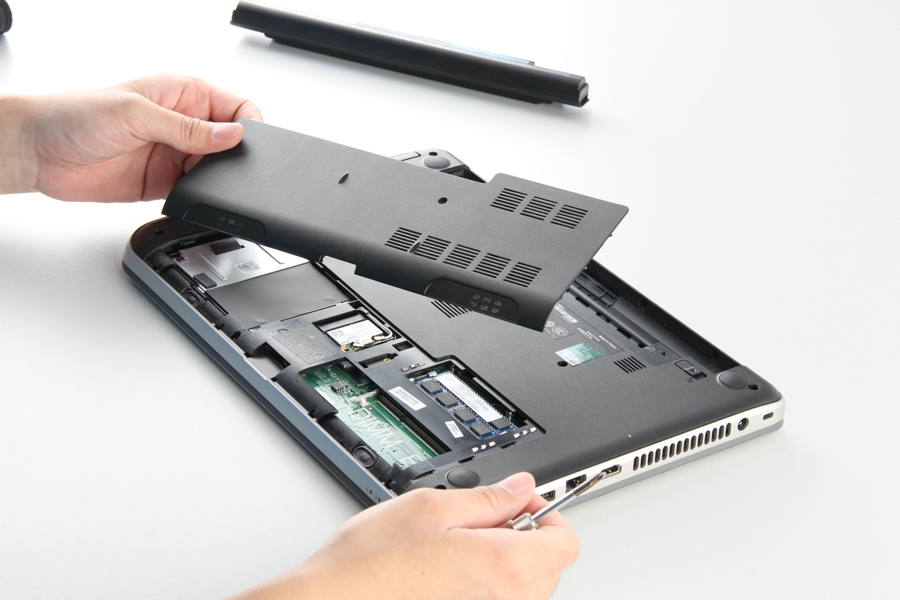
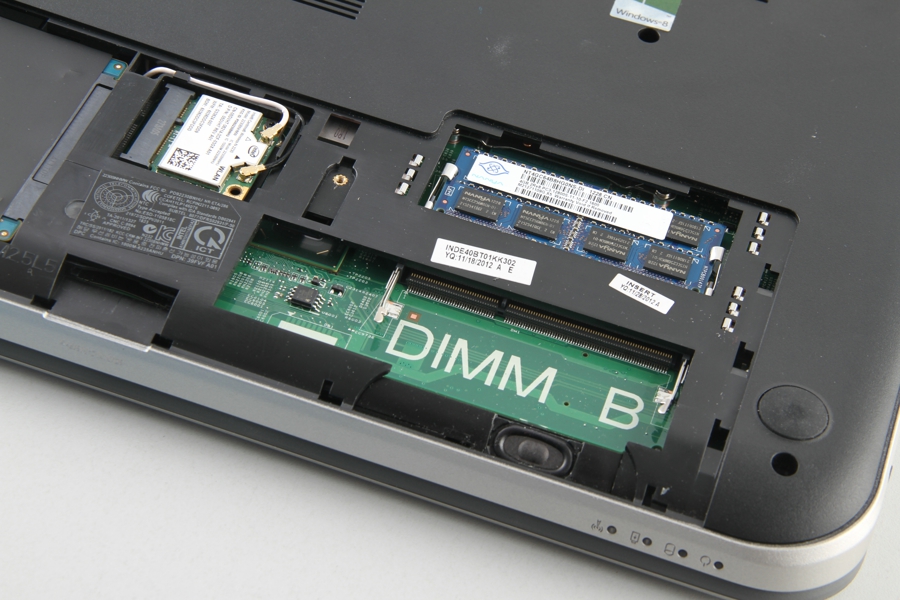
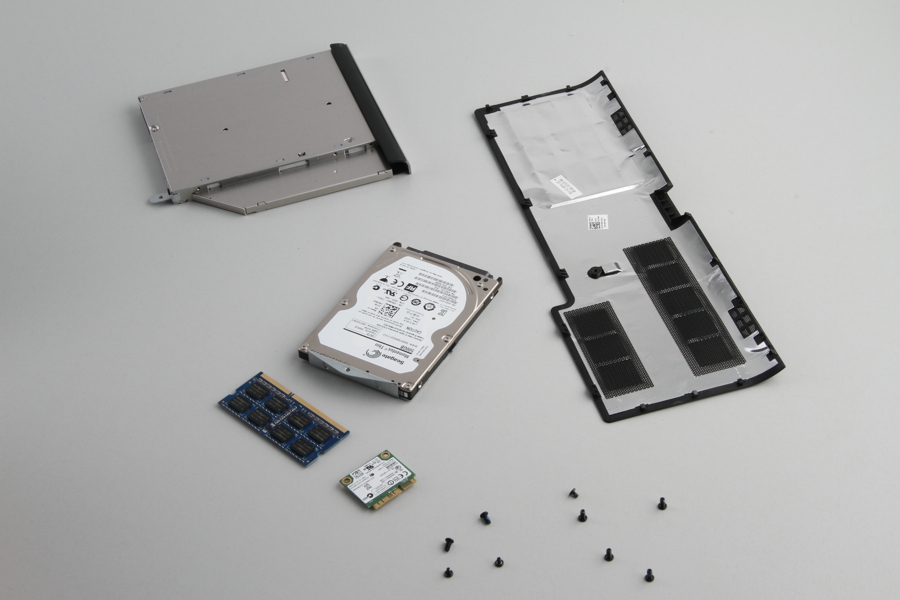
Under the cover, you can access the hard drive module, RAM, and wireless card.
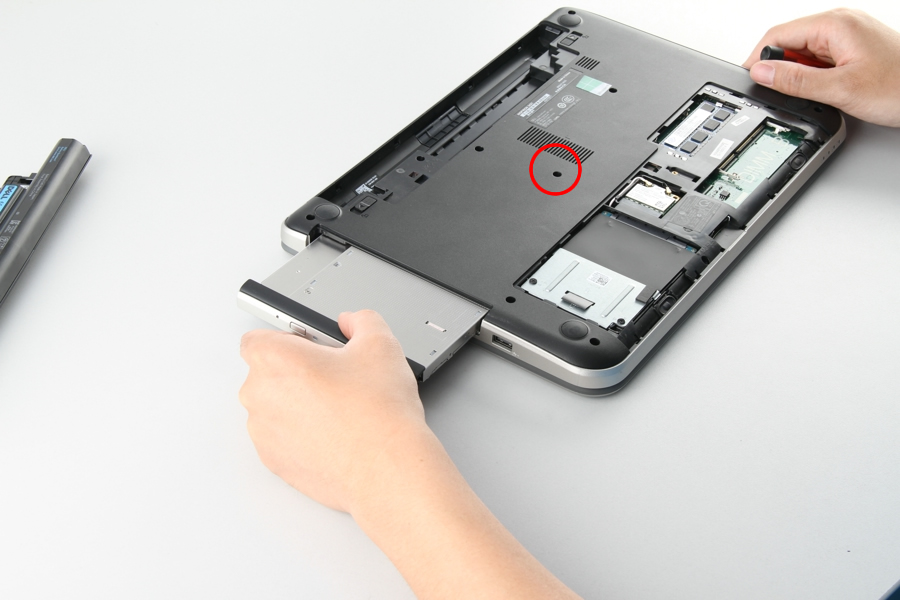
Remove the screw securing the DVD drive.
Pull out the DVD drive.
This laptop has two memory slots, but only one memory module is installed. You can add another memory module to upgrade the memory.
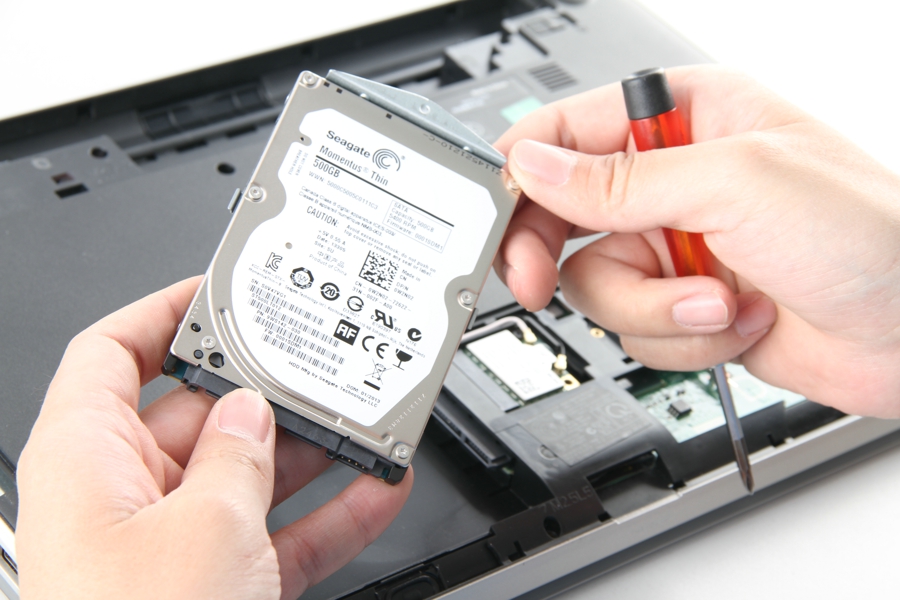
Remove the hard drive module.
The Dell Inspiron 14R 5421 features a Seagate 500GB hard drive.
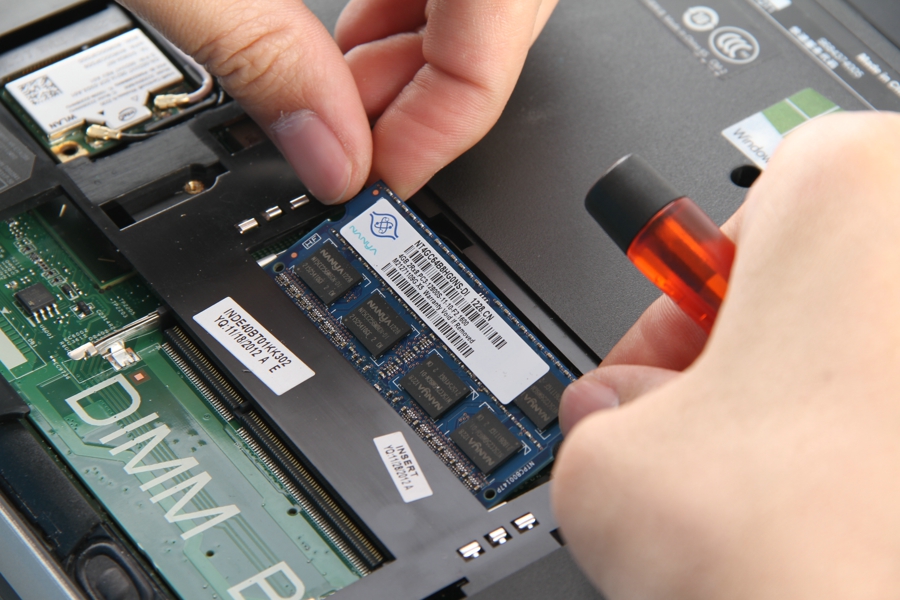
Use your nails to separate the clips to remove the memory module.
The laptop comes with an Elixir 4GB PC3-12800S memory module.
Hard drive, RAM, DVD drive, and wireless card
Turn over your laptop. Insert a pry tool into the top of the keyboard, pry it open, and lift the keyboard.
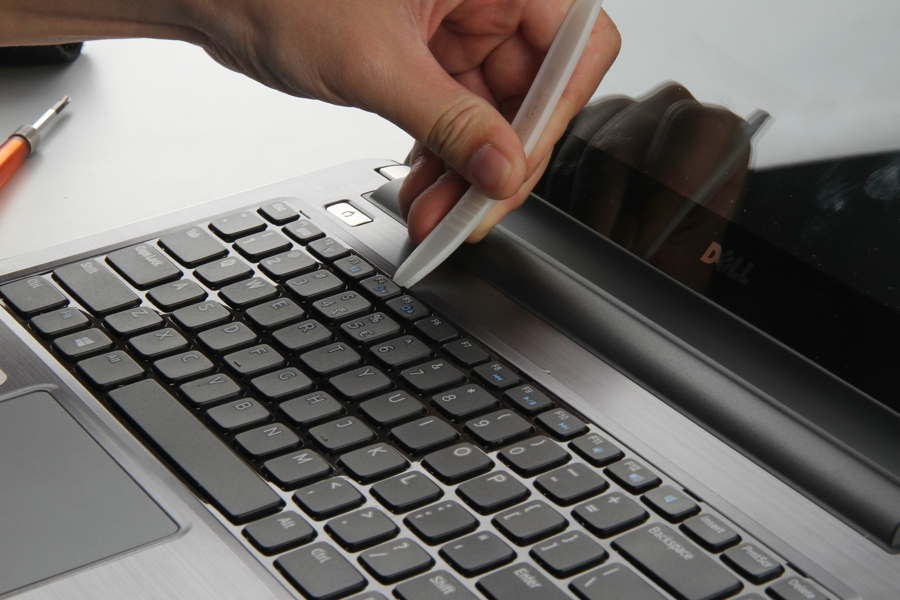
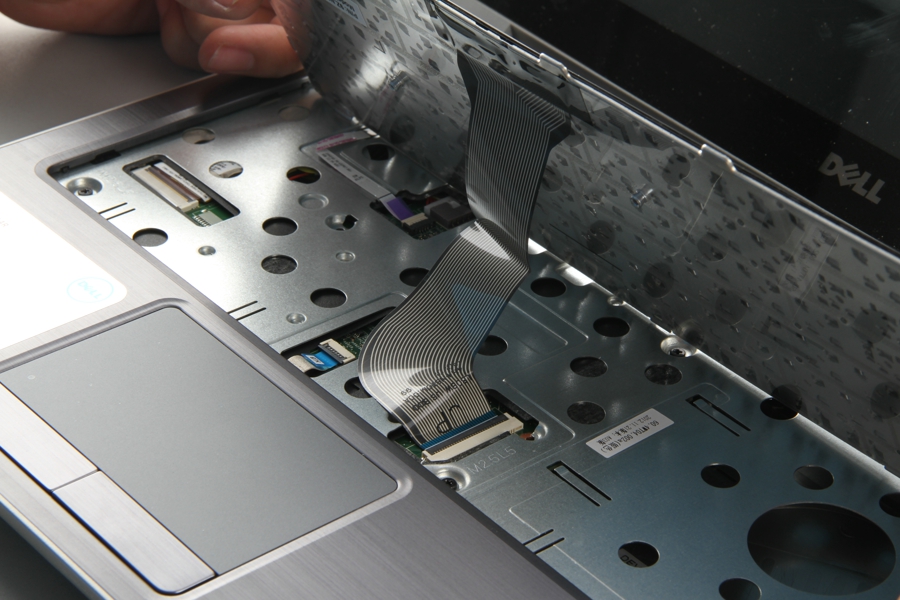
Lift the keyboard. You can get access to the keyboard cable.
Unlock and pull out the cable to remove the keyboard.
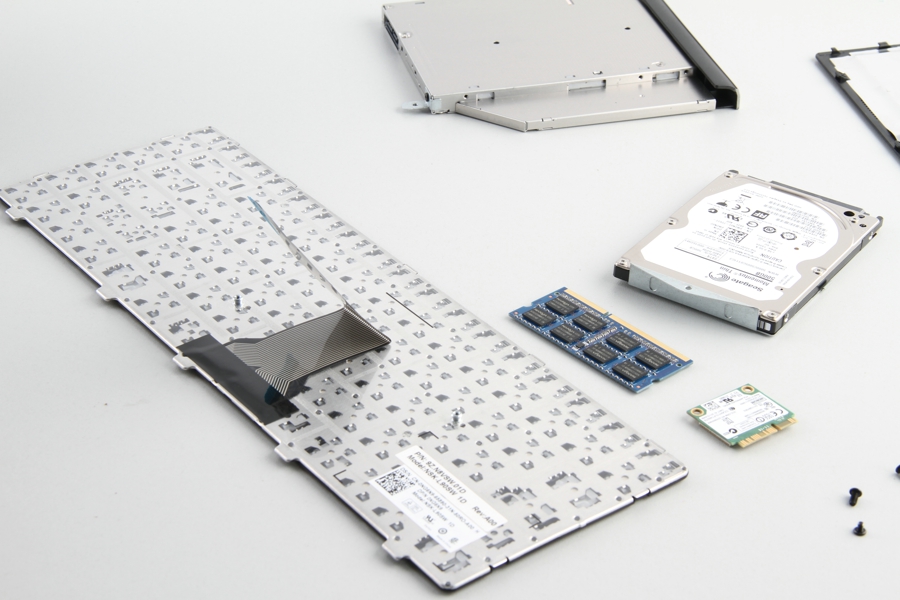
Keyboard
Remove all screws from the bottom cover.
Remove the screws securing the palm rest.
Disconnect all cables from the motherboard.
Insert a plastic prying tool between the bottom cover and the palm rest. There are many clips on the palm rest to secure it to the laptop, and you need to release all the clips to remove the palm rest.
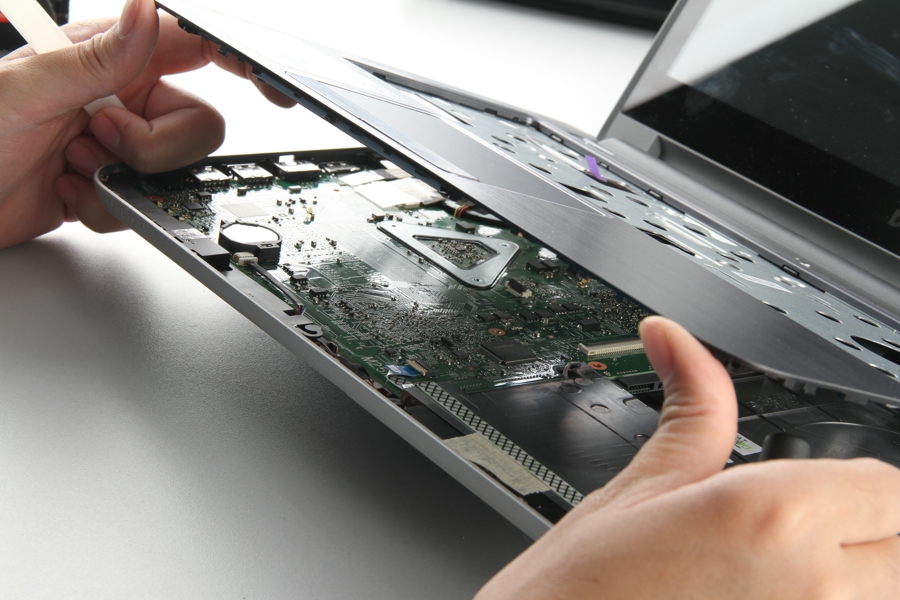
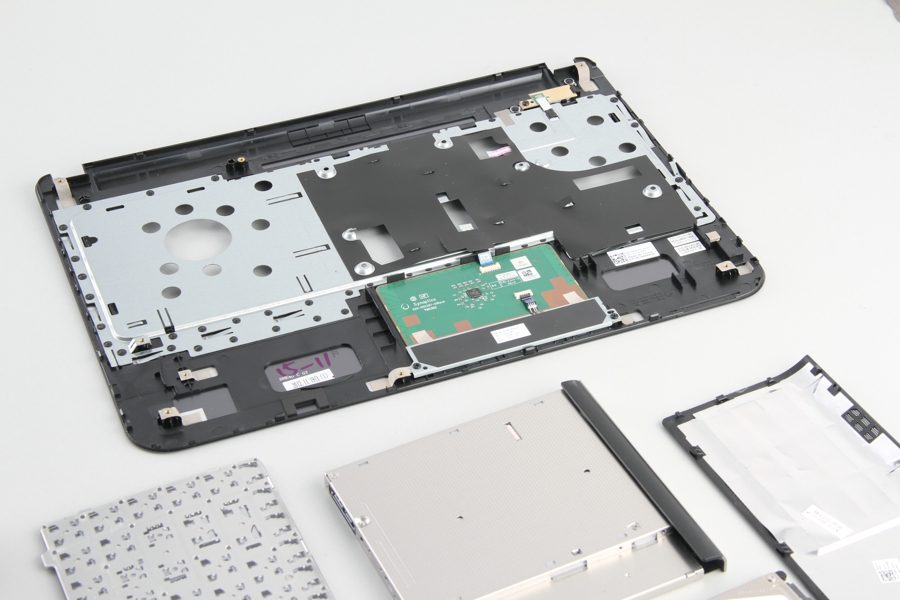
The palm rest has been removed.
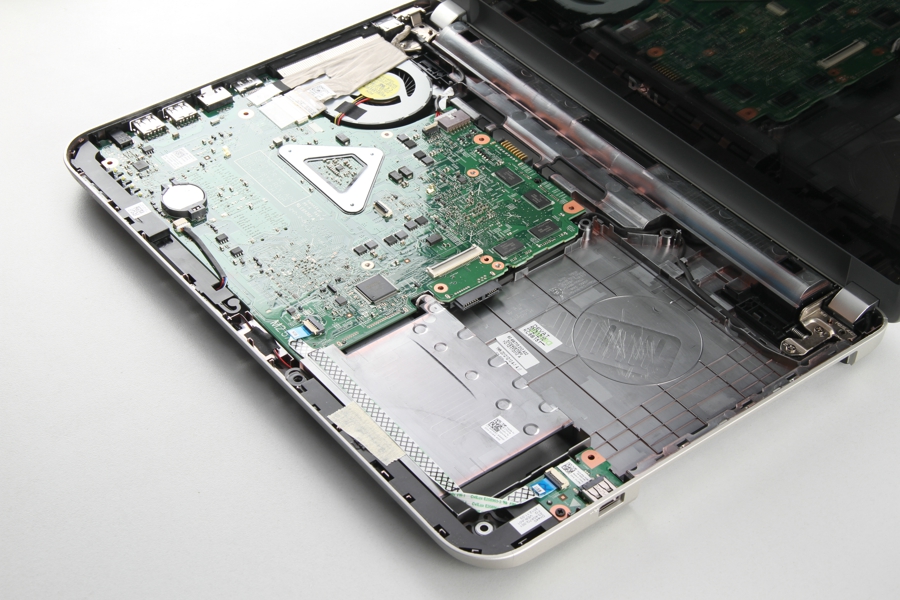
Disconnect the LCD cable, DC power jack, speaker cables, and USB board cable from the motherboard.
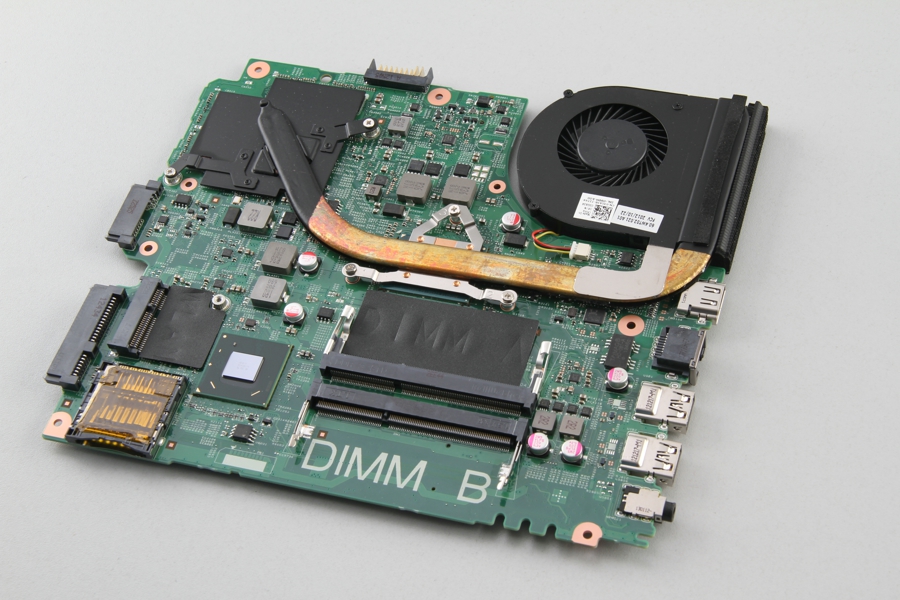
Remove the screws securing the motherboard. Lift the motherboard from the right side with your hand, then wiggle it until it separates from the bottom cover.
The motherboard has been removed.
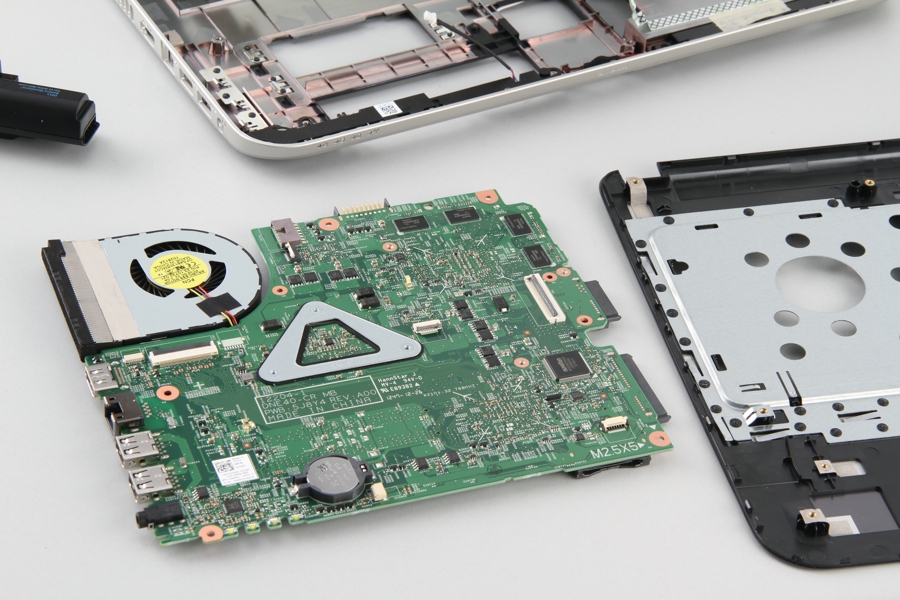
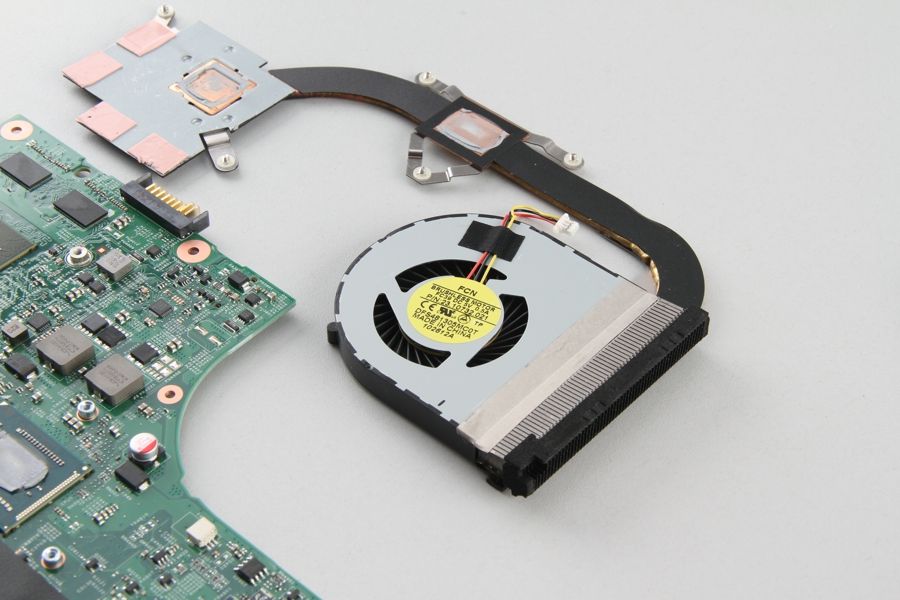
Loosen the five screws securing the heat sink and unplug the fan cable from the motherboard. You can remove the heat sink and cooling fan.
The cooling fan comes from Foxconn.
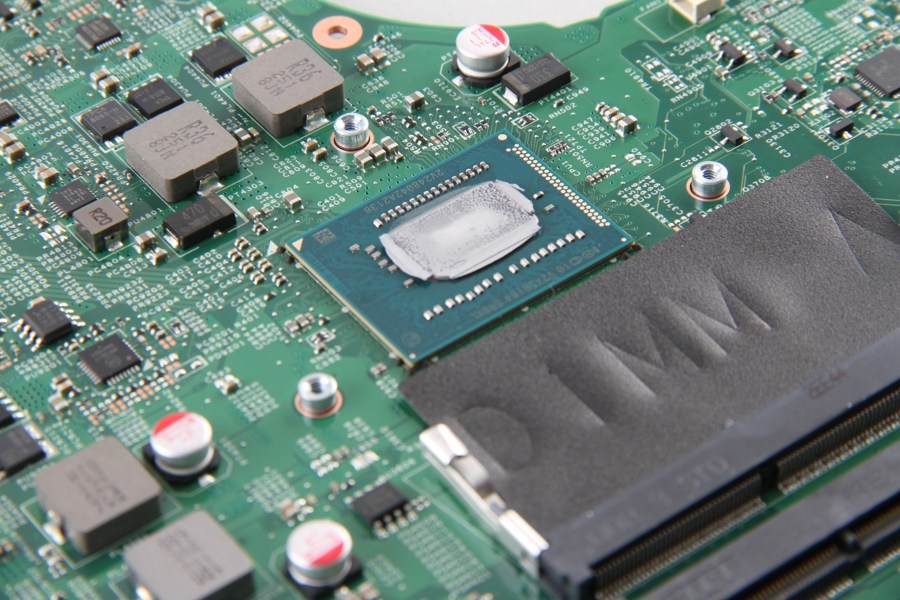
Dell Inspiron 14R 5421 GPU

The processor of the Dell Inspiron 14R 5421 is soldered onto the motherboard, so the processor cannot be upgraded.
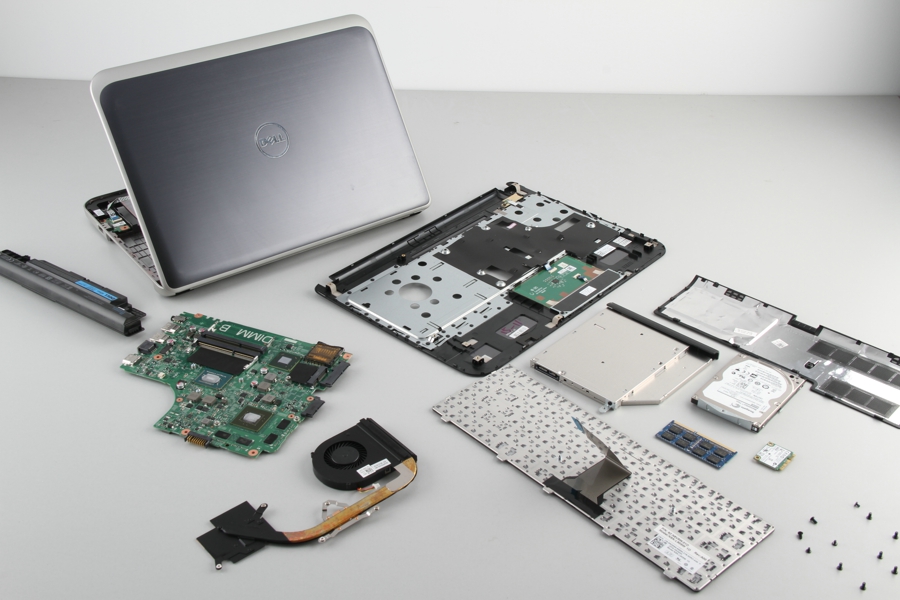
Dell Inspiron 14R 5421 internal parts
David, can the CPU in the Dell 5421 be upgraded? And how to find a suitable upgrade.
The CPU can not be upgraded. It is soldered to the motherboard.
Thank you for your answer. 😀
The screw that secures the DVD drive is incorrectly marked. The correct screw is located to the left and slightly above the one you marked. Unfortunately, I broke off the DVD drive cover while attempting to remove it, so I have to buy a replacement. 🙁
I appreciate the instructions you provided, but I am hoping the rest of the instructions are correct.
The DVD screw is correctly marked. I have this model.
Can this model hold an SSD drive and keep the original HD for storage?
Good morning! I need to improve the performance of my Dell Inspiron 14R 5421. I noticed in the previous answers that the processor cannot be improved. Do I need to know if I can enhance RAM? Currently, it is 4GB and a single channel.