
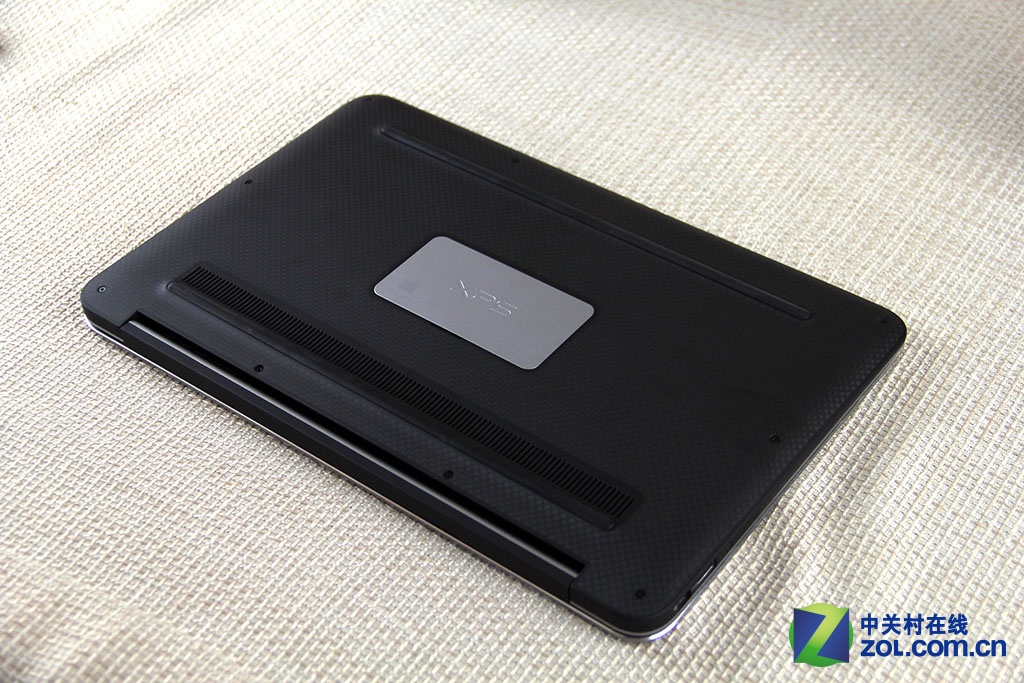
In this guide, I will explain how to disassemble the Dell XPS 13 L322x to remove the bottom case, battery, wireless card, SSD, speakers, USB board, cooling fan, and motherboard.
Want to stay connected to MyFixGuide.com? Follow us on Facebook to check out the latest teardowns.
Remove all screws from the bottom cover.
Pry up the bottom cover with a pry bar. There are clips to secure the bottom cover to the palm rest, and you need to unlock these clips.
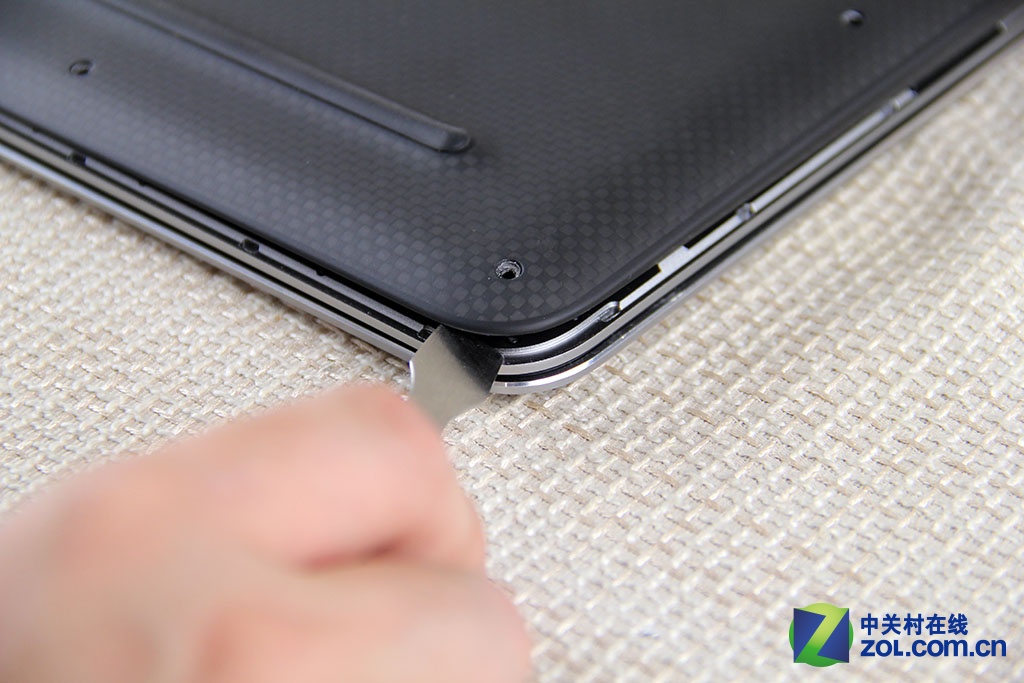
Once all the clips are released, you can remove the bottom cover.

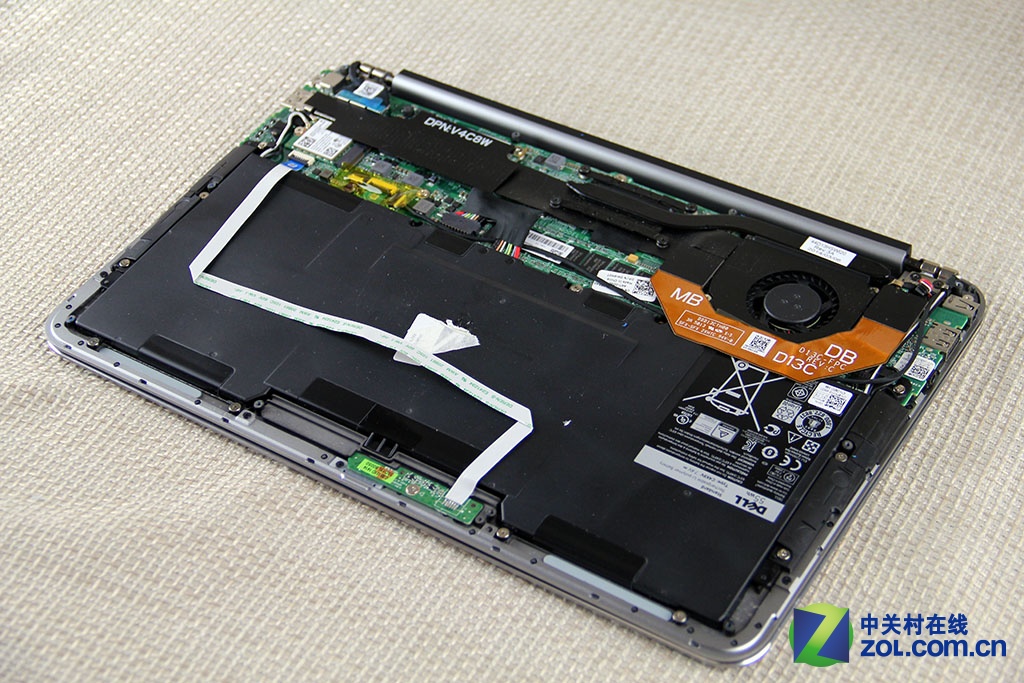
The bottom case has been removed. Now, you can access the battery, speakers, SSD, wireless card, heat sink, and cooling fan.
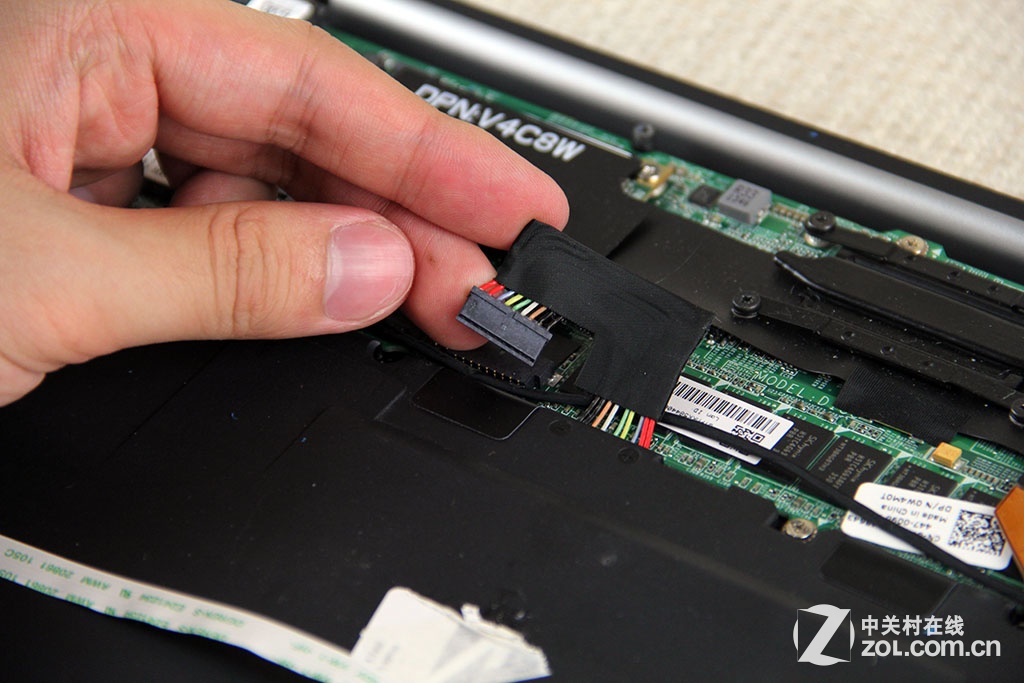
To protect the hardware, we need to remove the battery.
Disconnect the battery power cable from the motherboard.
Remove the yellow PCB cable.
Remove the screws securing the battery. You can remove the battery.
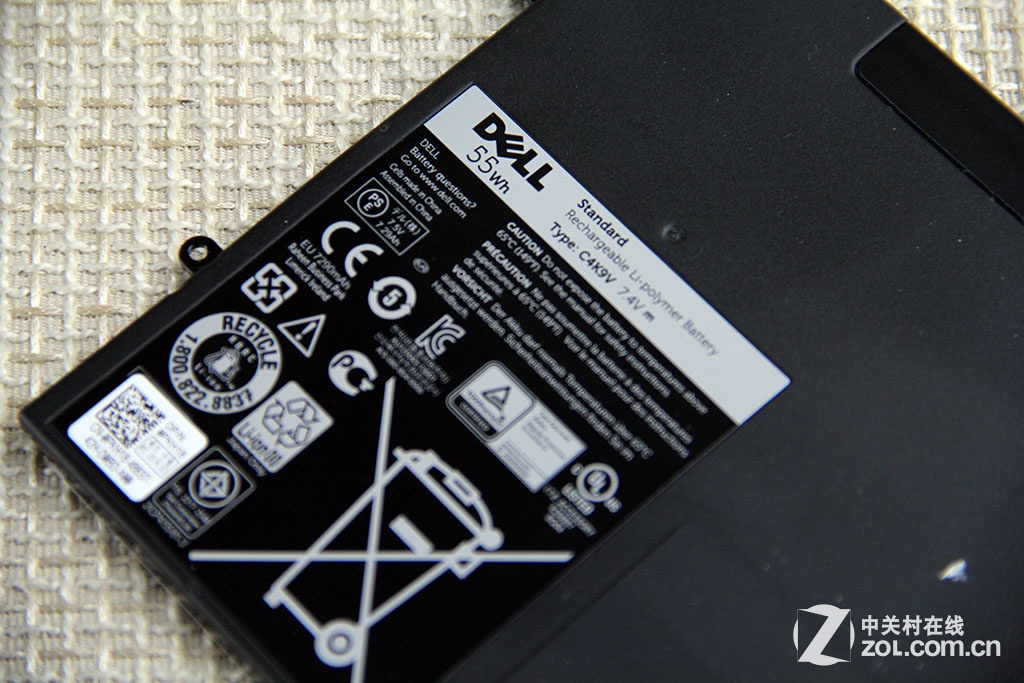
The Dell XPS 13 L322x comes with a 55Wh Li-Polymer battery. The Dell part number is C4K9V.
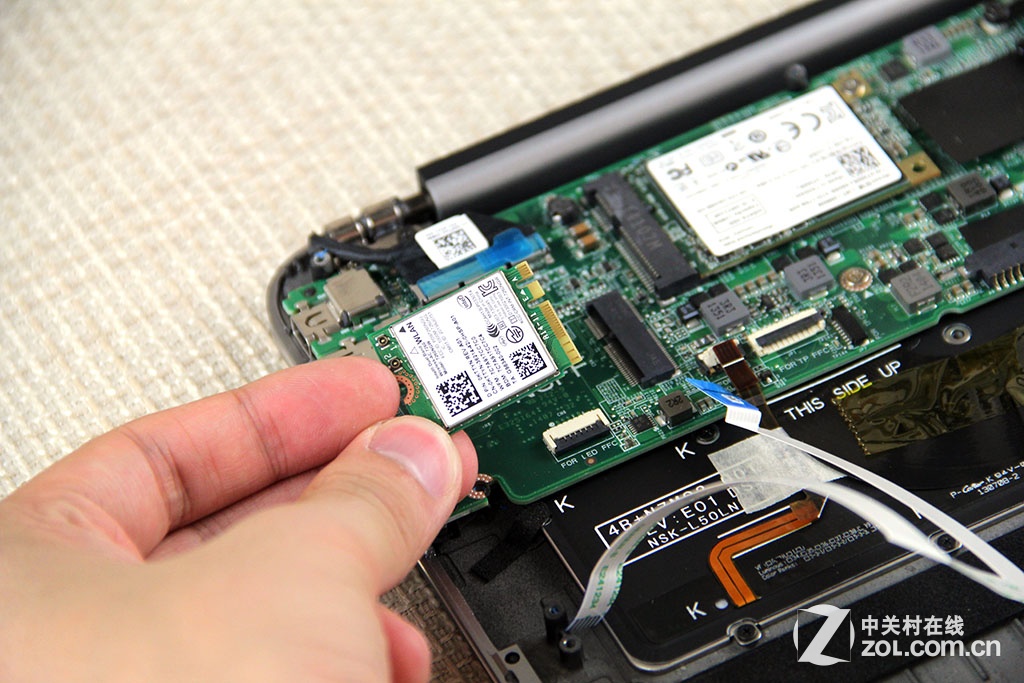
Disconnect the antenna cables and remove the screw. You can remove the wireless card.
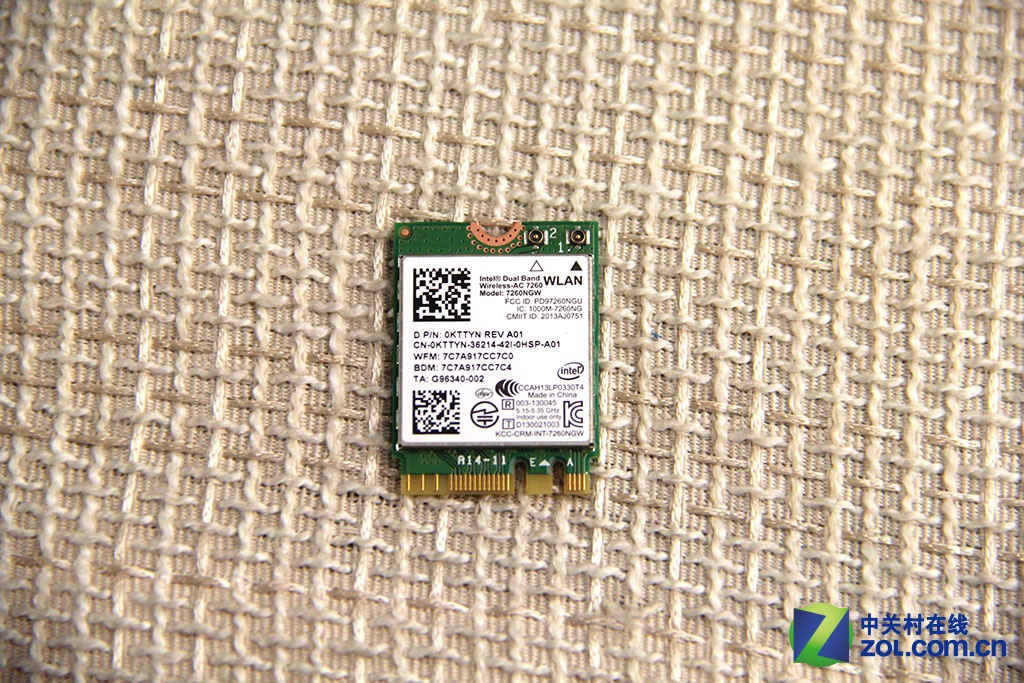
The laptop features an Intel Dual Band Wireless-AC 7260 wireless card. It supports 802.11ac, dual-band, 2×2 Wi-Fi, and Bluetooth 4.0.
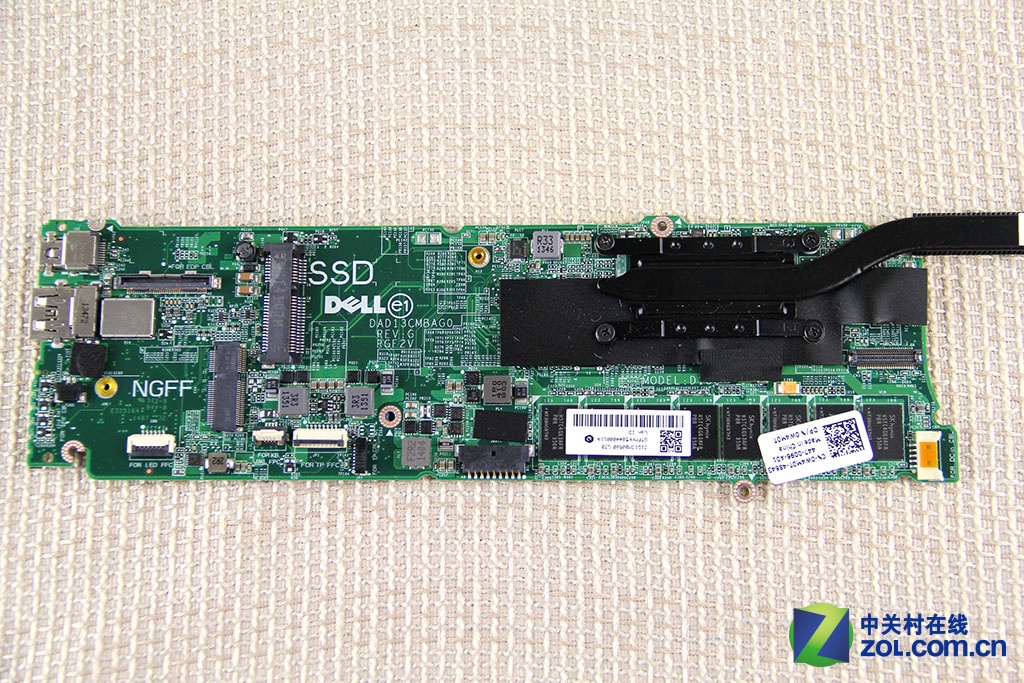
Remove the screw securing the SSD and take it out of the mSATA slot.
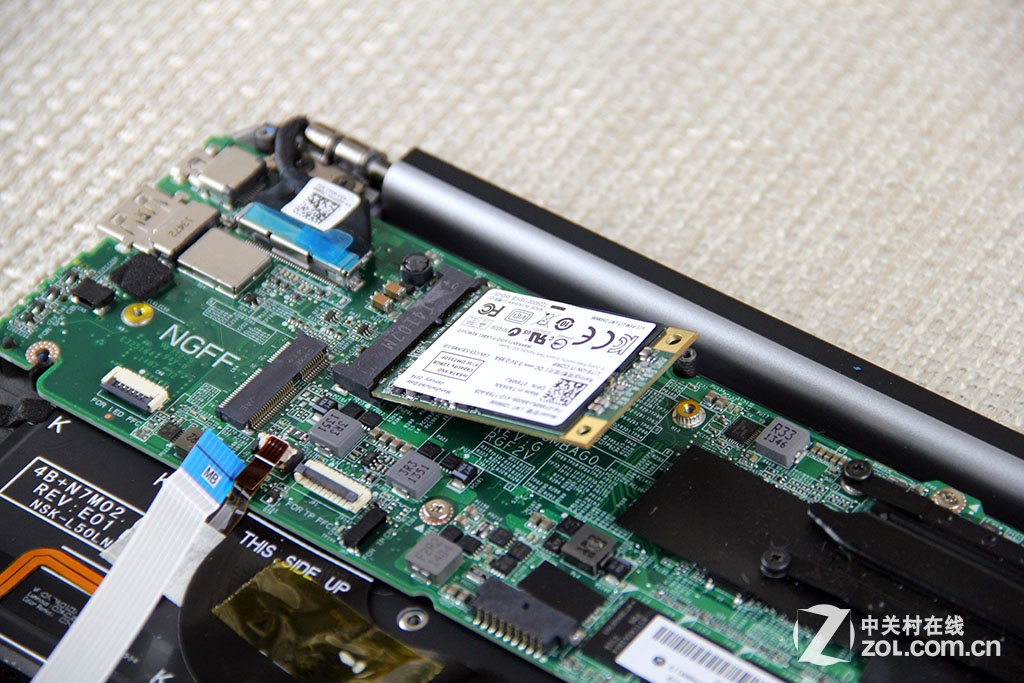
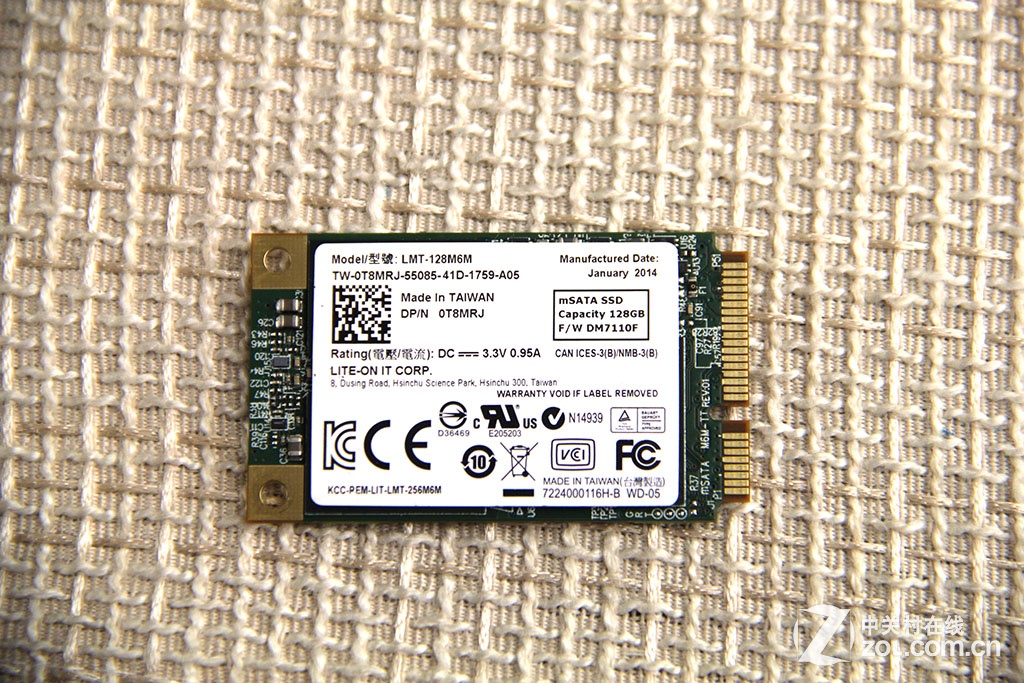
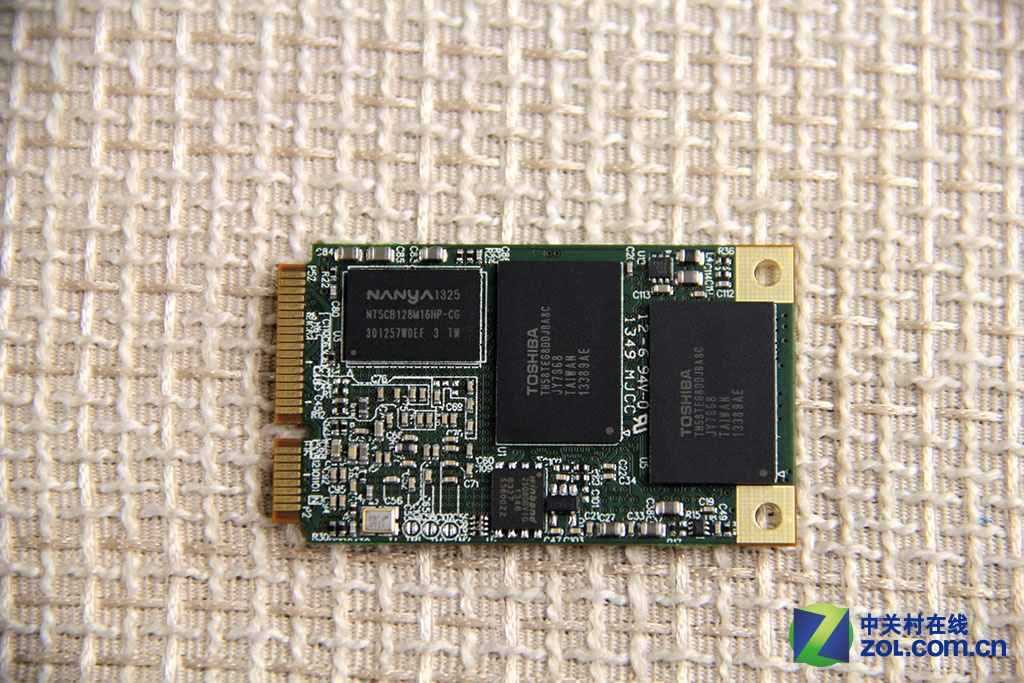
The laptop comes with a Toshiba 128GB mSATA SSD. Its Dell part number is 0T8MRJ.
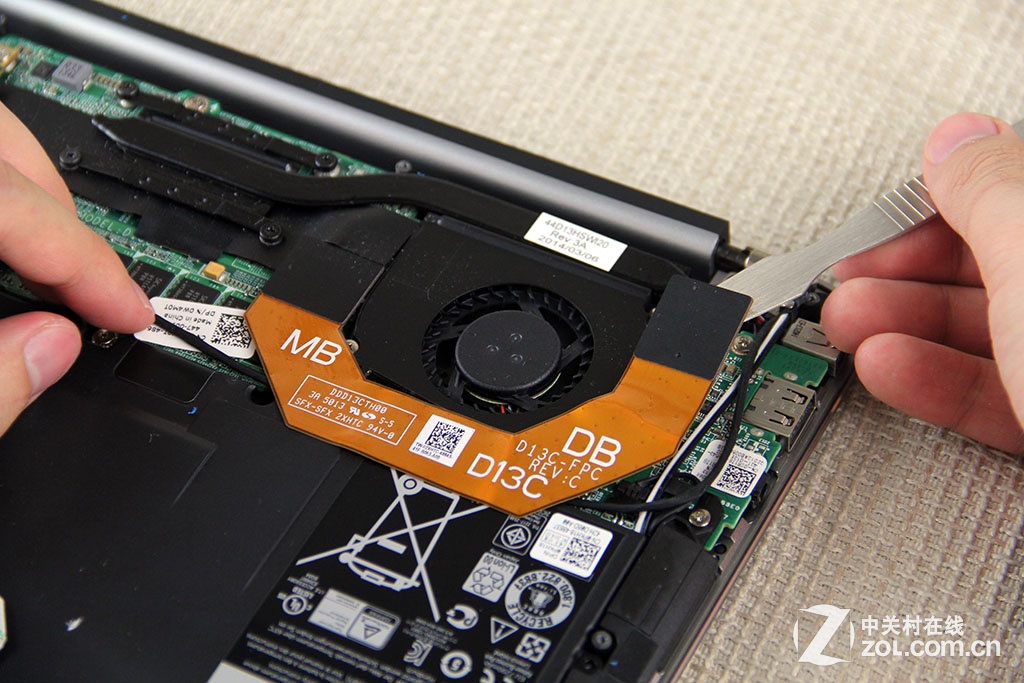
Remove the screw securing the fan and disconnect the cable from the motherboard. You can remove the cooling fan.
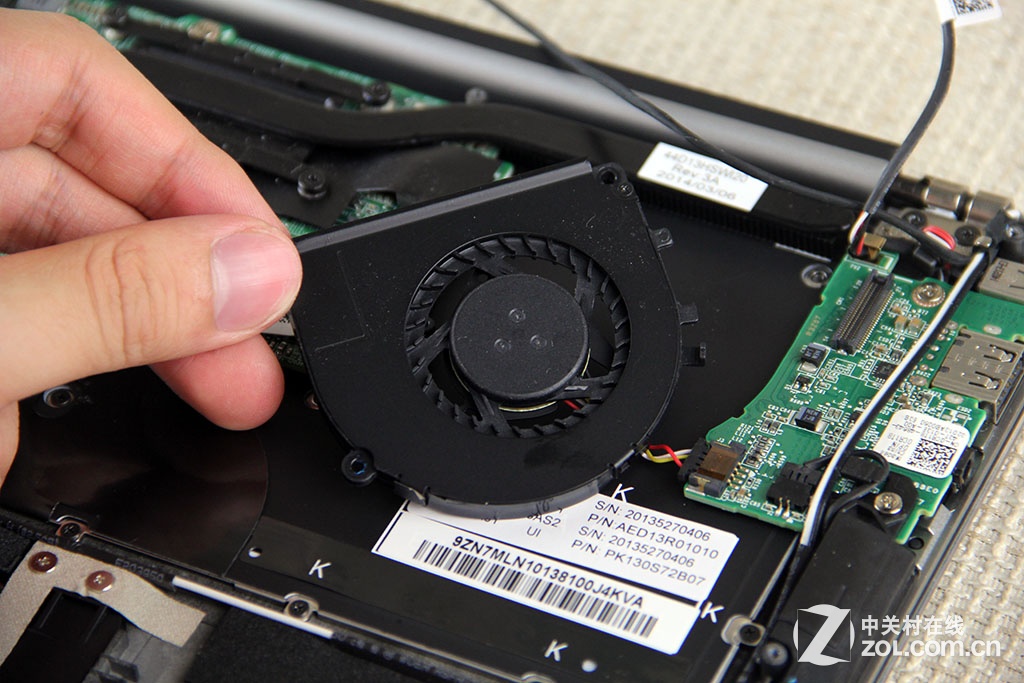
The Dell XPS 13 L322x cooling fan comes from SUNON.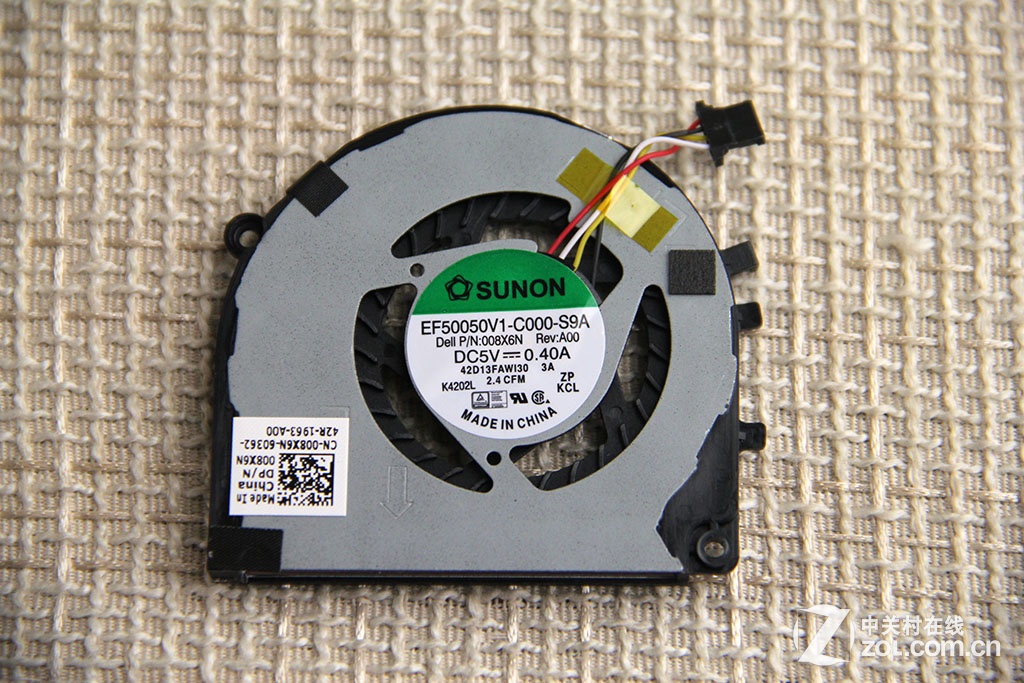
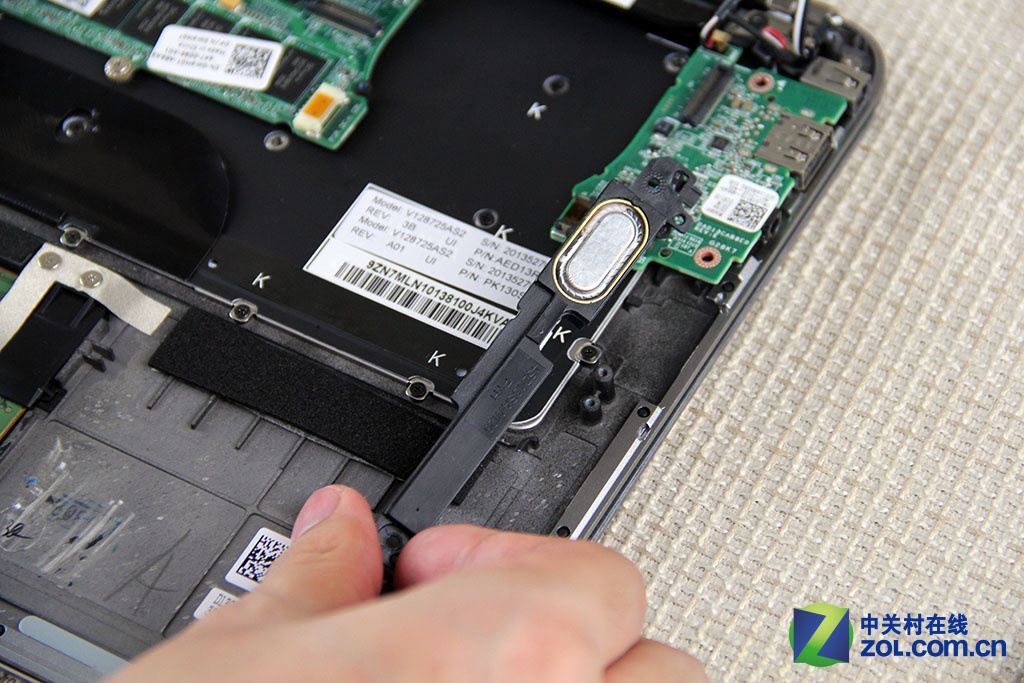
Remove the two screws securing the speaker and disconnect the speaker cable from the motherboard.
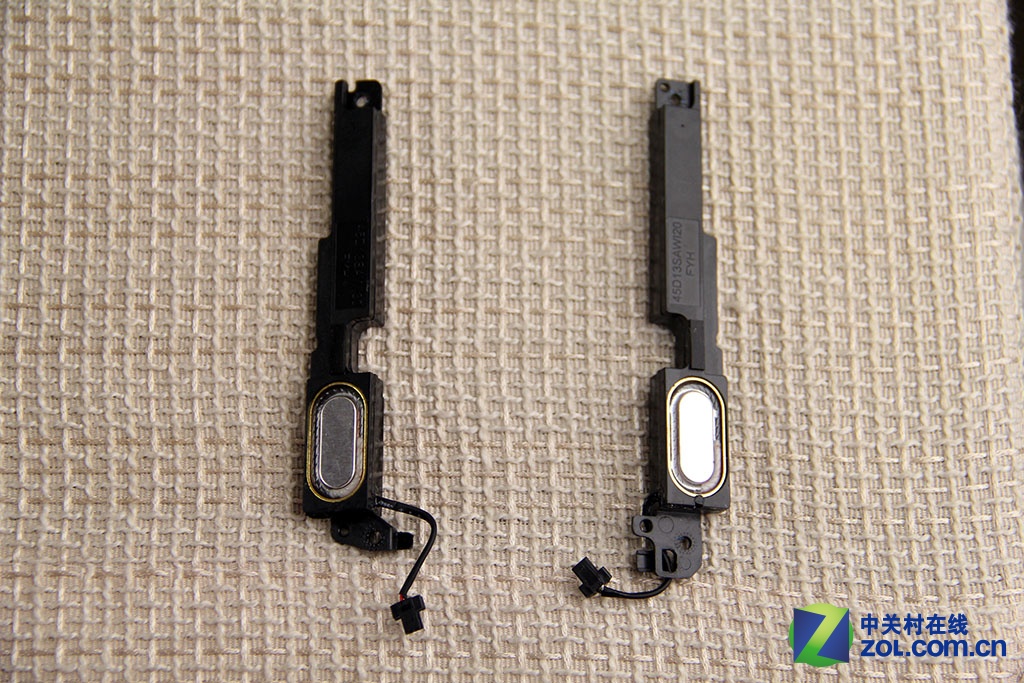
Two speaker modules
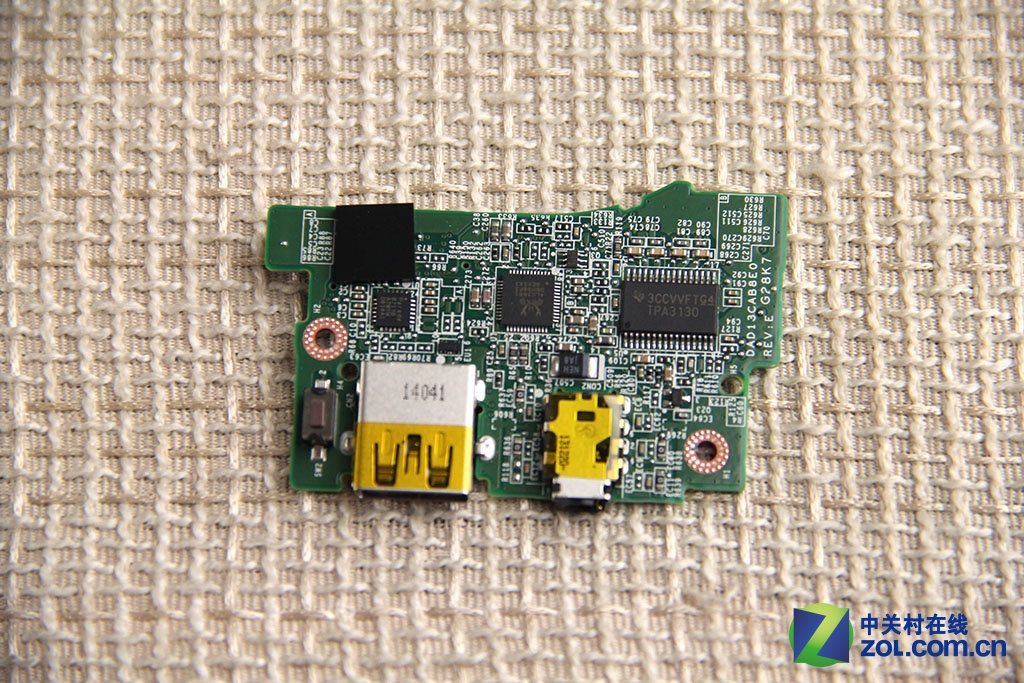
The USB board features a USB port and a DC power jack.
The memory chips of the Dell XPS 13 L322x are soldered onto the motherboard, so its memory cannot be upgraded.
Does this model have any CMOS battery in the motherboard?
This laptop does not have a separate CMOS battery.