Dell Inspiron N4010Dell Laptop
How To Remove, Replace Keyboard On Dell Inspiron N4010
In this guide, I’ll explain how to remove and replace the keyboard on the Dell Inspiron N4010. Refer to this guide. You can remove your old damaged keyboard and install a new keyboard on your N4010.
Looking for more funny teardown? Follow us on Facebook for all the latest repair news.
Turn off your laptop.
Unlock and remove the battery.
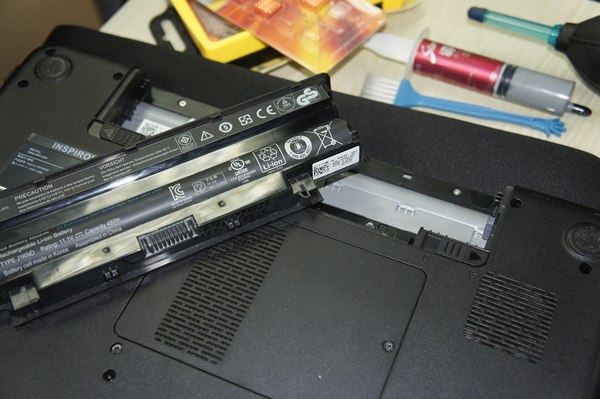
Remove one screw securing the memory cover.
Lift up and remove the cover.
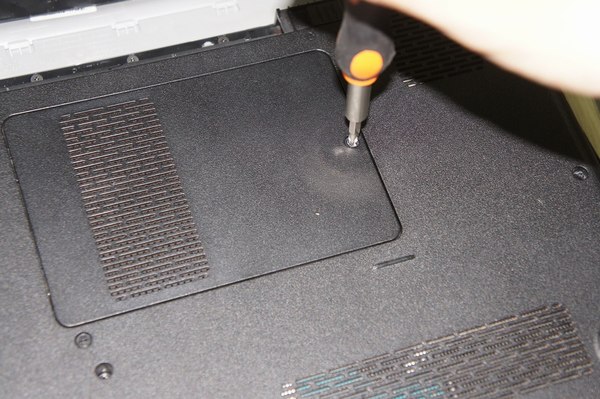
Remove two screws securing the keyboard.
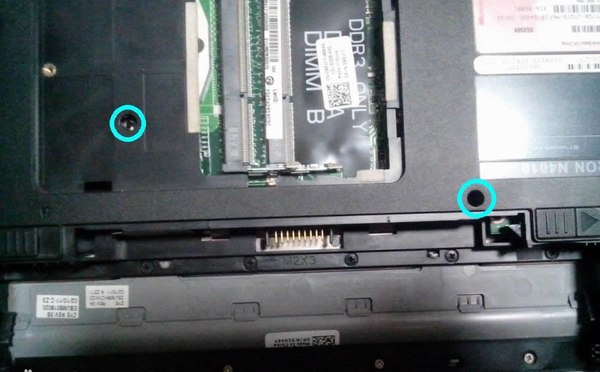
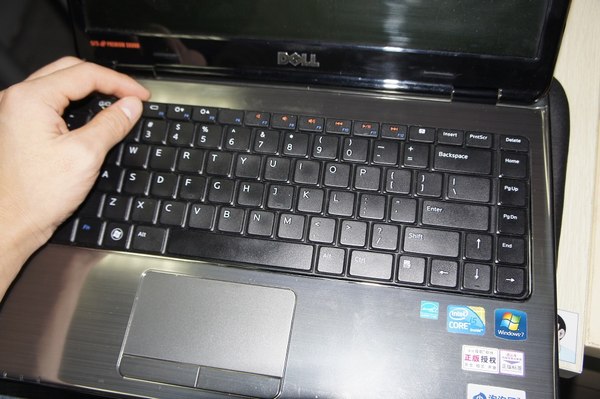
On the front side, the keyboard is secured by three plastic tabs.

Insert a plastic stick between the keyboard and the top cover assembly.
Slide the keyboard towards the touchpad about 1-2 millimeters.
Lift up the keyboard.
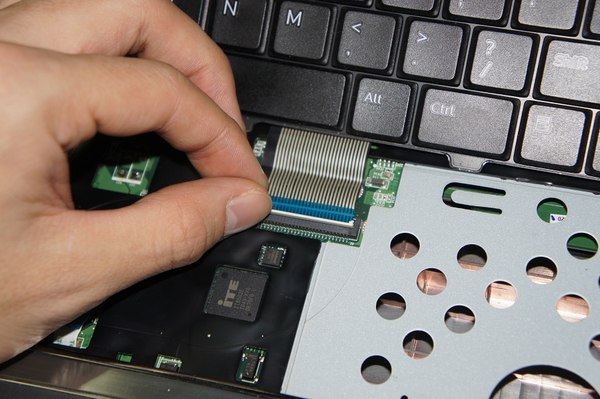
Now, you can access the keyboard cable.
Lift up the left side of the retainer with your fingernail. The retainer will open up at a 90-degree angle. You can pull out the keyboard cable and remove the keyboard.
For more guides, check out the Dell Inspiron N4010 device page.

