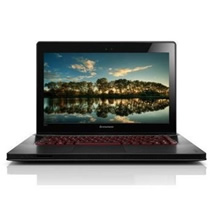
Lenovo LaptopLenovo ThinkPad Edge E40
How to Remove, Replace Optical Drive on Lenovo ThinkPad Edge E40
In this guide, I’ll explain how to remove and replace the optical drive on the Lenovo ThinkPad Edge E40.
Tools need
- 1 x small Phillips screwdriver
Note: Please make sure to turn off your laptop and remove the AC adapter.
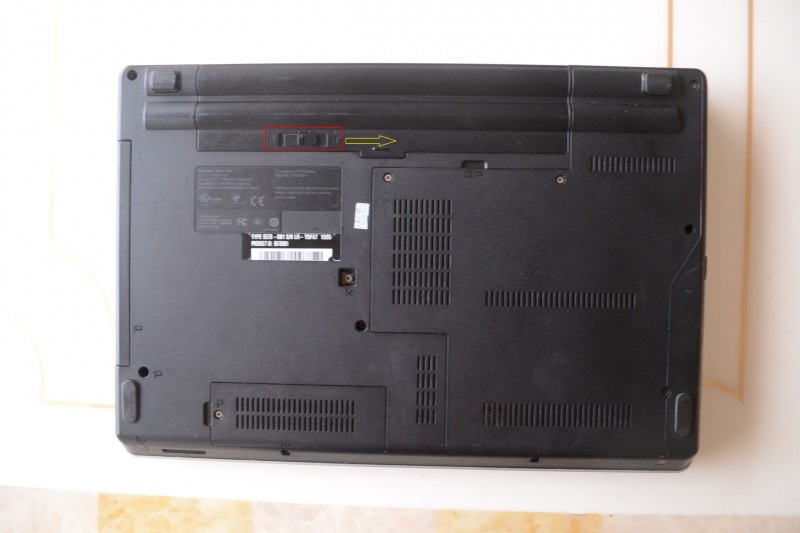
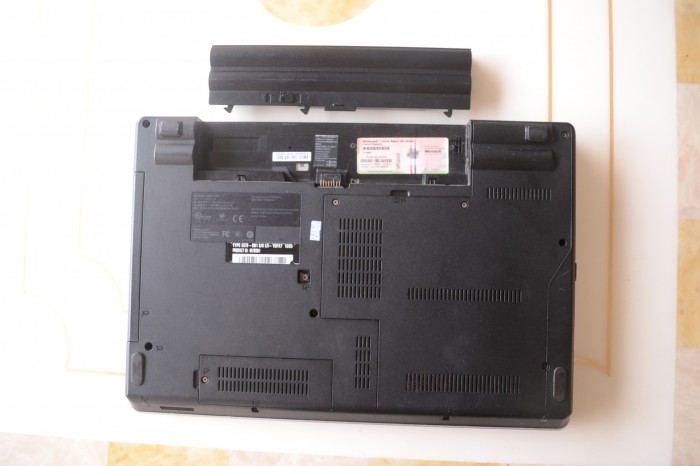
Step 1: Remove the battery
-
- Slide the lock switch to the right.
-
- Slide the battery away from the laptop.
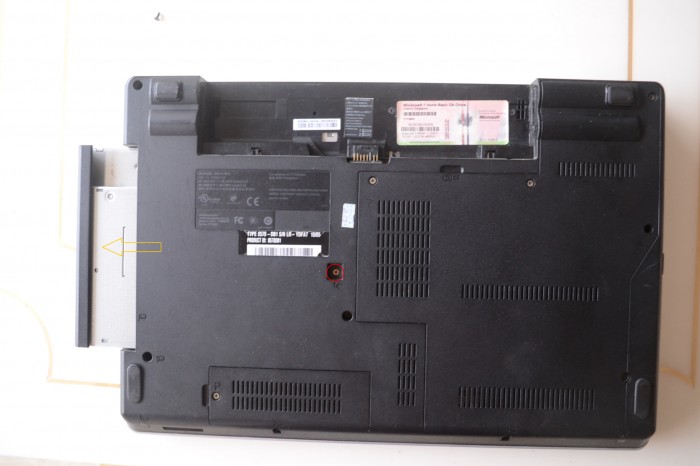
Step 2: Remove the Optical Drive
-
- Remove one screw securing the optical drive.
- Pull out the Optical Drive.
-
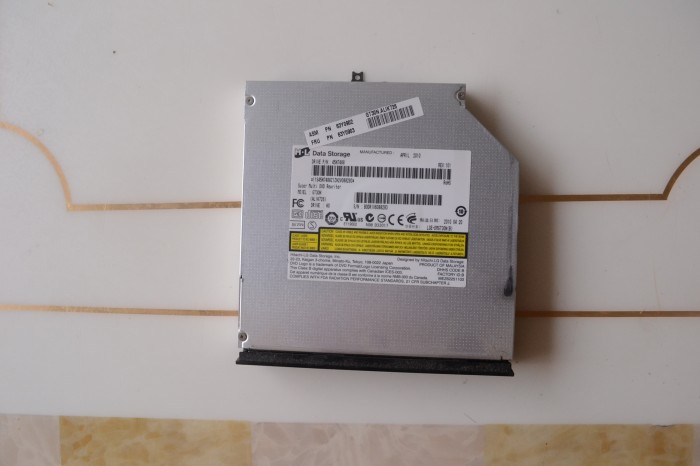
- Lenovo ThinkPad Edge E40 using an HL GT30N DVD drive.

