
In this guide, I will explain how to disassemble the HP Omen 15 to remove the bottom case, battery, SSD, wireless card, heat sink, cooling fan, and motherboard.
Want to keep in touch with us? Follow us on Facebook for more repair news.
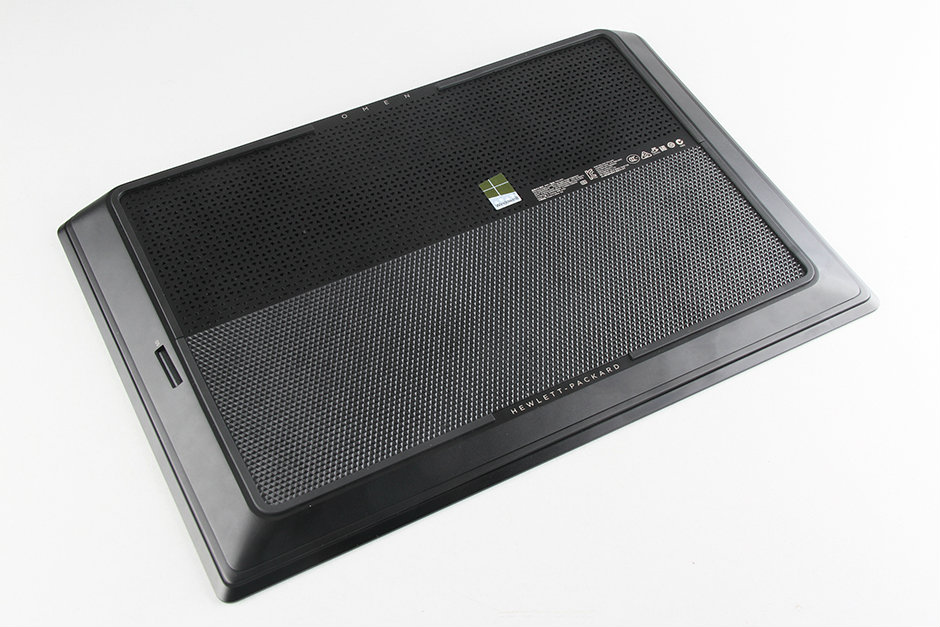
There is a circular rubber pad on the bottom cover of this laptop.
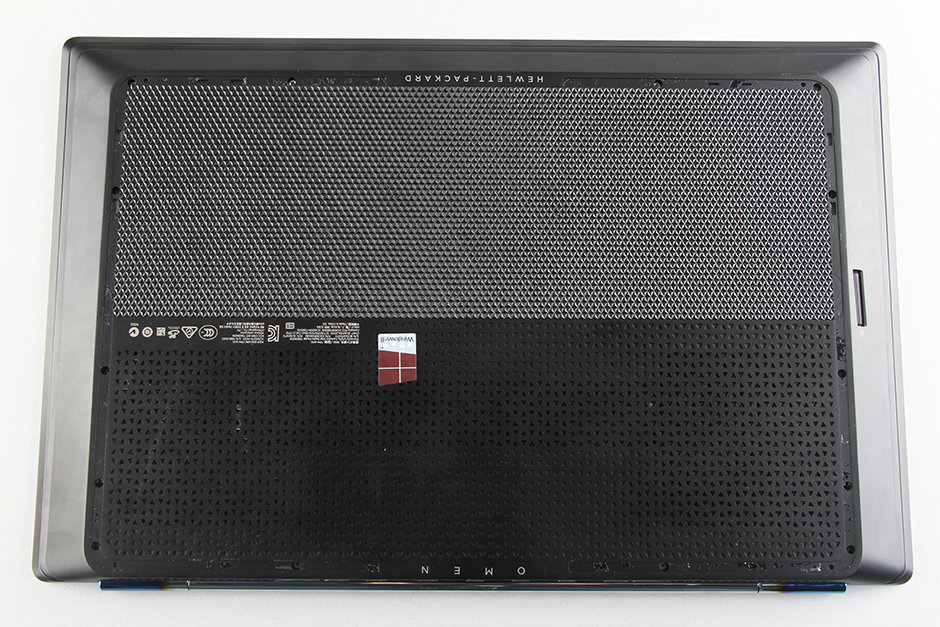
Peel off the rubber pad from the tear line and remove it. After removing the rubber pad, you will find screws securing the bottom cover. Remove all screws.
Insert a plastic pry tool under the bottom cover. Slide the pry tool to release all clips on the bottom cover until it completely detaches from the laptop.
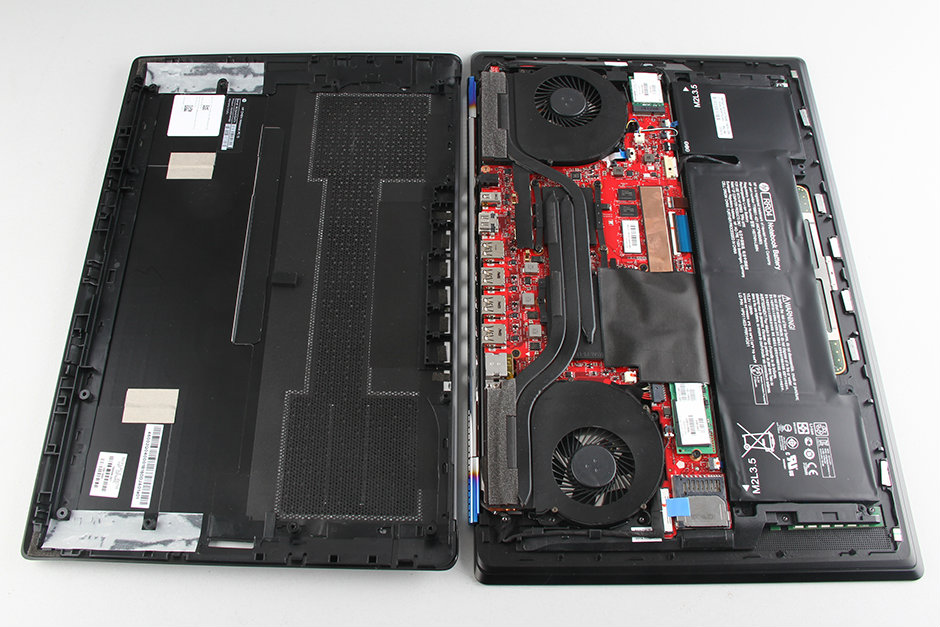
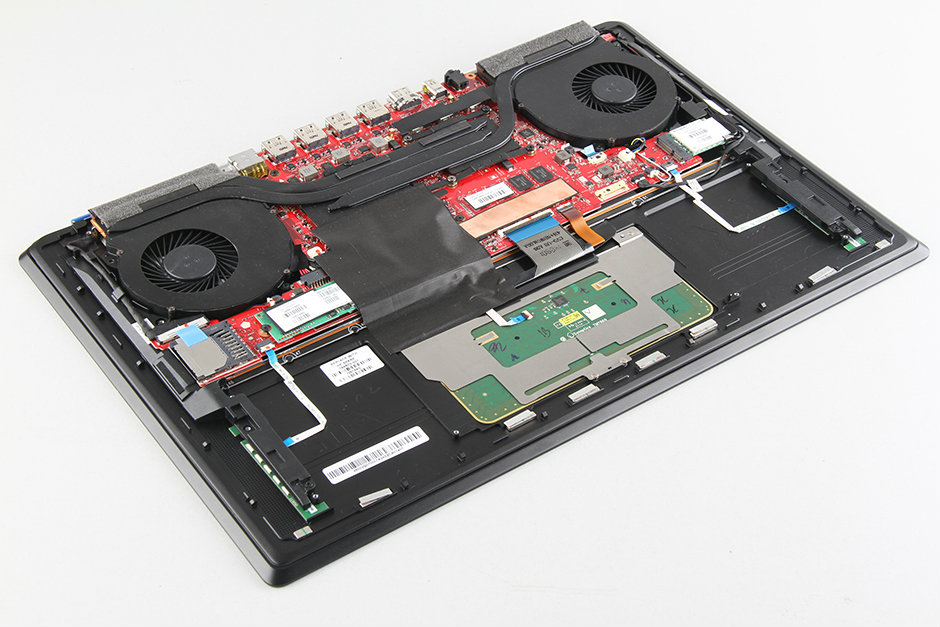
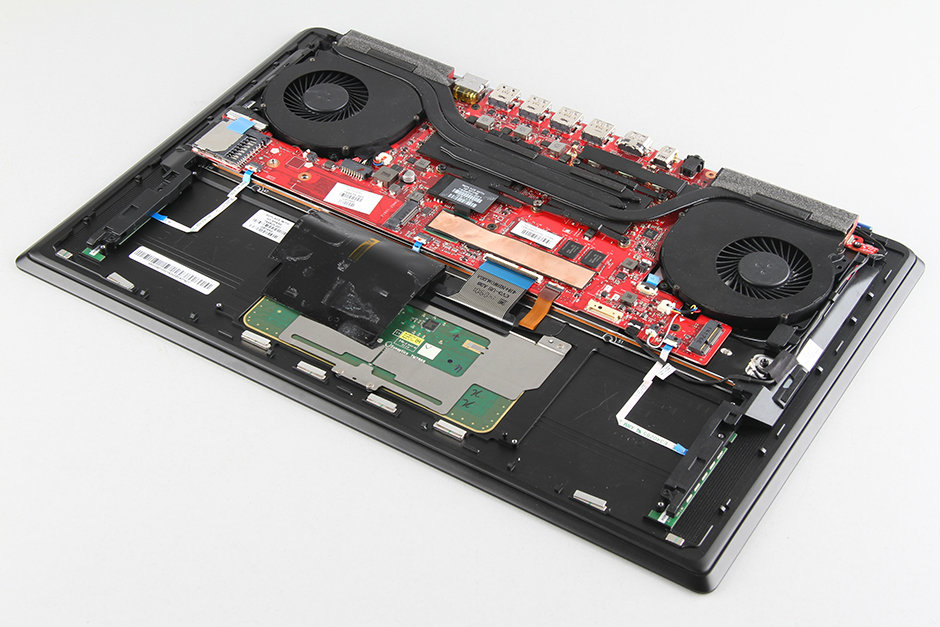
Once the bottom case is removed, you can access the internal components, including the battery, wireless card, SSD, speakers, heat sink, and cooling fan.
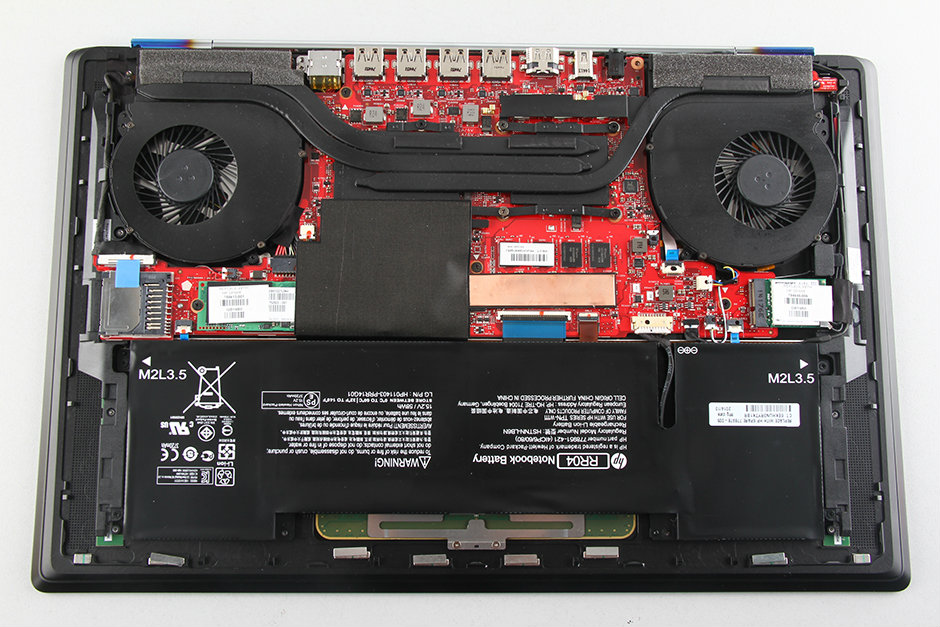
Disconnect the battery power cable, remove the screws, and then remove the battery from the laptop.
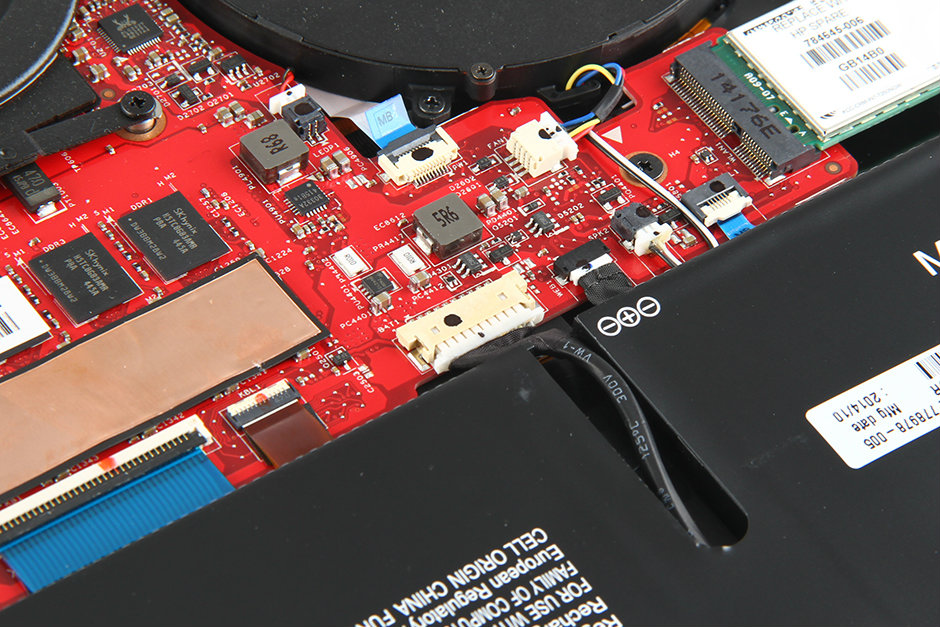
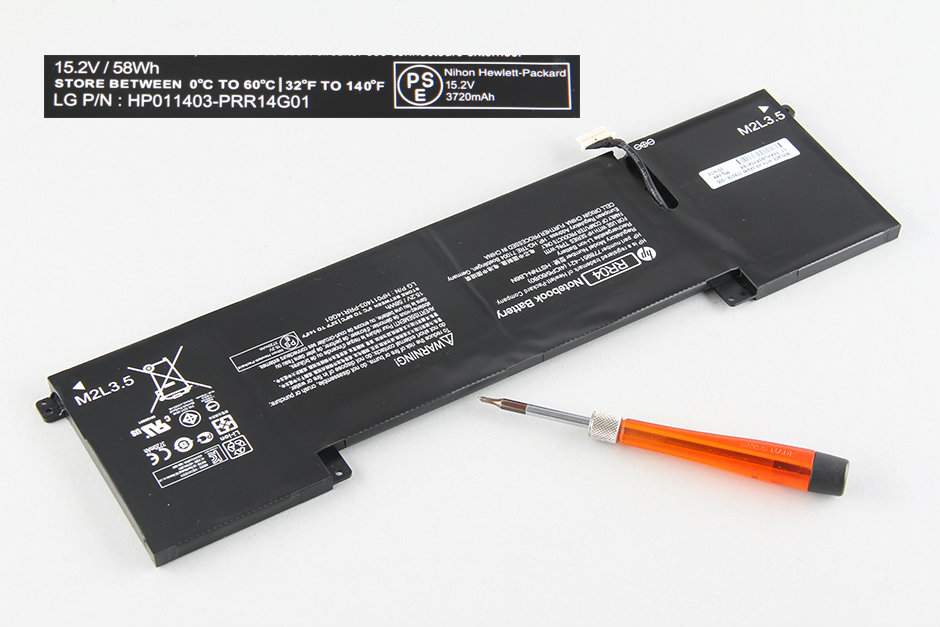
The HP Omen 15 comes with a 58Wh Li-Polymer battery and the battery cells from LG.
After removing the battery, you can access the touchpad module.
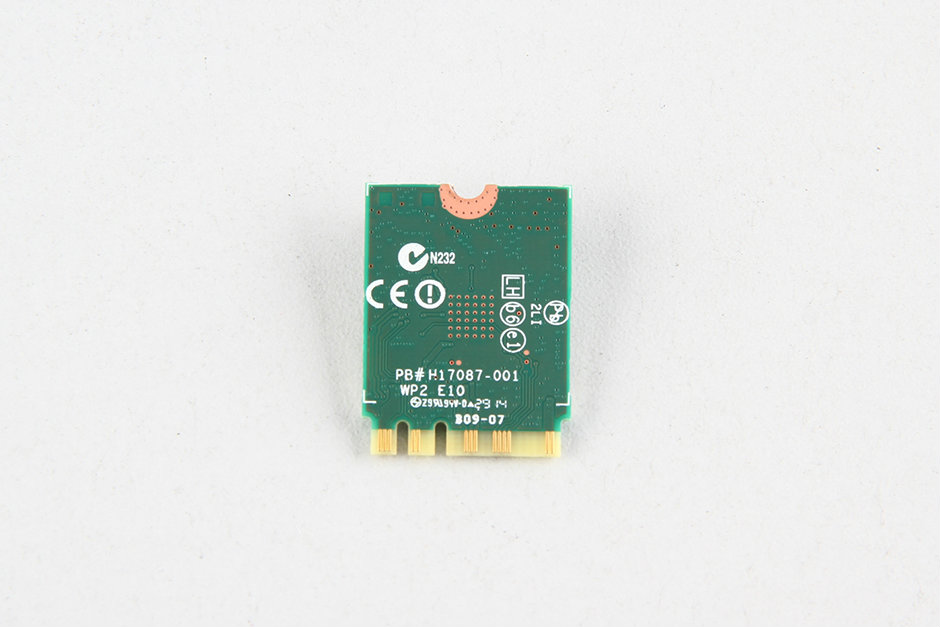
Remove the screw securing the wireless card and disconnect the two antennas.
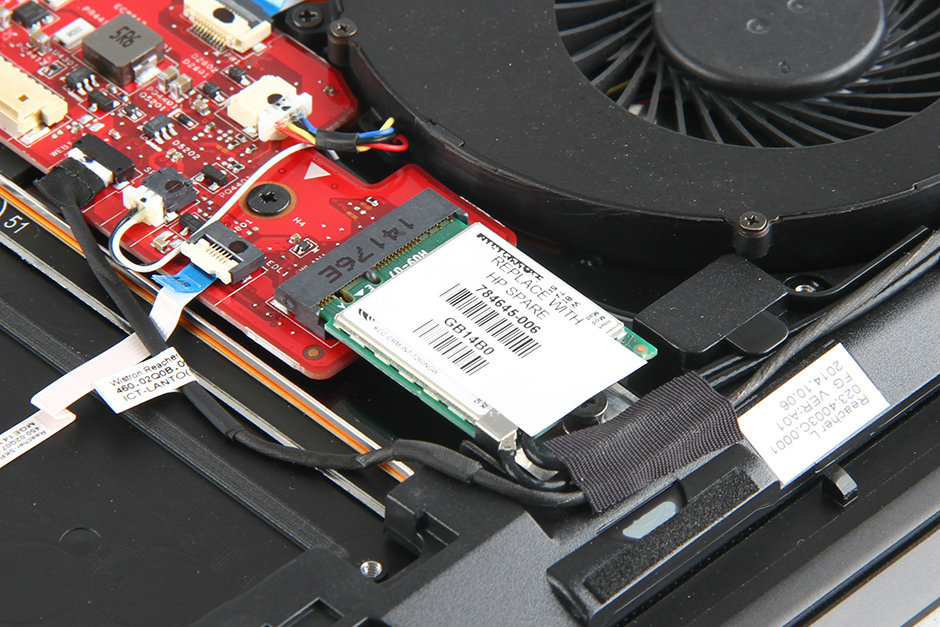
The laptop comes with an Intel Dual Band Wireless-AC 7260 wireless card. The HP part number is 784645-006.
Uncover the black tape.
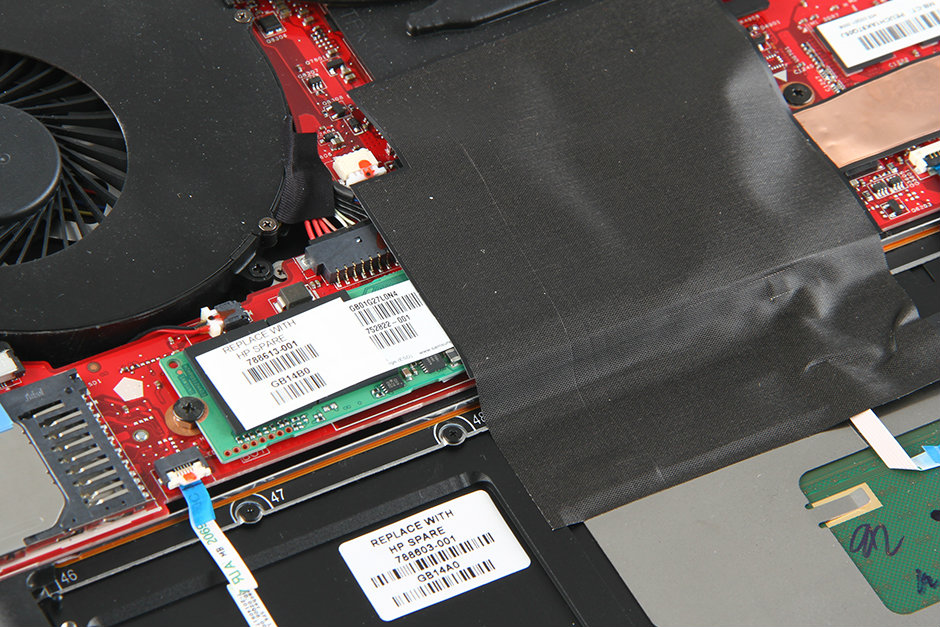
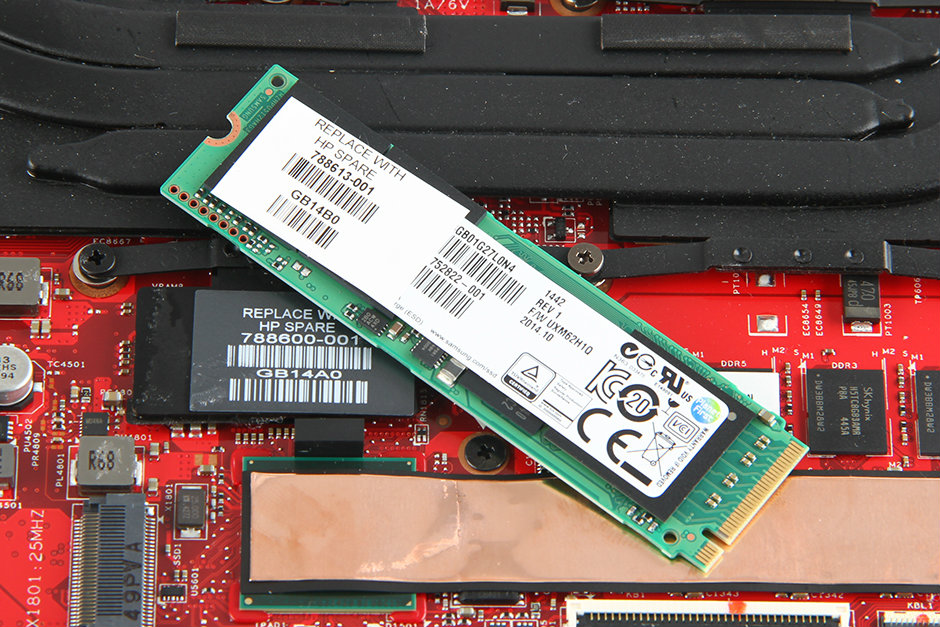
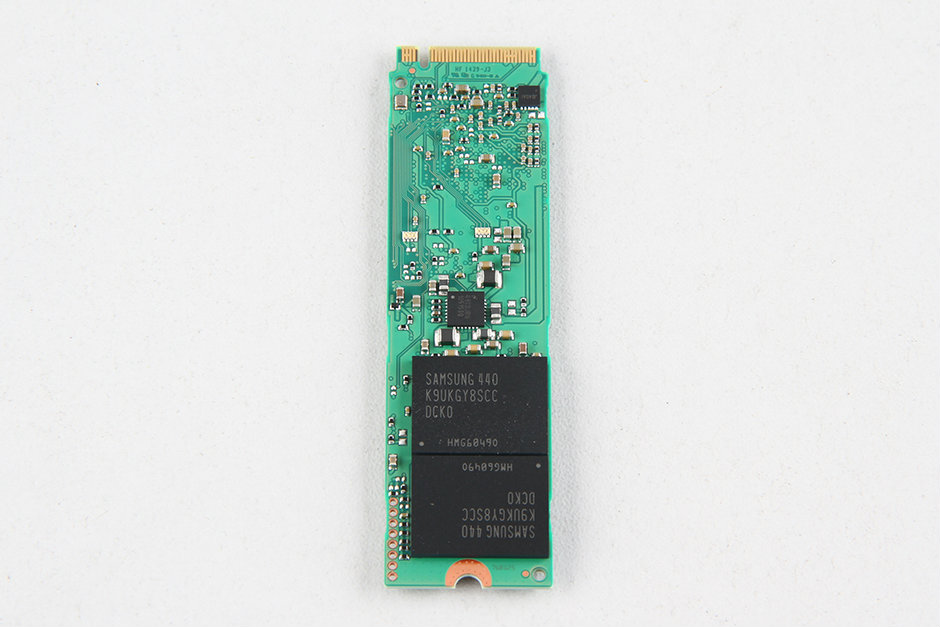
Remove the screw securing the SSD and take it out of the M.2 slot.
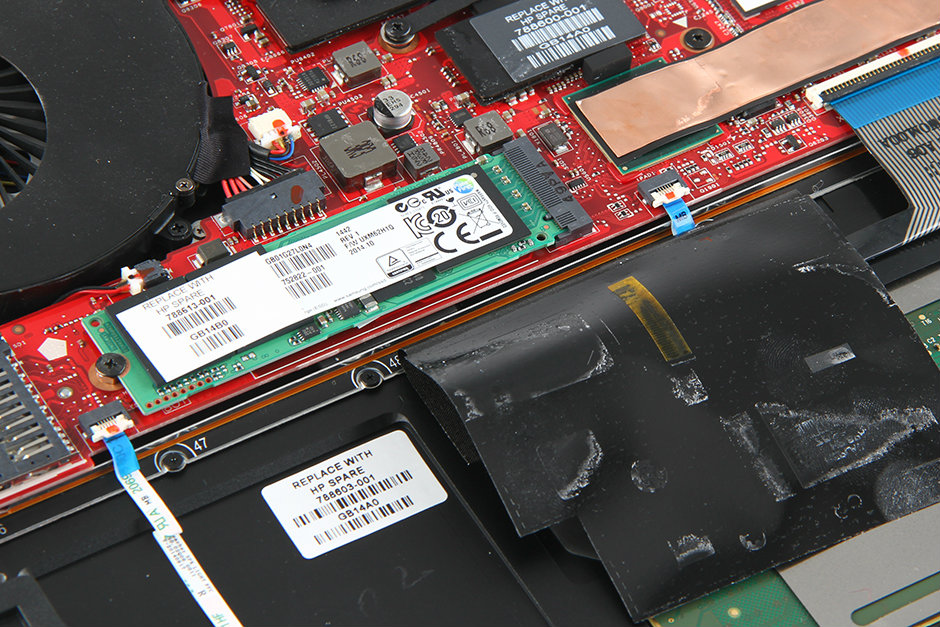
The HP Omen 15 comes with a Samsung 512GB M.2 SSD. The HP part numbers are 788613-001 and 752822-0001.
Loosen all the screws securing the heat sink. Remove all screws securing the cooling fan.
Disconnect the two cooling fan cables from the motherboard.
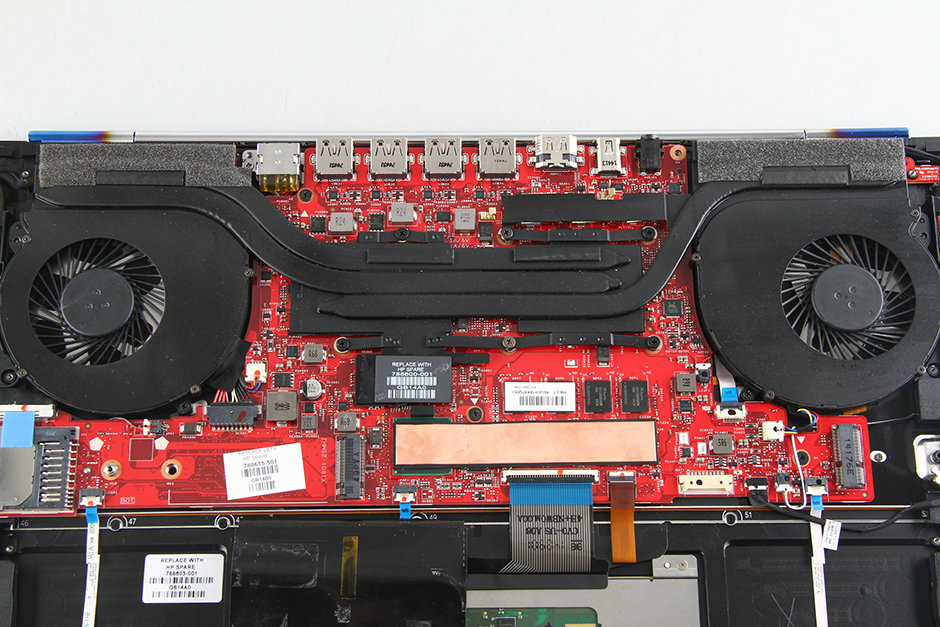
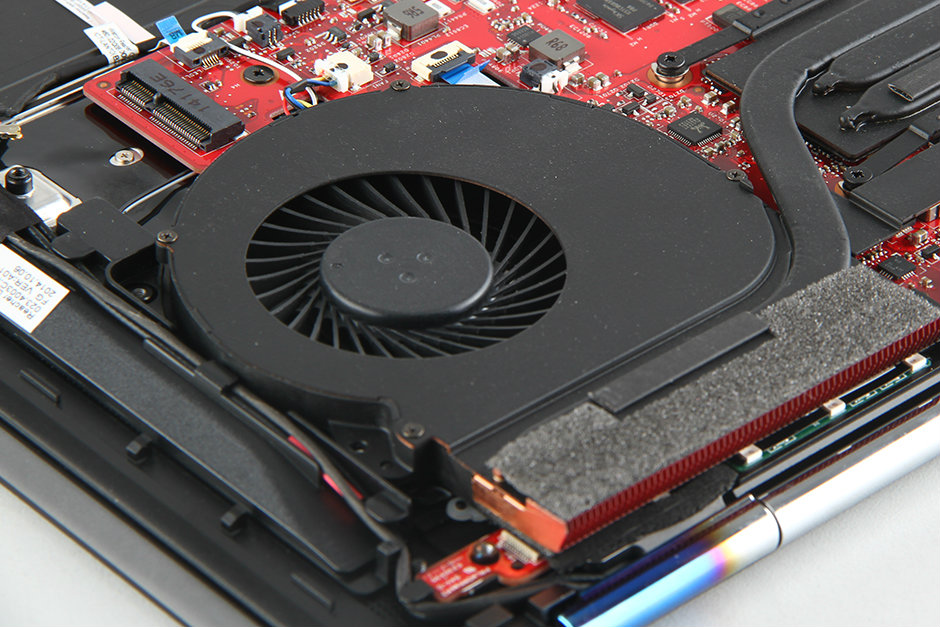
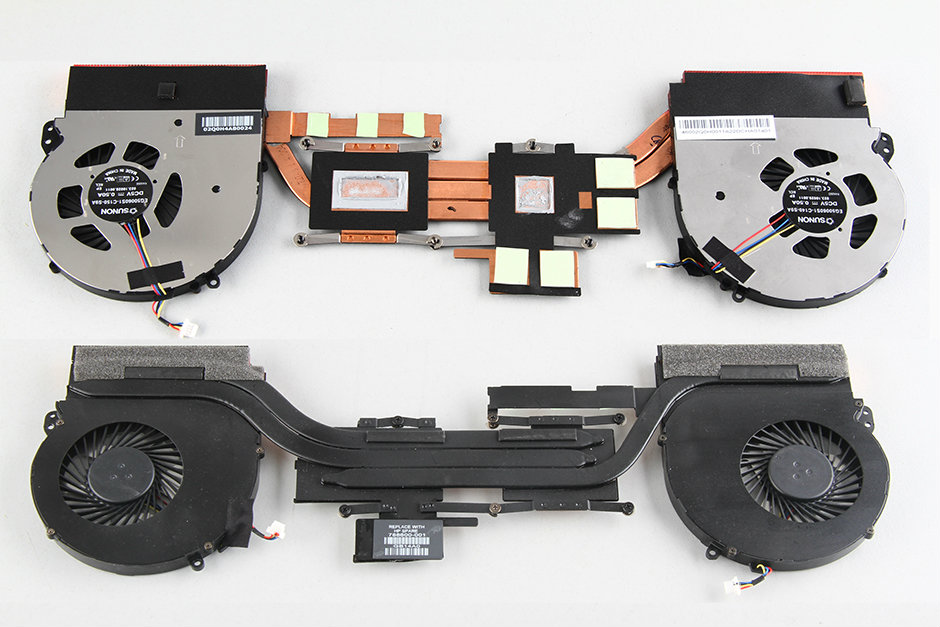
The cooling system of the HP Omen 15 consists of two fans and three heat pipes, which not only cover the processor and graphics card but also the memory chips of the graphics card.
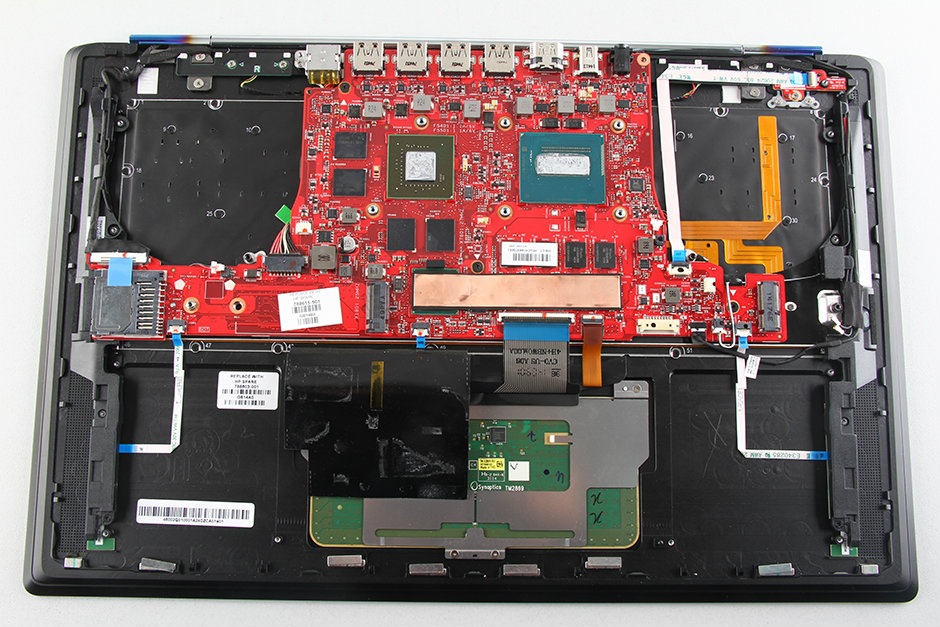
Now, only the motherboard, speakers, and a few other small parts are left on the palm rest. We will not remove the motherboard because it is unnecessary.
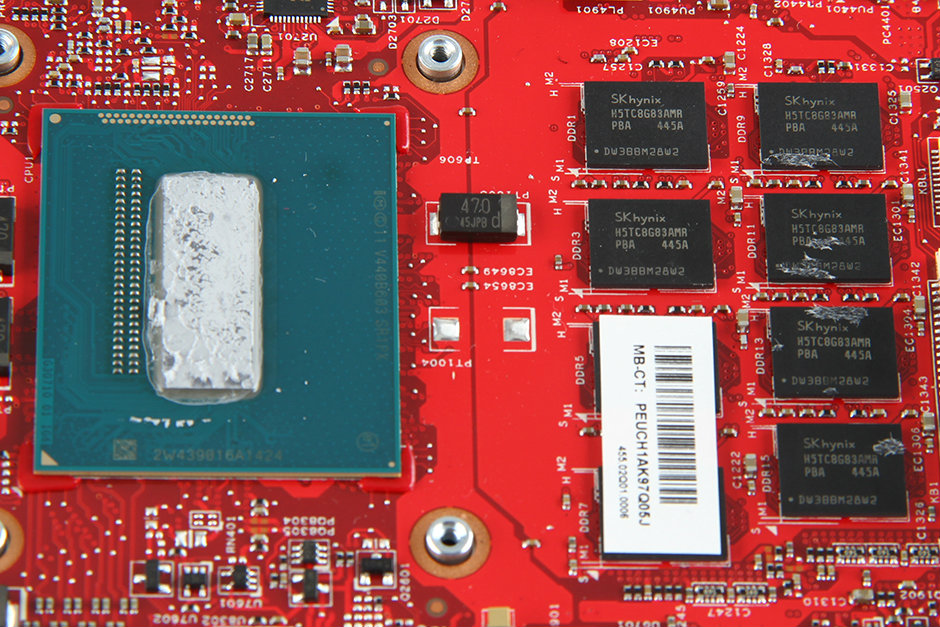
Close-up of the graphics card and four video memory chips of the HP Omen 15
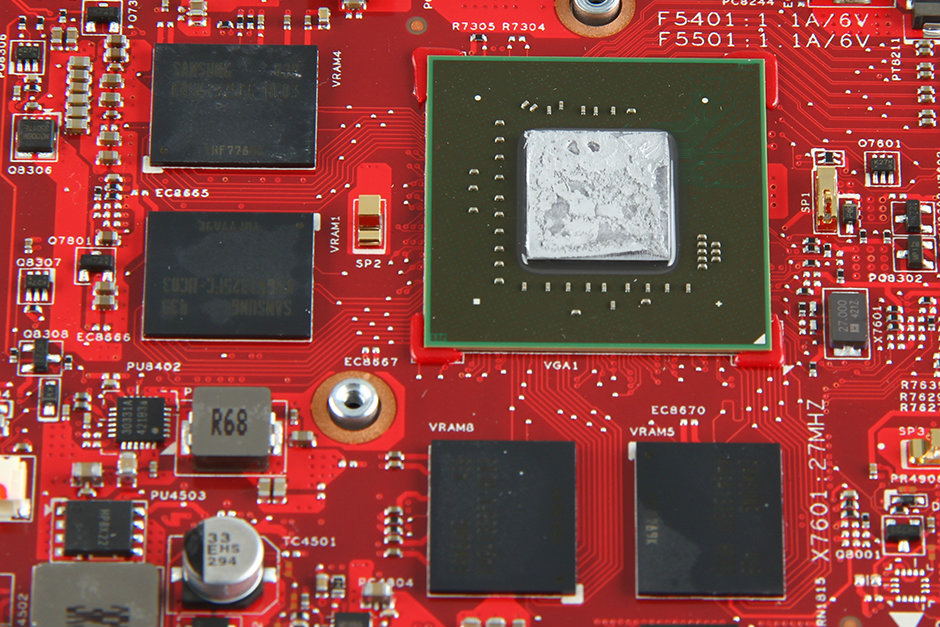
Uncover the stickers. You can see the memory chips are soldered to the motherboard.
The HP Omen 15 does not provide a spare RAM slot, so the RAM cannot be upgraded.

The processor of the HP Omen 15 is also soldered to the motherboard, so its processor is also not upgradeable.
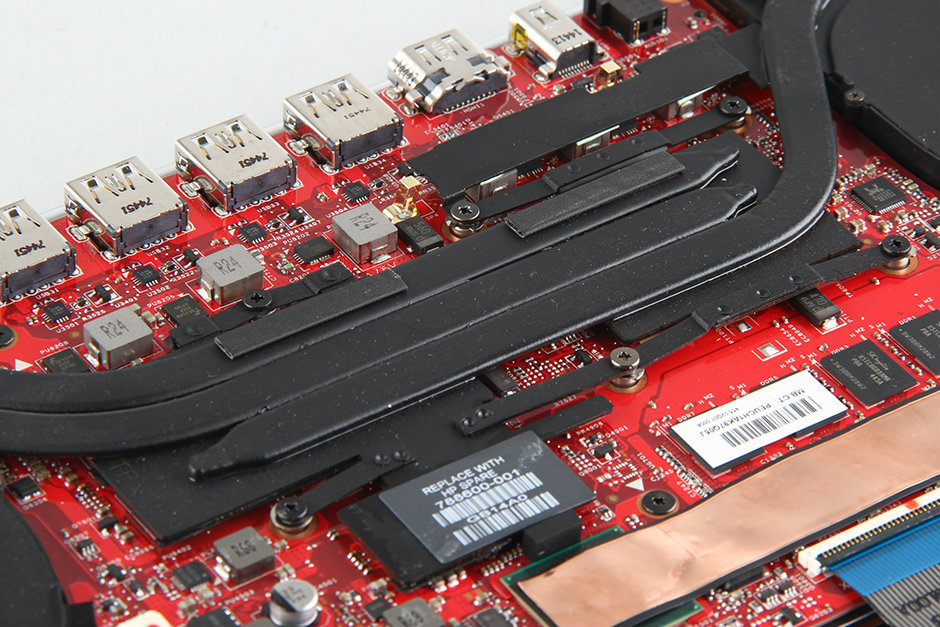
This is a special screw securing the motherboard, so you cannot remove the motherboard unless you have the special screwdriver.

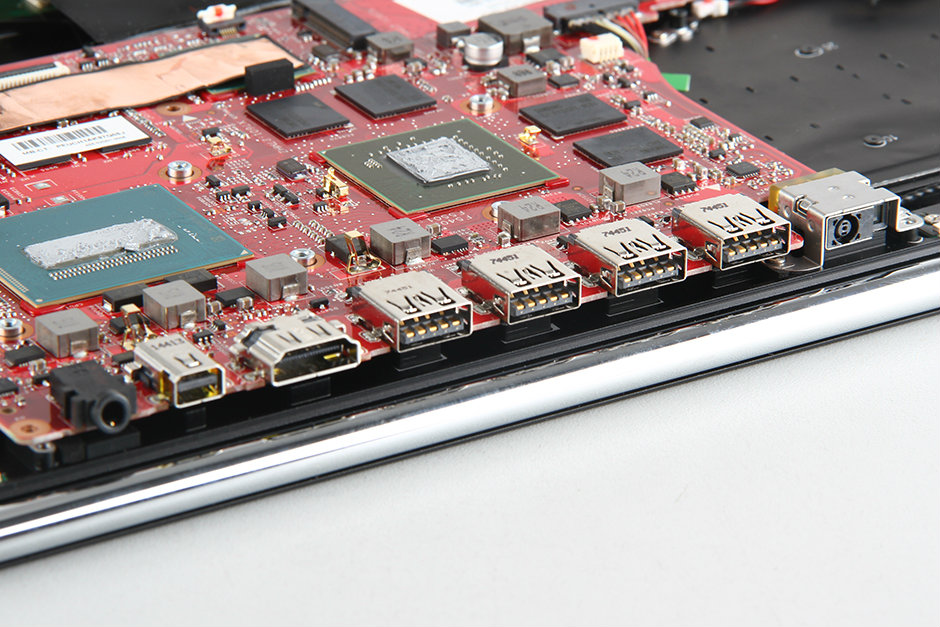
Close-up of the ports
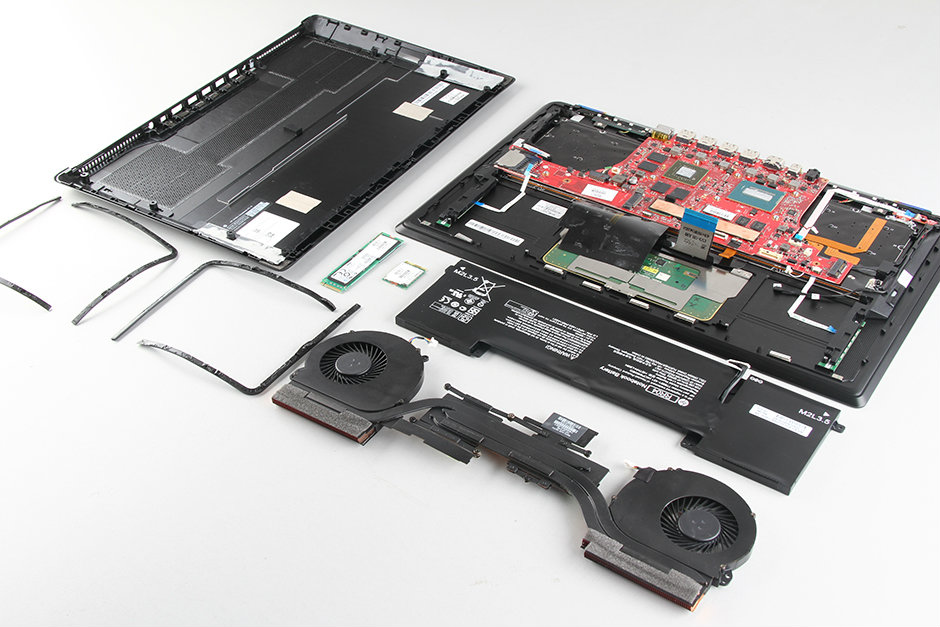
HP Omen 15 internal parts


Does this disassembly have to be done in a certain order to remove the M.2 SSD?
no
Great, this is just what I was looking for.
Quick question. Would it be possible to replace the SSD with a Samsung 840 EVO (1000GB, mSATA)?
tomshardware.com/reviews/samsung-840-evo-msata-review,3716.html
It looks to be a different physical size than the one in this breakdown.
Nigel,
You should be able to replace the SSD with any 2.5″ SSD.
http://h30434.www3.hp.com/t5/Hardware-Upgrades-Replacements/HP-Omen-15-the-size-of-the-SSD-and-if-it-comes-with-a/td-p/4804335
The drive is not an mSATA SSD, but the newer spec M.2.
To swap it out, you would need an M.2 drive. The good news is that M.2 is slated to replace mSATA SSD, so at least you would be moving in the same direction as the market in terms of technology.
Hi Jonathan,
Thanks for the response, but are you sure about this? Looking at the breakdown here, the disk in this model is an mSATA SSD:
http://forum.notebookreview.com/threads/msata-faq-a-basic-primer.574993/
This is really not the same form factor in my view.
Even the disk in this model does not conform to the mSATA standard as it looks to be twice as long.
Thanks,
Nigel
Awesome guide. I just bought one of these and the screen seems slightly wobbly. Is it possible to tighten it?
Can anyone confirm how the airflow is sucked in and blown out of the laptop?
(sucked in at the bottom of the laptop and blown from the vents?) Right?
Air intake is through the bottom of the laptop and out the back. The rubber ring around the bottom of the laptop is split into two areas, allowing air to flow on a flat surface. Air intake is limited a bit in this way by the rubber ring. We can solve that with two slightly taller rubber feet to put in the corners of the back.
To replace the M.2 SSD, you do not need to remove the cooling fans. I did replace the standard drive with a Samsung SSD 850 EVO M.2 500GB drive.
Notes:
1. Remove the screws phase, only the silver-headed screws. Black screws are for the fans and do not hinder the case removal.
2. To see the seam, you need to separate the bottom from the screen. Open the screen way, then bend one corner towards the screen, and you will see it separate.
3. I had to move the special screw noted as securing the motherboard to the other hole in order to secure the new SSD. The one that came with it was the shorter type, just a pair of pliers to loosen it a bit; it’s slightly tighter than just using your fingers. (Think of it like the old case screws for mounting your motherboard, you moved them where needed for the top screw to secure the SSD)
4. During re-assembly, make sure to secure the backside first. It took me a few tries to make sure the back plane (where the USB slots are) was all the way in before snapping down towards the front.
Happy upgrading 🙂 Good luck.
Awesome guide. I’m a newbie, can I switch the Mini DisplayPort to a Thunderbolt 3 since they have the same geometry?
Has anyone successfully upgraded an Omen 15’s SSD to a 1TB module (or larger)? If so, please confirm the manufacturer, part number, and where it was purchased.
Equally, if you tried but were unsuccessful or had issues, please let me know.
Thanks!
Hello, can anyone tell me if the graphics card with 2GB of memory can be upgraded to 4GB?
Hey, does anyone know how to disassemble the display part of the laptop? My hinge is a little wonky, and I plan to replace the battery, so I’ll be taking the unit apart then. Any help is appreciated.
Is any of the CPU or GPU replaceable?
Absolutely not. You can clearly see that they’re soldered to the board, just like the RAM, but the lack of upgradability is the least of its problems. I managed to buy an HP Omen 15-5010nr on eBay for a dirt-cheap price, but otherwise, I would not recommend this ultrabook. Loud, bad construction that makes it hard to pack and uncomfortable to work on for long periods, poor I/O all situated at the rear (I’ve had thumb drives bend because the USB ports have so little clearance), terrible speakers, weak battery, power hungry kepler GPU, horrible Nvidia Optimus implementation that bottlenecks all graphics and causes tons of rendering errors which can’t be disabled.
The newer 1080p versions seem to have improved power management and reduced noise, and they seem to have replaceable RAM. They’re priced competitively, but there are better options out there.