
HP LaptopHP Star Wars Special Edition 15-an000
HP Star Wars 15-an000 disassembly and SSD, RAM, HDD Upgrade Options
In this guide, I’ll explain how to disassemble the HP Star Wars Special Edition 15-an000 to remove the bottom case, DVD drive, cooling fan, hard drive, RAM, and motherboard.
Want to be the first to see inside the latest gadgets? Follow us on Facebook for the latest news from MyFixGuide.com.
Specification:
Windows 10 Home
Intel 6th Generation Core i5-6200U Core Processor 2.30GHz
15.6″ Full HD (1920 x 1080) widescreen LED-backlit IPS display
NVIDIA GeForce GT 940M with 2GB Graphics Card
8GB DDR4 DDR3L SDRAM
1TB 5400RPM SATA Hard Drive
8X Super-Multi DVDRW
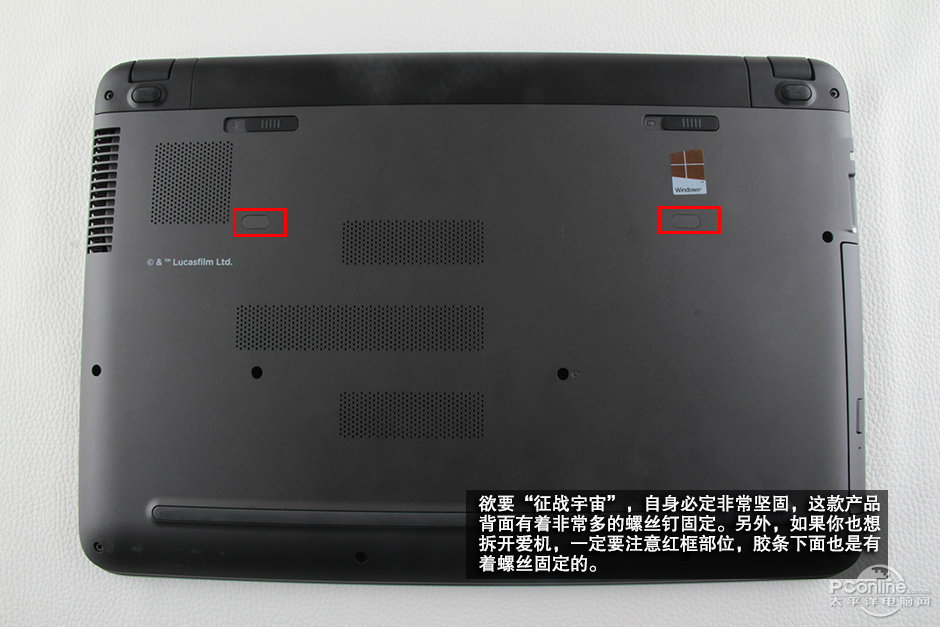
Remove all screws securing the bottom case.
There are two screws under the rubber mat.
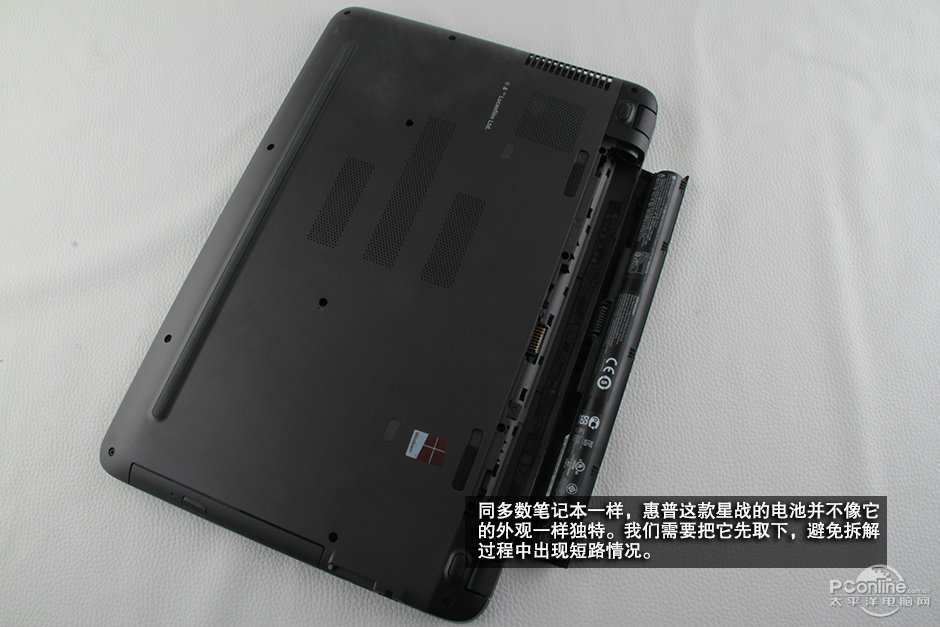
Unlock and remove the battery.
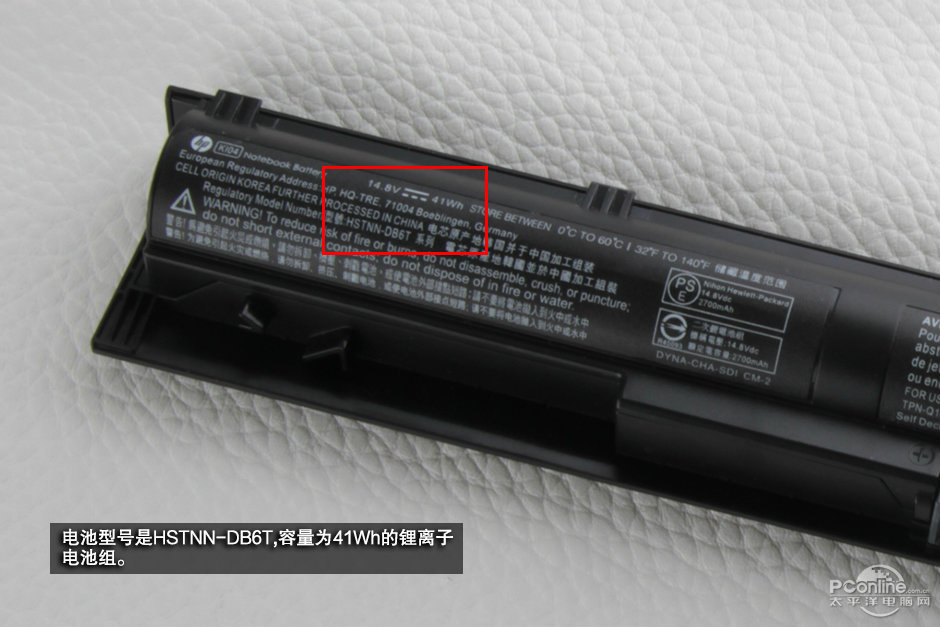
HP Star Wars Special Edition 15-an000 comes with a 14.8v, 41wh Li-ion battery, HP part number: HSTNN-DB6T.
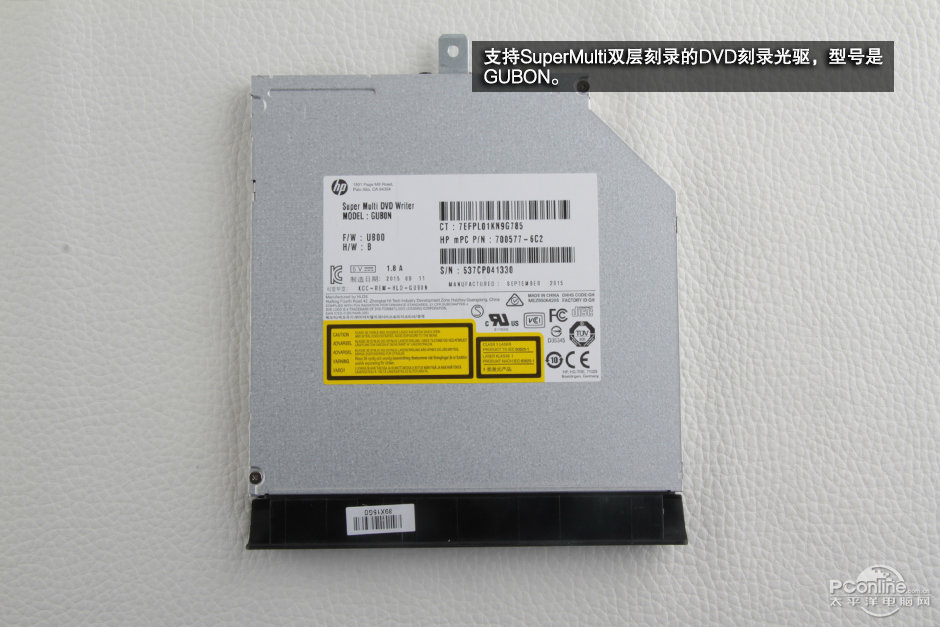
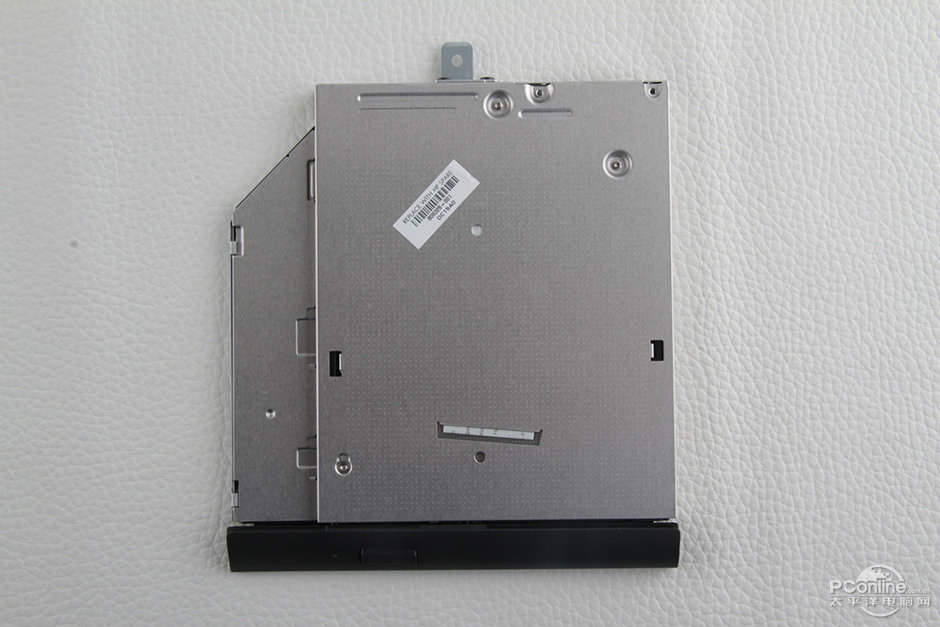
Pull the optical drive to the right and remove it.
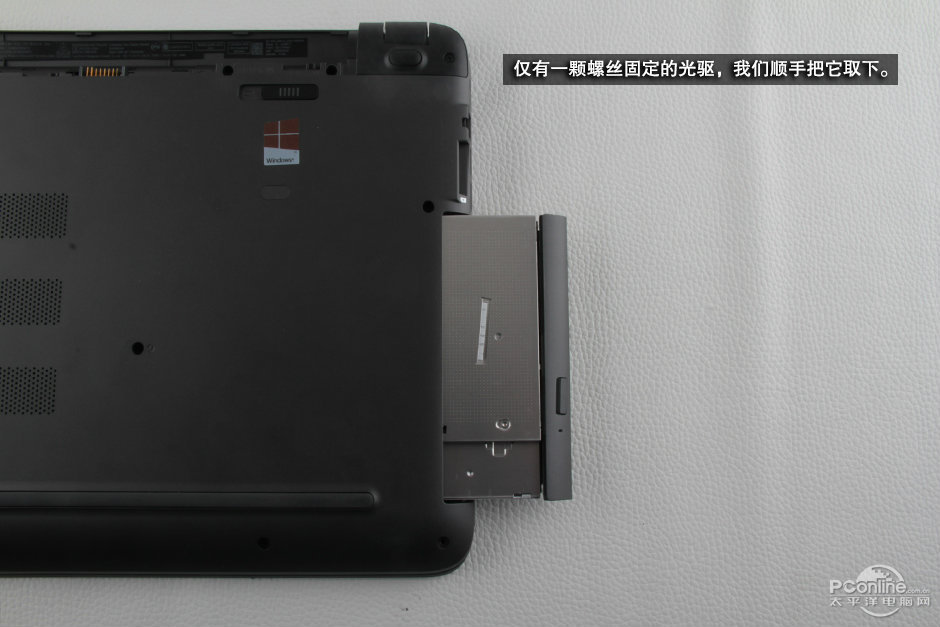
The HP Star Wars features an LG GUB0N 8X Super-Multi optical drive.
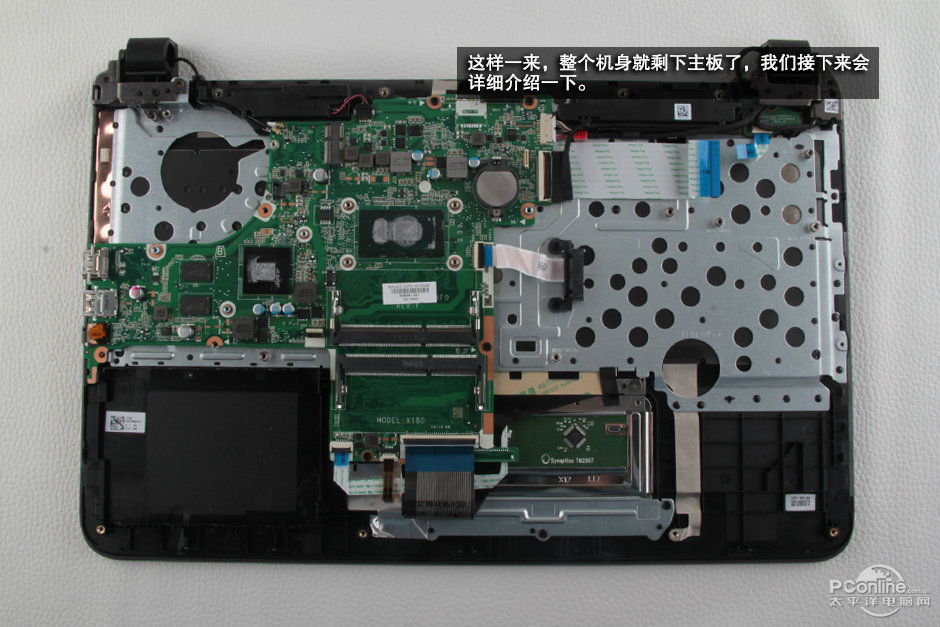
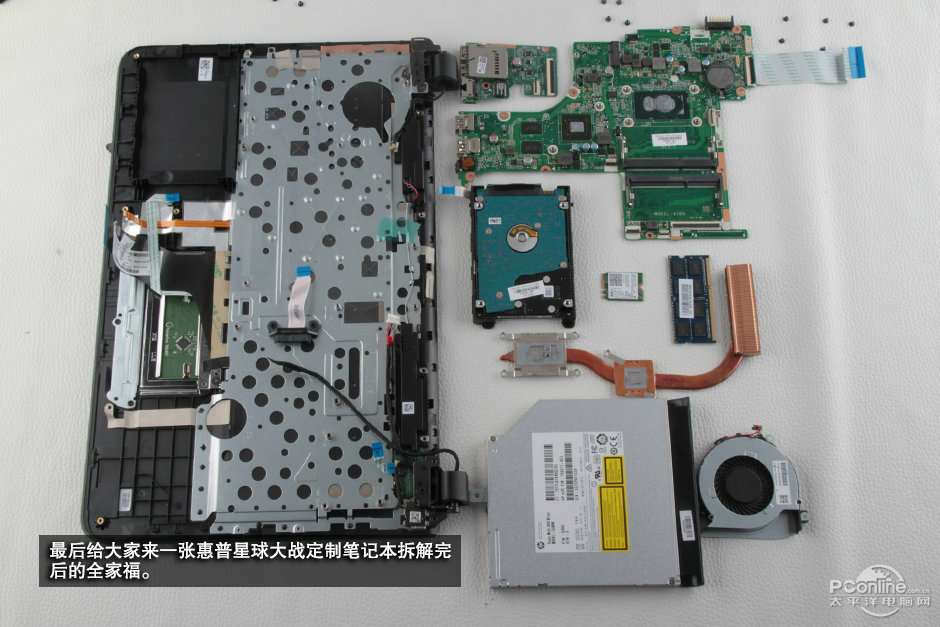
After the bottom case is removed, you can access RAM, hard drive, speakers, BOIS battery, wireless card, heat sink, cooling fan, and motherboard.
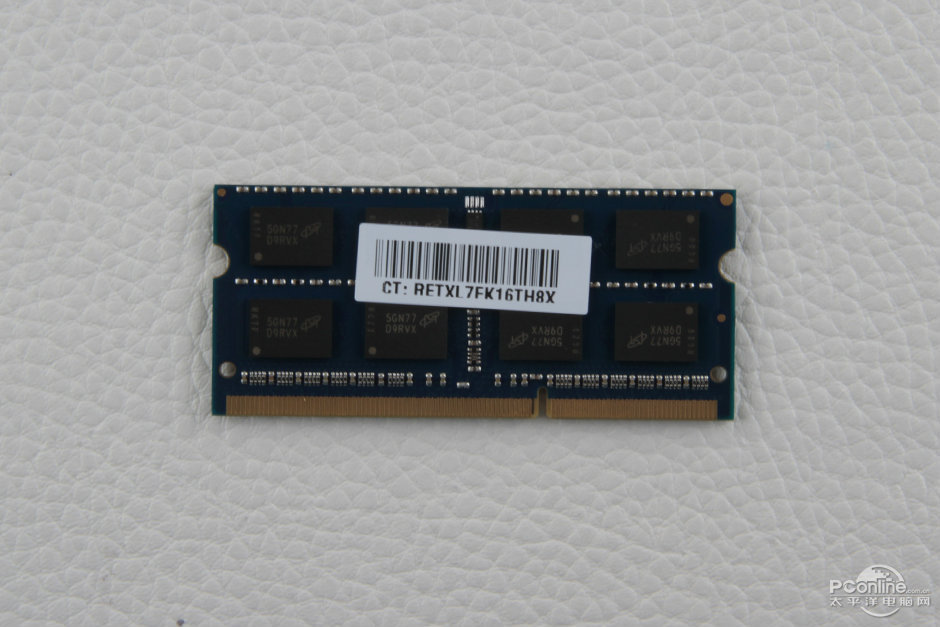
The HP Star Wars Special Edition 15-an000 has two RAM slots and comes with one 8GB RAM, so you can add another 8GB RAM.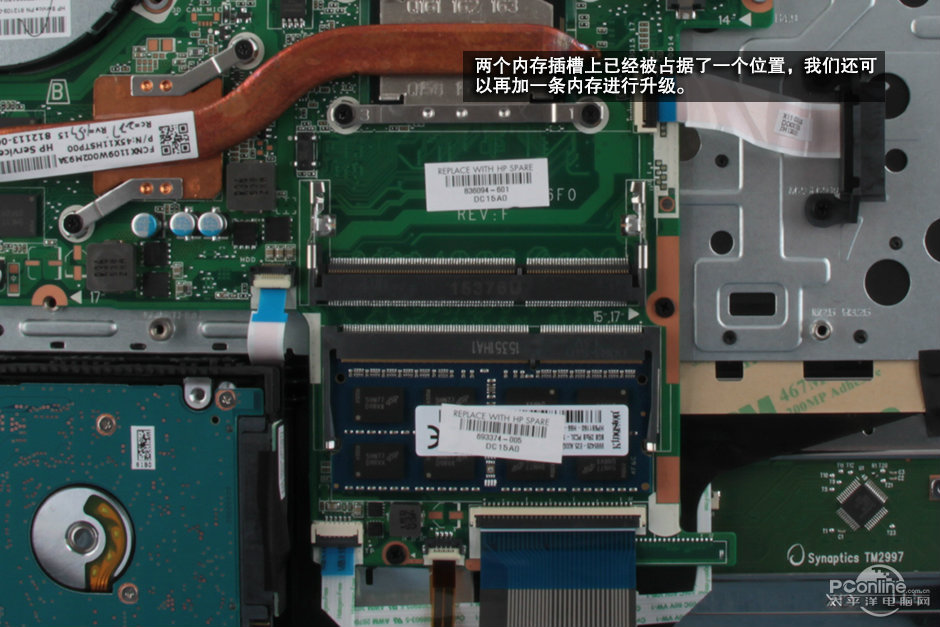
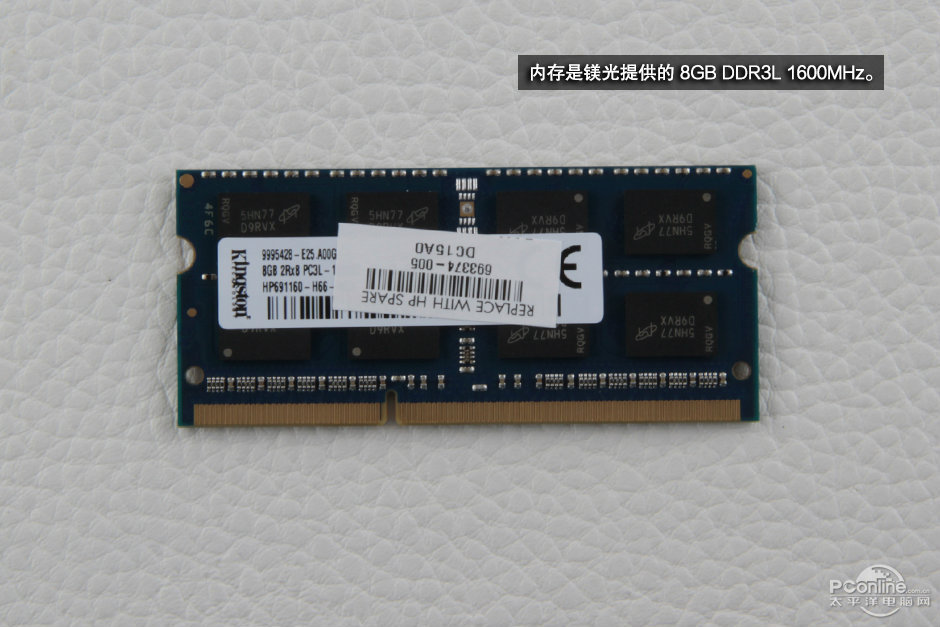
Kingston 8GB DDR3L 1600MHz RAM, HP part number: 693374-005.
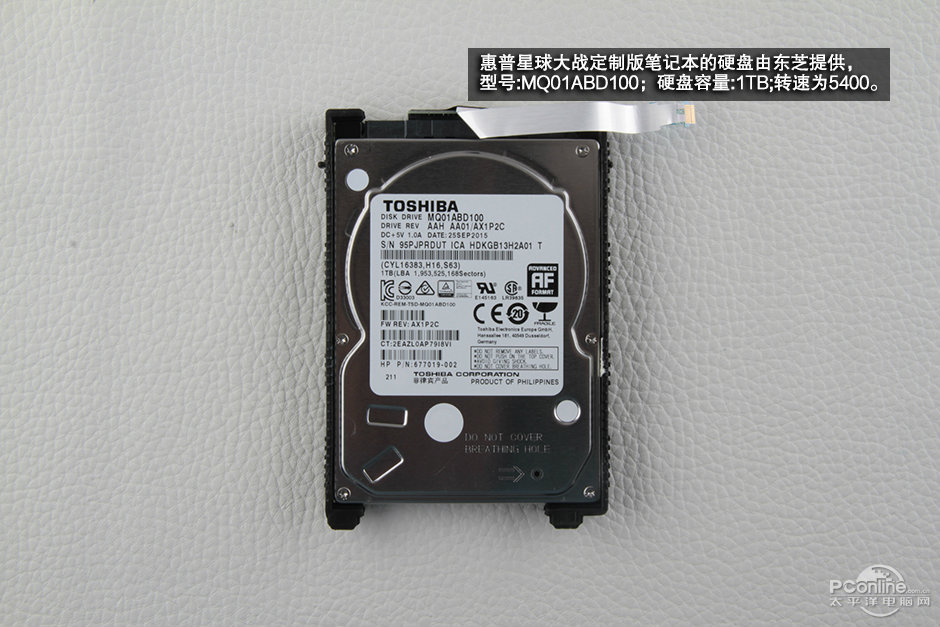
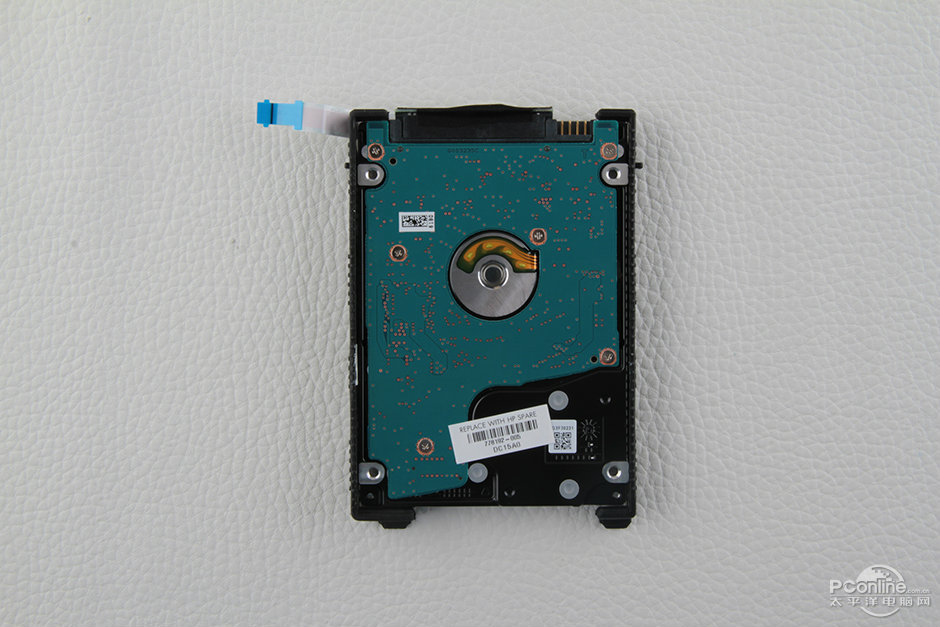
HP Star Wars Special Edition 15-an000 features a Toshiba 1TB 5400RPM hard drive, Toshiba model: MQ01ABD100.
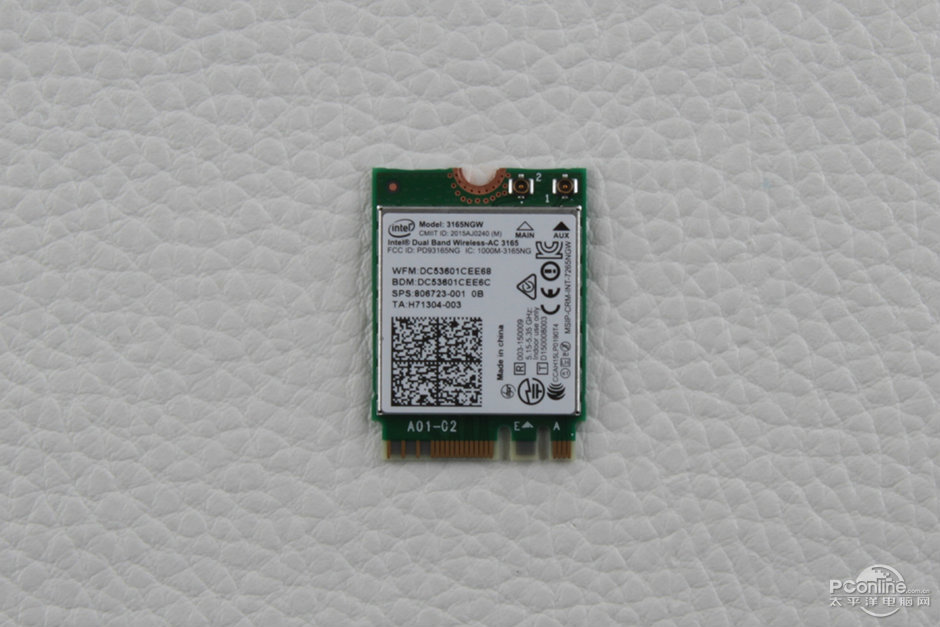
Intel Dual Band Wireless-AC 3165 wireless card. It supports 802.11ac, dual-band, 1×1 Wi-Fi and Bluetooth 4.2.
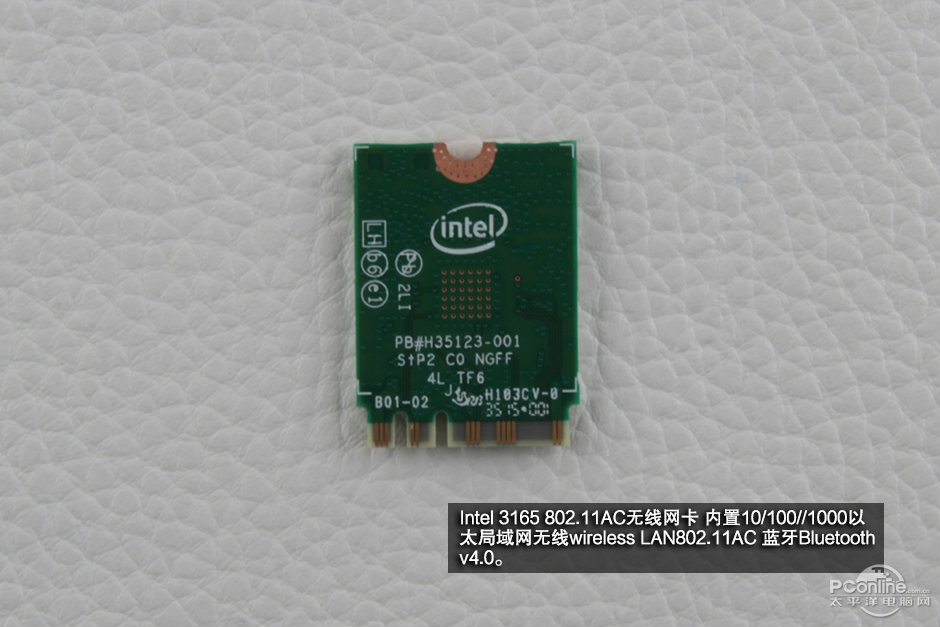
HP part number: 806723-001.
The USB board integrated two USB ports and one RJ45 port.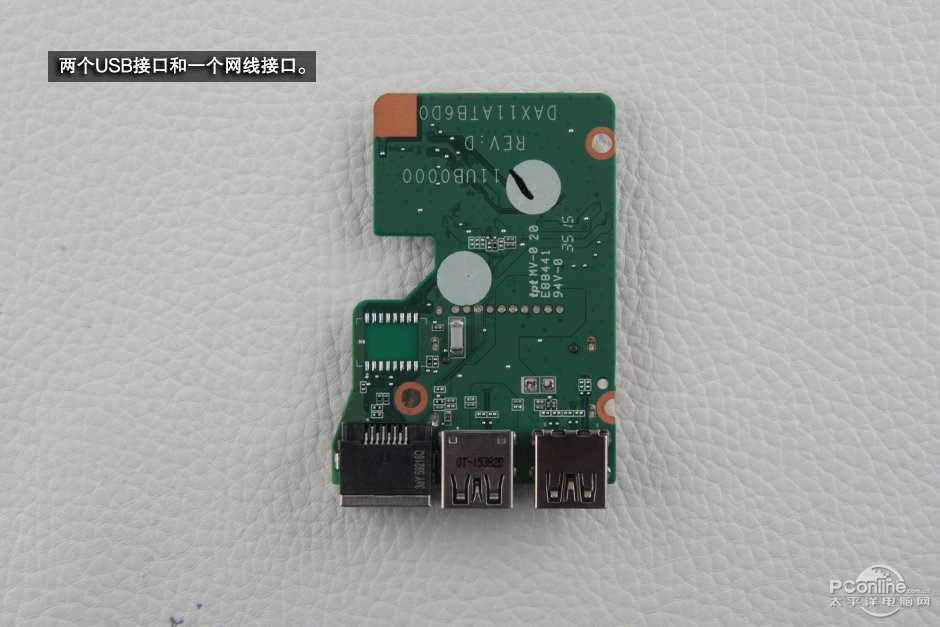
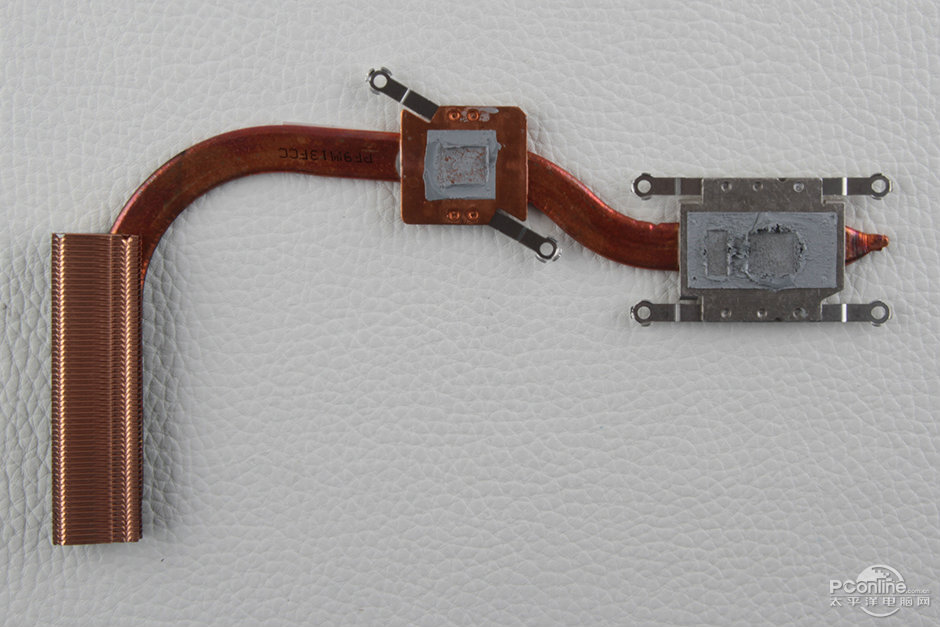
HP Star Wars laptop heat sink, HP part number: 812113-001.

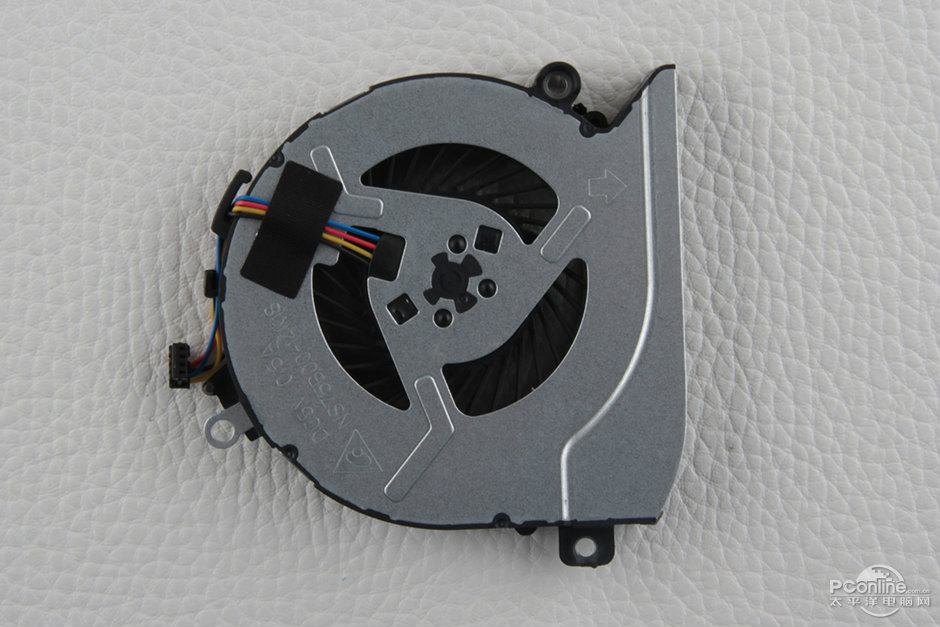
HP Star Wars laptop cooling fan

Disconnect the LCD cable, speaker cable, keyboard cable, backlit cable, and touchpad cable from the motherboard.
Remove all screws securing the motherboard.
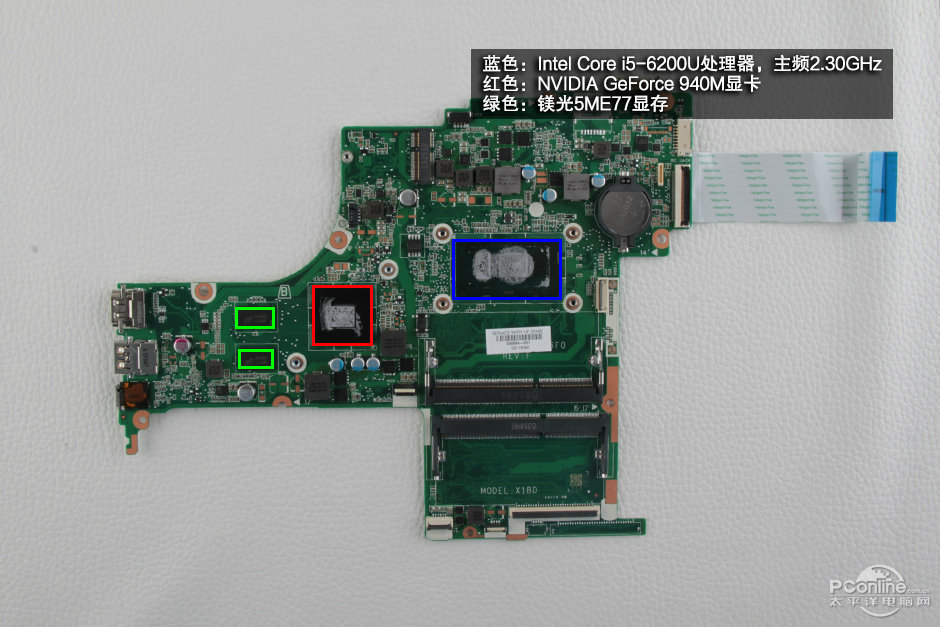
Blue: Intel 6th Generation Core i5-6200U Core Processor 2.30GHz.
Red: NVIDIA GeForce GT 940M with 2GB memory.
Green: Micron 5ME77 graphics memory.
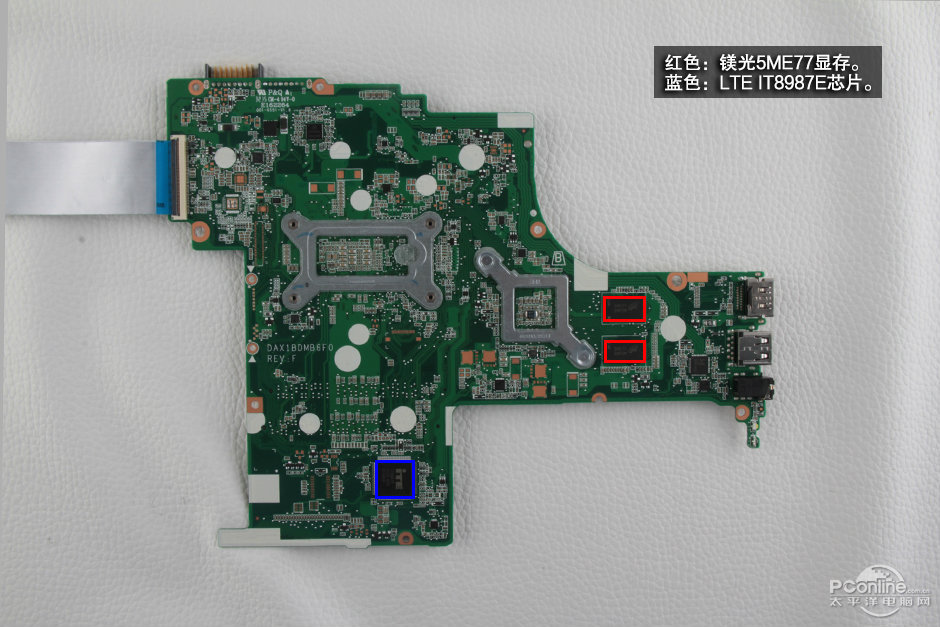
Blue: LTE IT8987E Voltage Regulator.
Red: Micron 5ME77 graphics memory.
For more guides, check out the HP Star Wars Special Edition 15-an000 device page.

Thanks for the guide. However, I think you missed the most important section (how to actually remove the cover to expose the RAM, etc. ). After removing the screws, how do I remove the back cover?
You should separate the back cover with a crowbar and start from the LCD hinge.
I want only to add RAM, and I don’t want to remove the LCD hinge. Is it going without it?
To add RAM, you do not need to remove the LCD hinge, just remove the bottom case.
Okay, thanks. But in some videos of HP Pavilion. Please first remove the screws and the upper case, where is the keyboard?
Can I change the core i5 to a core i7?
I have one, and due to a power problem, it needs an IC marked MS5LE needs replacement; where can I buy it? I can’t find it online. 🙁