In this guide, I will explain how to disassemble the Intel NUC to remove the SSD, RAM, CPU, and motherboard. Refer to this guide. You can upgrade and repair your Intel NUC.
Looking for more guides? Follow us on Facebook for all the latest repair news.
Outstanding design and quality are important reasons why the NUC is so popular.
The 2015 models of the NUC5 series feature the latest 14nm process CPU and Iris 6100 graphics card.
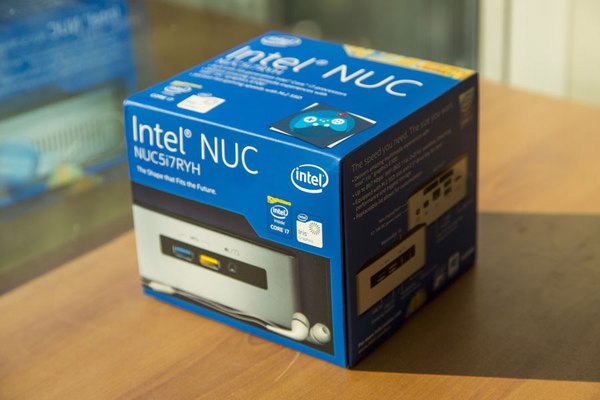
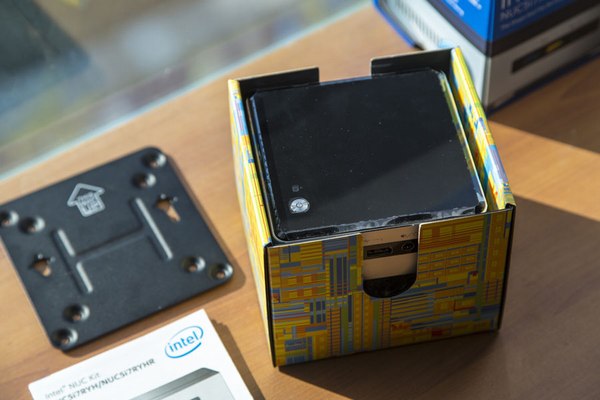
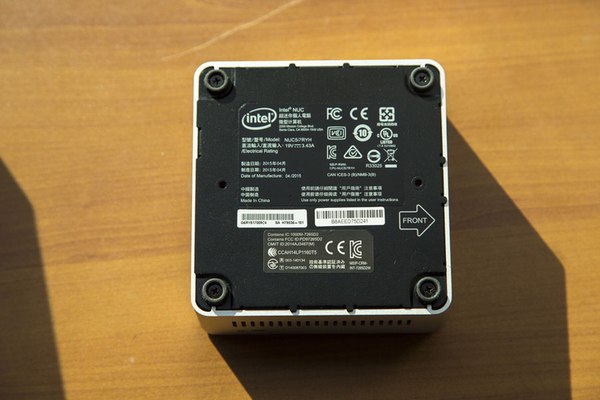
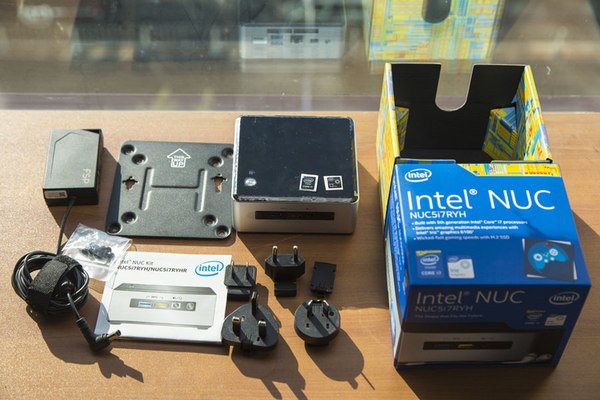
The detailed model we received is the NUC5i7RYH, which features the Intel i7-5557U high-performance processor. It is the best CPU used in NUC systems.
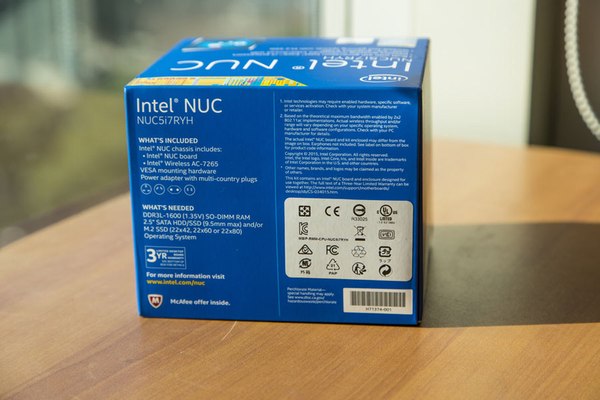
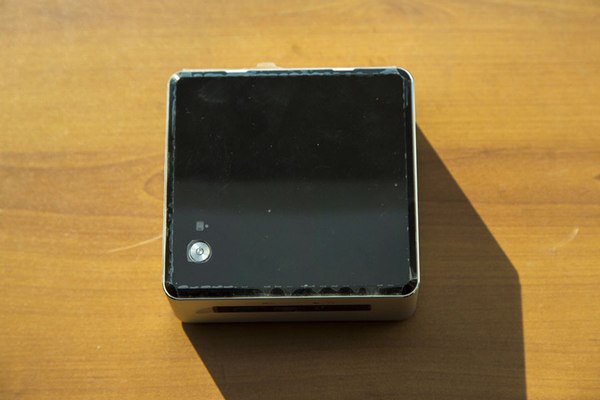
It measures 115×111×48.7mm and weighs only 607g, making it extremely portable and convenient.
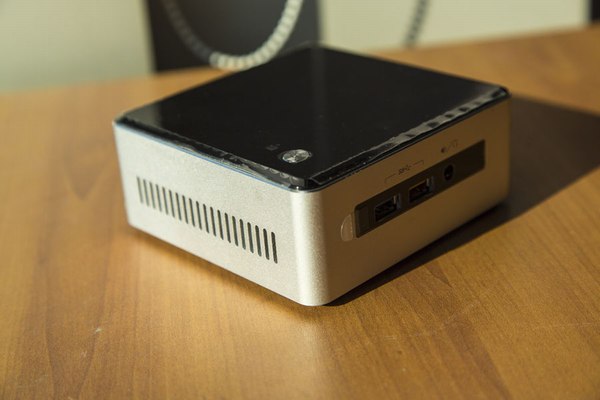
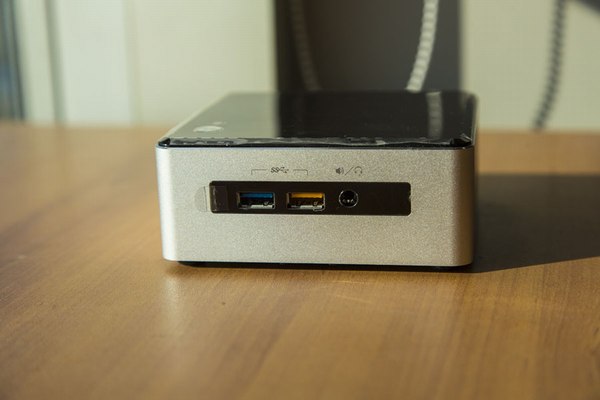
The front of the machine features two USB 3.0 ports and a 3.5mm audio jack, which supports high-power devices.
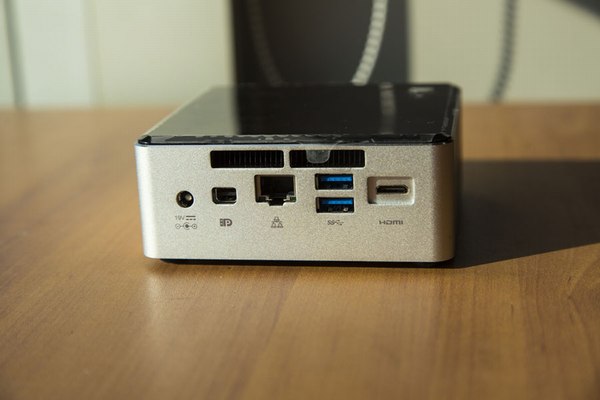
There are cooling holes on both sides, and due to the small cost, the UPC produces more heat than a regular PC, which also requires better ventilation.
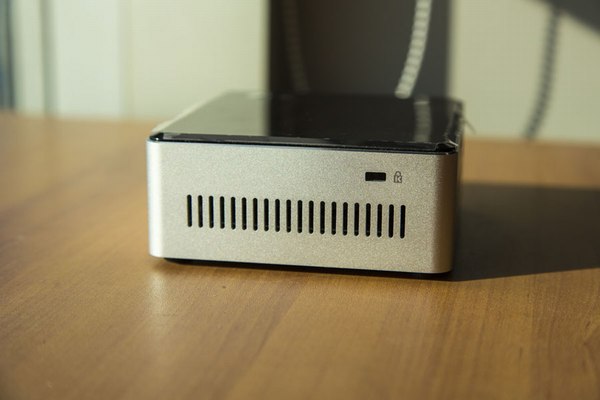
The power supply, DP port, RJ45 network cable port, two USB3.0 ports, and a Mini HDMI port are also designed for ventilation openings.
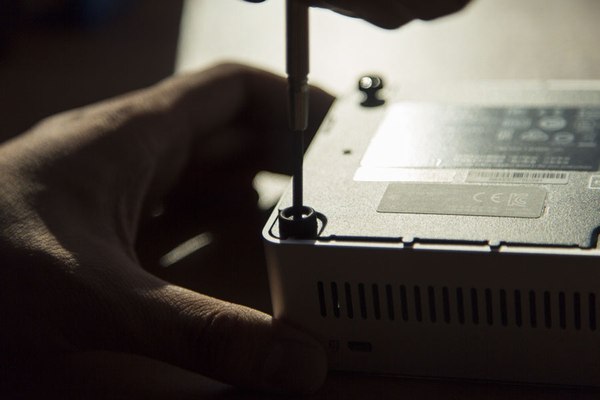
Lift and remove the service cover.
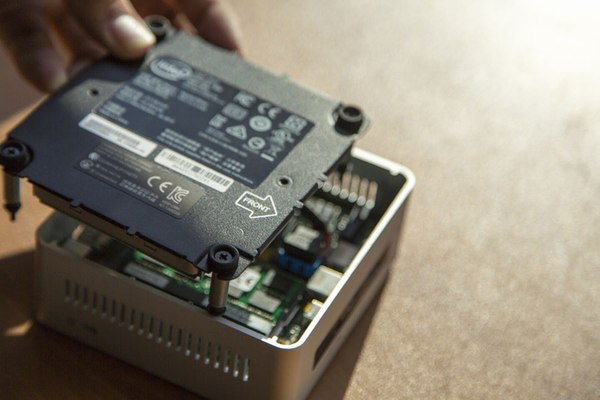
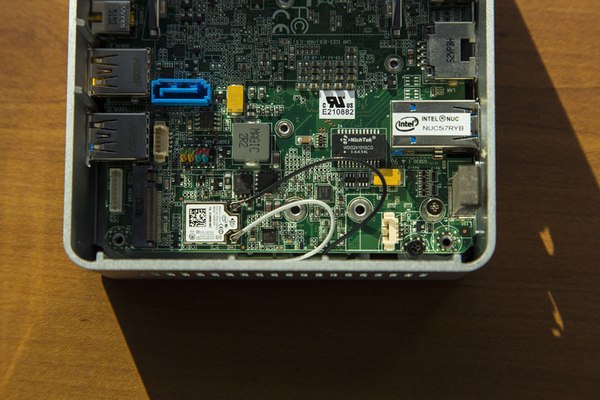
Disconnect the two cables from the motherboard.
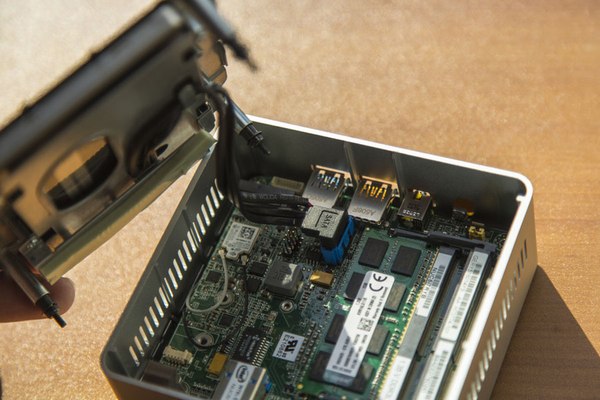
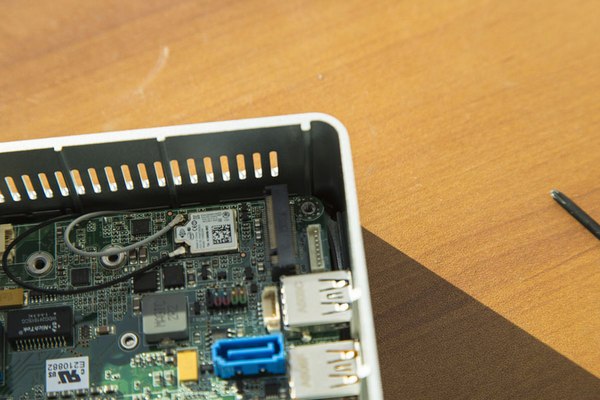
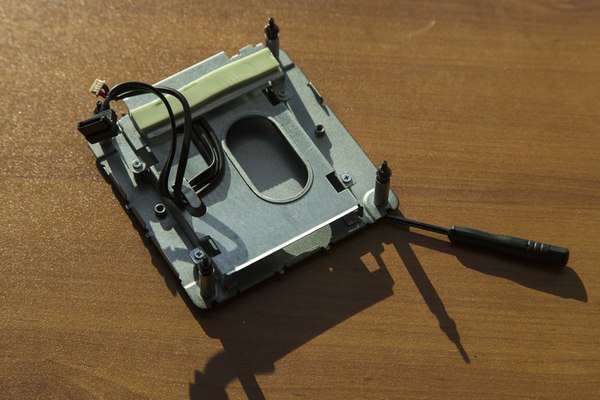
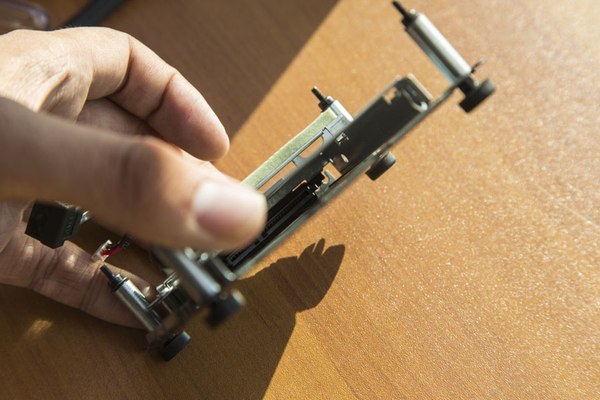
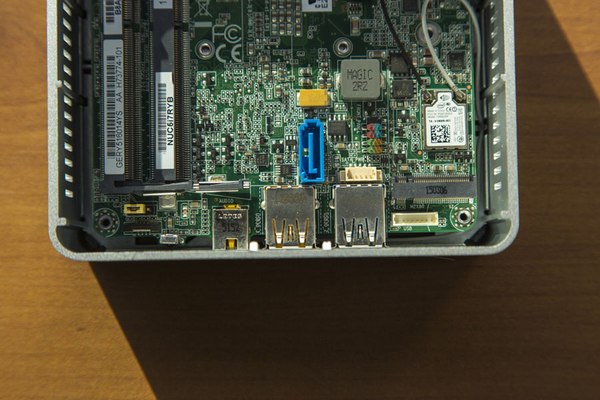
On the other side of the bottom panel, you can see a 2.5-inch SATA hard drive. Intel does not support any pre-installed hard disk, but because there is an M.2 slot on the motherboard, you can install an SSD.
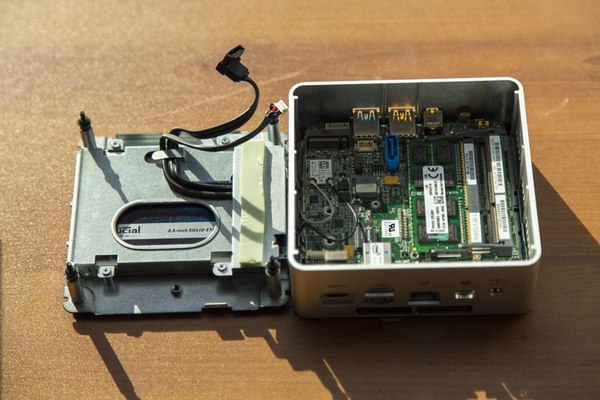
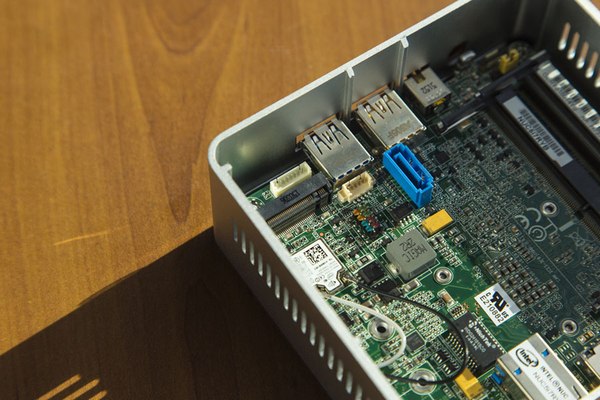
The overall structure is very compact. The main replaceable components and ports are concentrated on the motherboard, while the CPU and cooling fan are placed on the other side.
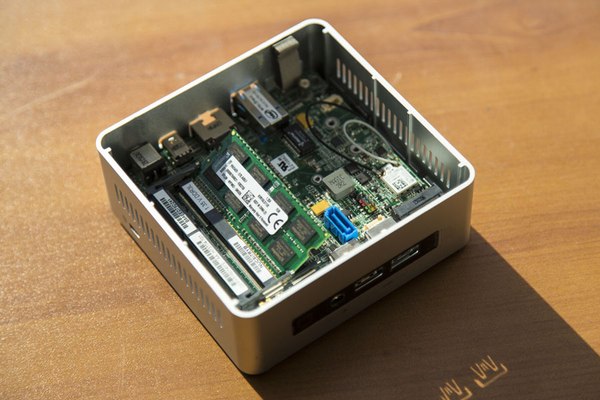
The Wi-Fi module is pre-installed on the Intel NUC and soldered onto the motherboard. The model is Intel AC-7265. Next is an M.2 slot, compatible with 22×42mm, 22×60mm, and 22×80mm M.2 SSDs.
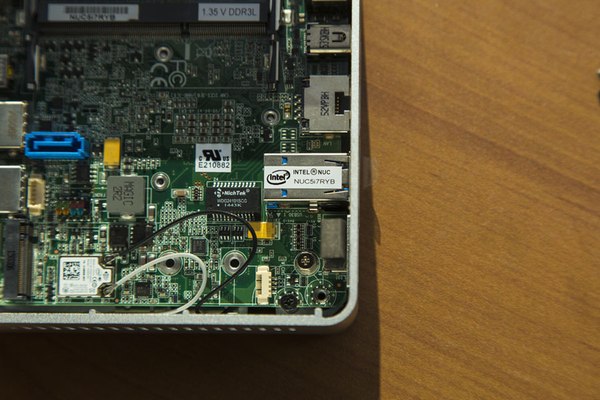
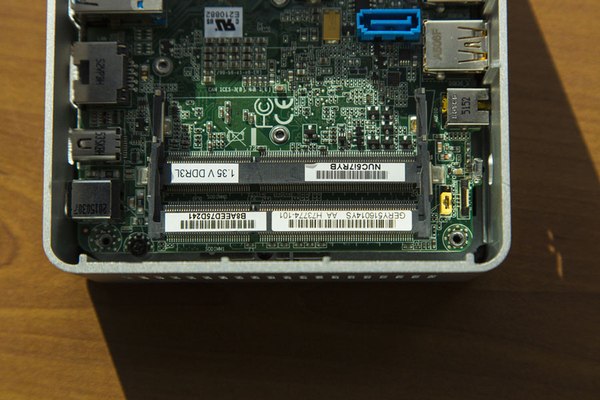
The NUC5i7RYH has two DDR3L memory slots, which only support 1.35V memory modules. Intel also did not equip them with the memory modules.


Nice and well instructed.