
In this guide, I will explain how to disassemble the Lenovo IdeaPad Yoga 13 to remove the battery, SSD, WALN, RAM, heat sink, cooling fan, speaker, and motherboard.
Looking for more guides? Follow us on Facebook for all the latest repair news.
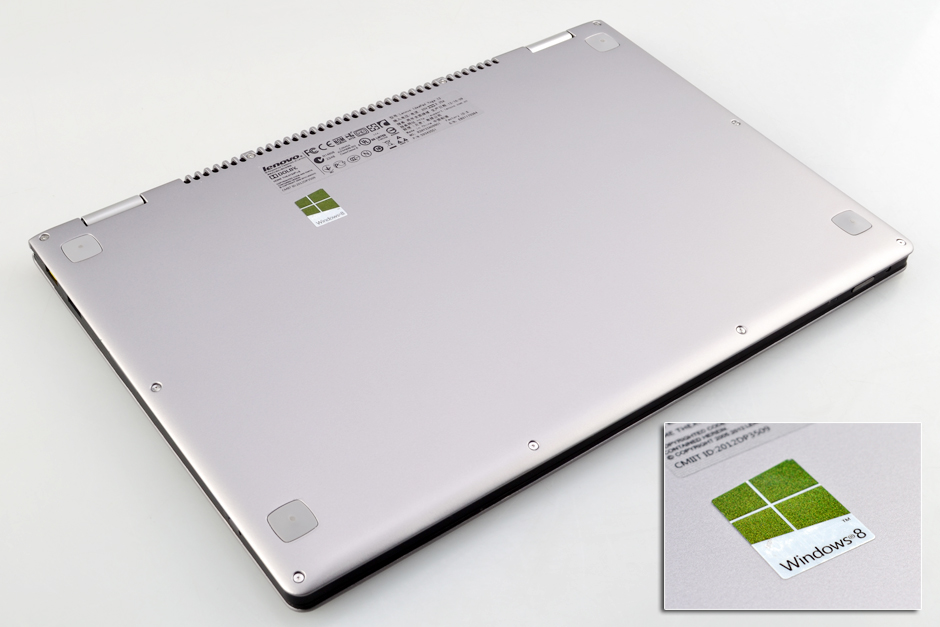
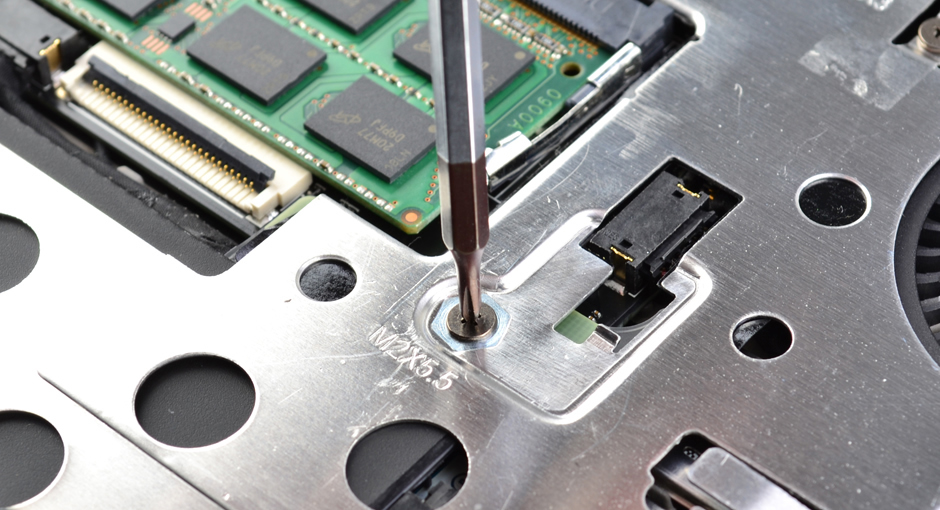
Remove the four screws from the bottom cover.
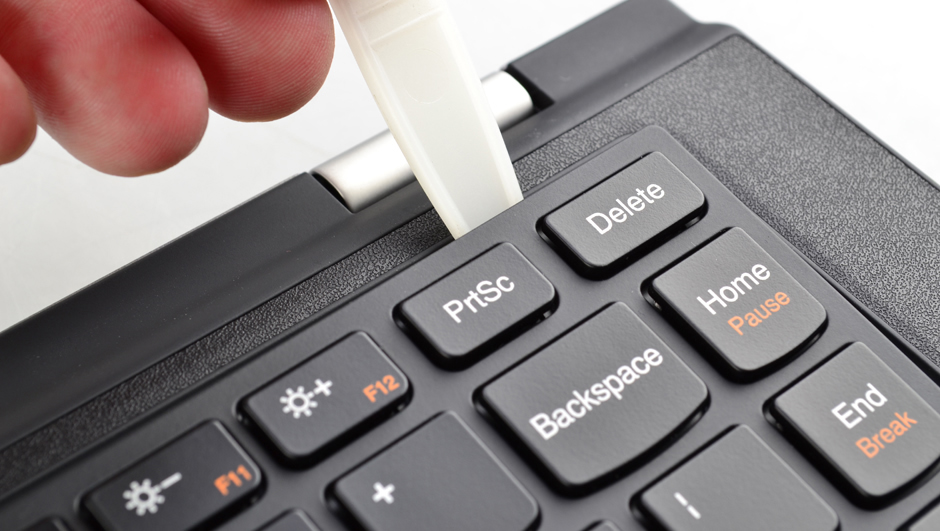
Insert a pry bar under the keyboard and slowly lift it up.
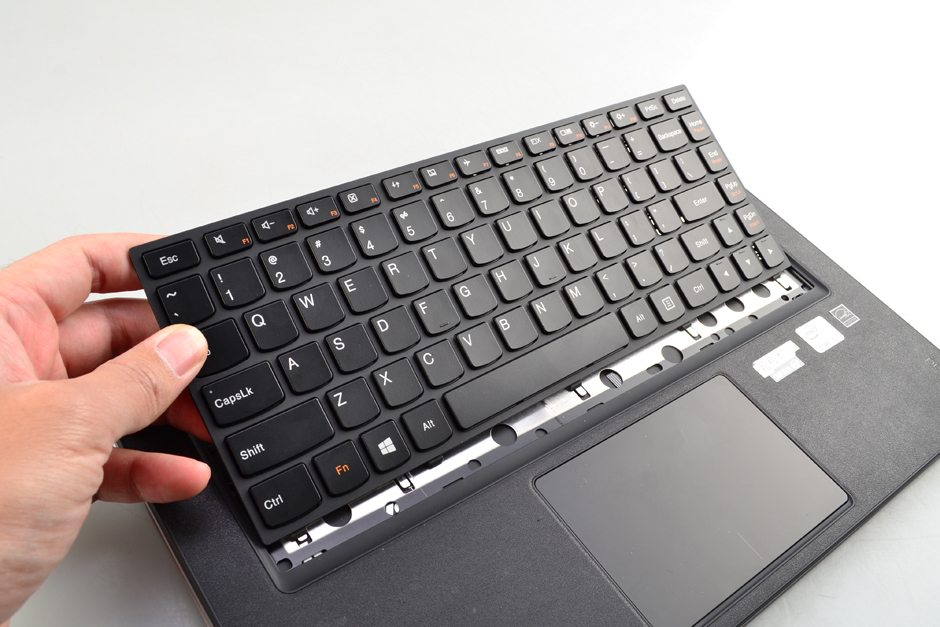
Lift the keyboard and place it on the palm rest.
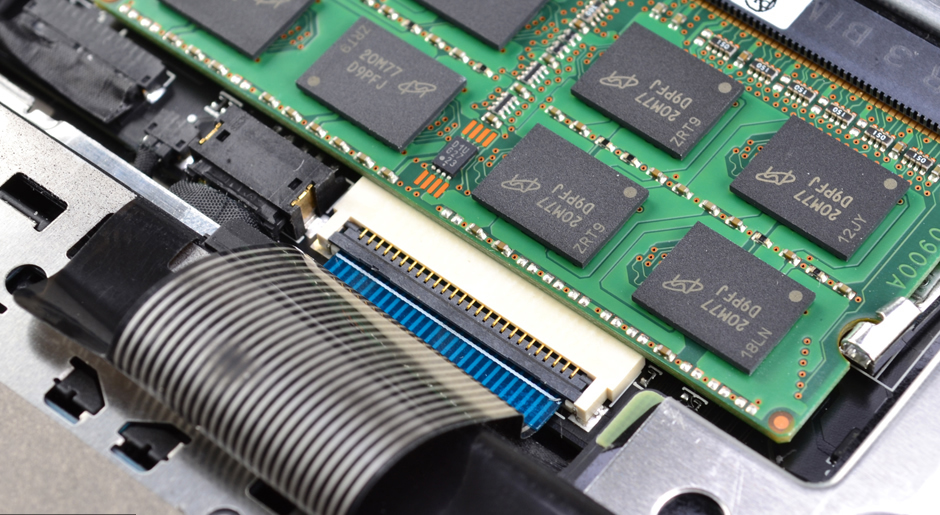
Use your nails to pry open the black latch on the keyboard ribbon cable socket, then pull the keyboard cable out.
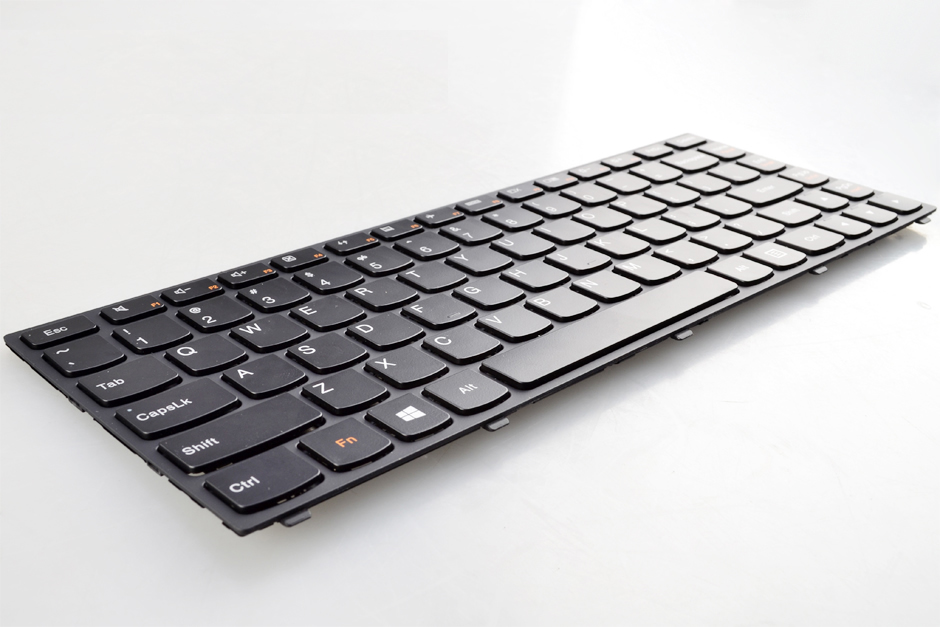
The keyboard has been removed.
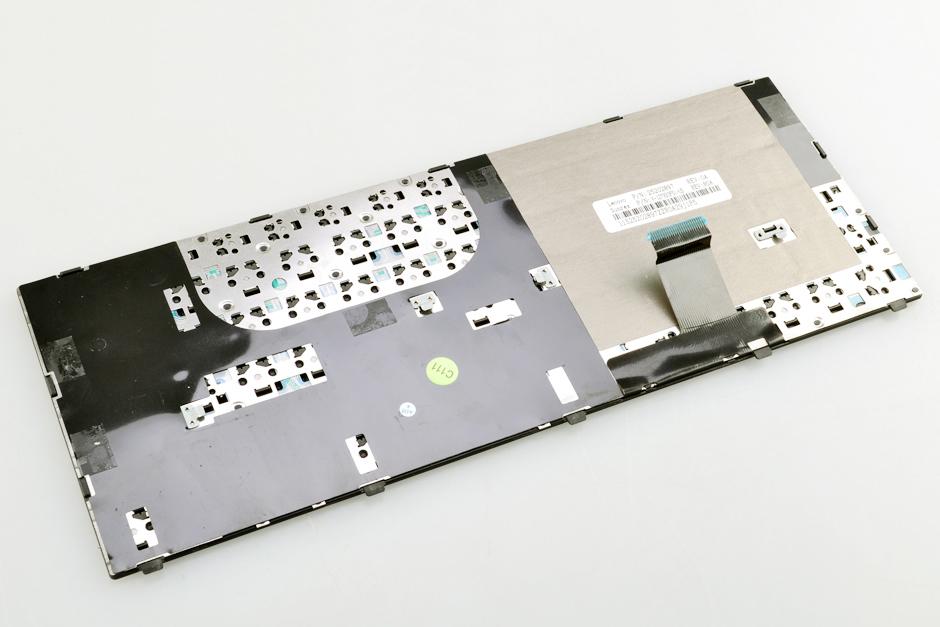
The back of the keyboard.
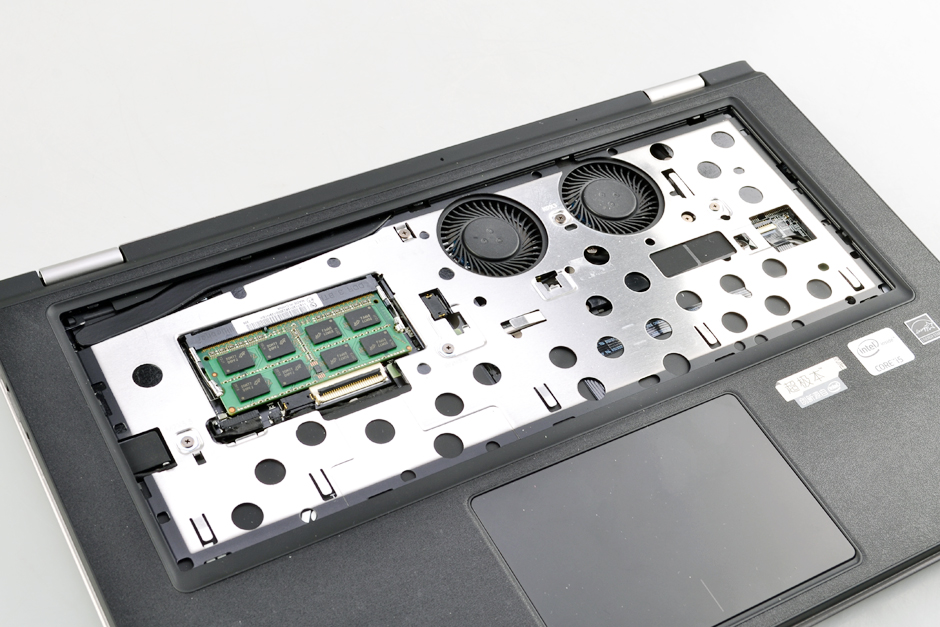
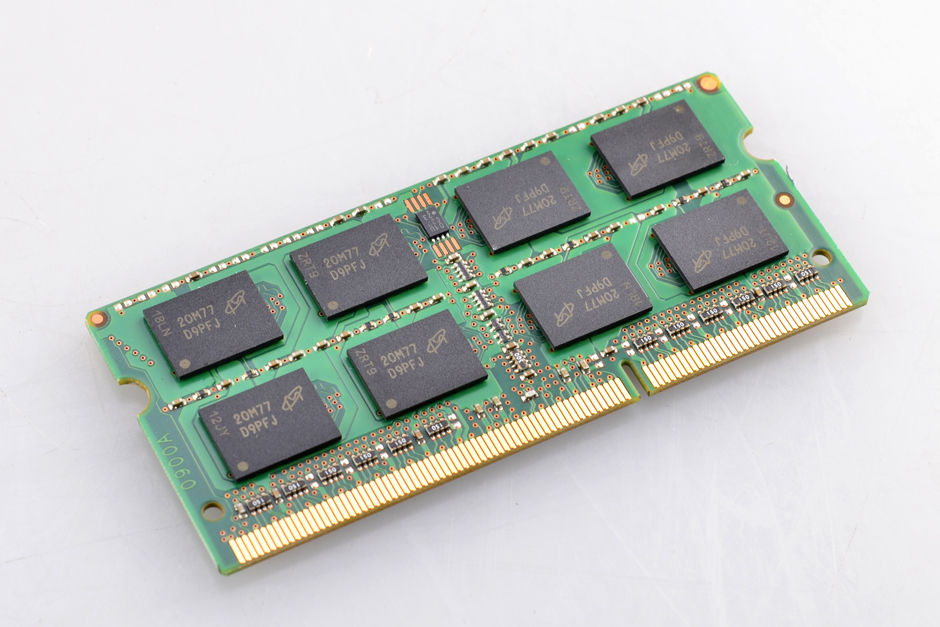
Under the keyboard, you can access the RAM module. Use your nails to separate the clips on both sides of the memory module, and it will pop out automatically.
This laptop has only one memory slot, and if you need to upgrade the memory, you will need to replace the existing memory module.
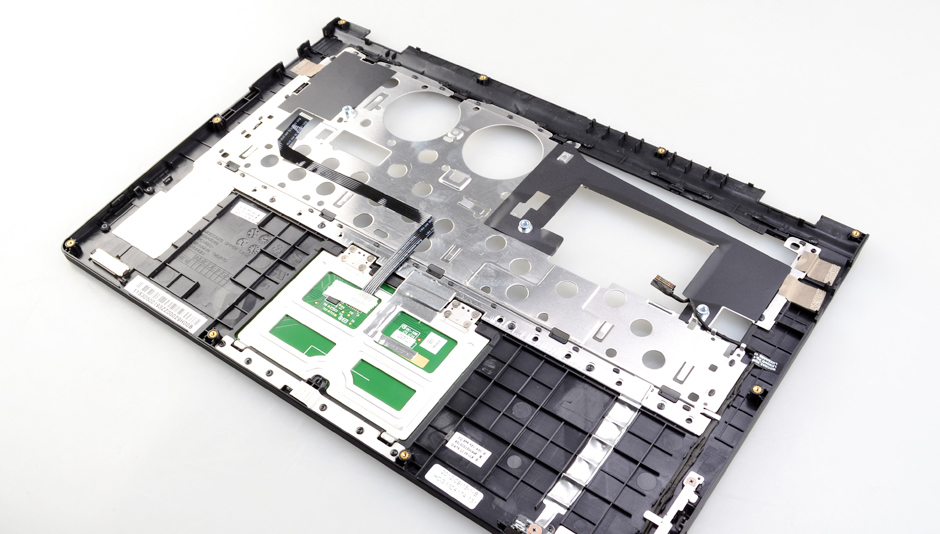
Remove the five screws securing the palm rest. Insert a pry tool near the hinge between the bottom cover and palm rest. Slide the pry tool to release the clips on the palm rest until it detaches completely from the laptop.
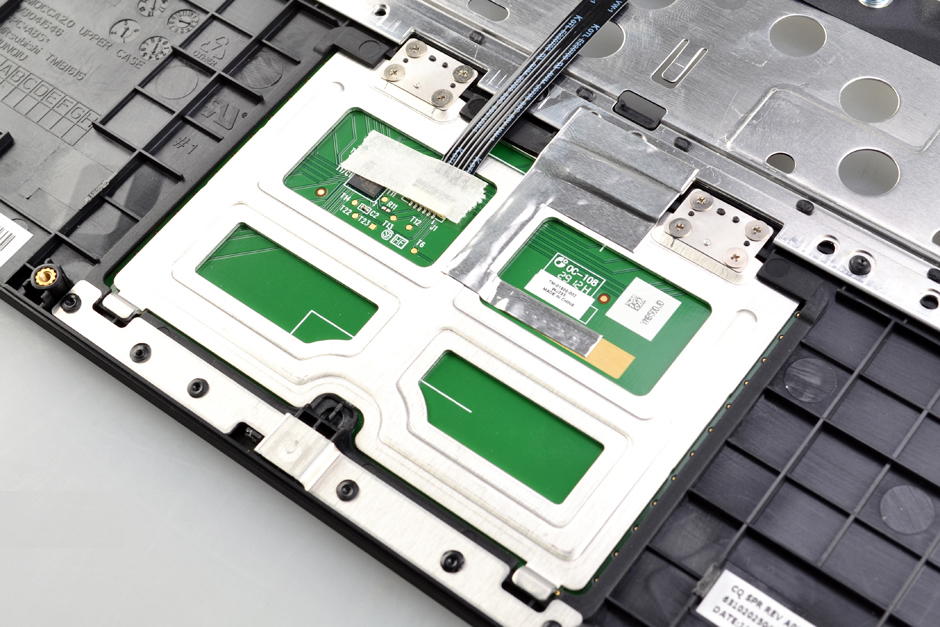
On the back of the palm rest, you can get access to the touchpad.
Close-up of the touchpad
The power button, a key recovery key, and the indicator module are integrated onto a small circuit board.

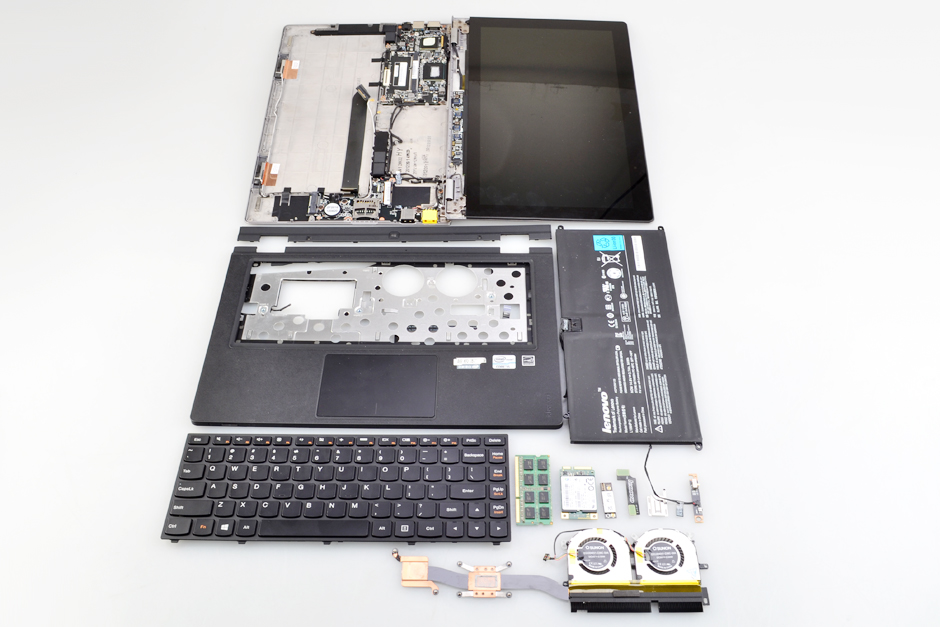
When the palm rest is removed, you can access the internal components, including the battery, RAM, SSD, heat sink, cooling fan, wireless card, and Bluetooth module.
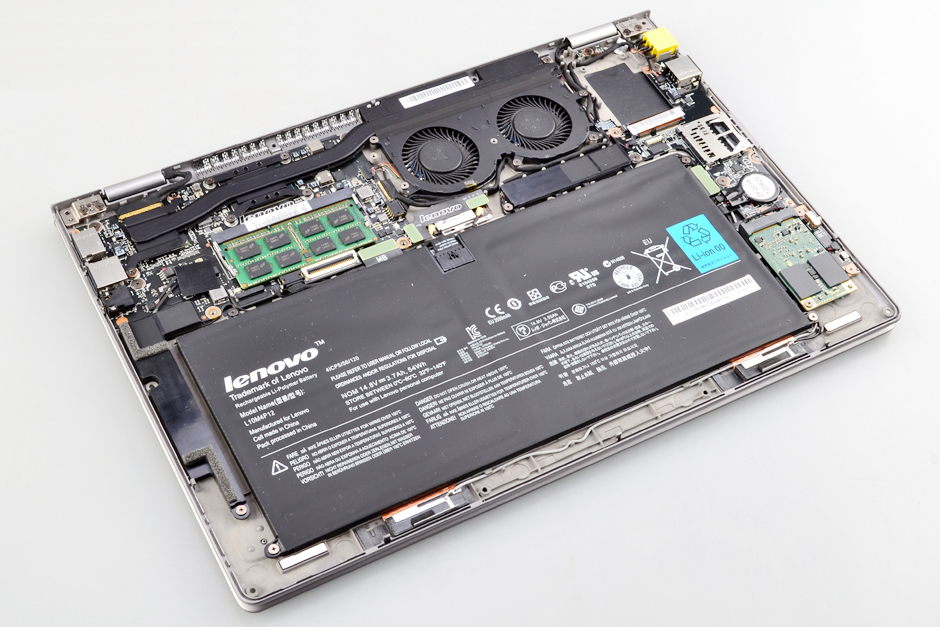
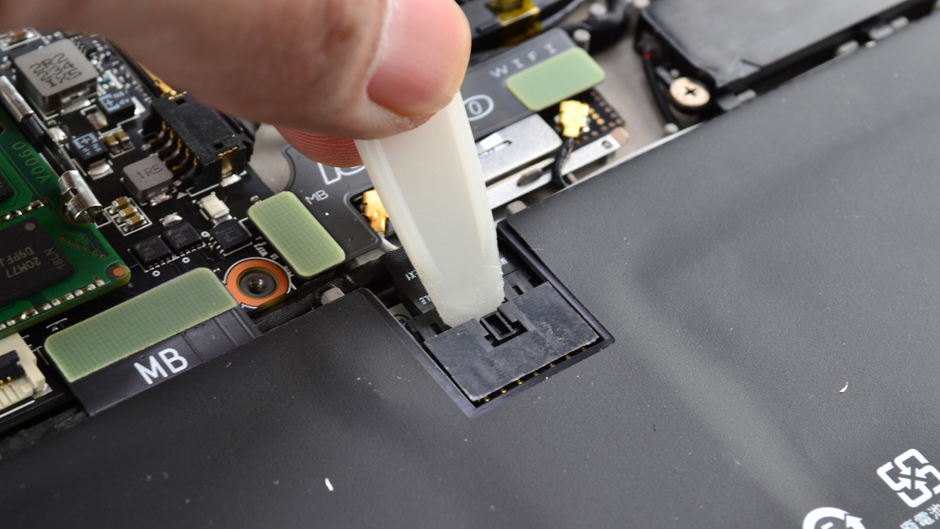
Before removing other components, disconnect the battery connector from the motherboard. This is to protect your laptop from damage caused by static electricity.
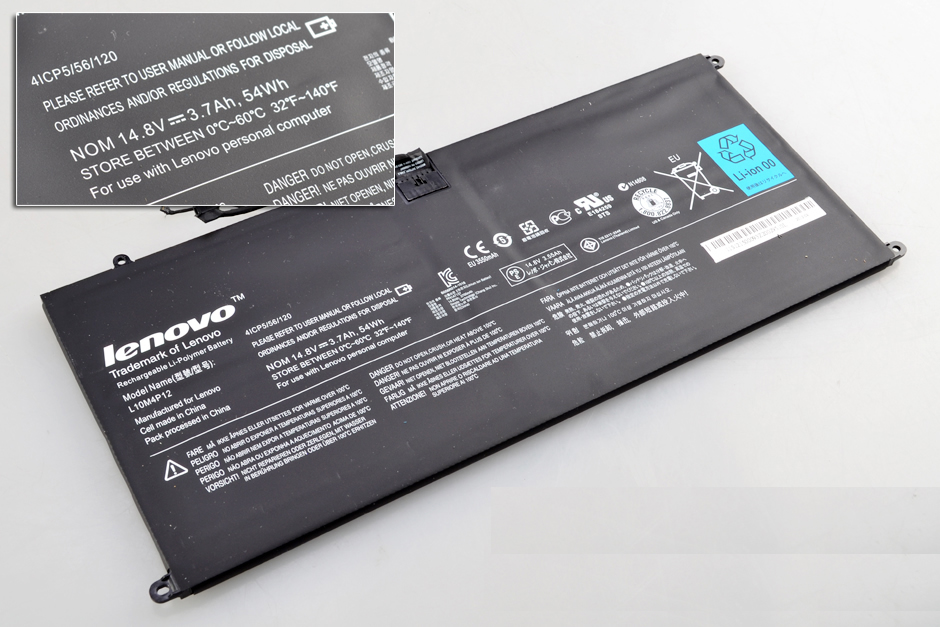
The Lenovo IdeaPad Yoga 13 comes with a 54Wh Li-polymer battery.
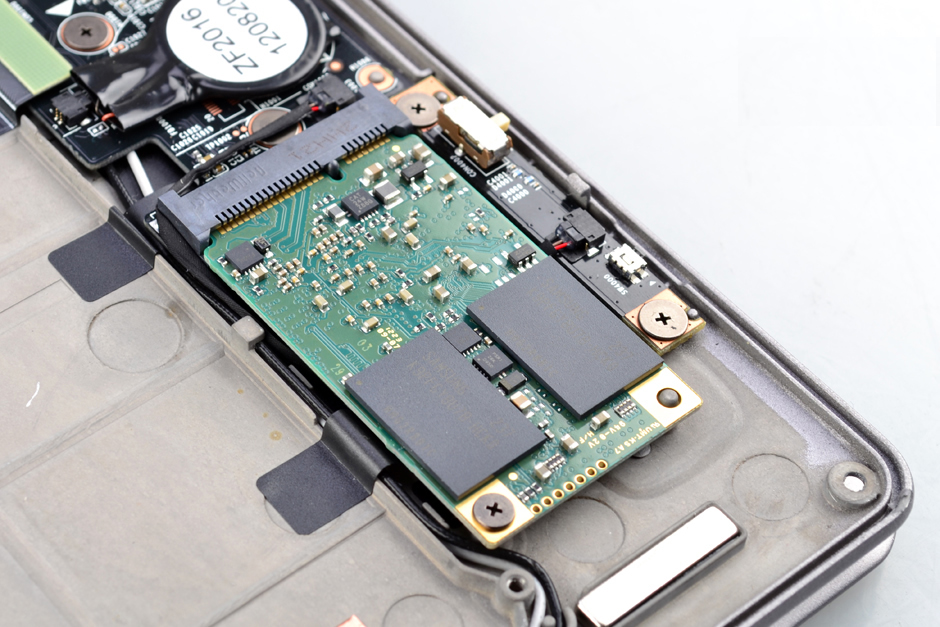
Remove the screw securing the SSD and remove it.
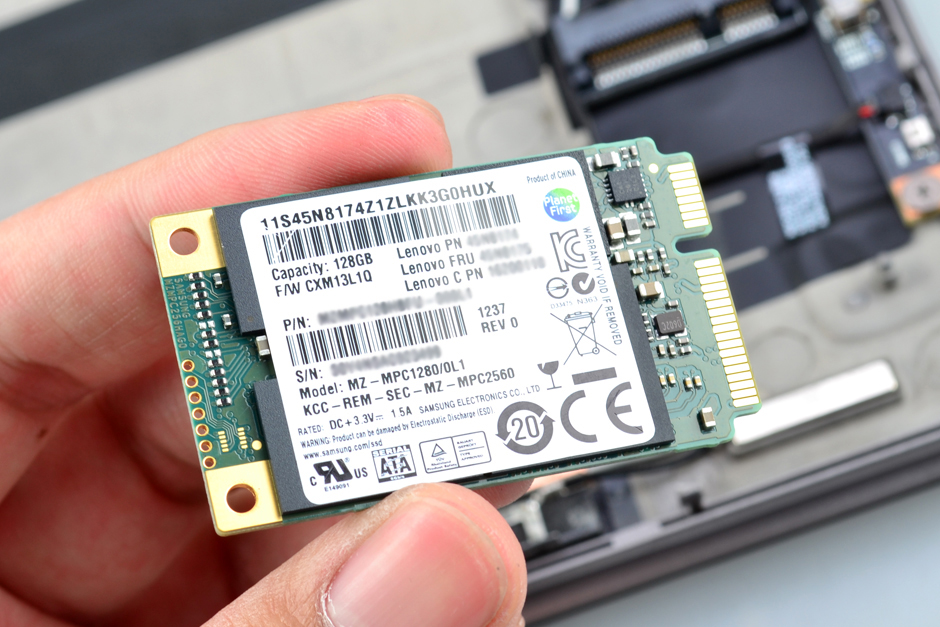
The laptop features a Samsung MZ-MPC1280/0L1 128GB SSD.
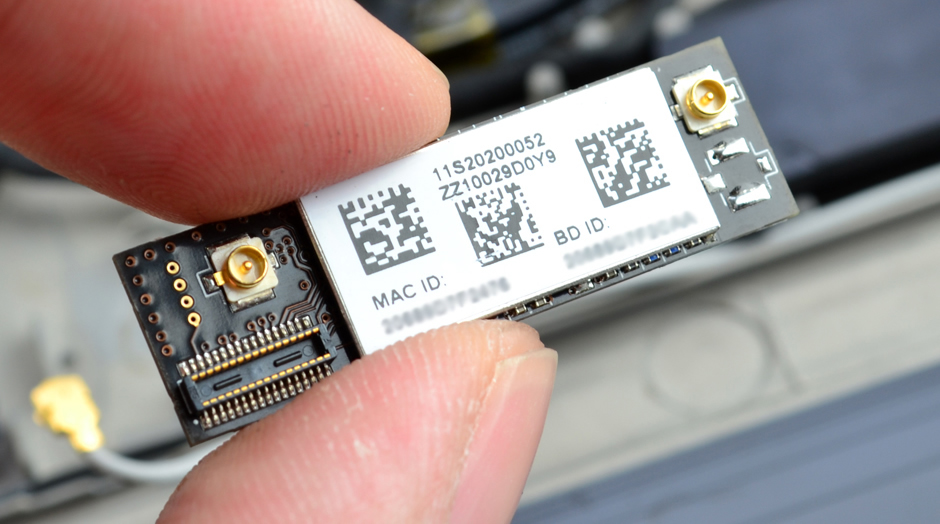
Disconnect the two antenna cables and remove the screw. You can remove the wireless card and Bluetooth module.
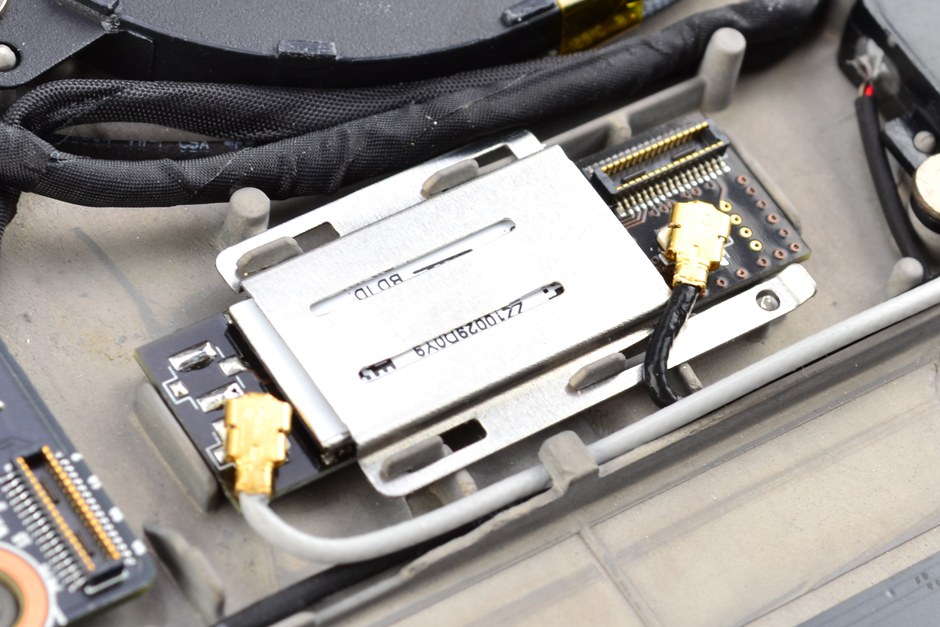
Wireless card and Bluetooth module
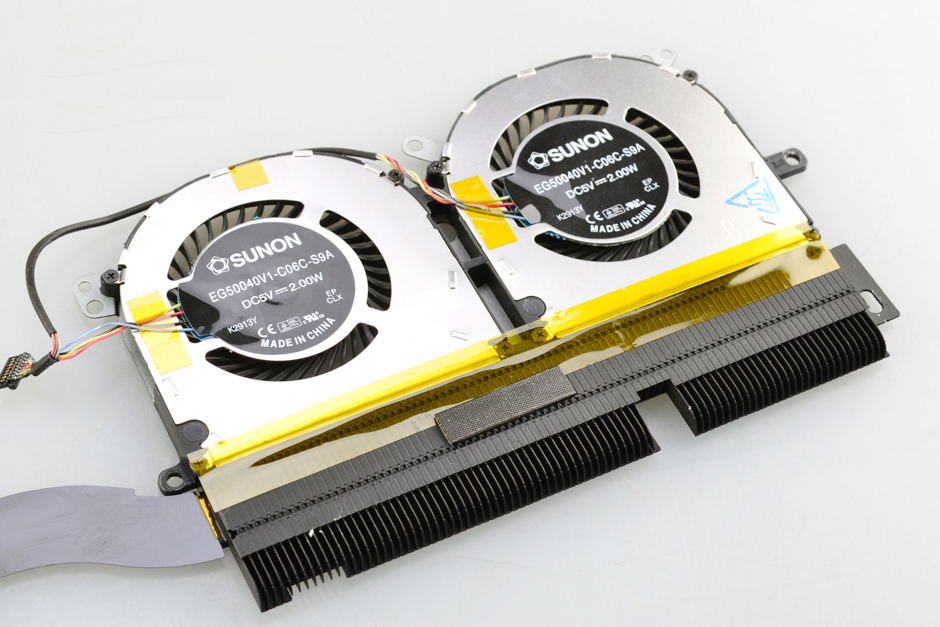
The cooling system of the Lenovo IdeaPad Yoga 13 consists of two fans and a heat pipe.
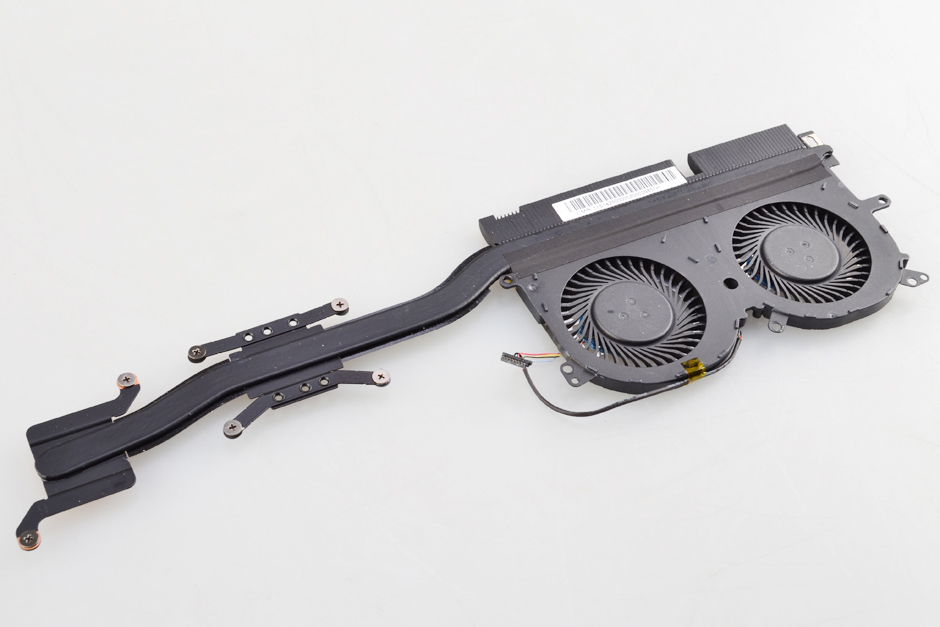
The cooling fan coming from SUNON
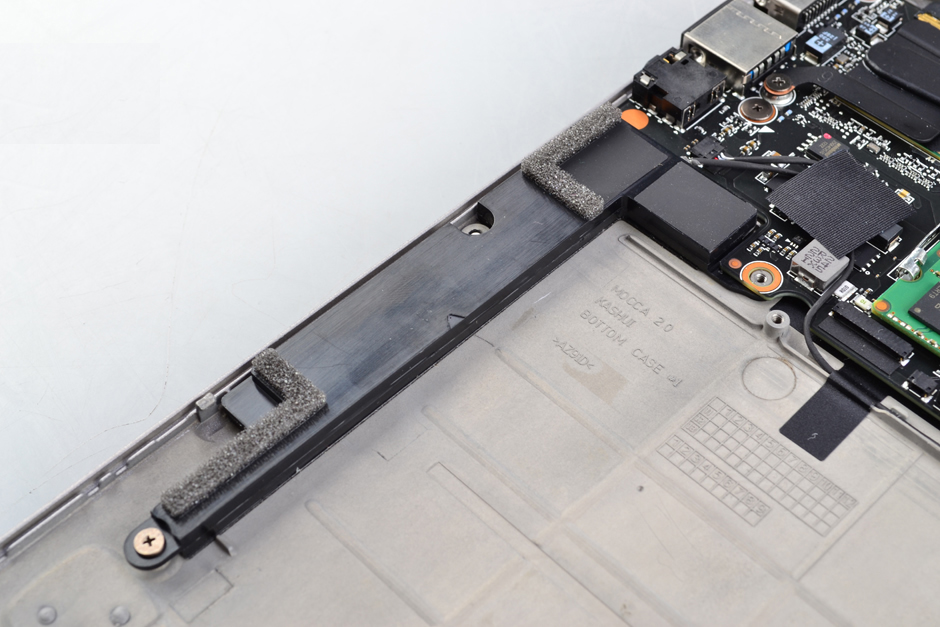
Speaker module
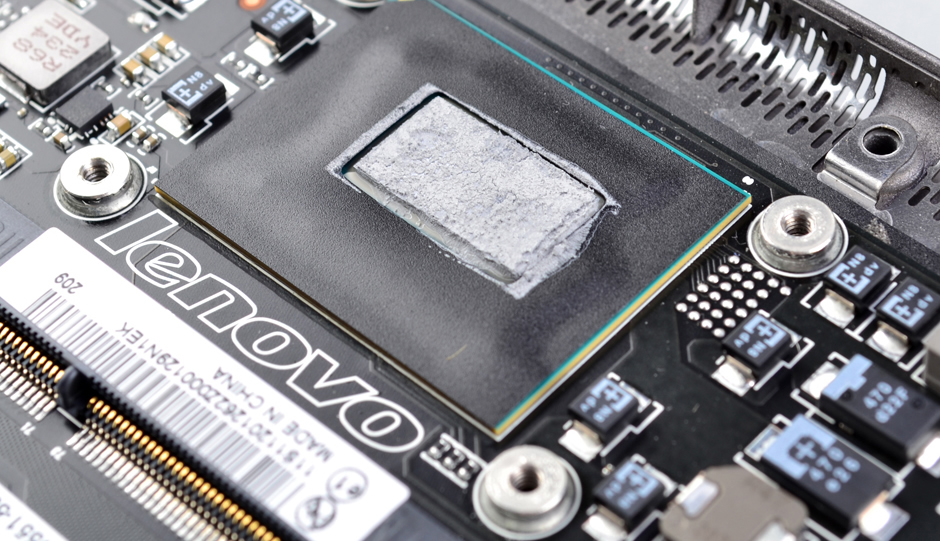
The processor is soldered to the motherboard, so it cannot be replaced or upgraded.
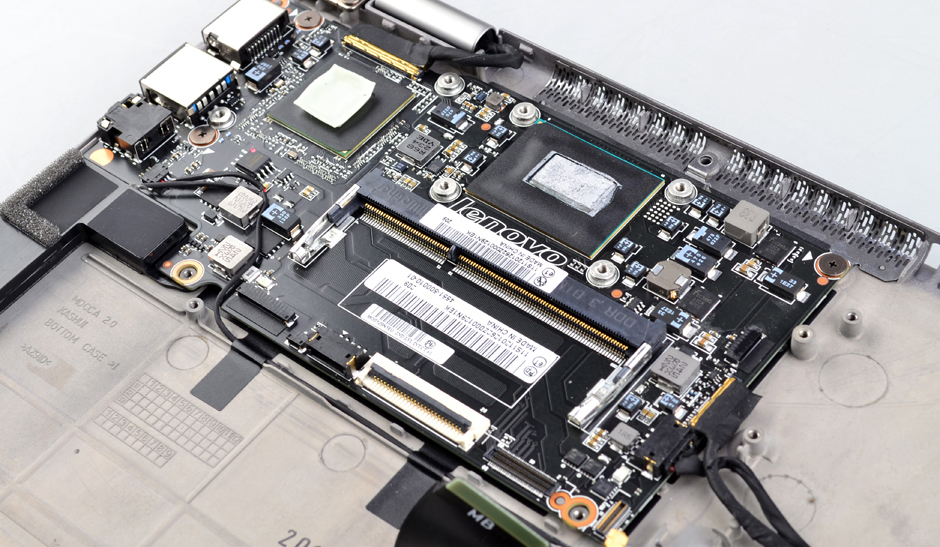
Motherboard
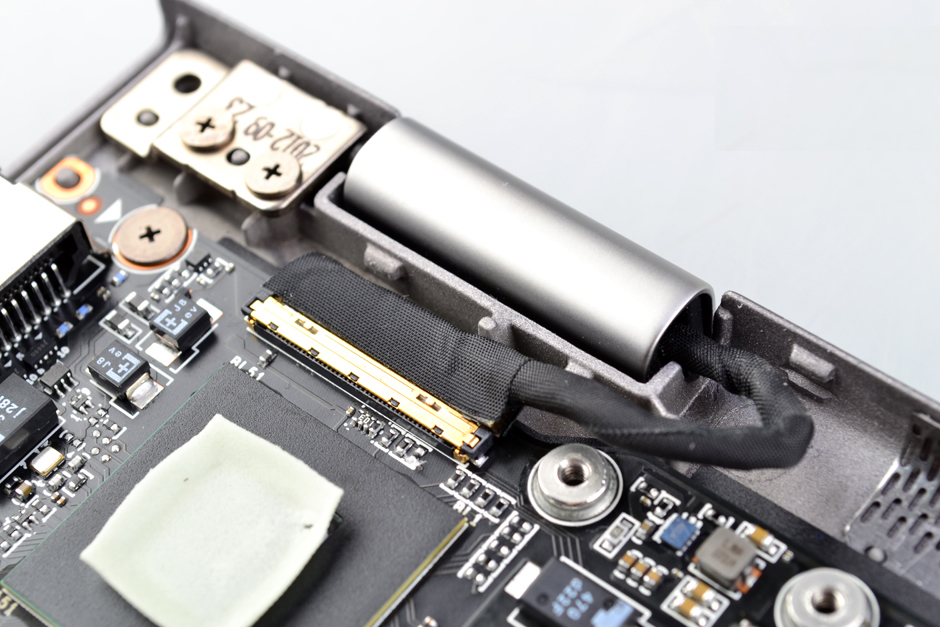
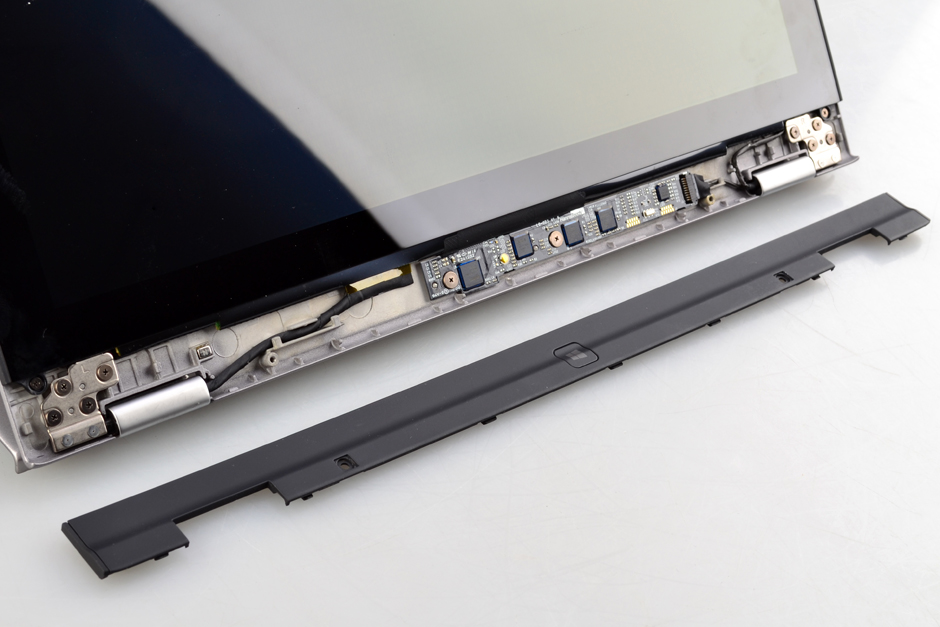
Left LCD hinge
Right LCD hinge

Touch driver board
Lenovo IdeaPad Yoga 13 internal parts
I am trying to replace the motherboard, but I can’t figure out how to remove the two covered connectors that go to the LCD and the camera. The one going to the camera is very bright and easy to see in the picture above, and is labelled “left LCD hinge”.
The hardware maintenance manual simply shows the direction they are supposed to be removed, but no amount of reasonable force budges them.
I can pop off the gold covers to reveal the wires, and there is one lead soldered to the cover itself, so I know the cover is supposed to stay with the wires, but not sure where I am supposed to push or pull from to remove them without causing damage.
Ok, so patience isn’t my virtue and I decided to sacrifice one to figure it out.
The Lenovo Hardware Maintenance Manual is wrong. The connector needs to be lifted up, not outward, and you really don’t want to lift it with the cable. A really small pry tool should be used to slide under the black plastic on the cable side of the connector at each end. Then, the connector will pop off.
It’s unfortunate that I had to bust that up, but oh well. Now I know. The cables are still attached, so it could potentially still work, but I had to break the ground lead connection to the cover, and the black plastic tabs that hold the cover in place are toast.
So my Lenovo IdeaPad Yoga 13 has more than 4 screws. More like 10 screws. So I’m a little confused. You don’t specify which screws need to be removed.
It would have been nice to mention that there is a provision for a second mSATA SSD beside the power connector. I’d already done that upgrade before I discovered this site. Now, the Yoga 13 has failed (suffering a sudden total power loss, for which I cannot locate the problem), so I’m looking for a more modern replacement that will also accept two SSDs.
But you should not have done that if you did not know the consequences.
Thanks for this.
This was extremely helpful. Thank you!