
In this guide, I will explain how to disassemble the MSI GX60 to remove the hard drive, DVD drive, keyboard, palm rest, graphics card, LCD hinge, wireless card, speakers, heat sink, cooling fan, and motherboard.
Want to stay connected to MyFixGuide.com? Follow us on Facebook to check out the latest teardowns.
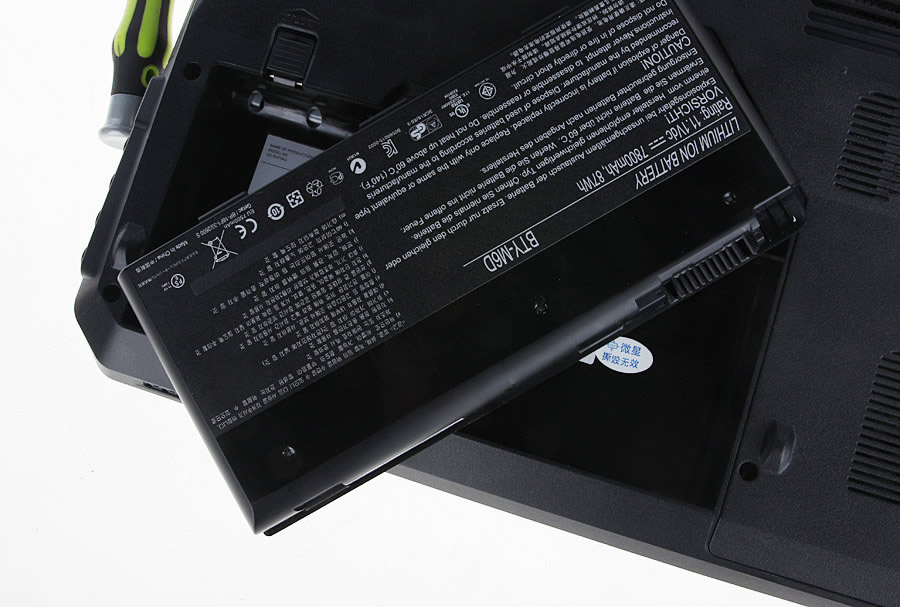
Unlock and remove the battery.
The MSI GX60 comes with a 7800mAh battery.
Remove the screws securing the service cover. Insert a pry tool under the service cover, pry it up, and remove the service cover.
Under the cover, you can find the RAM, hard drive, graphics card, heat sink, and cooling fan.

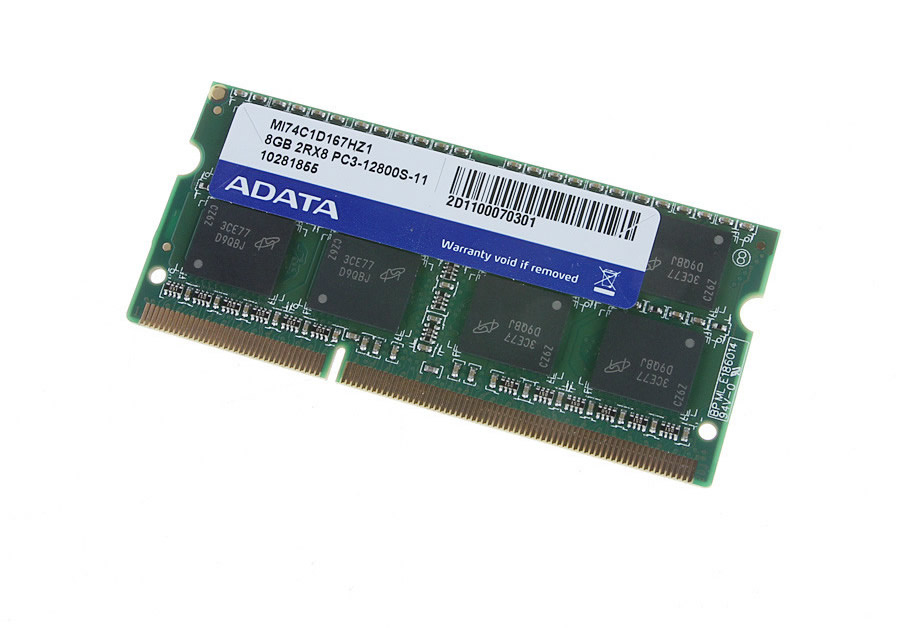
The MSI GX60 has two memory slots, but only one memory module is installed. You can install another memory module to upgrade the memory.

The laptop comes with an ADATA 8GB DDR3 1600MHz memory module.
Remove the two screws securing the hard drive module. You can remove it.
The laptop comes with a Western Digital 750GB hard drive.
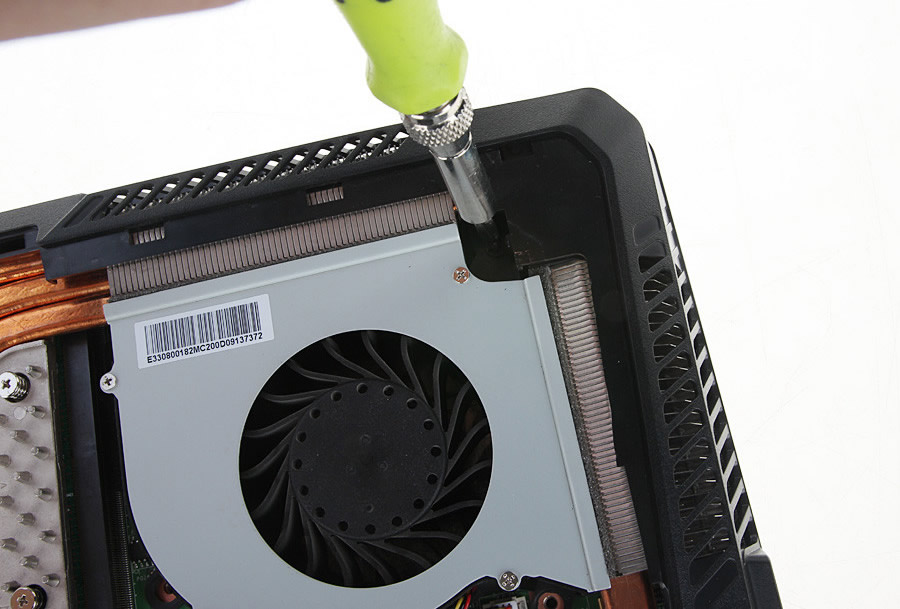
Remove the four screws securing the cooling fan and disconnect the cooling fan cable from the motherboard.
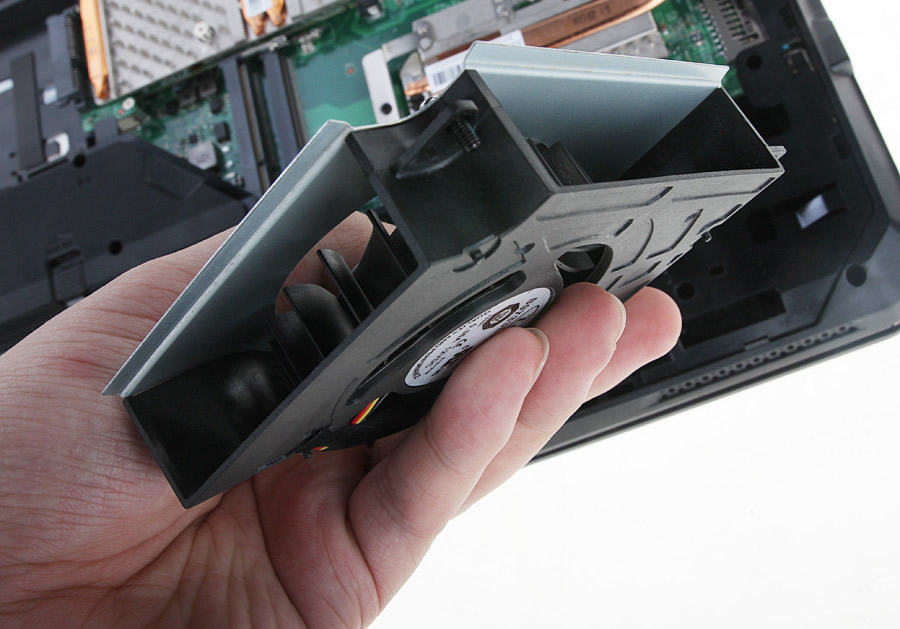
The cooling fan has been removed.
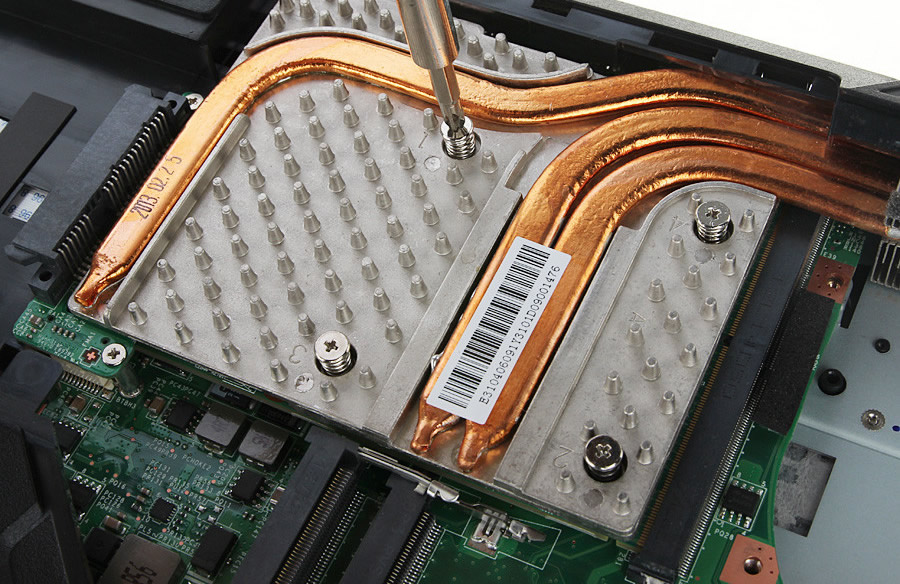
Remove the screws securing the heat sink.
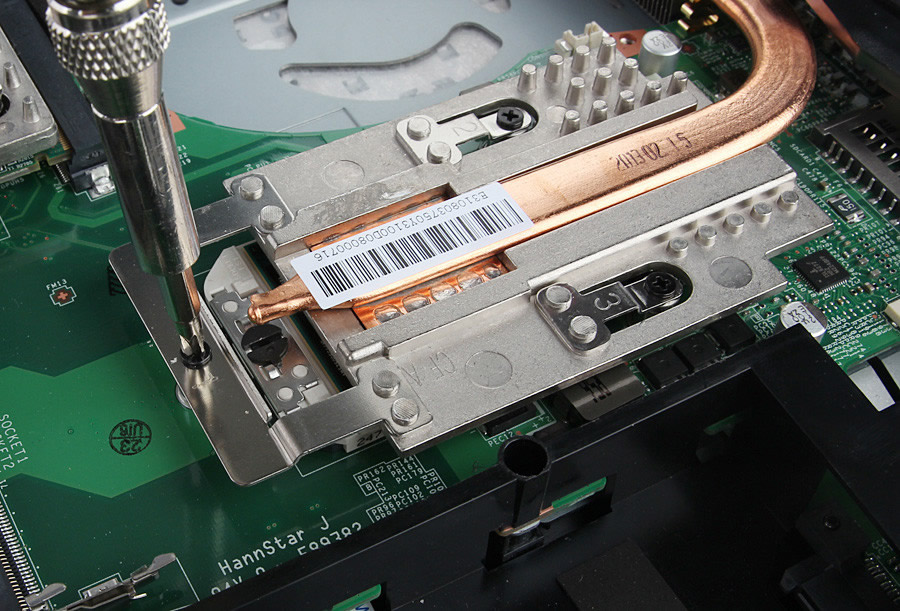
Use a screwdriver to open the processor socket switch.
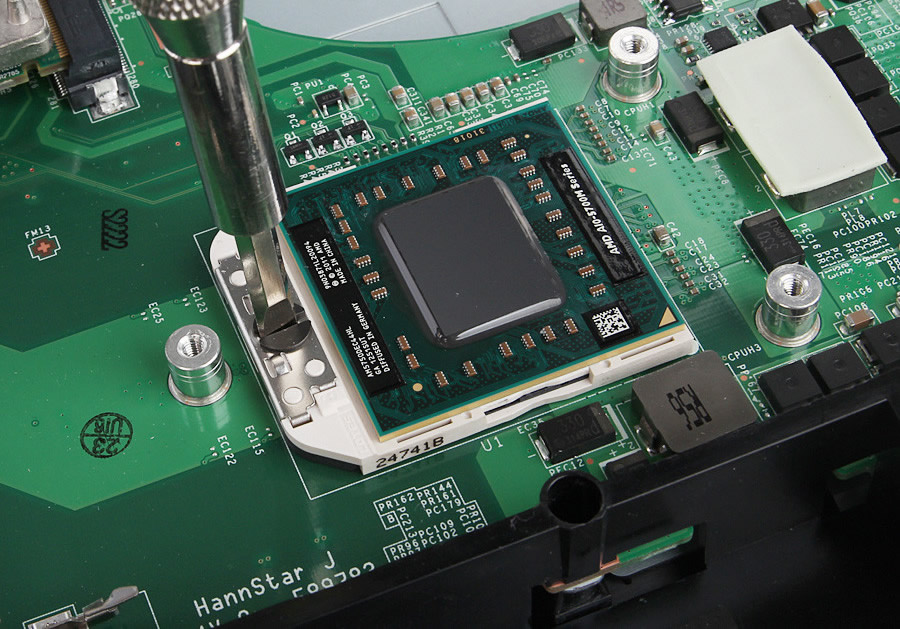
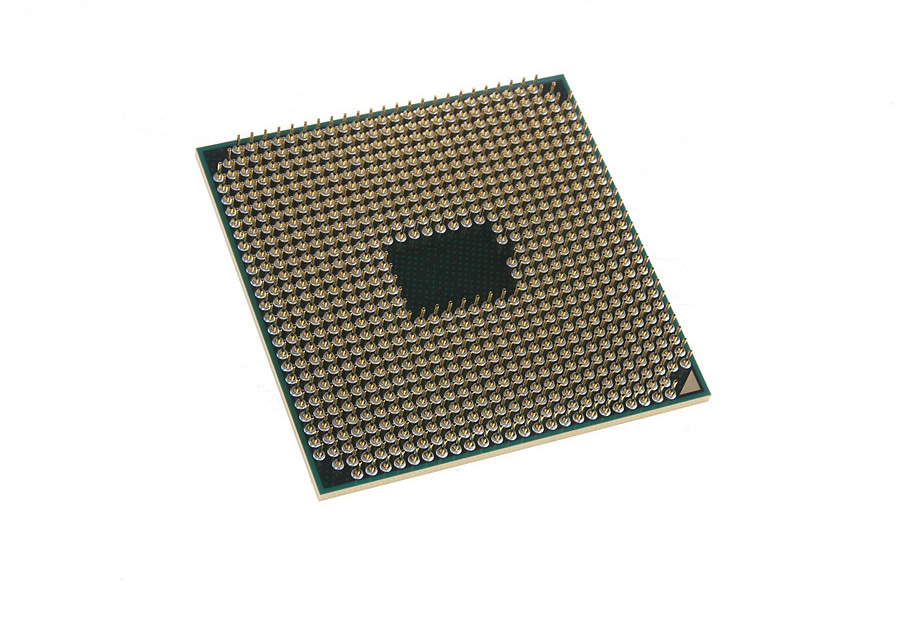
Richland A10-5750M APU
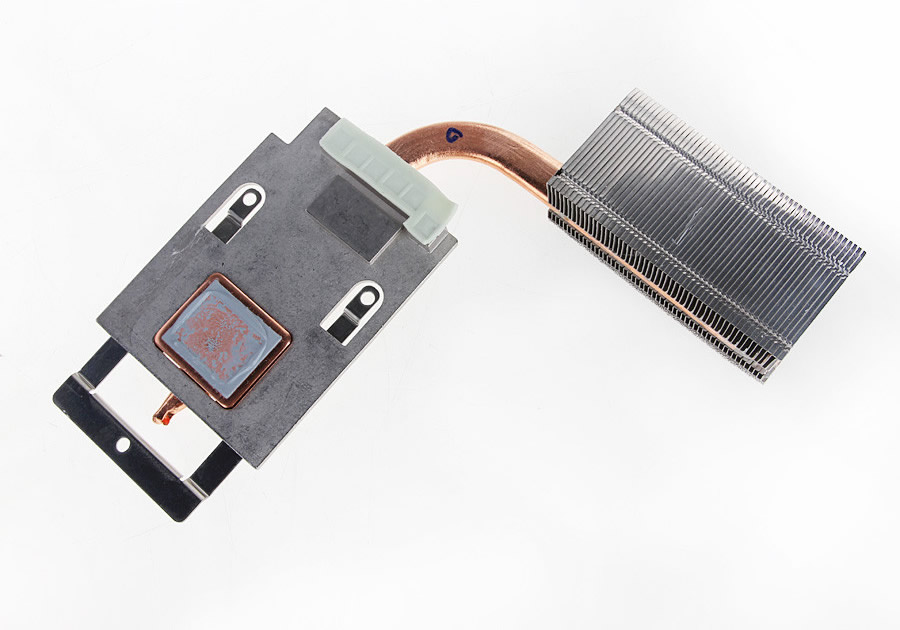
Heat sink
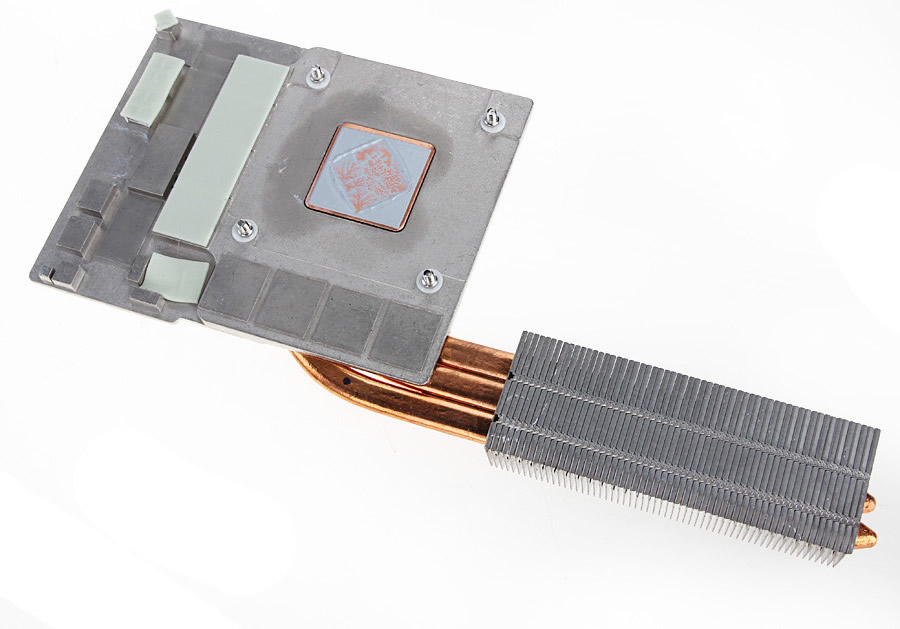
Remove the graphics card heat sink.
Graphics card heat sink
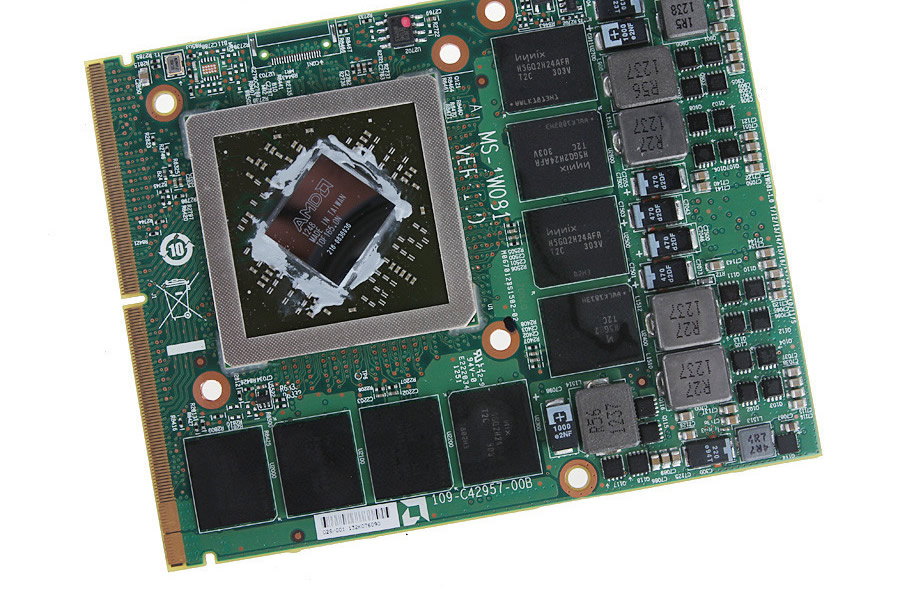
Remove the screws securing the graphics card and take it out of its slot.
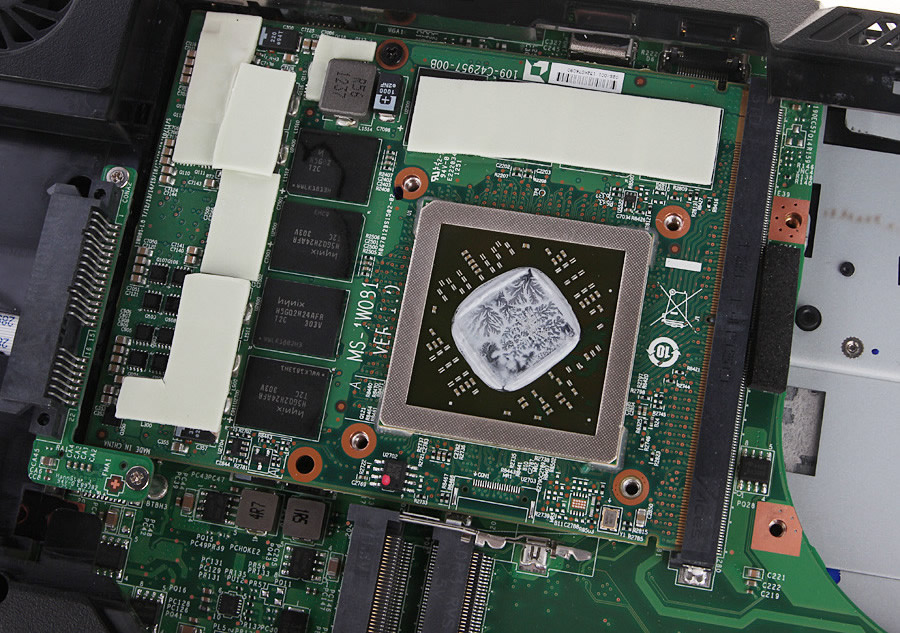
AMD Radeon HD 7970M GPU
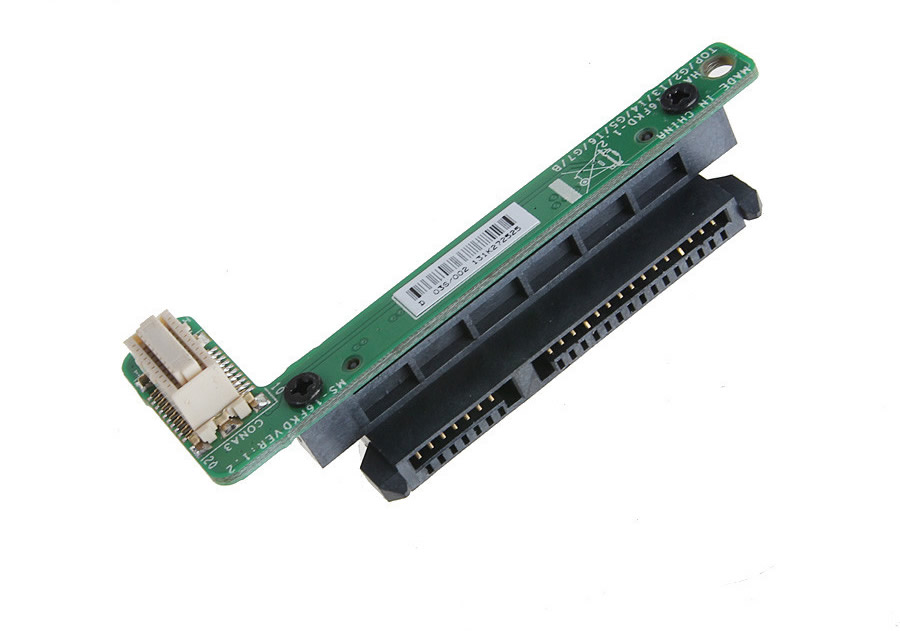
The hard drive bay uses an adapter card. It can be converted to a standard SATA port.

Hard drive adapter
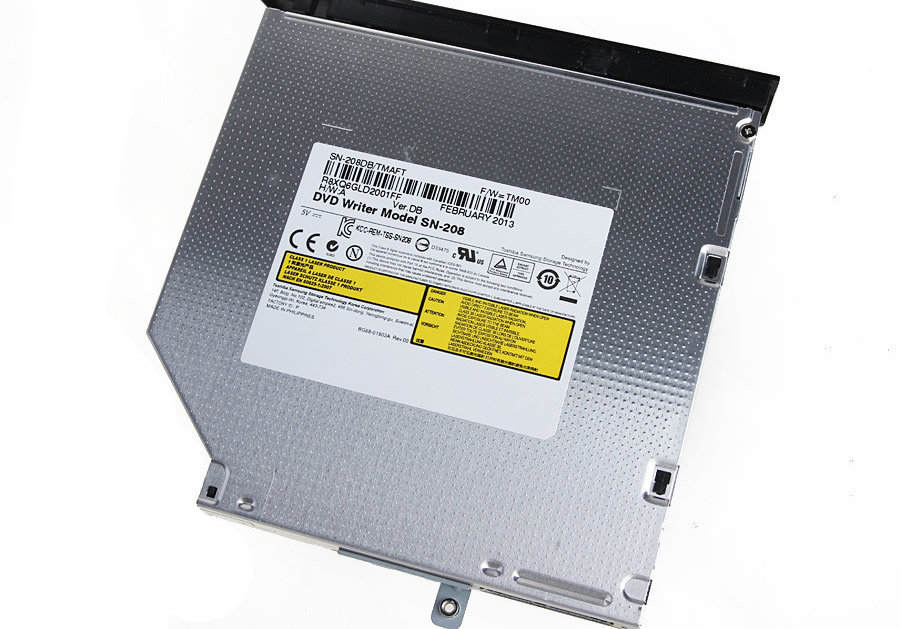
Remove the DVD burner.
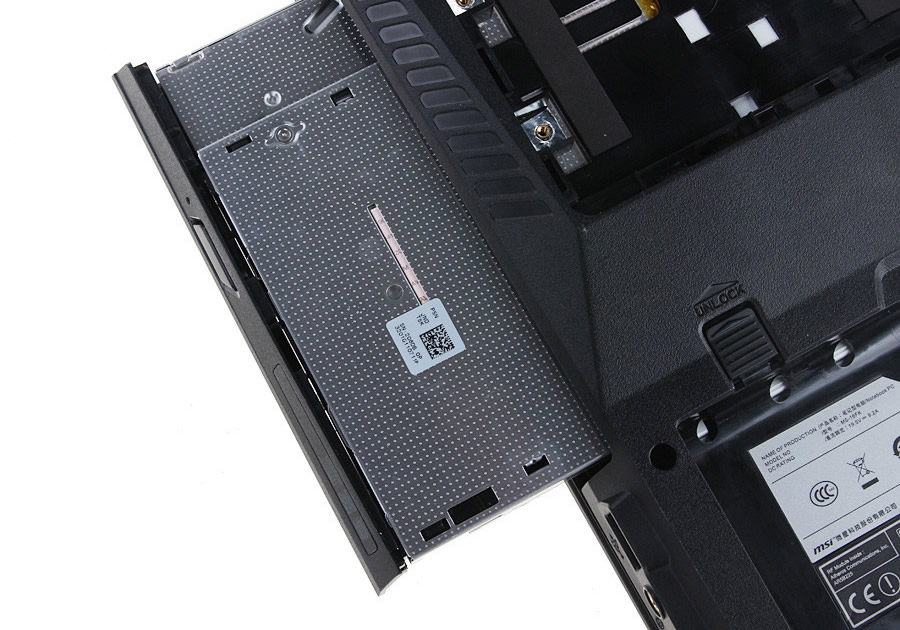
The MSI GX60 features a Samsung SN-208 DVD burner.
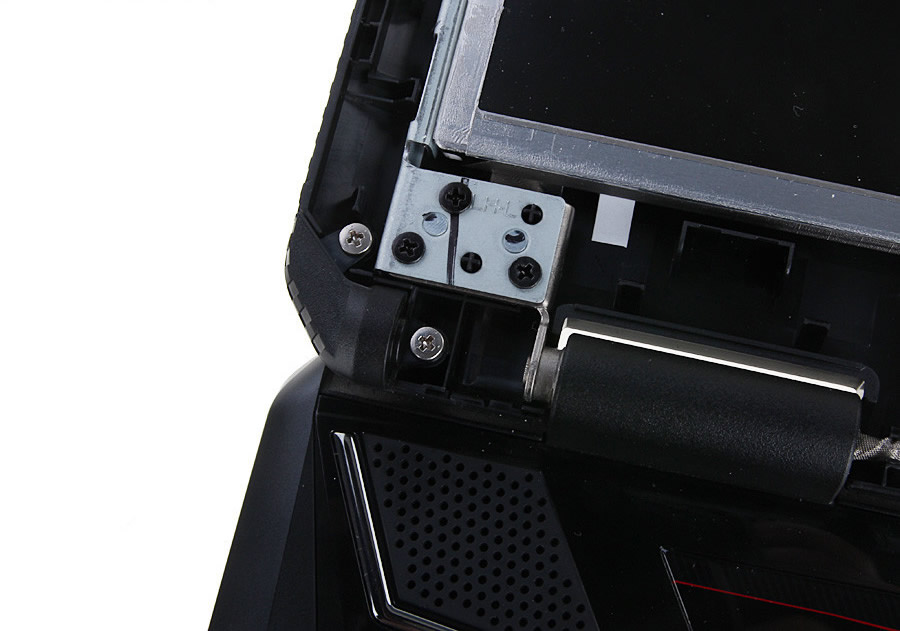
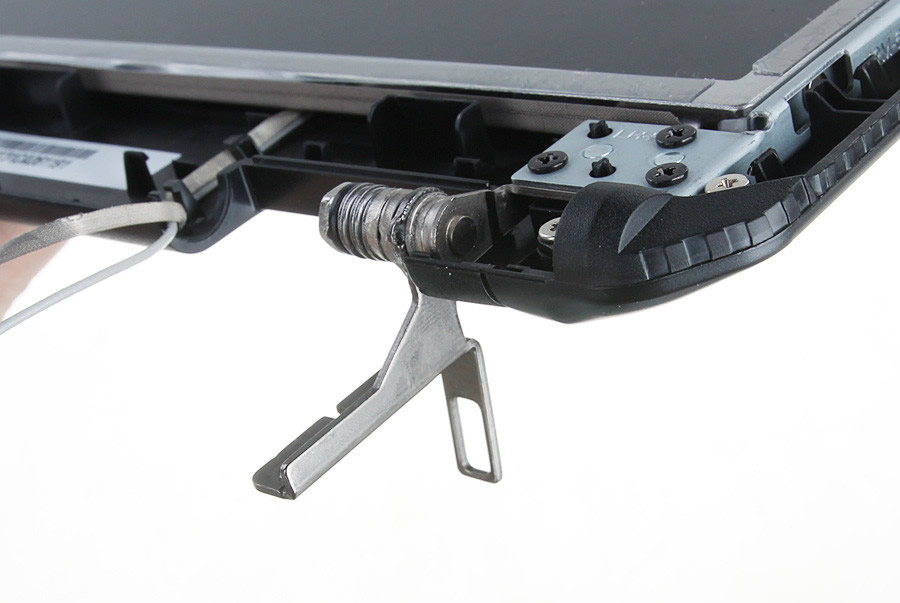
Remove the LCD bezel.
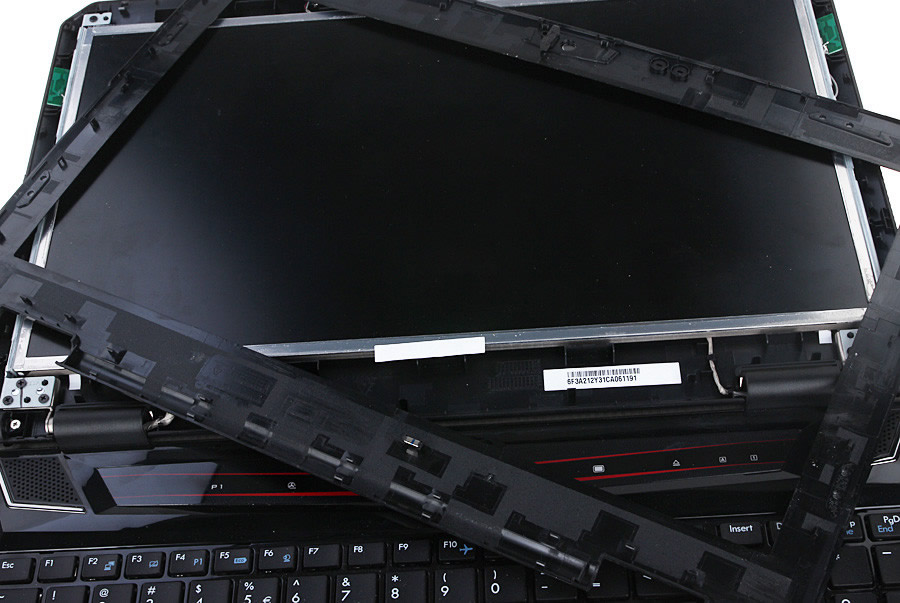
LCD hinges
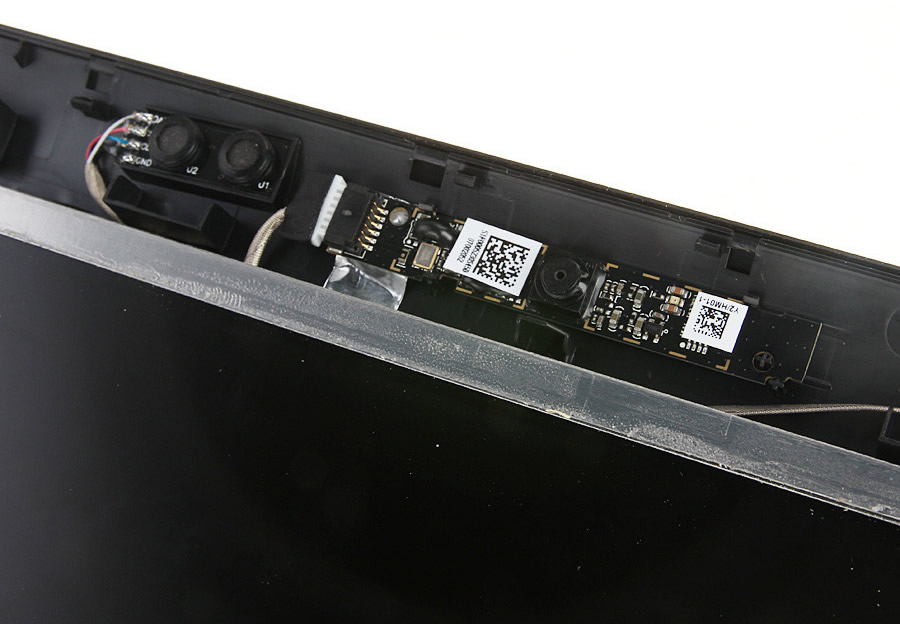
Stereo microphone and webcam
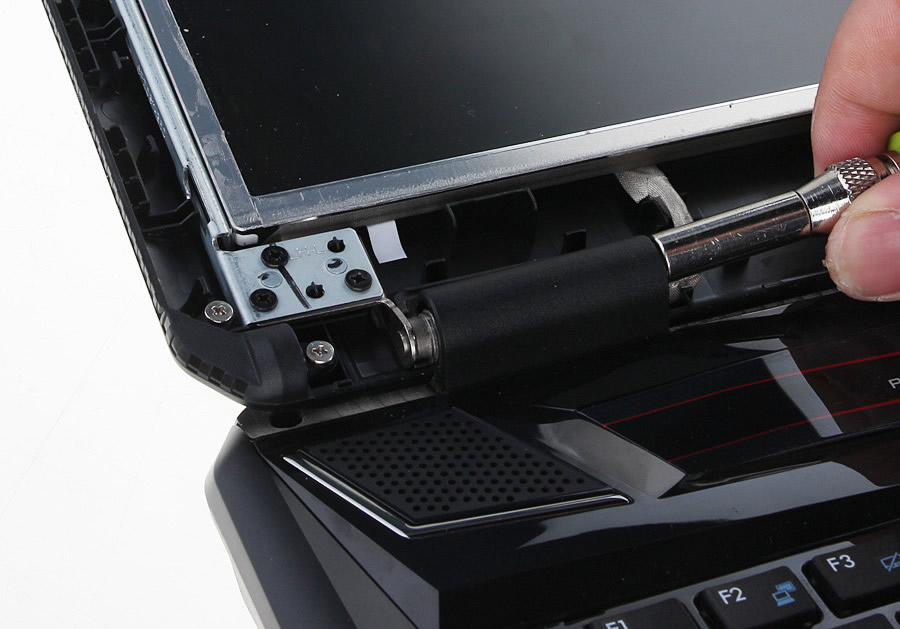
Push the screwdriver into the plastic case.
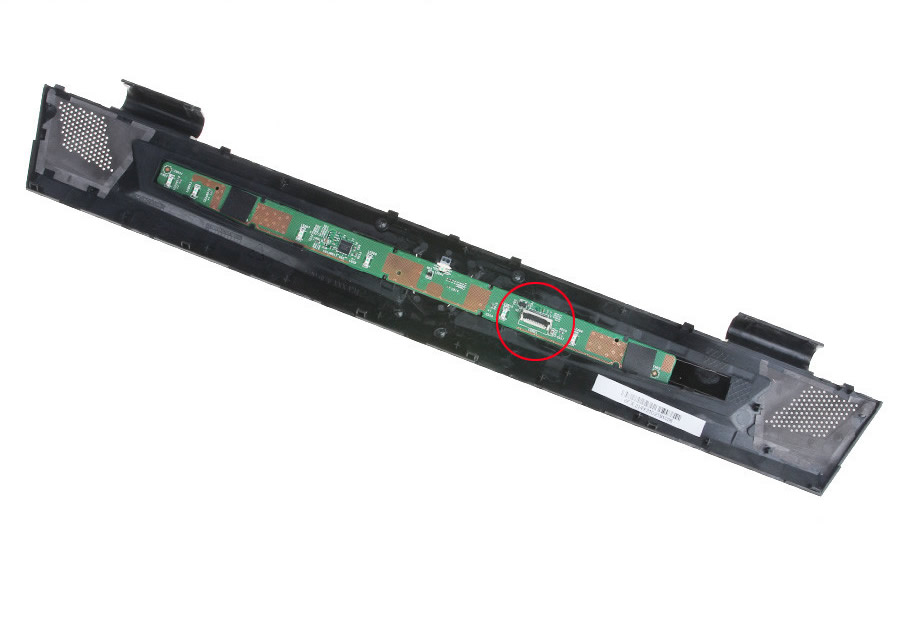
Remove the power switch and keyboard shortcut panel.
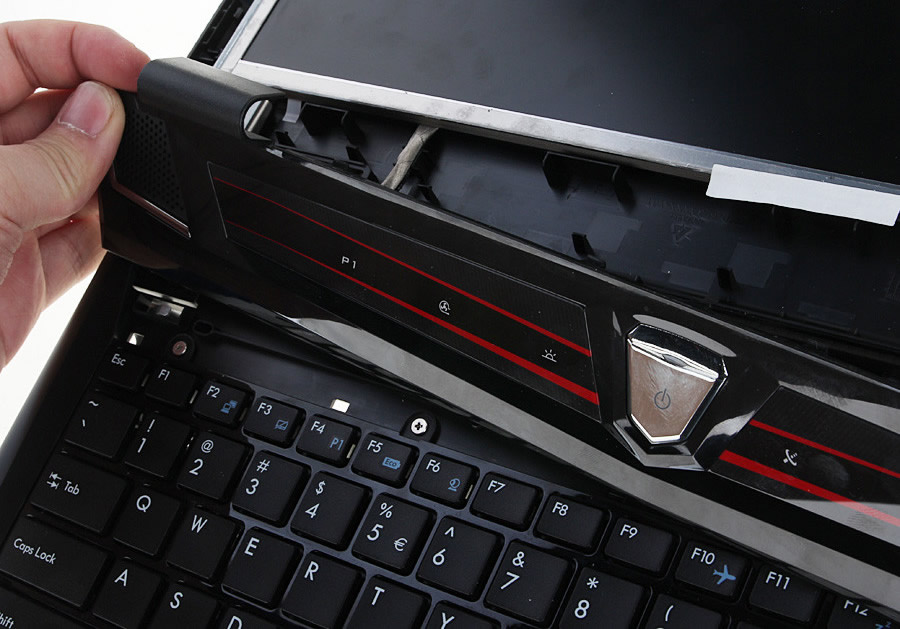
Power switch and keyboard shortcuts panel
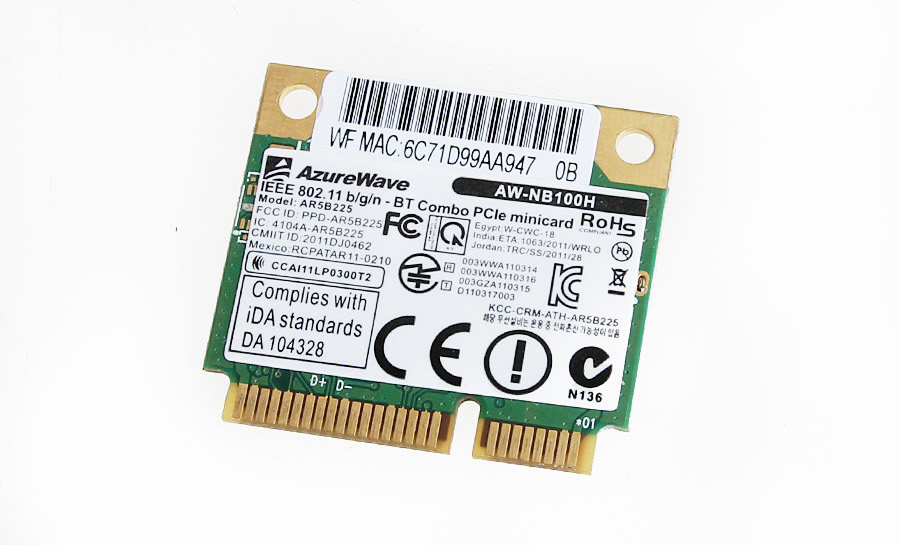
Remove the screw securing the wireless card and disconnect the two antennas.
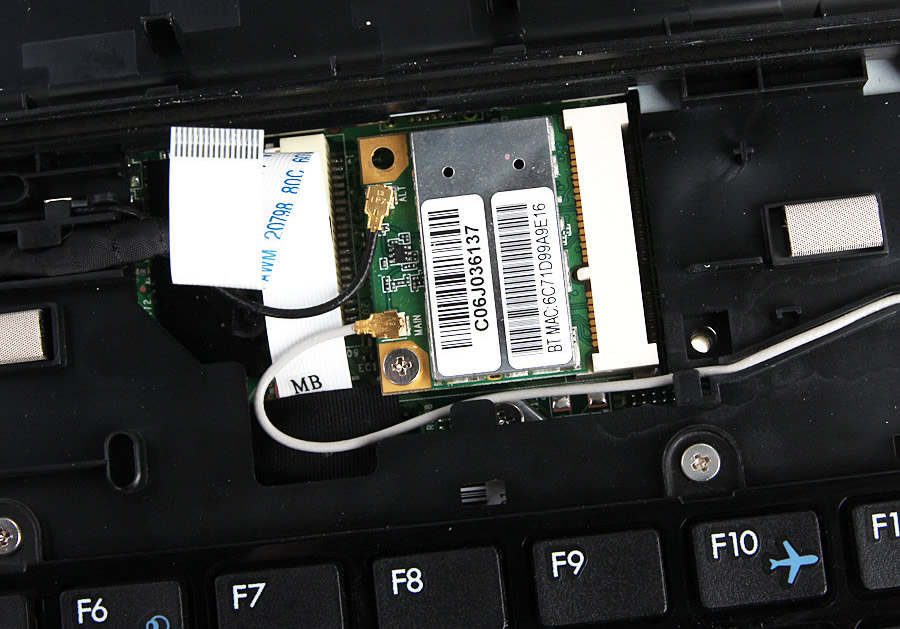
The MSI GX60 comes with an Atheros AW-NB110H wireless card
Right LCD hinge
Remove the keyboard and then remove the screws securing the palm rest. Insert a plastic pry tool under the palm rest. Slide the pry tool to separate the palm rest from the laptop.
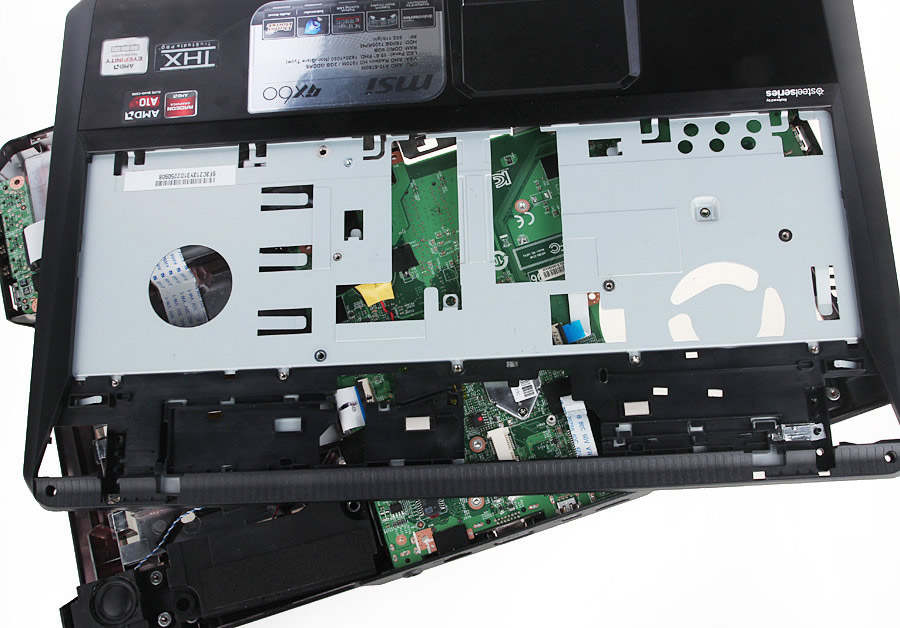
MSI GX60 palm rest
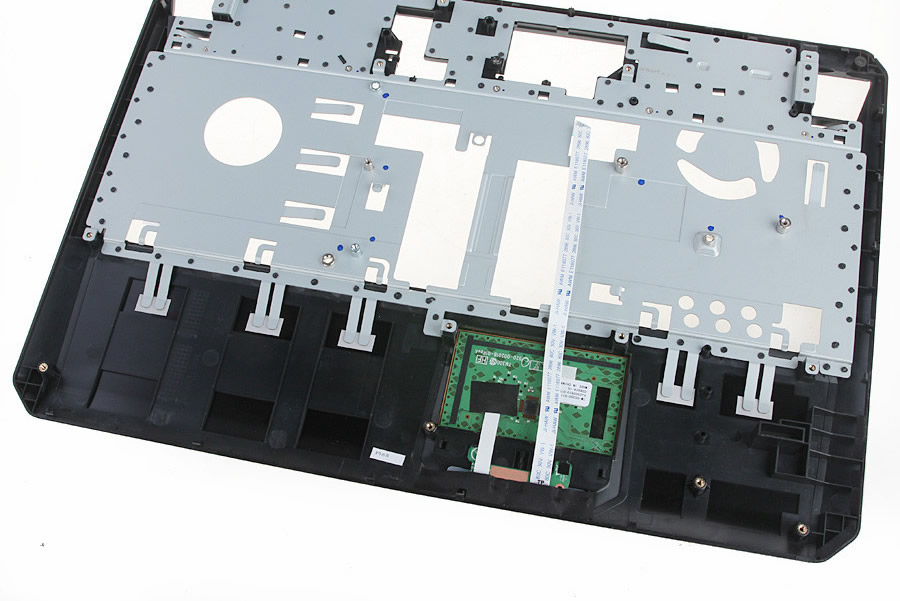
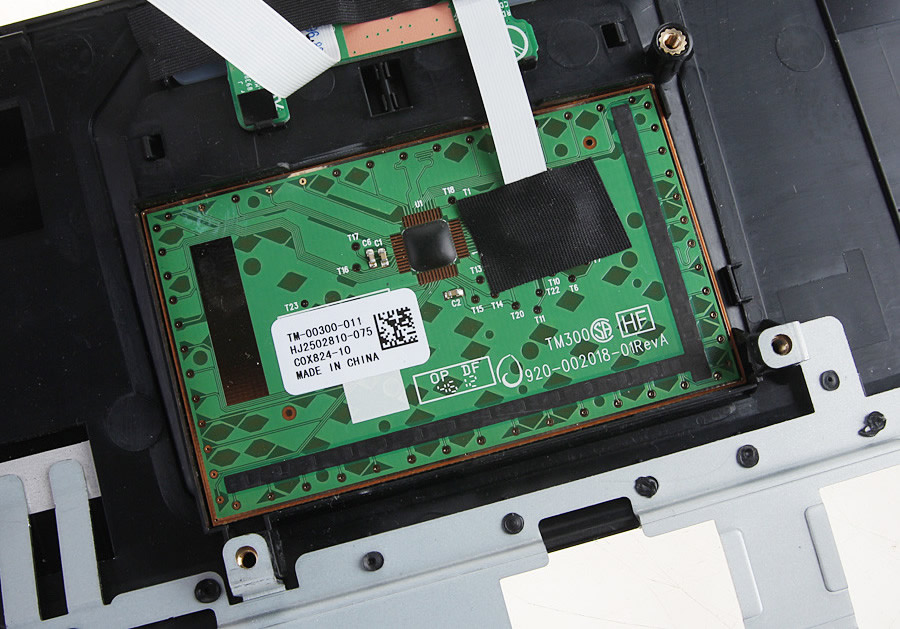
Touchpad control circuit
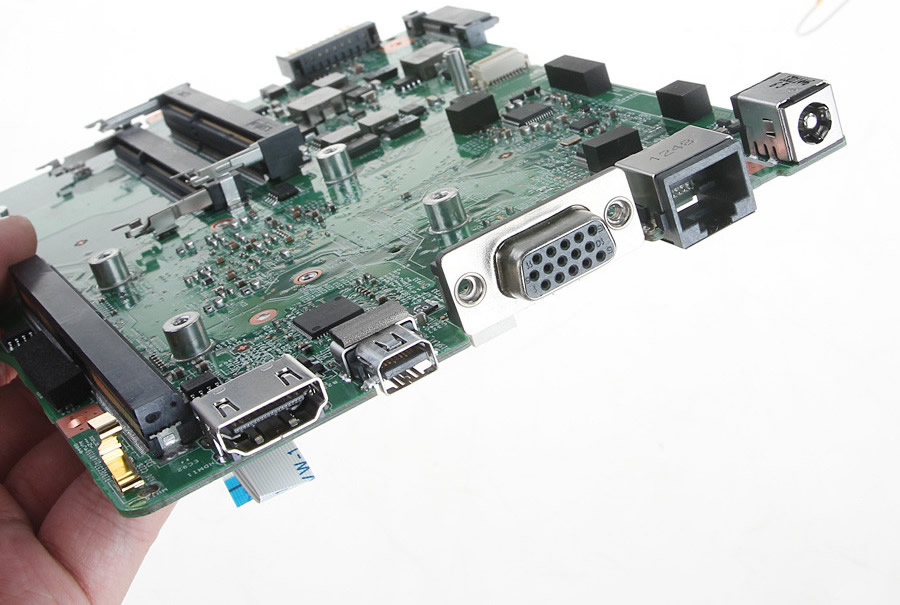
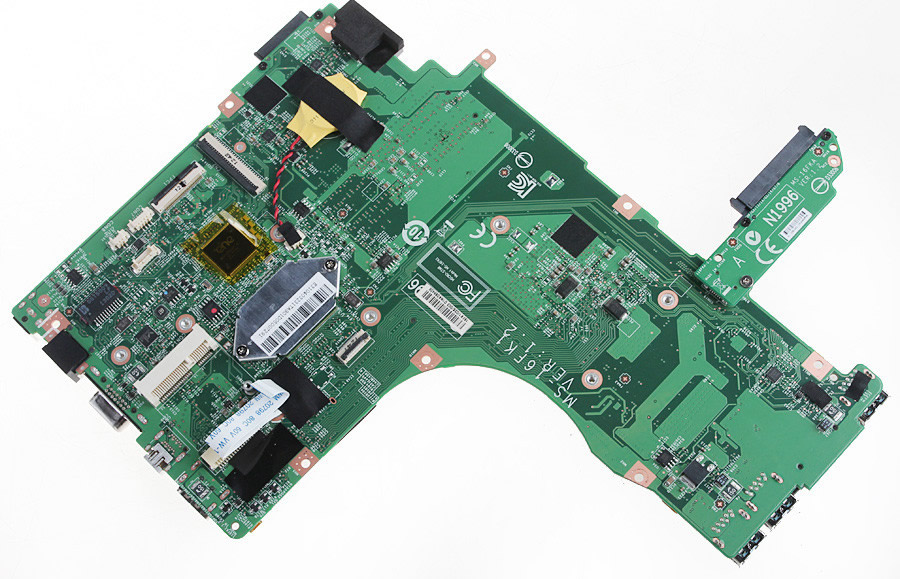
MSI GX60 motherboard
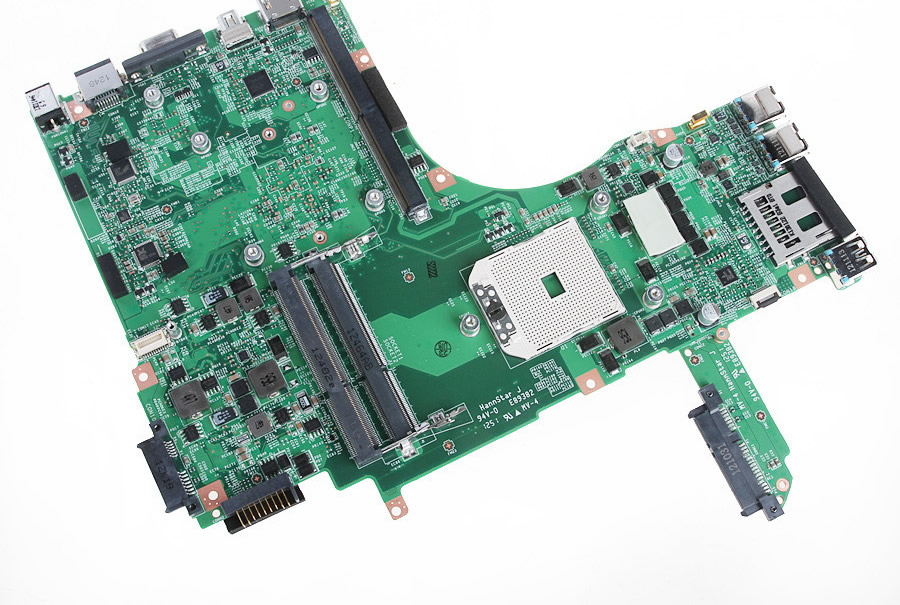
The MSI GX60 motherboard has three video outputs.
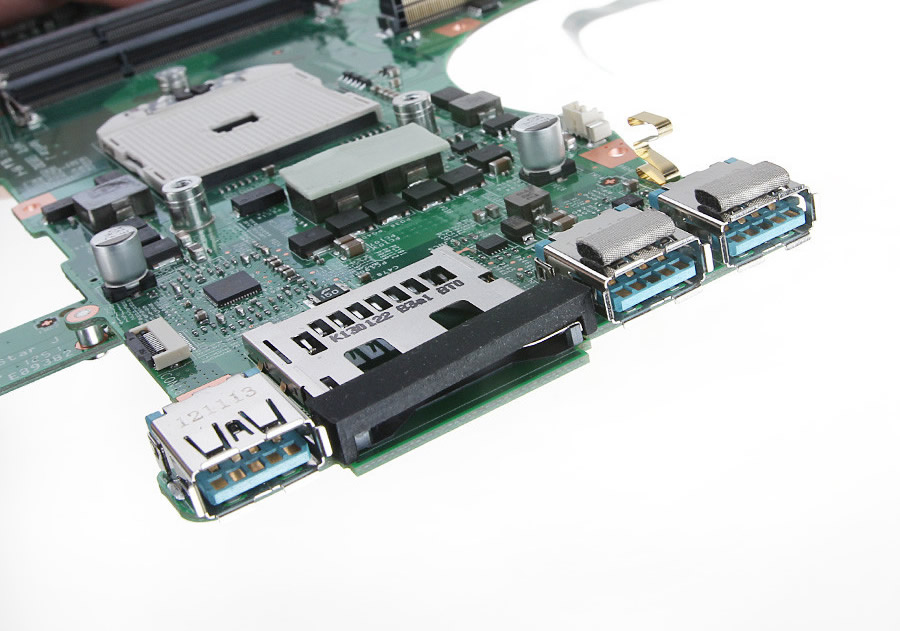
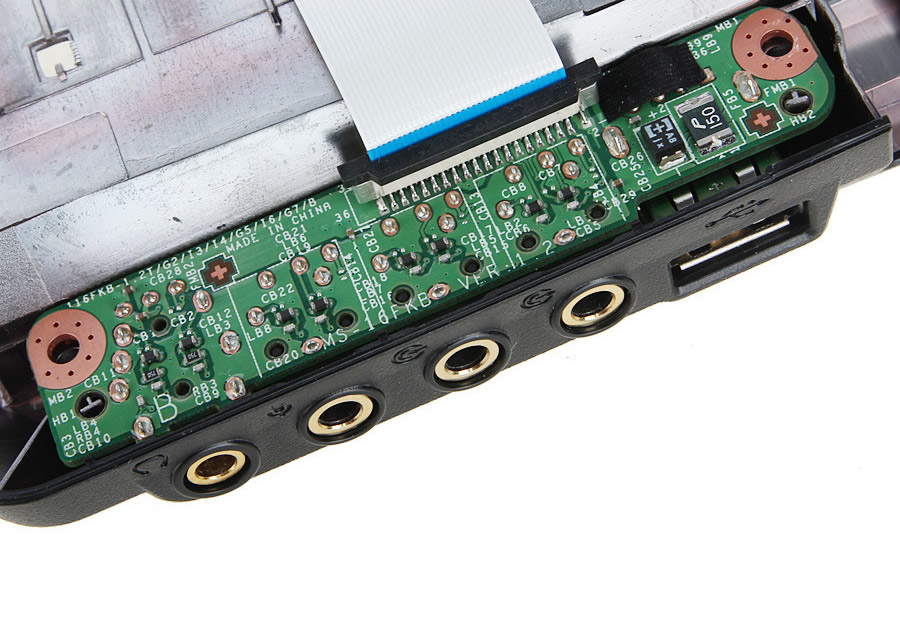
USB 3.0 ports and card reader
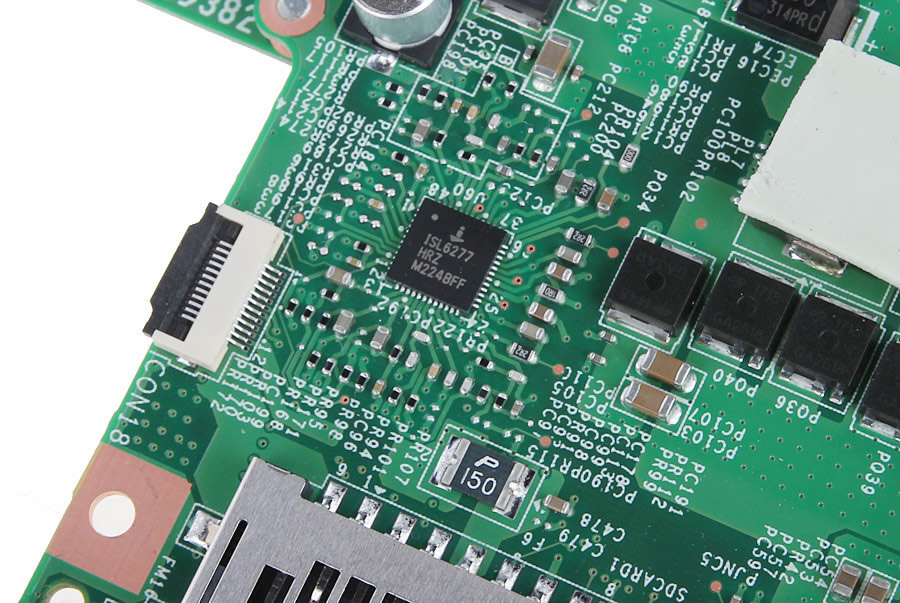
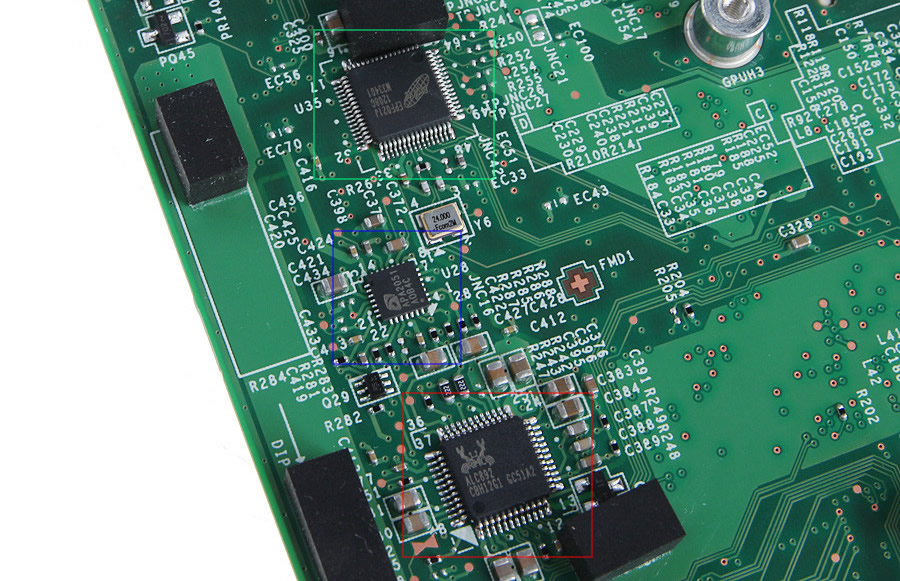
ISL6277 multiphase switching power supply controller
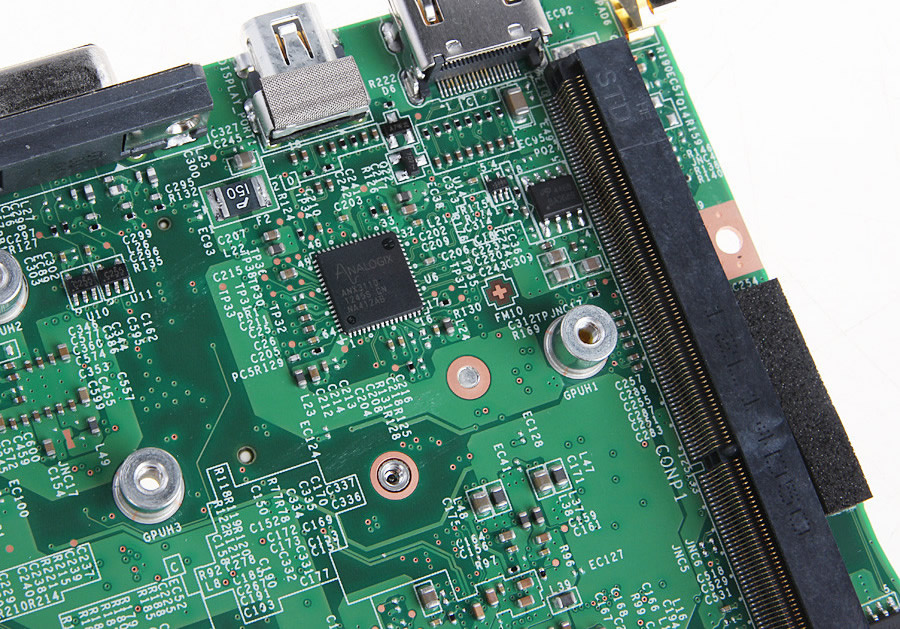
Close-up of the ANX3110 DisplayPort Converter, which provides DP to LVDS conversion.
The GX60 uses an ALC892 audio decoder chip and is equipped with an amplifier.
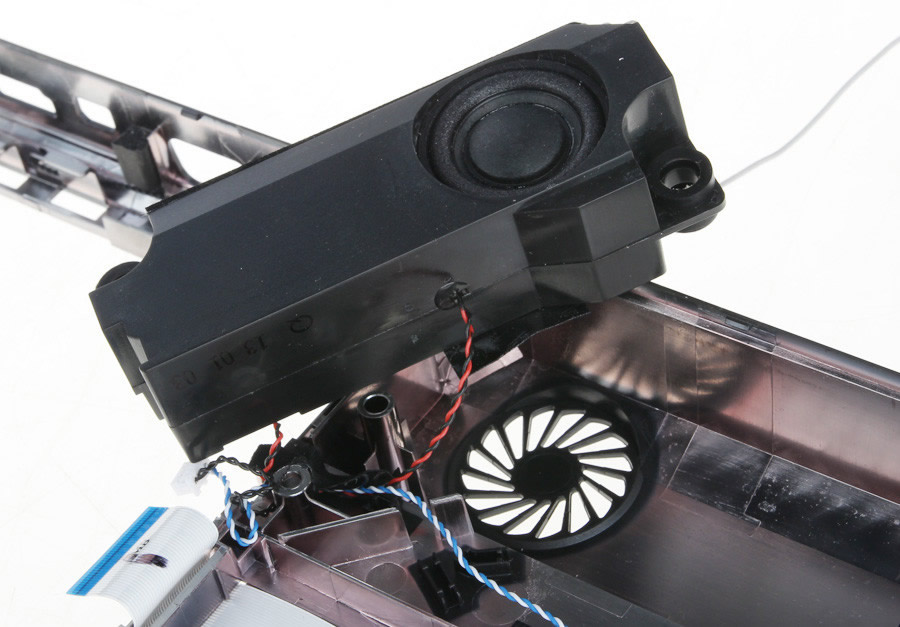
MSI GX60 subwoofer
3.5 mm audio ports

thx
I followed all the steps, but when I put my computer back together, it wouldn’t turn on. The fan wasn’t operating, and there were no signs of power on. The light on the power switch wasn’t glowing, either.
Please help.