In this guide, I will explain how to disassemble the Nokia Lumia 525 to remove the back cover, battery, Speaker, middle frame, and motherboard.
Looking for more funny teardowns? Follow us on Facebook for all the latest repair news.
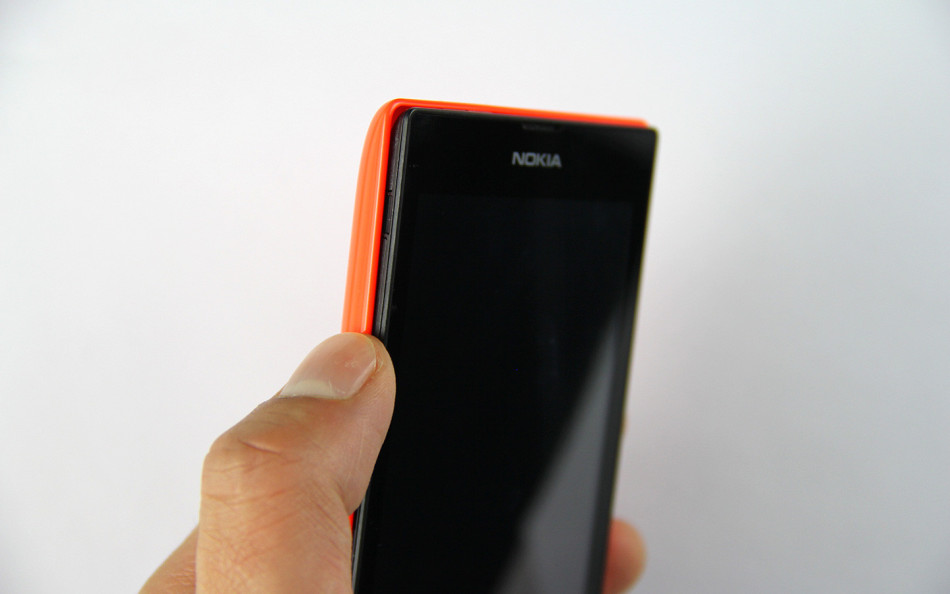
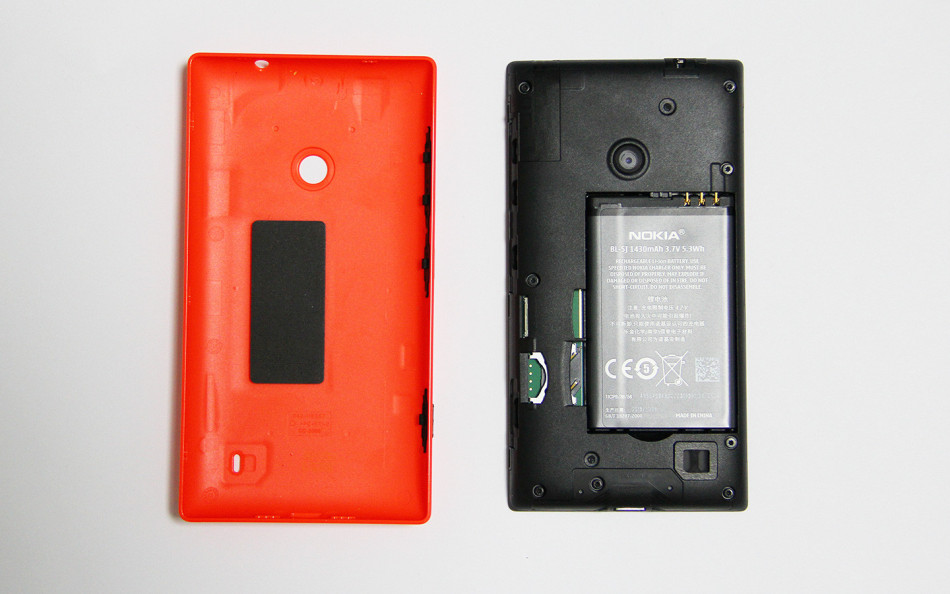
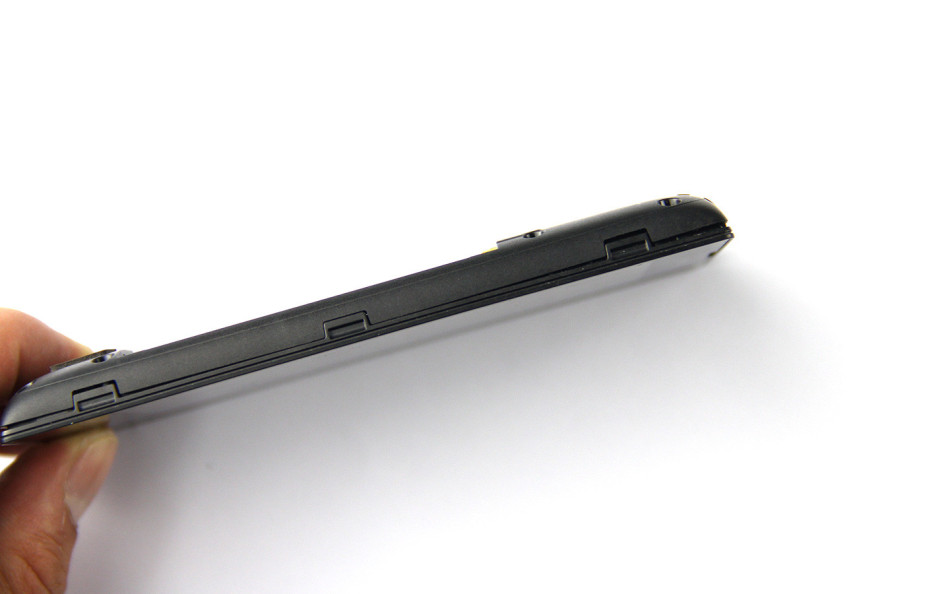
Removing the back cover is a little difficult because the Nokia Lumia 525 does not have a disassembly slot. We need to use a fingernail or a professional tool to pry up the back cover.
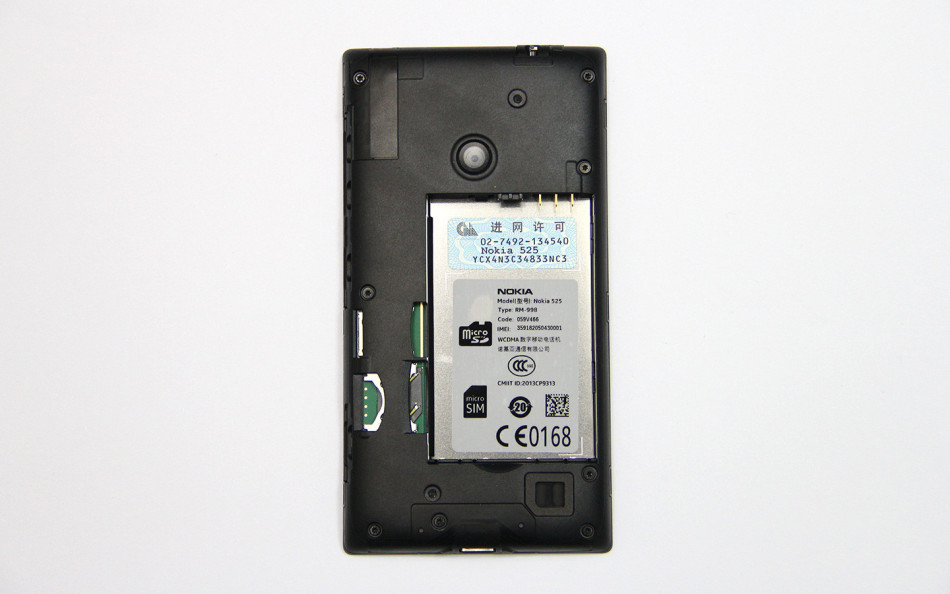
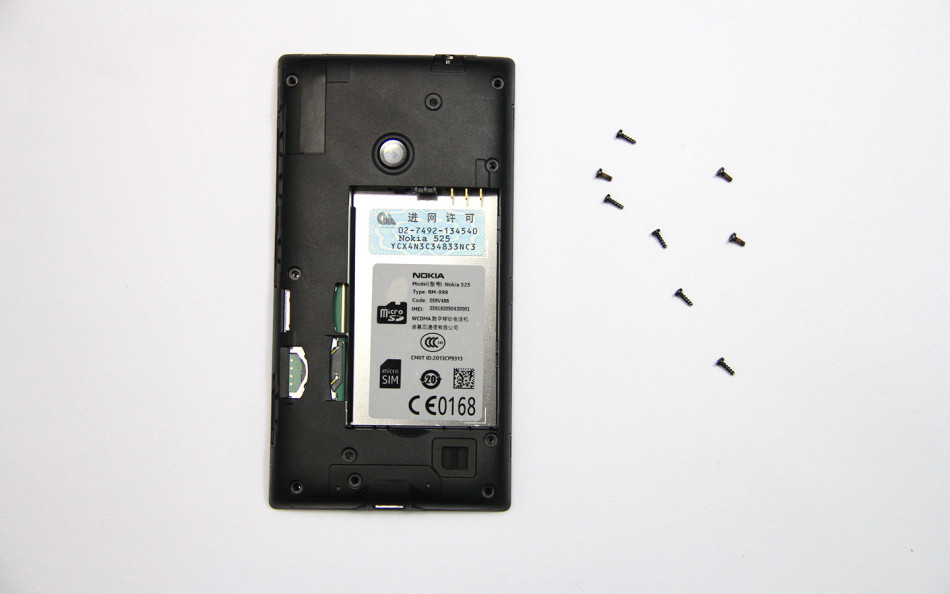
After removing the back cover, you can access the battery, MicroSIM slot, MicroSD slot, and eight screws.
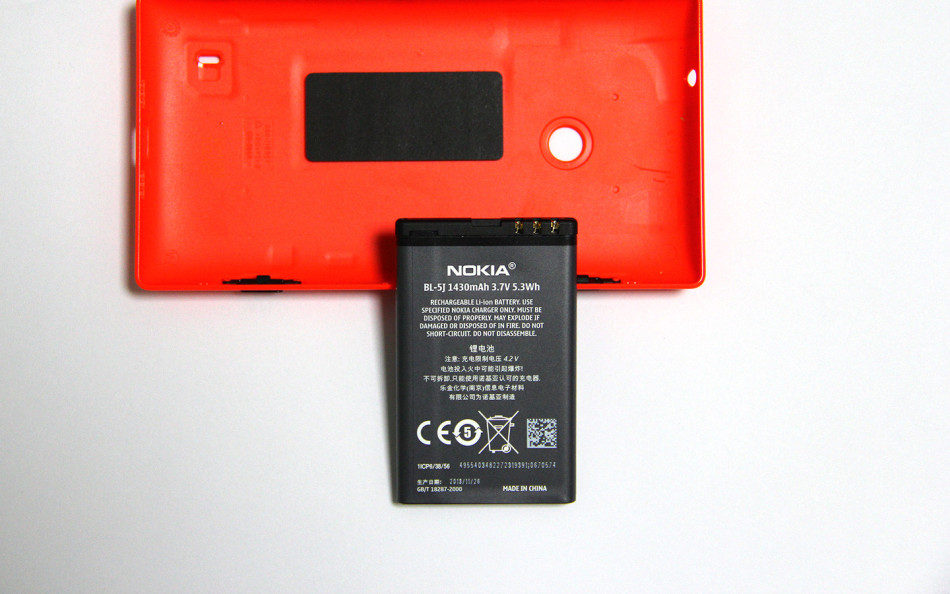
The Lumia 525 has a 3.7V, 5.3Wh, 1430mAh Li-ion battery, and the part number is BL-5J.
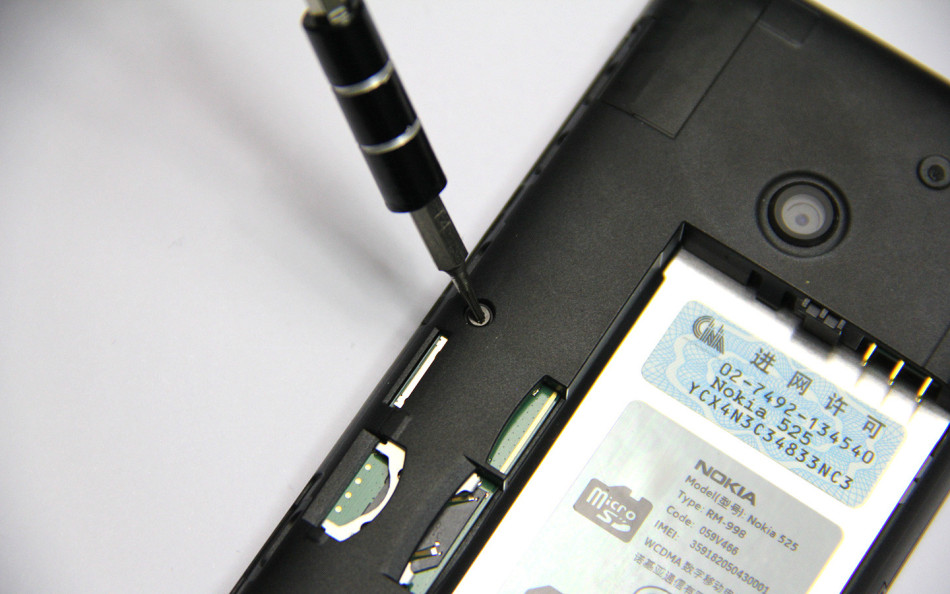
Remove the eight screws securing the middle frame.
Pry up the middle frame with a pry bar.
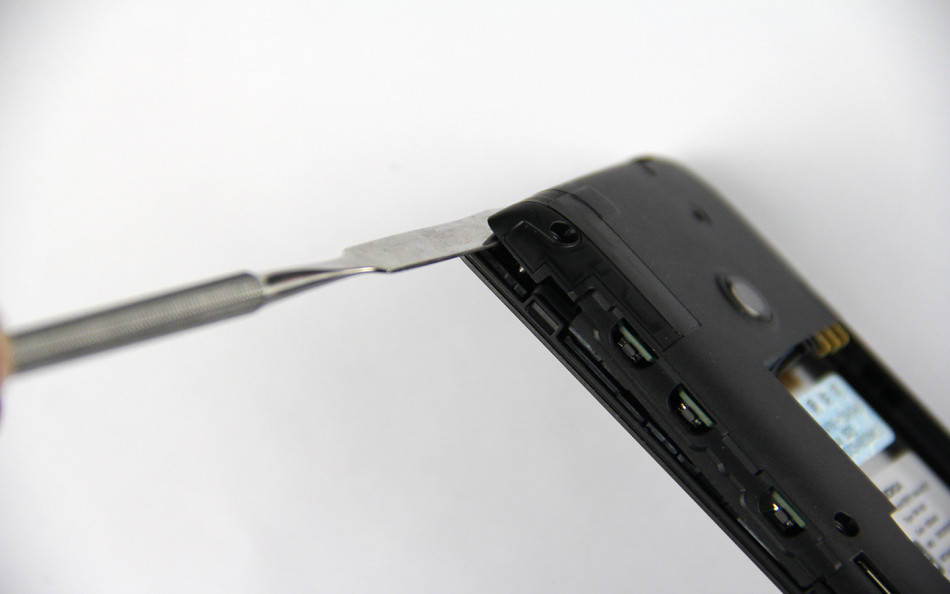
It should be noted that there are ten clips in the middle frame. Be careful, do not damage the clips.
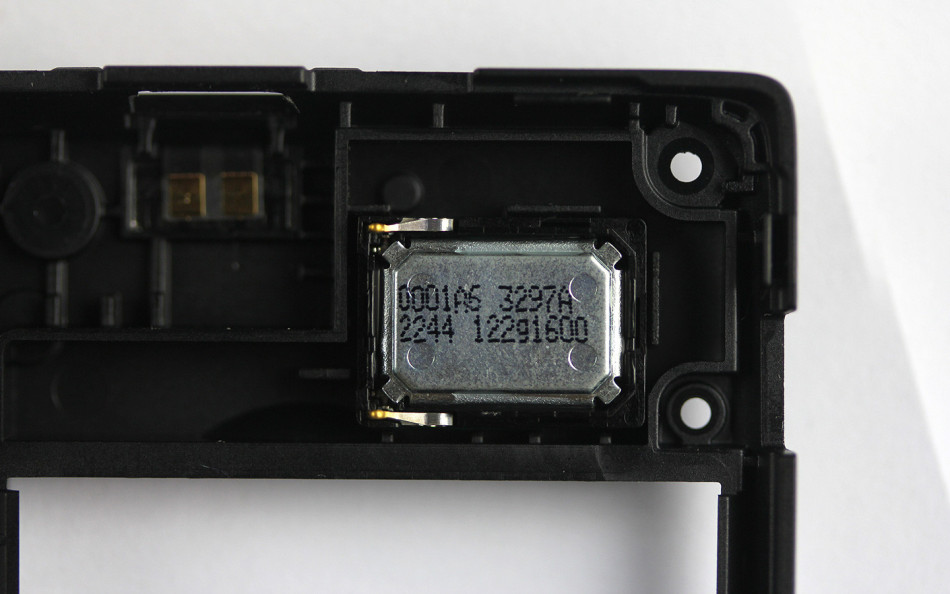
The internal structure of the Lumia 525 is very simple, with no other components besides the built-in speaker at the bottom.
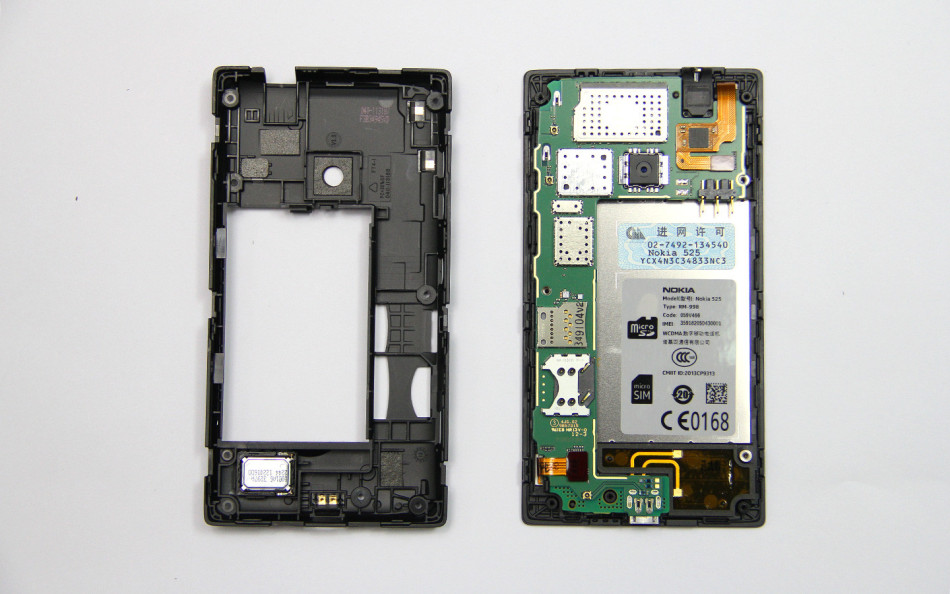
Speaker module
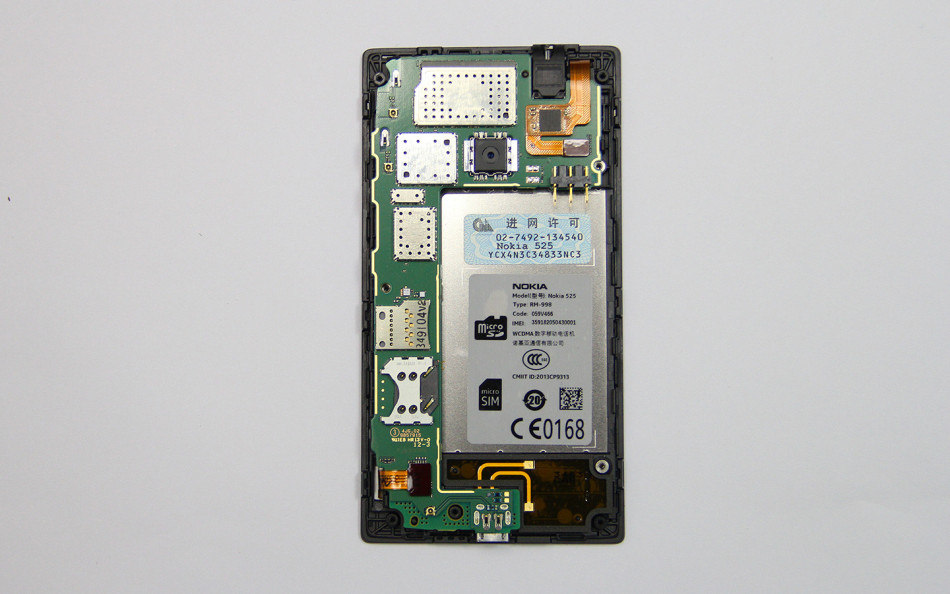
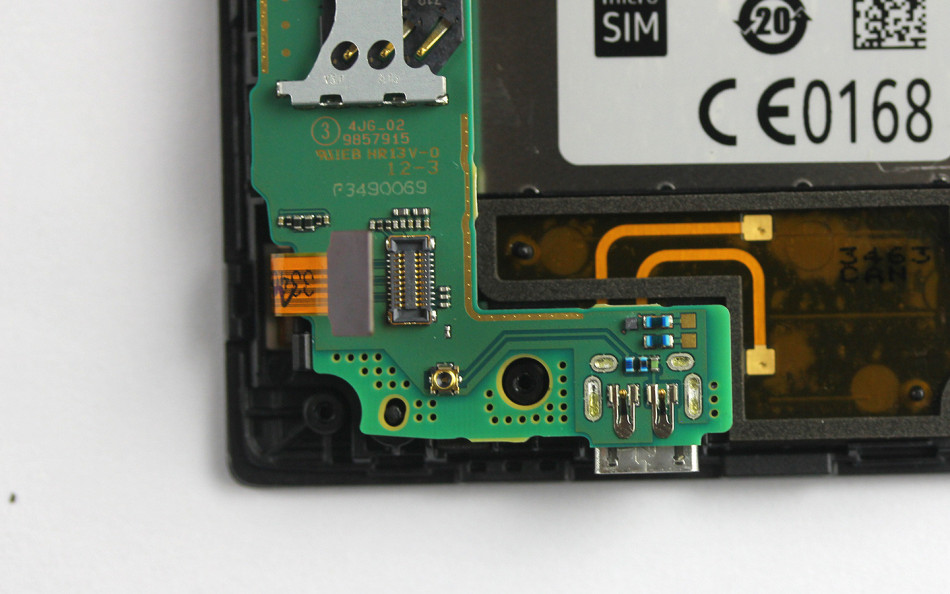
We can see the rear camera, MicroSIM card slot, and MicroSD card slot more clearly. Other parts are covered by metal shields. The metal shield is welded to the motherboard, so it cannot be disassembled.
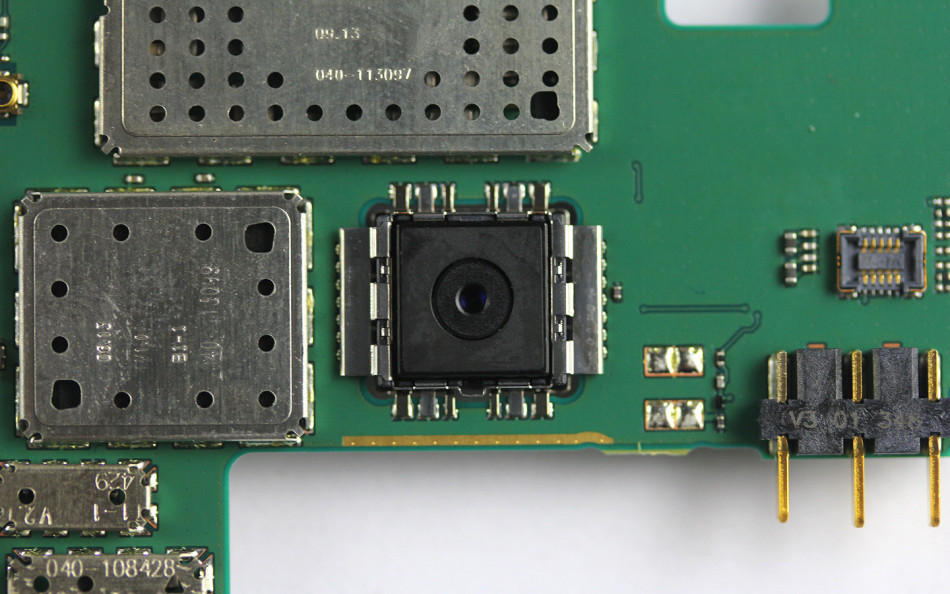
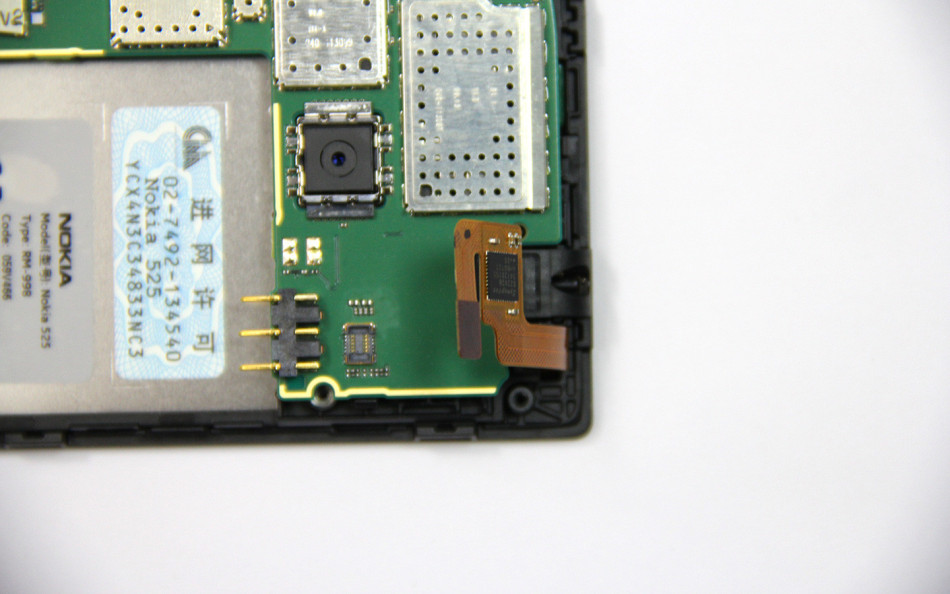
Rear camera
Disconnect the touchscreen cable.
Disconnect the touch keyboard cable.
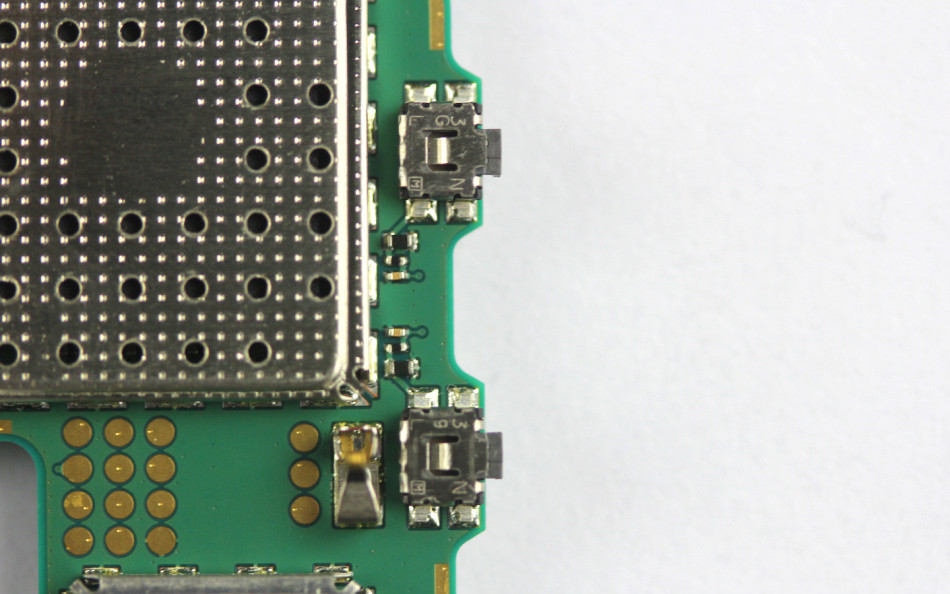
Lumia 525 motherboard
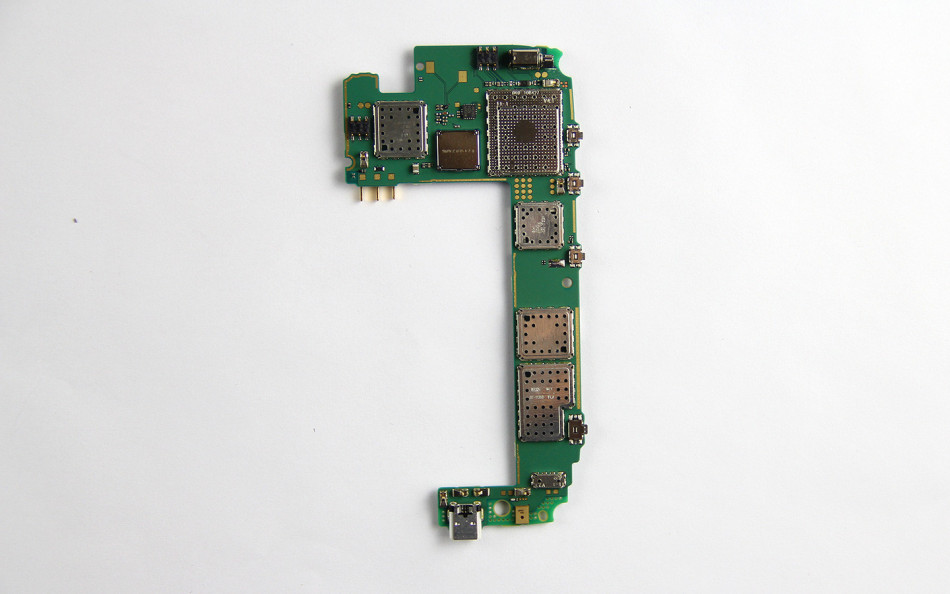
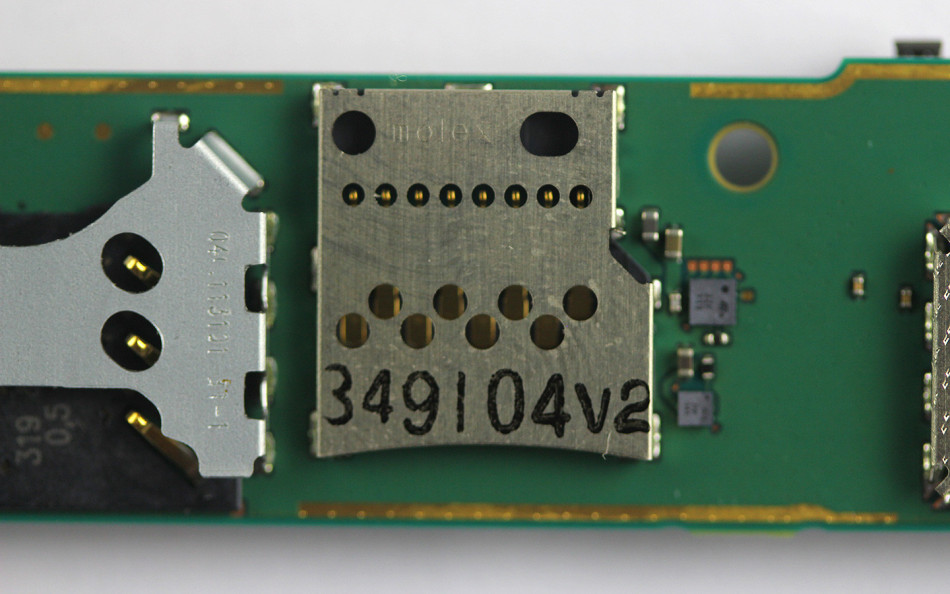
MicroSIM card slot
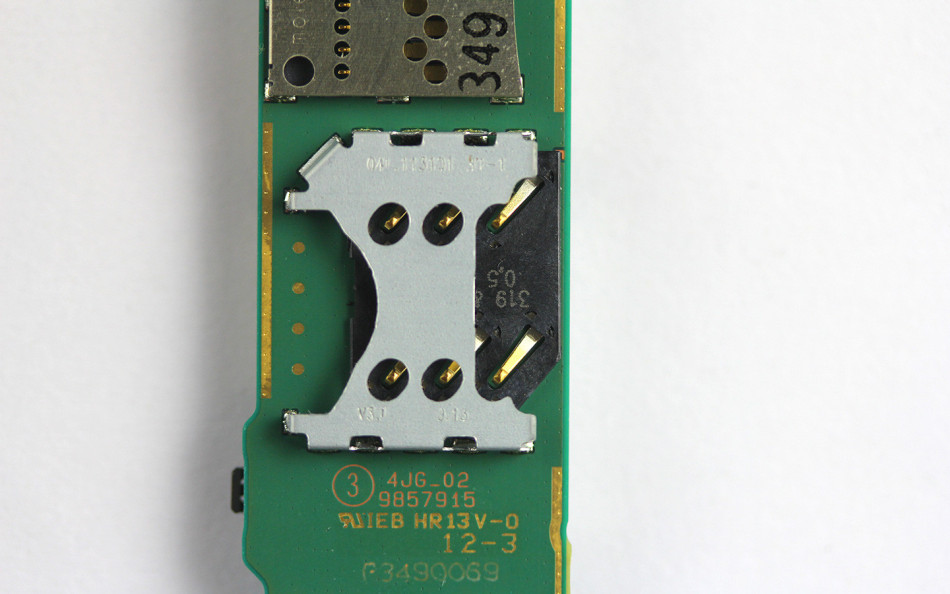
MicroSD card slot
USB port

Vibrator
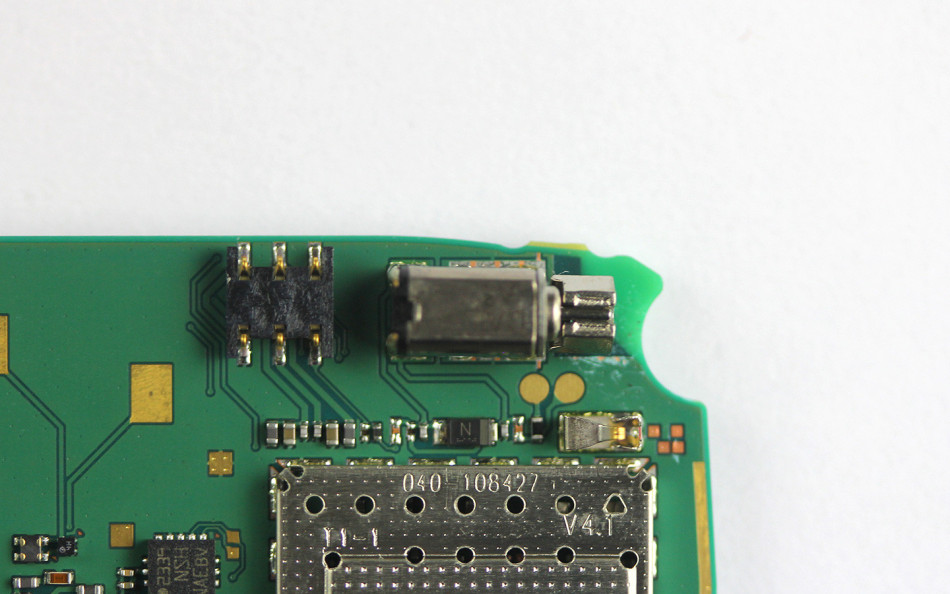
Handset

Volume button
Via cnmo.com