On March 19, vivo held a new product launch event in Sanya to unveil the vivo X27. The device has three rear cameras and a pop-up front camera. It also features a 6.39-inch Super AMOLED display with a 19.5:9 screen ratio.
Now, we will disassemble this phone to explore its craftsmanship and internal structure.
Step 1: Remove the back cover
First, remove the SIM card tray.
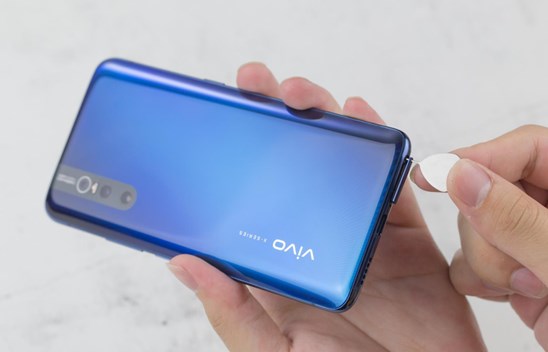
Then, we start removing the back cover. It is glued to the body. Use a hairdryer to evenly heat the back cover for 3-5 minutes.

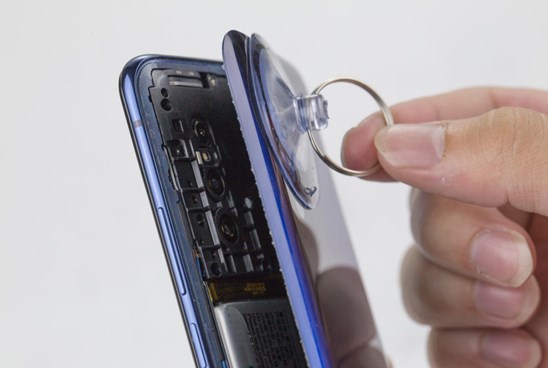
Use a suction cup to separate the back cover from the phone body.
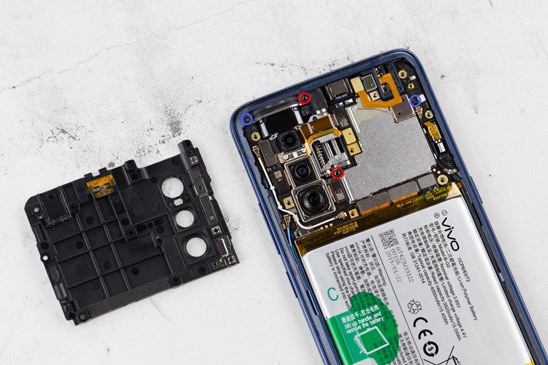
Step 2: Remove the motherboard
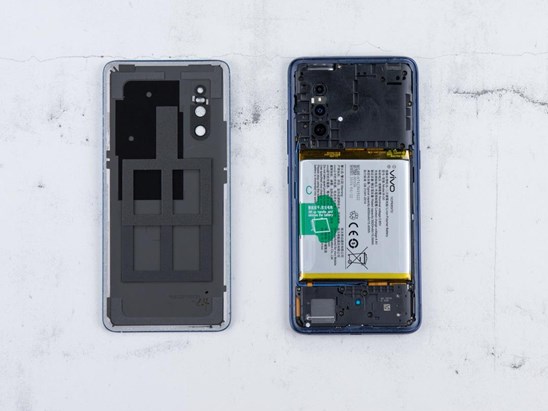
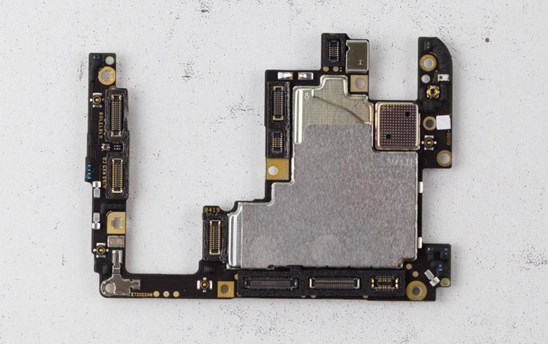
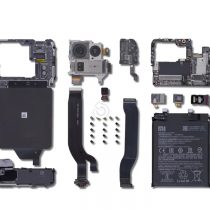
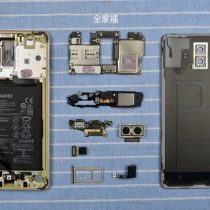
After removing the back cover, we can access the internal components. It features a classic three-section design。
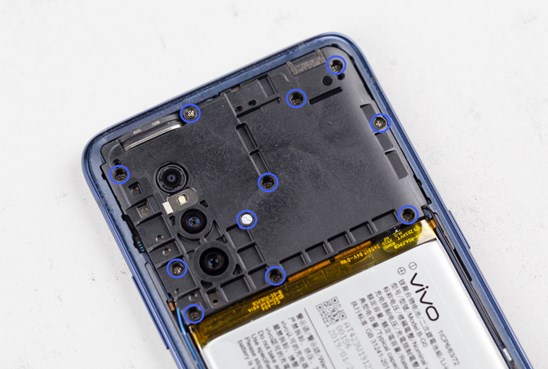
There is a plastic protective plate above the motherboard. Remove the thirteen screws, then use tweezers to remove the protective plate.
After removing the protective cover, we can access the motherboard and the triple camera system. Then, remove the four screws securing the motherboard.
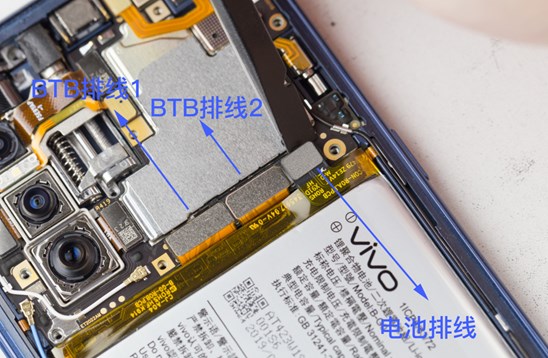
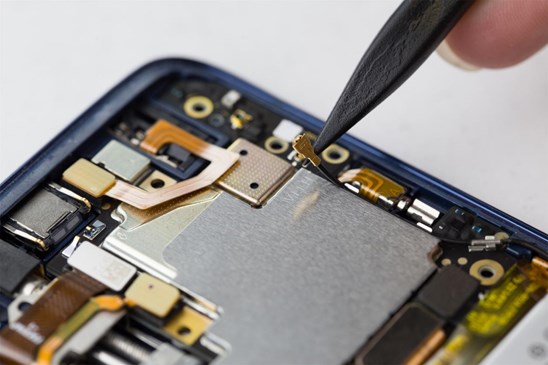
To remove the motherboard, we also need to disconnect all the ribbon cables connected to it. To protect the phone, disconnect the battery ribbon cable first before disconnecting the other ribbon cables.
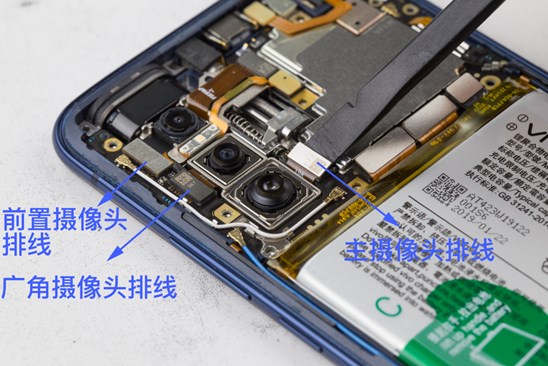
Disconnect the front camera cable, the wide-angle camera cable, and the main camera cable.
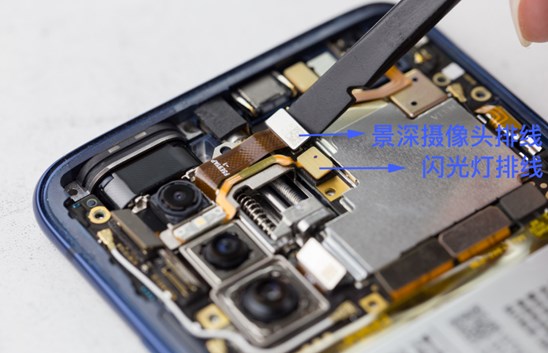
Disconnect the depth camera ribbon cable and the LED flash ribbon cable.
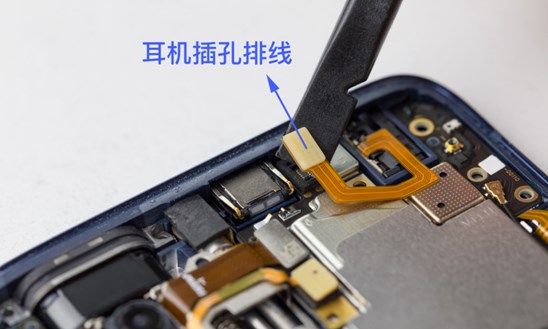
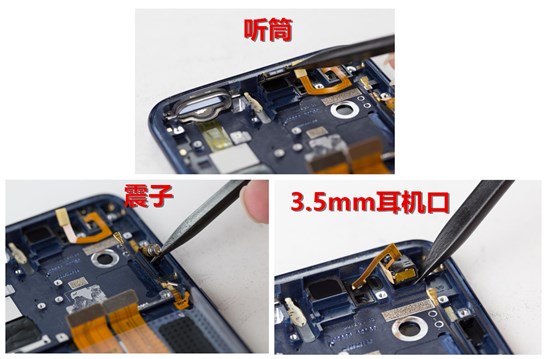
Disconnect the 3.5mm headphone jack cable.
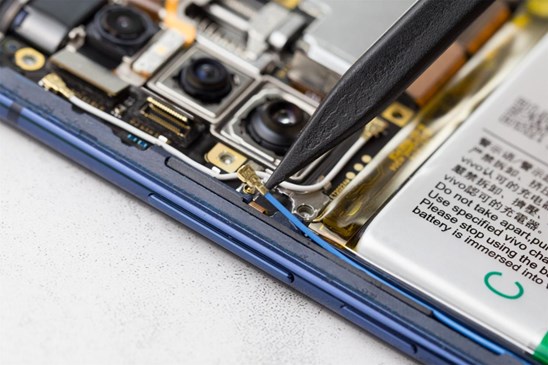
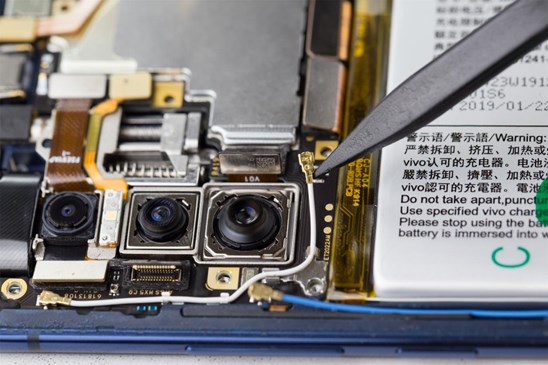
Before removing the motherboard, we also need to disconnect the black, white, and blue coaxial cables.
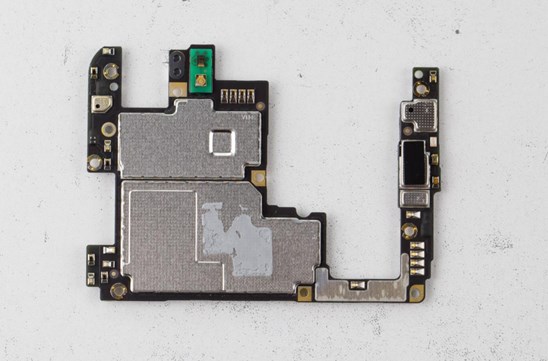
The motherboard of the X27 is relatively compact. A large amount of thermal paste has been applied to the motherboard to achieve better cooling.
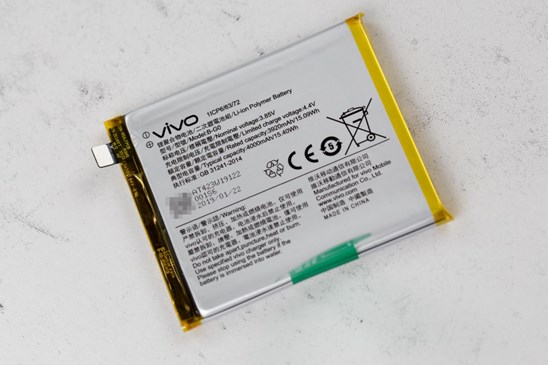
Step 3: Remove the battery.
Removing the battery is very simple. Just lift the green tape.
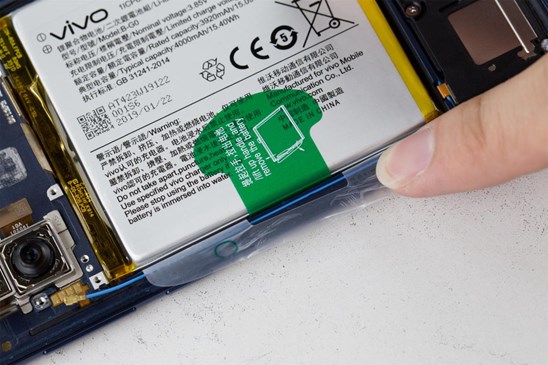
Although the teardown process is simple, we still do not recommend that you remove the battery yourself. If you prefer to do it yourself, please do not use any sharp tools.
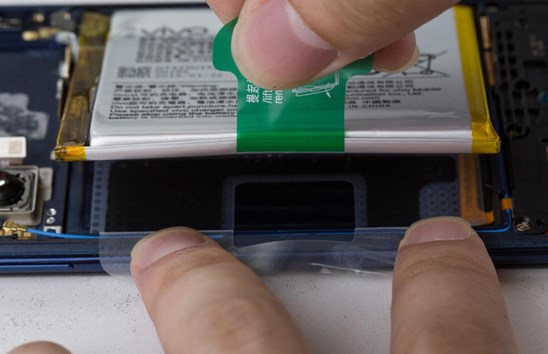
The phone comes with a 4000mAh battery.
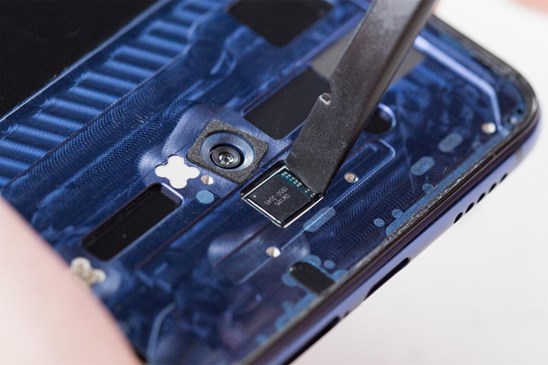
Step 4: Remove the cameras.
First, use tweezers to remove the main camera and the ultra-wide-angle camera.
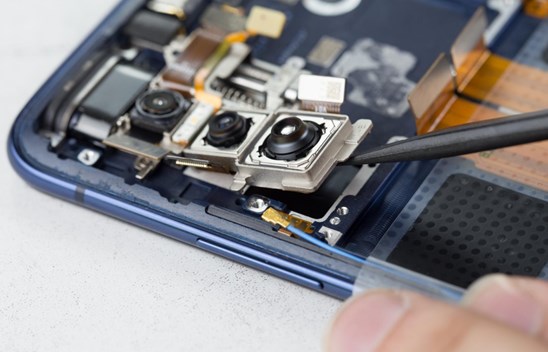
Remove the flash and depth-of-field camera.
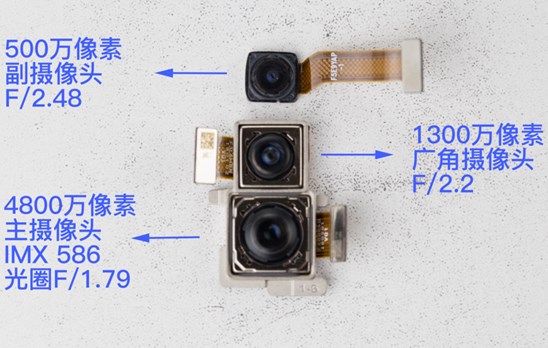
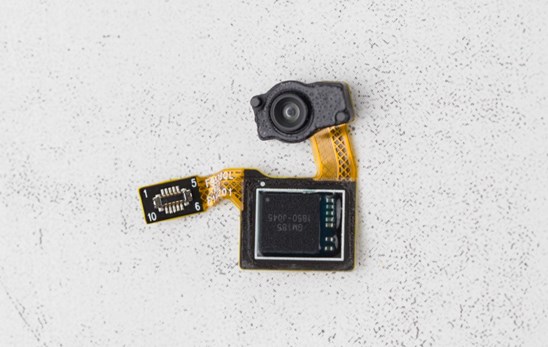
The 48MP main camera is the largest of the three rear lenses, using the Sony IMX586 sensor with an aperture of F/1.79. The second is a 13MP ultra-wide-angle lens with an aperture of F/2.2. The smallest is a 5MP depth-of-field lens.
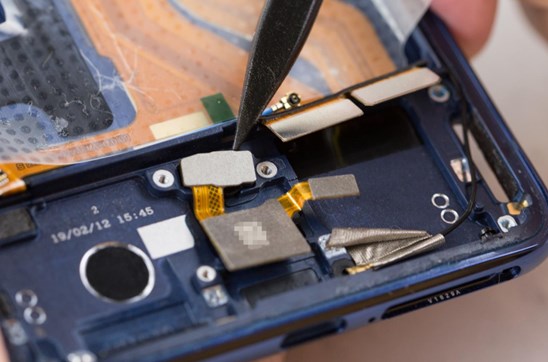
Now, we will remove the mysterious component. Remove the two screws securing the metal plate.
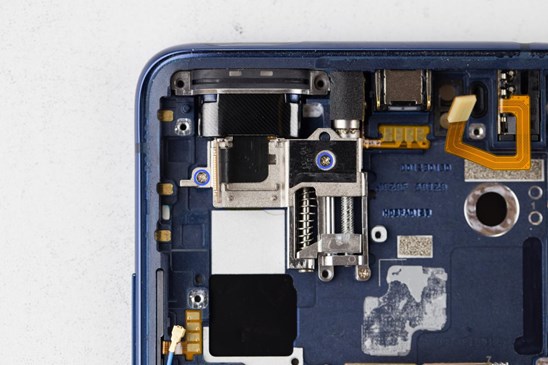
Use tweezers to remove the metal plate.
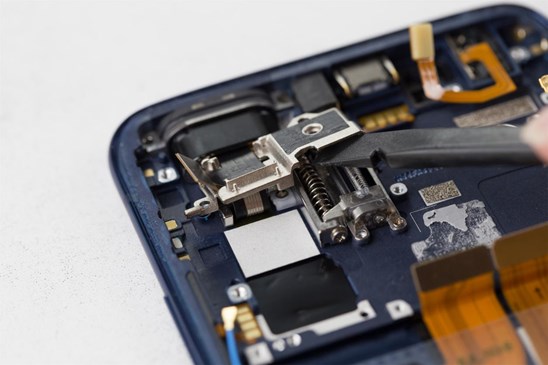
Use a screwdriver to remove the screws securing this mysterious component.

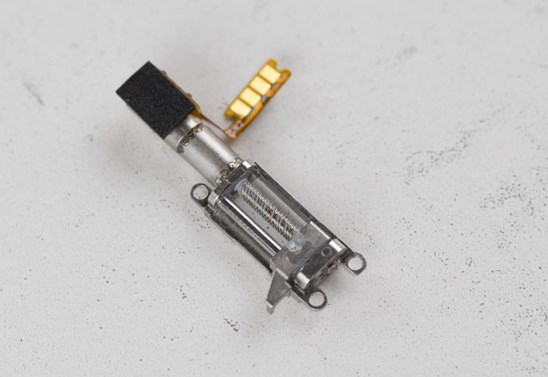
Then, remove the stepper motor.
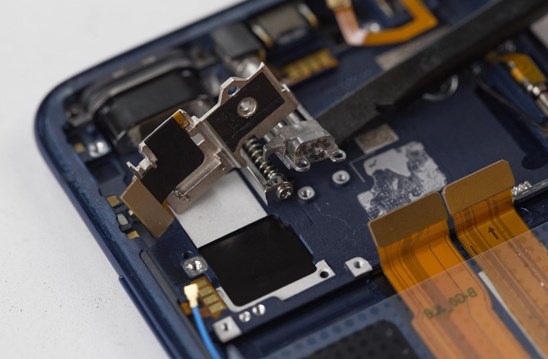
The motor is manufactured by Nidec in Japan.
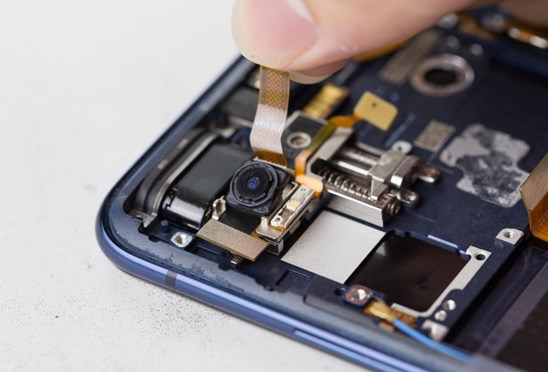
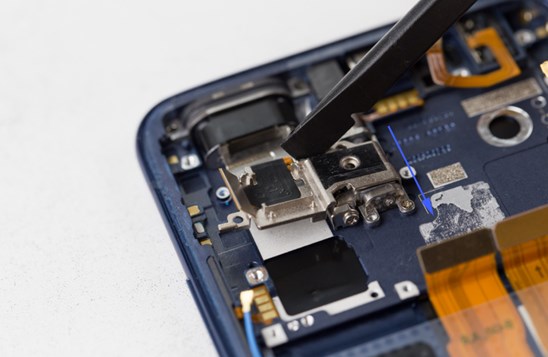
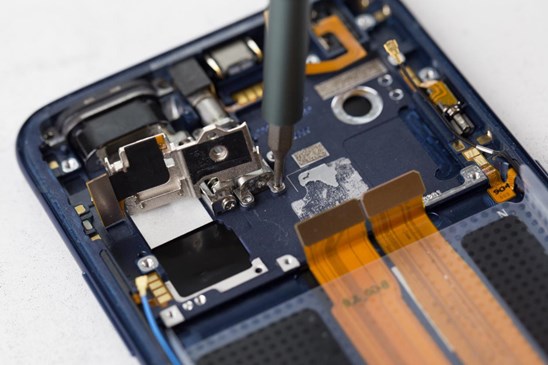
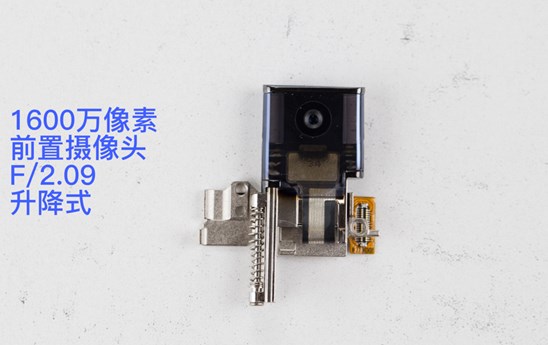
Use a tool to push the front camera module downward until it separates from the body.
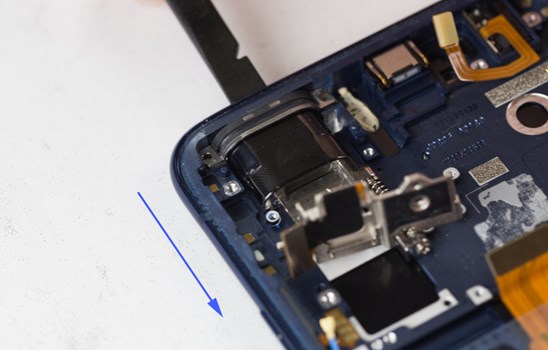
This device features a 16MP front camera. Its stepper motor differs from the model used in the Vivo NEX. The pop-up camera moves faster than that of the Vivo NEX.
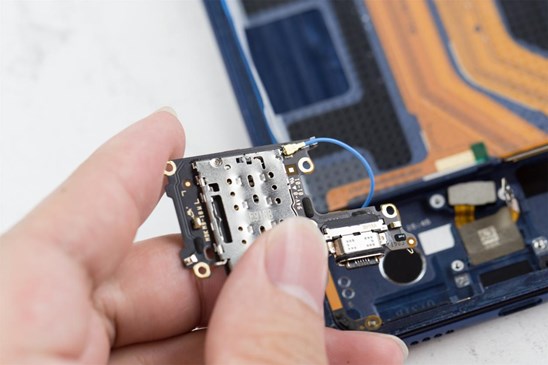
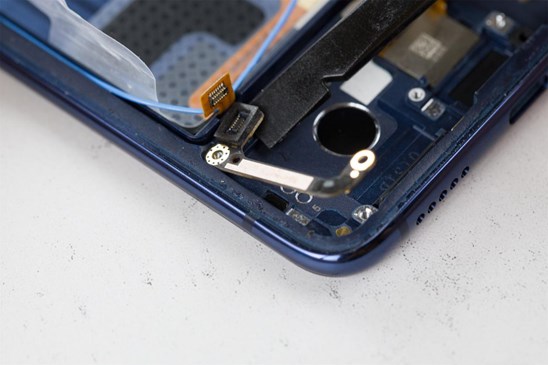
Step 5. Remove the earphones, vibrator, and 3.5mm headphone port
Since the headphones, vibrator, and 3.5mm headphone jack use a modular design, they can be easily removed.
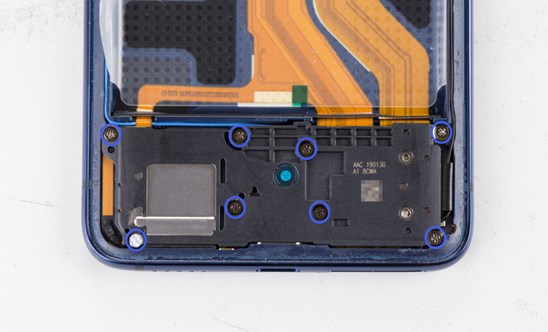
Step 6. Remove the charge port
Remove the eight screws securing the speaker.
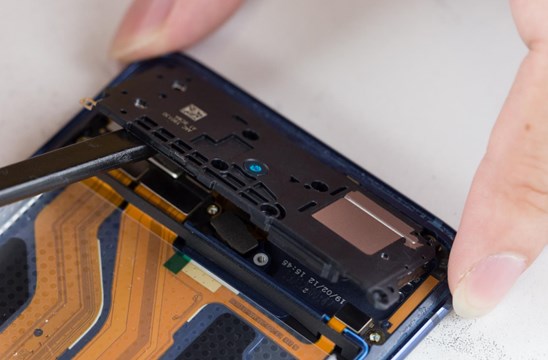
Remove the speaker.
Disconnect the three ribbon cables from the sub-board
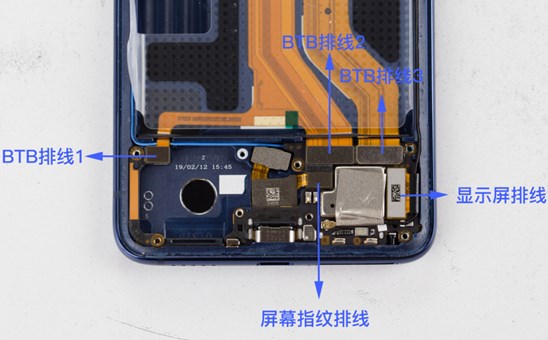
Remove the blue coaxial cable from the back of the charge port.
Disconnect another small connector.
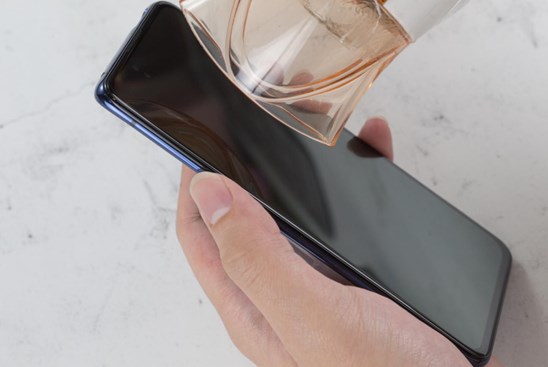
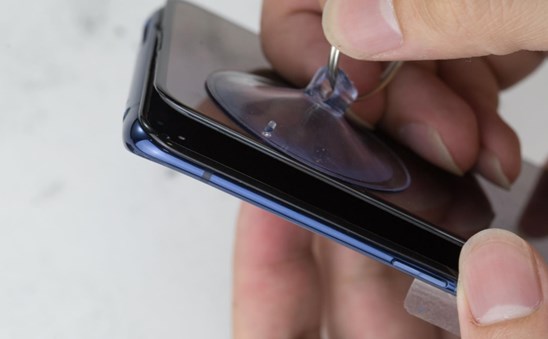
Step 7: Remove the screen
The vivo X27 features a 6.39-inch AMOLED screen manufactured by Samsung. Use a hair dryer to heat the edges of the screen for five to eight minutes. We do not recommend that users replace the screen themselves.
Separate the screen from the middle frame.
Step 8: Remove the under-screen fingerprint reader
After removing the screen, use a pry tool to remove the under-screen fingerprint scanner.
This under-display fingerprint scanner achieves faster unlocking speeds than the iQOO sixth-generation under-display fingerprint scanner.
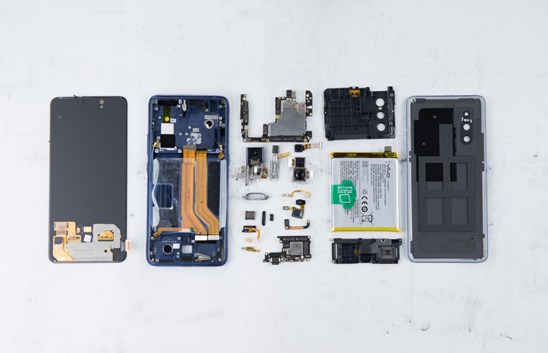
Summary
After the teardown, we found that the Vivo X27 has a complex internal design, especially its rear triple camera setup and selfie camera.

Thanks very much. Makes me know more about Vivo.